Handmade Holiday – Custom Beer Glasses & Carrier

Handmade gifts are one of my most cherished things. When someone spends time creating me the perfect gift, it means more to me than if they were to have bought me the most expensive gift around (except maybe an Audi R8, I’d jump in front of a bus for one of those.) Creating the perfect gift is rewarding both for the giver and the givee. Nothing is more awesome than the look on someones face when you give them the most badass gift around. To give you a helping hand on your quest for the epic gift, today a group of Canadian bloggers are showing you their best handmade holiday gifts for under $25. Check out #CDNHandmadeHoliday on social media to find some great gift ideas. Want to see what we made?

Custom Monogram Pint Glasses & Beer Carrier.


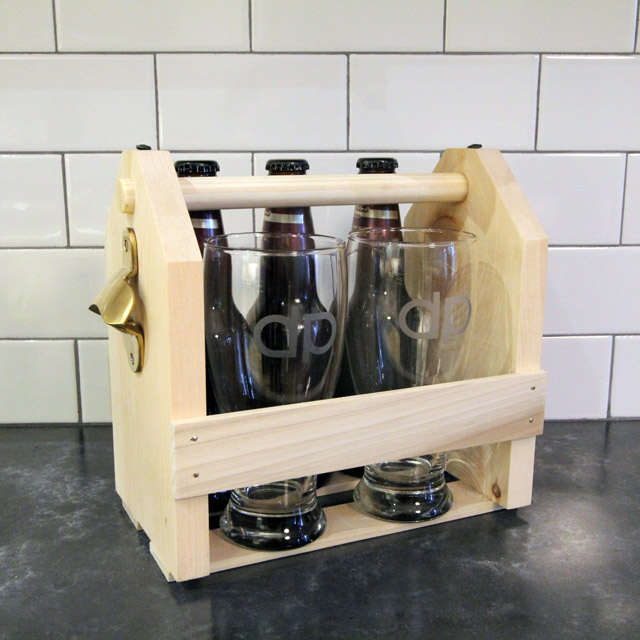
Wood Beer Carrier & Monogrammed Pint Glasses

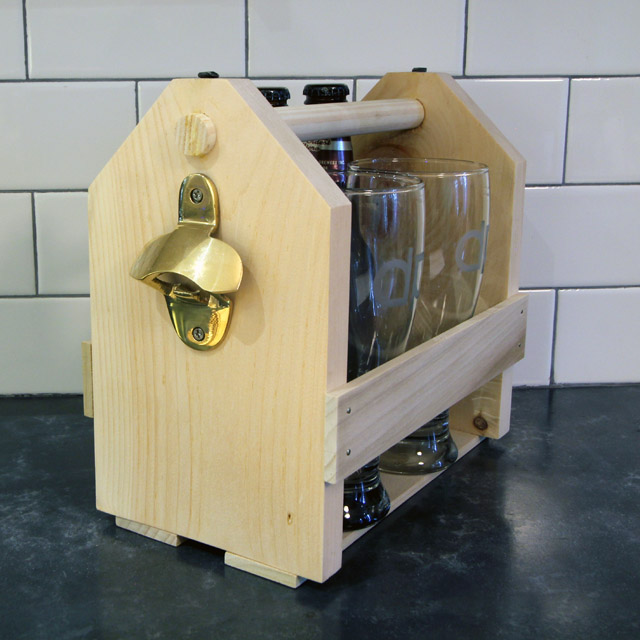
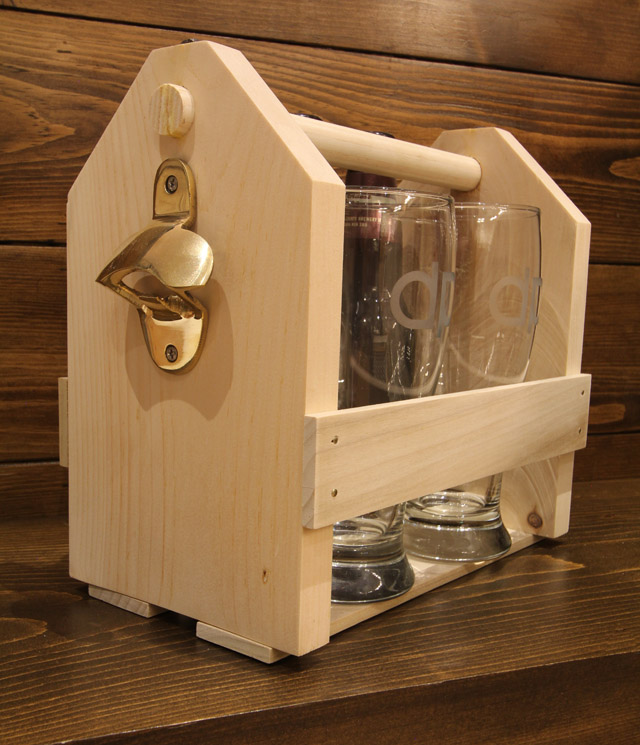
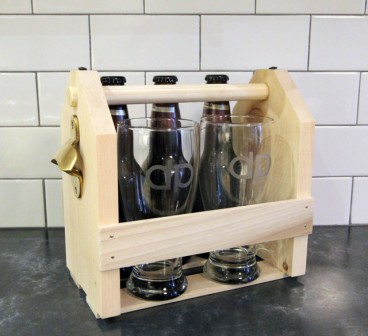
This gift is a remake of an old classic. Starting with our simple beer carrier plans, we made a pine carrier with brass nails, and added a brass bottle opener.

Wood Beer Carrier

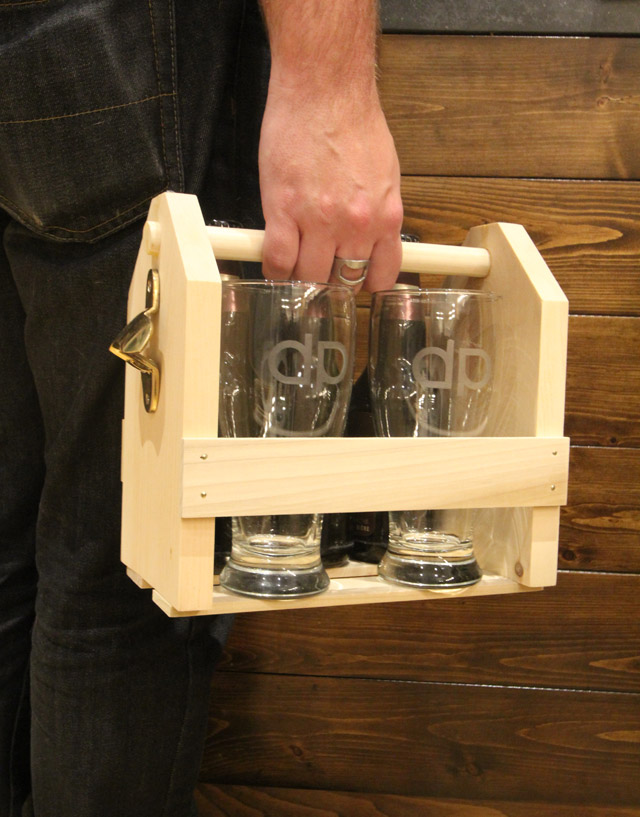
The holder will hold six short or tall cans, six bottles, or three bottles or cans and two pint glasses.

beercarrier3WEB

Next we created some custom monogrammed etched glasses. Using our Silhouette SD and a piece of adhesive vinyl, we cut out vinyl stencils.

Cutting Vinyl with Silhouette Stencil made with adhesive vinyl

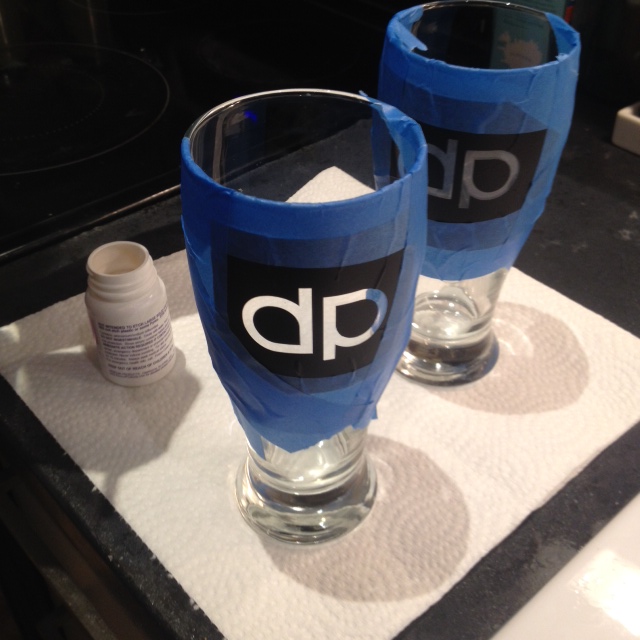
The stencils were applied to the pint glasses, and firmly burnished in place. Masking tape was applied around the stencil to make sure no errant etching cream got on the glass.

glasses ready for etching

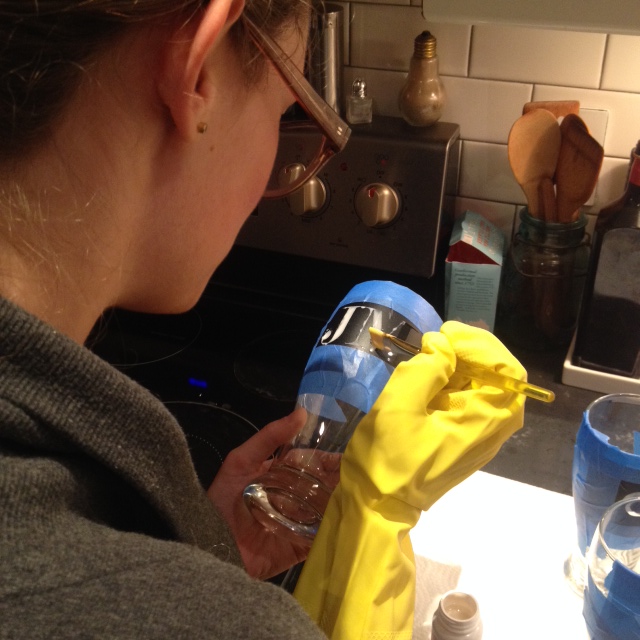
The etching cream was applied with a paint brush while wearing gloves, and left on for ten minutes.

Applying etching cream to glass

Then it was washed away and glasses dried. The simple yet classic monogram is the perfect addition to the classic pint glass.

Custom Monogrammed Beer Glass

The carrier & the glasses were all made for under $25! Just fill with your friends fave beer, and show up to your Holiday party like a boss.

SOURCE LIST:

Beer Carrier:

Materials:
Pine (1×6 x 2′) $3
Poplar (1/4″) $2
Dowel (3/4″) $2
Brass Finishing Nails $1
Bottle Opener – Target $5

Cut List:
2 – 9″x5 3/4″  – 1″ thick Pine
2 – 2″x 9 1/2″ – 1/4″ thick poplar (sides)
2 – 2 5/8″ x 9 1/2″ – 1/4″ thick poplar (bottom)
1 – 9 1/2″ dowel (handle)

Tools Used:
Miter saw – Milwaukee 12″
Combination Square
Drill – Milwaukee M18
3/4″ Spade Drill Bit
Orbital sander – Milwaukee
Measuring Tape


Etched Custom Beer Glasses:

Materials:
2 – Pint Glasses – The Bay $4
Etching Cream – Lee Valley -3oz $8

Tools Used:
Vinyl stencil – Silhouette SD
Paint brush
Gloves


Difficulty Level (on a scale of 1-5):

two out of five


Total Cost: $25

Wood Beer Carrier

What do you think? Would you like to find this gift under your tree?


Check out the #CDNHandmadeHoliday projects from other awesome Canadian bloggers:

Mason Jar Leather Lantern – NorthStory

Fabric Handmade Gifts – Rambling Renovators

Needle Felted Wool Socks – Fynes Designs

DIY Winterberry Branches – Vin’yet Etc

Homemade Sweater Mittens – Life is a Party

Pottery Barn Inspired Advent Calendar – New House New Home

Mr. & Mrs. Rudolph Towels – SewCreative

Mini Yarn Wreath Christmas Tree Ornaments – A Pretty Life in the Suburbs

Santa’s Sleigh Gingerbread Cookie Garland – Kitchen Counter Chronicles

DIY Anchor Fridge Magnets – Swell Conditions

Cranberry Pear Relish – Time with Thea

Burlap Photo Frame Display – Joy in Our Home

DIY Felted Bowls – Bear & Lion

DIY Beaded Star Ornament – lifeovereasy
Handmade Clipboard Photo Book – Personally Andrea
Handmade Holiday Decor – Brooklyn Berry Designs

DIY Shadowbox Mirror

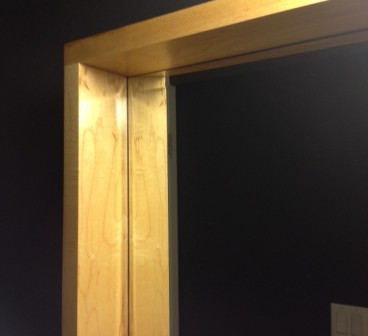
Here is how we created a maple shadow box mirror for the powder room. Originally we sourced the Ikea Molger mirror, but in real life the shadowbox was much too deep, and would not only block the faucet, but also jut into the room too far.

This is what we made instead: Continue reading “DIY Shadowbox Mirror”

DIY Marble Shelf

The powder room is small. At only about 4′ wide and 8′ long, with a closet jutting into it, it’s practically miniscule. To even be able to fit into the room, a vanity was vetoed for a pedestal sink. It’s great for the flow of the room, but offers no storage, and barely a surface to sit a bottle of soap. If you want to set your phone down, or touch up your makeup, you end up having to use the toilet tank as a shelf for your things. Not ideal (or very sanitary for that matter). To gain a much needed horizontal surface in our Powder Room Makeover, we opted to install a small shelf. Take a look at what we made.

Custom Marble Shelf

DIY Marble Shelf
Materials:

  • 1 4″ wide x 3′ marble shower sill
  • 1 pkg corner brackets
  • Spray primer
  • Krylon gold spray paint
  • 1 tube PL Premium construction adhesive

Tools:

  • Wet tile saw
  • Measuring Tape
  • Drill
  • Level
  • Caulking gun


How To:

Measure available space (ours was 18″). Mark and cut marble to length with wet tile saw and diamond blade.

Cutting Marble with wet tile saw
Prime & spray paint corner brackets. (We used Krylon Gold Metallic).

Install your corner brackets as shelf brackets screwing into studs, or using hollow wall anchors. We used black screws as we liked the contrast with the gold, and we have black accents in the room.

Spray painted gold brackets and black screws
Attach marble to the brackets with a small amount of PL Premium construction adhesive, and let dry for 24 hours.

DIY Marble Shelf Complete
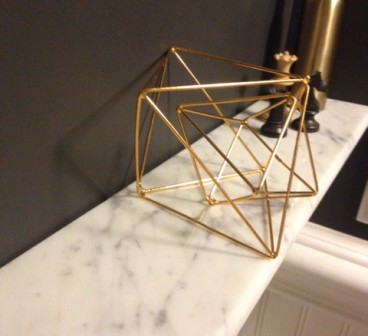
The shelf is perfect for holding a few decor items, and a place to set down your phone and lipstick. Now to style it!

Marble Shelf Styledphoto 4
I tried out a few accessories, and decided I really need a piece of art to balance everything. A small print set off to the left side will be perfect .

The bathroom is really coming along now. I will be back with another DIY project later on in the week.

SOURCE LIST:

Materialst:
Marble – Home Depot
Primer – Zinnser – Home Depot
Paint – Krylon Gold Metallic
Brackets – Brass corner brackets – Home Depot
PL Premium Adhesive – Home Depot

Difficulty Level (on a scale of 1-5):

two out of five

Total Cost $25

Project Nelson

We have started a new project in the Storefront garage; Project Nelson. We are making a Modern Farmhouse table and matching benches for a gentleman named Nelson. The table will be pretty much exactly the same as Dan’s table. As such, I won’t be boring you all with another build how-to from start to finish. I will however be popping in to share a few tips and tricks with you guys along the way, and keeping you up to date on the progress.

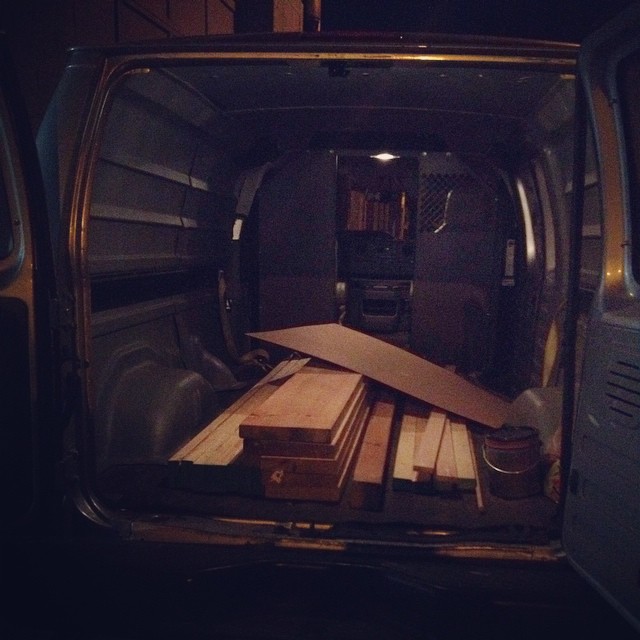
Progress got started this past weekend. A Zipvan was rented. Can I mention again how fantastic this concept is? We can have access to a large fully loaded cargo van without having to well… store or pay for a large cargo van. Instead we can get one once a month when we absolutely need it, and pay $30 or so for an hour and a half. With said Zipvan, we headed to Downtown Lumber and picked up lumber. We are using Canadian kiln dried 2″ thick pine for this project. (Although for the record, Downtown Lumber also sells 2×12 oak at about $18/board foot.)

Zipvan Rental

With lumber in the garage and a fine fall day, we planed all the lumber. My goodness, its amazing when you have the right tool for the job.

Turning this:

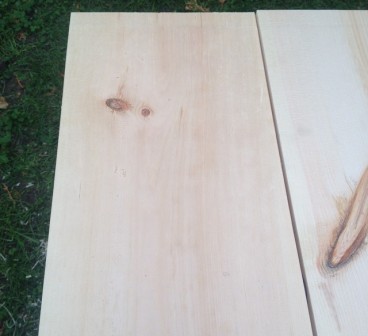
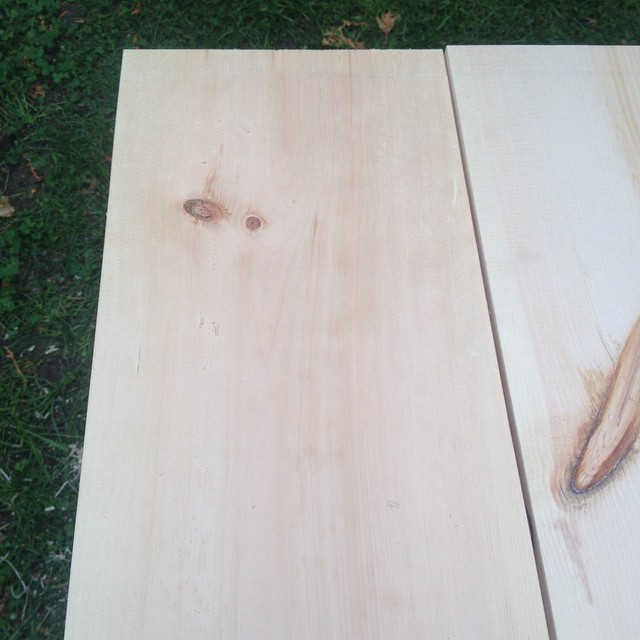
Pine Before Planing

Into this:

Pine After Planing

Will save me hours sanding!

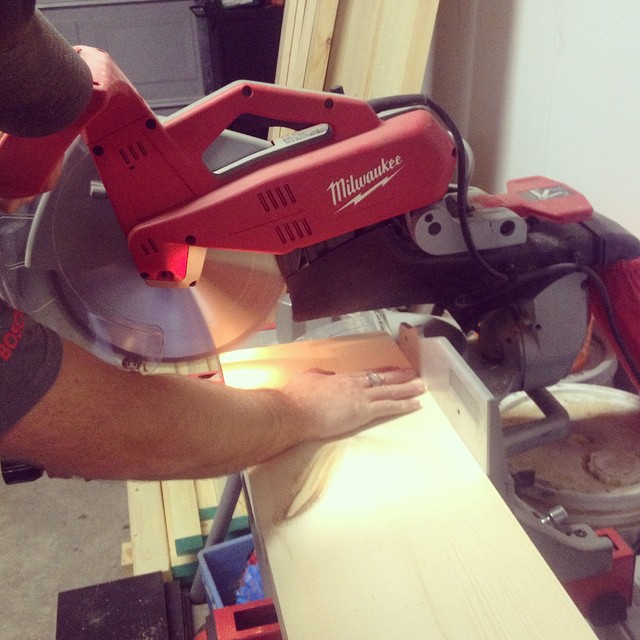
With all that lovely smooth pine, we cut everything to length, giving our new Milwaukee 12″ sliding compound miter saw a workout.

Milwaukee Miter Saw

Maaaaan, the last table we built with our old Mastercraft saw. Comparing that saw to the Milwaukee is night and day. The beast Milwaukee cut through that pine like butter, not burning, sticking or generally seeming like it had to try very hard at all. AND it is accurate. Our old saw liked to waiver. Slowly creeping out of true and making us perpetually need to square it up, and never being happy with the results. We did a test cut with the Milwaukee, checked it with a square, and BAM it was perfect. That makes my life ever so much easier.

With everything cut to length. We glued up the table top, added some back supports, and filled a few knots with epoxy. Is anyone interested in how to epoxy knot holes? If so, let me know, and I will give a how to. While the epoxy & glue were drying, we cut down the legs, and got started on stain samples for Nelson. A good days progress. We hope to have Nelsons table finished and ready for delivery in a month.

We also got a bit of work done on the powder room, and will have a progress update for you later in the week.

Basement Flooring

When we last left the basement, we had laid the DRIcore subfloor and installed the SMARTWALL wall finishing system. Then we ran into spring, and had to move our work outside. So what was left on our basement list?  Get some paint on the walls, and some flooring on the floors. Then we could move to the pretty finishing touches!

So let’s talk basement flooring. I was inspired by white soaped floors while in Denmark. I even wrote a post on them.

Danish Soaped Floors
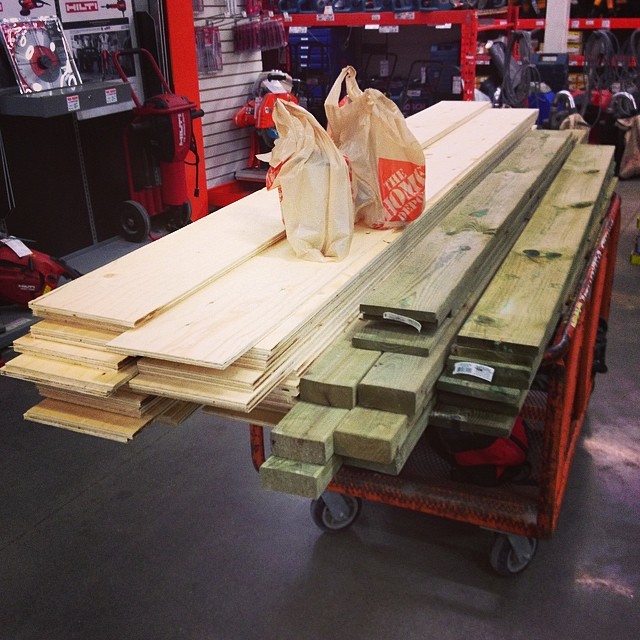
I had grandiose plans to do inexpensive soaped floors. We even purchased a whole bunch of 3/8″ thick standard spruce plywood and had them cut into 7 3/4″ x 8′ planks on Home Depot’s panel saw (much easier than ripping it at home on our table saw).

Plywood Planks
But the floor wood cleaner, lye and soap finishing supplies were mighty expensive, and it seemed like a waste  of money and an absolute ton of work for a basement floor. The problem is I still liked (and wanted) the look…

So how do I plan on getting it?

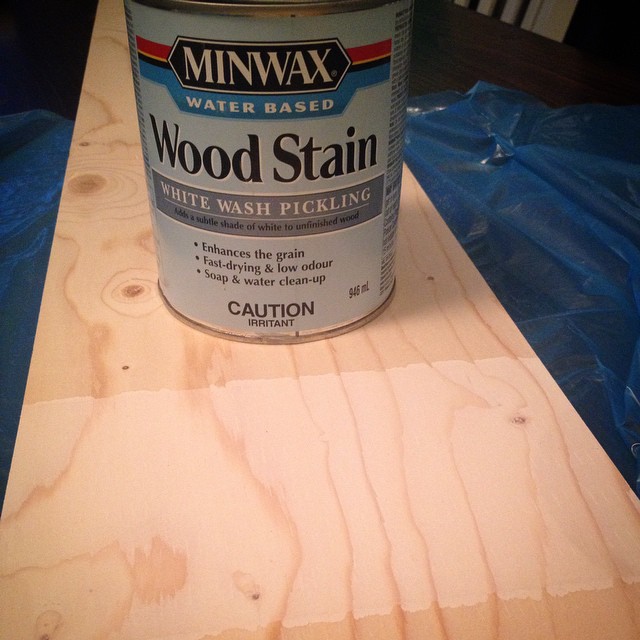
A few weeks ago I sanded and sanded and sanded a piece of the plywood, and applied some test stains. I tried Weathered Oak, Grey, and White Wash Pickling Stain. There was one clear winner. The Minwax White Wash Picking stain.

White Wash Stain
Along with the stain we plan on using Minwax water based pre-stain conditioner and Minwax Ultimate Floor finish in satin. That floor finish is a big one, as it has a non-yellowing formula. White washing floors only to have them amber when the poly is applied would be devastating. We have the finishing materials ordered, and they should arrive shortly.

Now to deal with the sanding issue. We could lay the whole floor, then rent a floor sander and go at the whole thing. Problem is, we could easily sand through the first layer of plywood with the big sander thus ruining the floor. Next idea… use a belt sander and orbital to sand each board before laying. Okay idea, but still very very time consuming. Third idea: rent, beg, borrow or steal a planer and gently shave off a tiny bit of the boards.

While a planer may be on my Christmas list (please Santa please!) Such an expensive tool could not be justified for this project. Enter the begging and borrowing. When we got our new Milwaukee sliding compound miter saw, we gave our old 10″ slider to my Dad. He was building a deck, and his saw wouldn’t handle 6″ wide boards. So I causally mentioned the gifted saw, smiled a sheepish good daughter smile, and asked to borrow his planer. He said yes! His beast of a planer (this thing is solid metal and must weigh 100lbs) came home with us at Thanksgiving. Thanks Dad!

Ryobi Thickness Planer
This weekend we spent an afternoon planing those boards into perfect planks. It was a noisy, sawdust filled endeavor, but with utterly fantastic results!

photo 5
photo 3(1)
photo 4(1)
We took 1/8′ off all the boards, and they look amazing (for cheap plywood! $0.59 a square foot!)

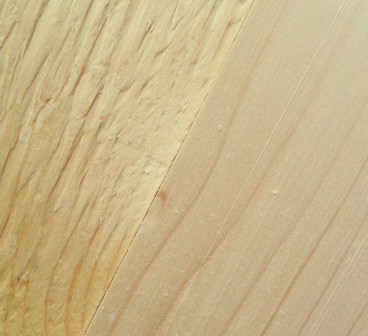
Left: before planing Right: after planing
Left: before planing
Right: after planing

We did run into a few issues with the knots tearing out in the planer. We will strategically cut out the bad parts when we lay the floor, and then wood fill and sand the others before staining.

We got all the flooring planed, and it is stacked back in the basement ready to be laid. I would like to get the basement wall painted before laying the floor. Is it wishful thinking that I could paint it after work one day this week? Hahaha yeah.

Powder Room Progress

Work on the powder room mini makeover has begun, even with a 3 day trip to the cottage for Thanksgiving thrown in. Here’s a quick update on what I’ve been up to:

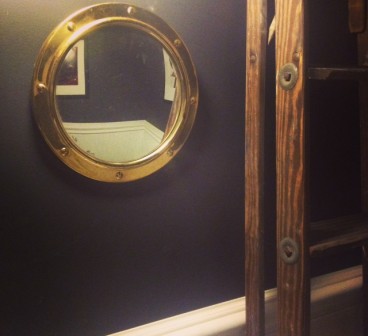
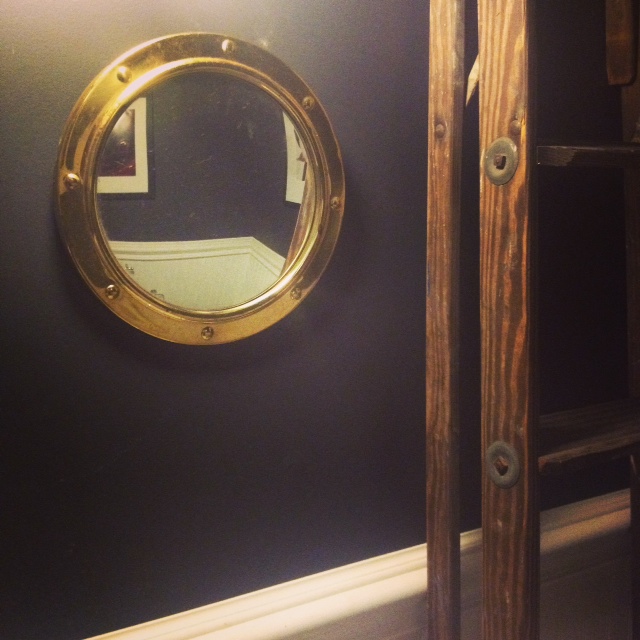
Removed the ornate mirror, and tried hanging the great portal mirror I grabbed at Value Village during the blogger thrift store tour. The mirror is AMAZING, and looks so good with the black wall color.

However… it is just too small for the space. Even with the convex shape of the mirror, it is just not big enough. Sad face.

portalMirror
You may also notice another item in that photo. While out on the motorcycle one day, El Granto and I spied a couple of wooden ladders and some old signs on the side of the road. I jumped off and scooped up all the signs we liked, then we sped home, dropped off the moto, and El Granto walked back and lugged one of the large 8′ tall wooded ladders home. It’s in absolutely fantastic shape, and can double as a decor piece and a functional ladder. (It’s a tool hiding in plain sight!) We propped it up in the empty corner of the powder room. I really like the height it gives to the small room. Maybe it will stay there, maybe not, but for now I am loving the wood tones against the black and white.

When I was in Denmark and Sweden this spring, I went on a bit of an art print binge, and during that time I picked up the full set of Warhol quote posters from Moderna Museet in Malmo, Sweden. They are nice big prints (70cm x 100cm or close to 27 1/2″ x 40″) and I thought one or two from the series would look great in the bathroom. We have 12′ ceilings in there, so they should be able to hold the big art prints without feeling claustrophobic. Now all I needed were frames. Of course, there is really only one place to get good quality frames that large (we’re talking three and a half feet tall!) for a good price. Like the prints themselves, my frame source was also Swedish. Can you guess where that is?

I hopped on the subway last night, and trekked out to Ikea Etobicoke, and picked up two large 70cmx100cm Ribba frames in black.

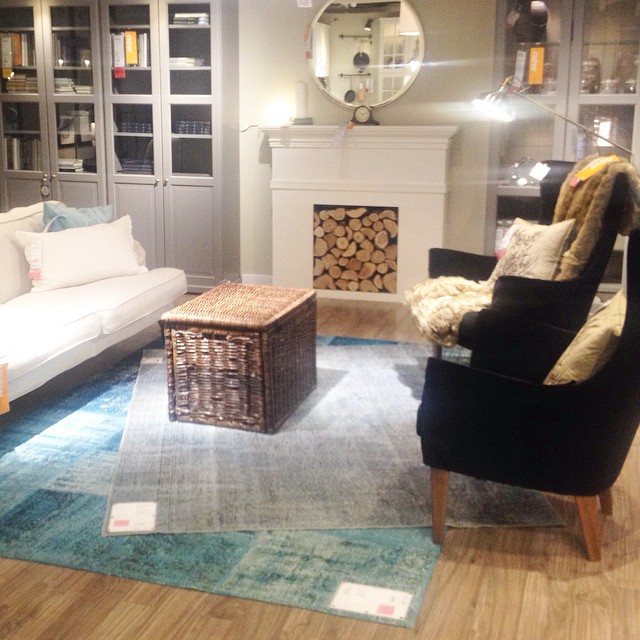
While at Ikea, I did a good amount of perusing. They have upped their game with their new store displays. It was looking good! There were also a few new great items in store, that are not listed online yet. I could do a whole post on it, but here is one of my instagrams from last night:

10735048_865812560097984_209344928_n

Alas I was not shopping for new armchairs or rugs (but hey, that faux fireplace would look great in my house!) I needed to source some bathroom items. I was hoping to pickup this Molger mirror (in birch):

Molger
But after seeing it in store the frame was much too deep for my space. It would get in the way of the faucet and and light fixture. Boo.

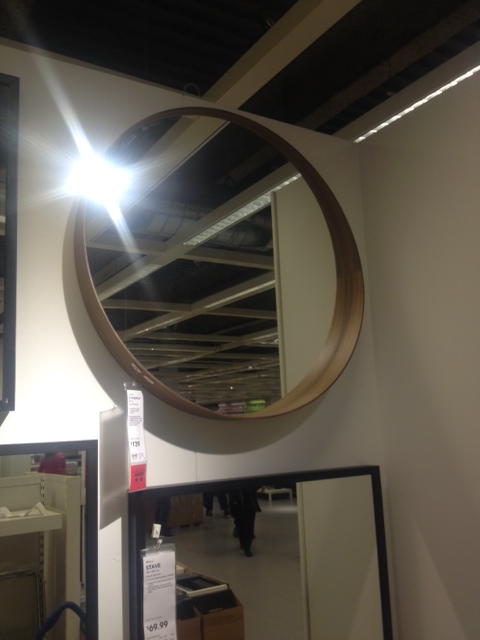
I saw this fab beauty, but it was like $120 (sorry no exact price as its not on Ikea’s site.) and thats more than I wanted to spend for the mirror for this project. Although I think two of them would be fab for my upstairs bathroom reno!

Stockholm
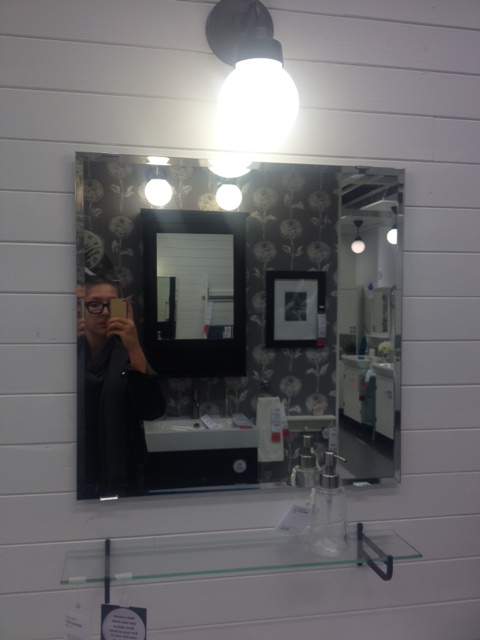
I ended up going with this simple square beveled mirror, and I may try my hand this weekend at a simple shadowbox frame for it. We’ll see.

squaremirror
I also left the store with a great toilet brush (no really!) This black svartsjon one for $8. Also, the 10 year old trapped in me, thinks svartsjon is a funny name for a toilet brush. Cause its got “jon” and “svarts” which I’m sure is how they must say farts in Swedish. Right? 😉

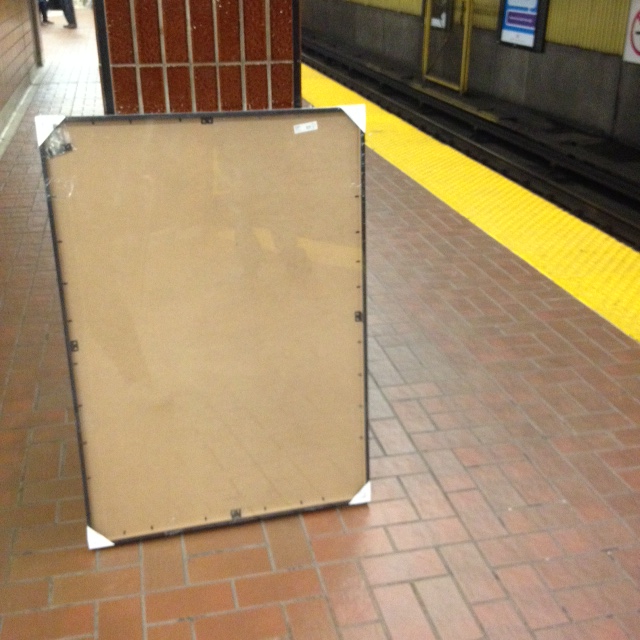
Then I went and carried everything home on the shuttle bus and the subway.

Subway

And no, that was not the most awkward nor heavy item I’ve carried home from Ikea on the Subway.

I can’t wait to get home from work tonight and start framing the posters. I want to see them on the wall!

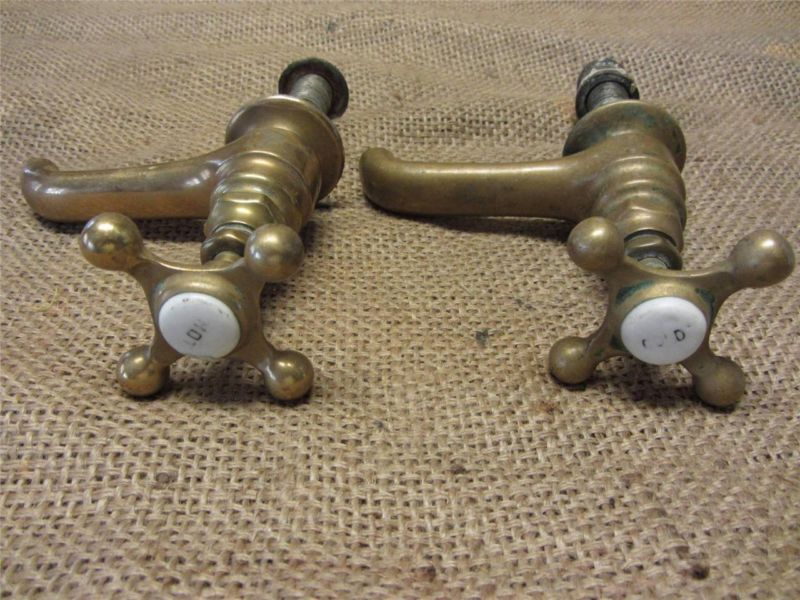
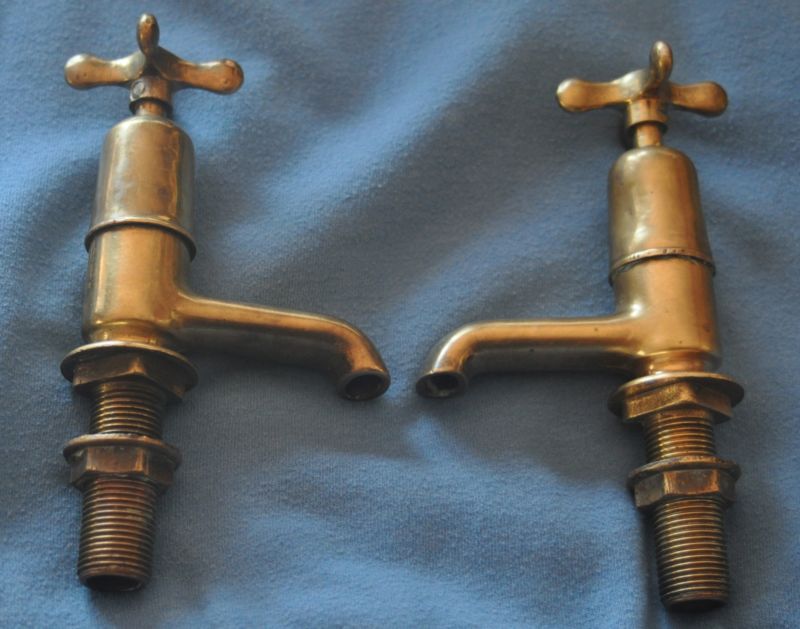
I am still however on the hunt for a light, a small shelf, towel & tp holders, trash can, and accessories. I also added to my wish list a set of antique taps, which I have my eye out for (aka stalking craigslist and eBay).

If you guys see any taps like these (for cheap) let me know!

BrassTaps
BrassTaps2
Thanks!


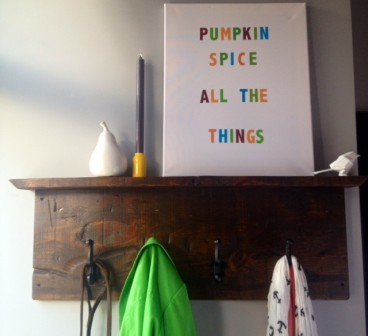
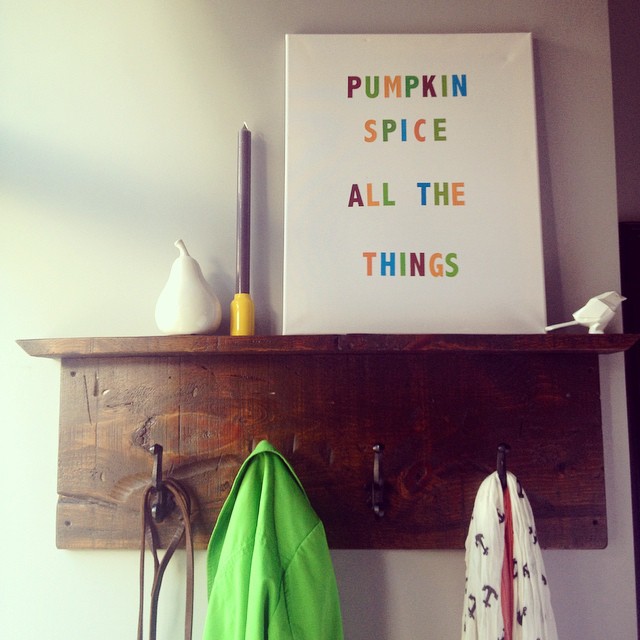
Pumpkin Spice All The Things

We at the Storefront are mantel-less home owners. As such, come fall or winter, we are the only blog on the entire internets to not have a decorated mantel. No really, find me another home/decor blog without a mantle post this week. Never to be left out, we tend to decorate the front porch (with heavy, and/or bolted down items of course.) One extension of our seasonal decorating, is the front entryway coat rack. With it’s small shelf, it is about the closest thing we have to a mantel.

We have a variety of canvases and prints that get trotted out seasonally to grace our front entryway. Feeling a little bored with our fall decor this year, I opted to add a new canvas to the repertoire. Enter my latest “masterpiece”.

Pumpkin spice all the things

Pumpkin Spice All the things

How to:

$3 Dollar Store Artist Canvas

+$2 Dollar Store Adhesive Letters

+2 parts cheeky 😉

Whats on your mantel this season?

New Site Design

Notice anything new round here?

My hair you say? How great my ass looks  in these jeans? Why shucks, you are too kind, but I was talking about the site design.

It’s been a while in the making, but we finally have a responsive site! For those of you visiting on a mobile device or tablet, things are gonna look a whole lot different, and hopefully be a lot easier to use.

Continue reading “New Site Design”

Backyard Progress Report

While I don’t yet have a stunning after shot of the backyard, we are making some progress!

Here’s what we’ve been up to the last few weeks:

We painted the back of the Storefront. This was a bigger task than you’d think, after scraping, caulking, priming, and two coats of paint, only painting in mornings so there would be no direct sun on the paint, it took a whole long while! Glad to have this one done.

924396_249121575278215_232073280_n

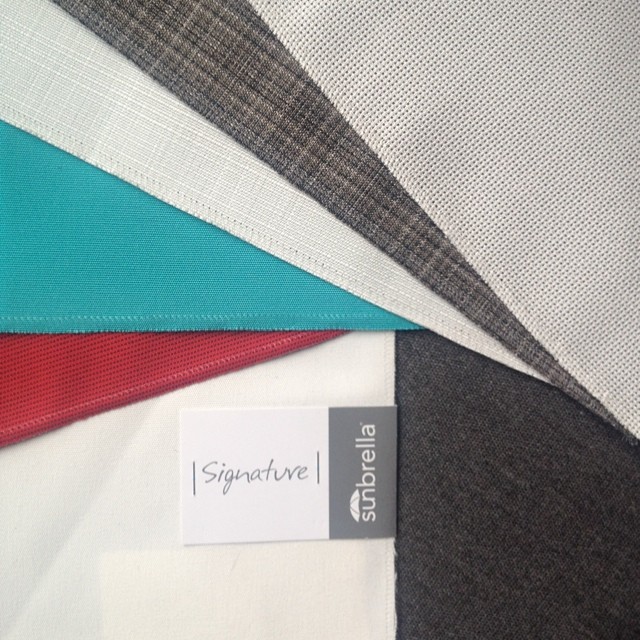
We almost choose a door paint color, but then decided to get sample fabrics, and decide on all the colors at once. We will be making new outdoor drapes (this time out of real outdoor fabric instead of drop cloths.) We will also be making a nice permanent cover for our outdoor daybed, again using the super durable and water repellent fabrics from Sunbrella.

10518120_273098439543465_1313178033_n

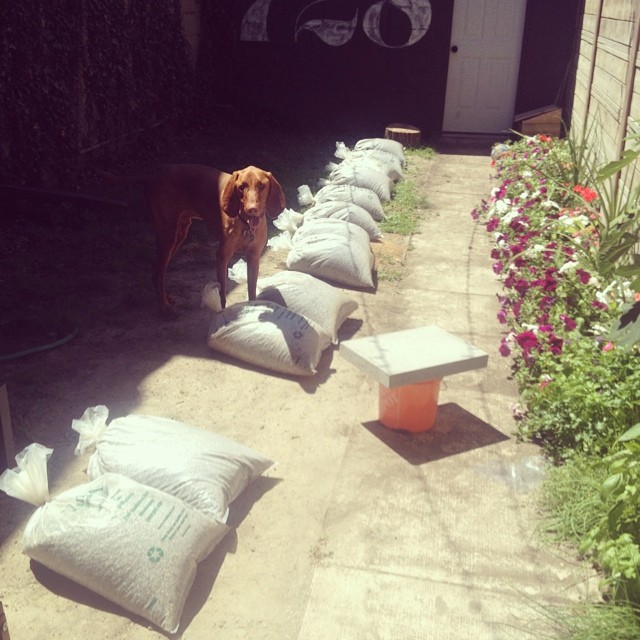
We borrowed Grant’s Mum’s car, and loaded it up with HPB (High Performance Bedding), a cool rock product that is the perfect bedding for pavers, and requires no sand or compacting. We purchased 12 cubic foot bags of it from the super nice & helpful guys at Van Beek’s Garden Supplies and lugged it home and into the yard.

10533286_673279469415033_113134276_n

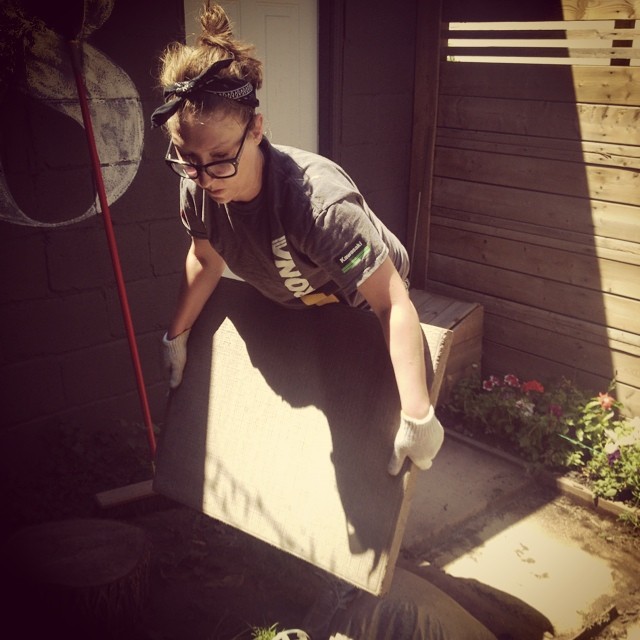
We then pulled up the old 30″ x 24″ pavers (man they we’re heavy!), laid down the rock, screeded, and laid the pavers back down. We really wish we had the budget for new pavers, but the most important part of this job was to fix the drainage problems.

10471914_335622436595149_424618781_n

10520373_649933348427572_2001296316_n

We did have one ace in our sleeve however. We flipped over the paving stones, so instead of having a fugly textured concrete pattern, they are now just plain concrete. A lot more industrial looking, and surprisingly a big transformation. I’m not going to spoil the after yet, so you will have to wait a bit longer to see what they look like. The most important thing however is we had a huge rain storm last night, and there was ZERO lake in the backyard! No dirt on the path, and no puddles! Big win for the Storefront.

As much progress as we’ve made, we still have a lot to do. Whats left on our list?

TO DO:

  • Till up the grass, create and edge garden bed by the ivy, top dress lawn, and seed with clover and grass.
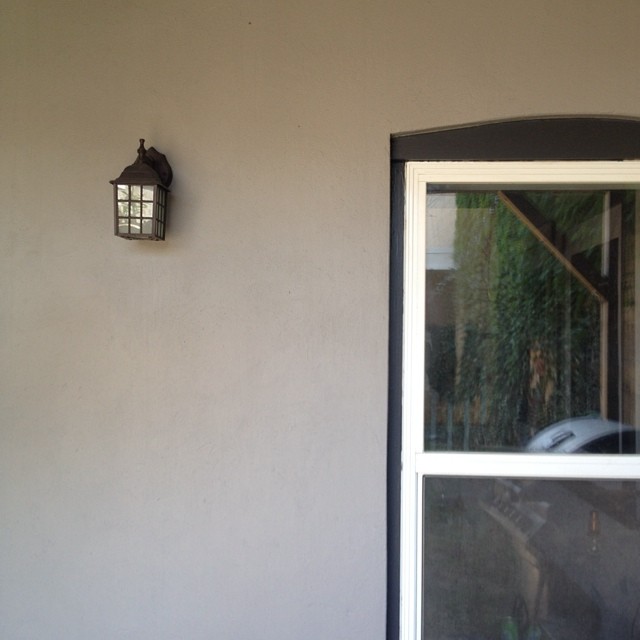
  • Get & install new exterior lights. I have my eye on these.
  • Get fabric, and sew new outdoor drapes.
  • Sew cover for outdoor daybed.
  • Make 2 new outdoor side tables.
  • Paint doors.
  • Add some more flowers & landscaping.
  • Replace door knobs.

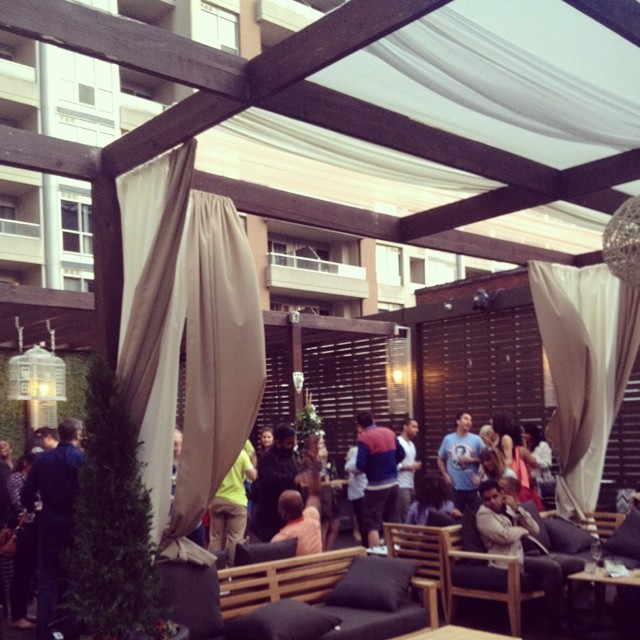
ANNNNNND we found another project to add to the list. A few weeks ago we were out at a rooftop patio downtown, and they had this draped pergola shade structure.

10401798_648873128528045_1001565501_n

How perfect would that be on our upstairs deck? Yep! Add another project to the list.

  • Build badass shade pergola.


So what did you get up to on the weekend? Any backyard projects?