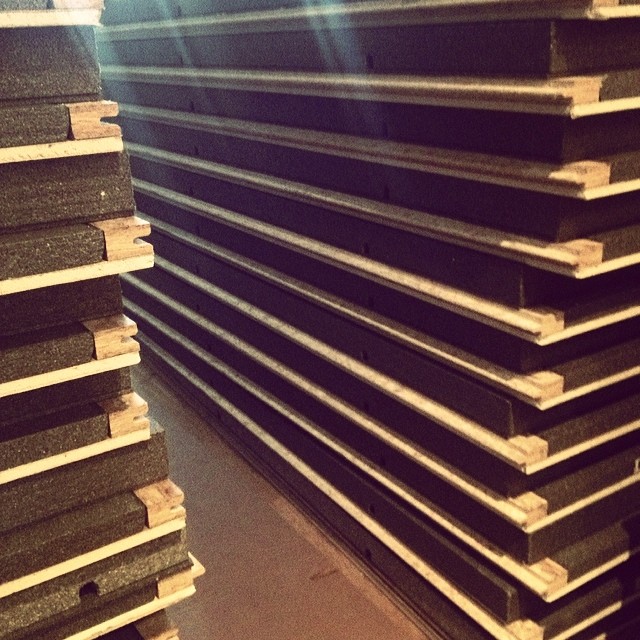
You may have been wondering what the big panels stacked up in our dining room were. Well those my friends have turned into a very big wall in our basement.
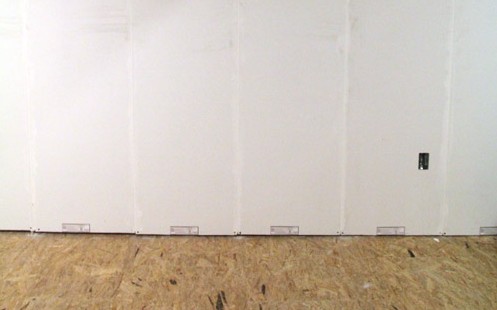
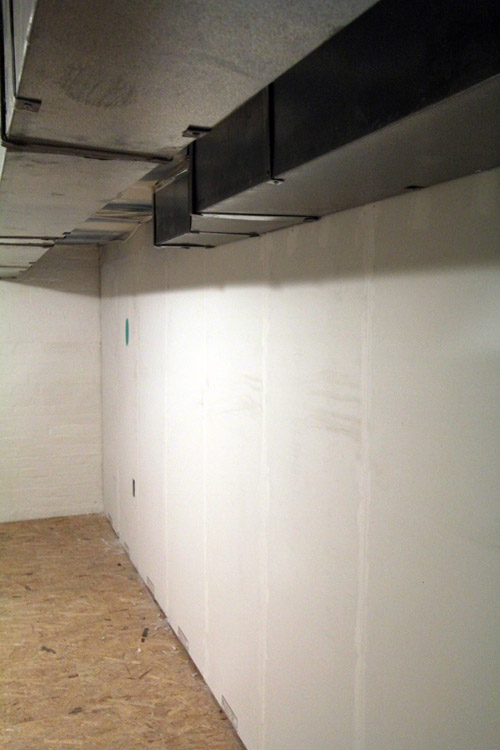
That is a studded, insulated and drywalled wall in our basement. BOOM!
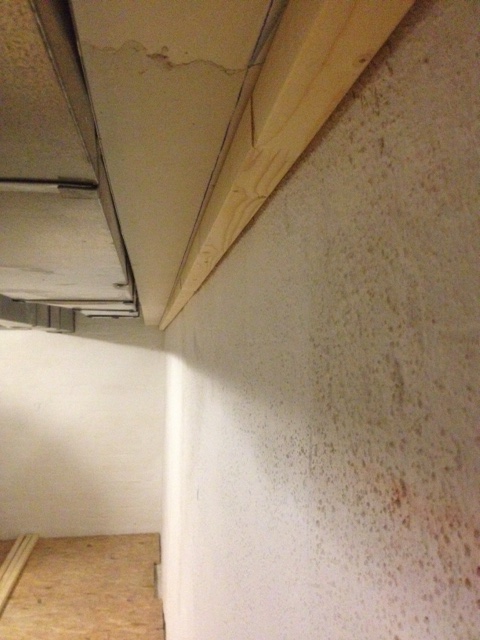
The semi-detached shared wall in our basement was rough. Someone had plastered over the brick that was there, and done a poor job of it. The plaster was flaking off, and was a real mess.
We had originally considered framing out and drywalling that wall, but it had an insulated fireproofing bulkhead, and in order to tie in studs we’d have to break that apart and cause a lot more mess & work. It was not looking like a fun task.
Then along came DRIcore SMARTWALL. The awesome folks at DRIcore suggested SMARTWALL to us when we were asking them a million questions about (our since installed) DRIcore subfloor. To be honest, I hadn’t heard of SMARTWALL. It’s a new product that the team at DRIcore have been working on for sometime. It just hit the market, and we were the lucky souls who got to try it out.
So what is it?
It’s a basement wall system made up of panels. Each panel is 2×8′ and can be cut to size to fit your room. The panels consist of framing studs, with a tongue and groove interlocking system to fit together. Between the studs is an R16 foam insulation, wiring channels and it’s all finished with primed drywall. The panels get fastened to 2×2 cleats that you attach to your basement ceiling and to your DRIcore subfloor.
I’ll let Bryan explain (cause who can resist his wit and striking good looks, sorry El Granto.)
So how did we take that pile of panels and turn it into a finished wall?
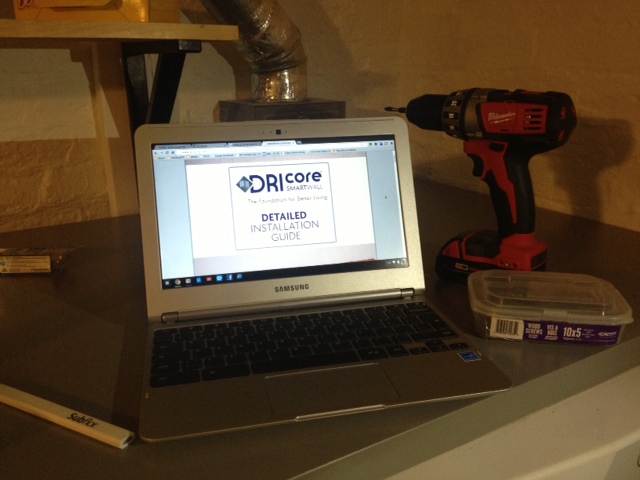
We brougt down our Chromebook to pull up the detailed DRIcore SMARTWALL installation instructions. They are very easy to follow, and we found having a digital copy of them down in our workspace, we could easily take a look at the next step, and double check things.
It’s time to build! We started out attaching 2×2’s along our basement ceiling screwing into the floor joists above.
We dropped a plumb bob from the face of the 2×2’s down to the floor and marked it at intervals along the wall.
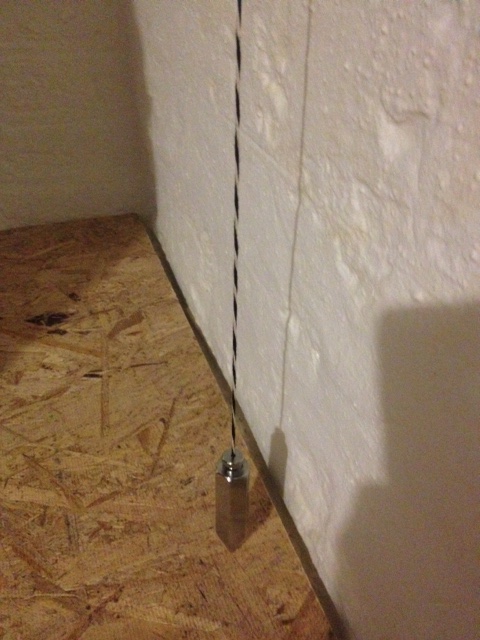
We measured in the depth of the panel, and marked that distance in front of our plum line onto the subfloor.
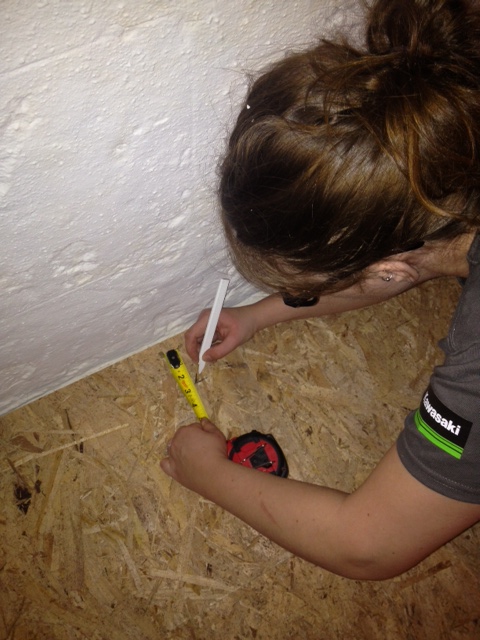
We snapped a chalk line and attached another 2×2 to the floor.

That was all the prep we needed to do before we could install our SMARTWALL. We measured our first panel and cut it outside. DRIcore recommends using a hand saw. But we discovered that was hard work.

So we broke out the circular saw and cut through the studs and the drywall, then used the handsaw to cut through the foam insulation.
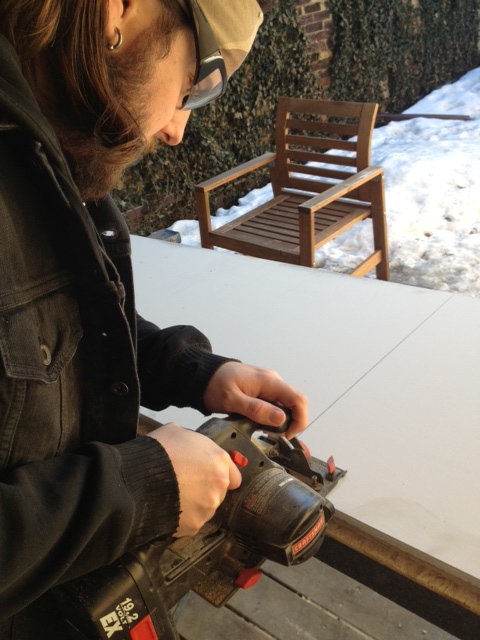
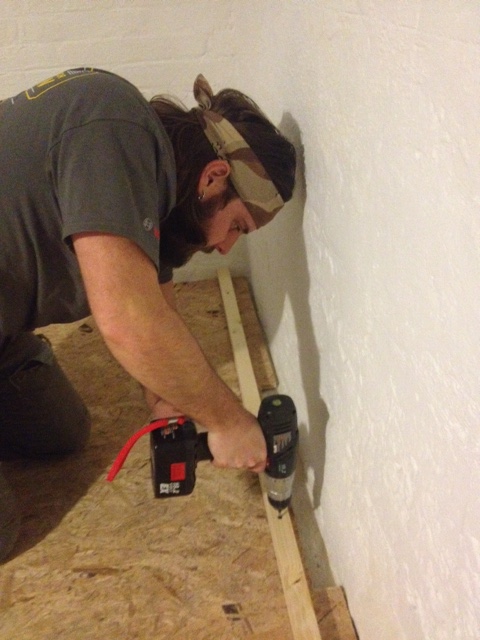
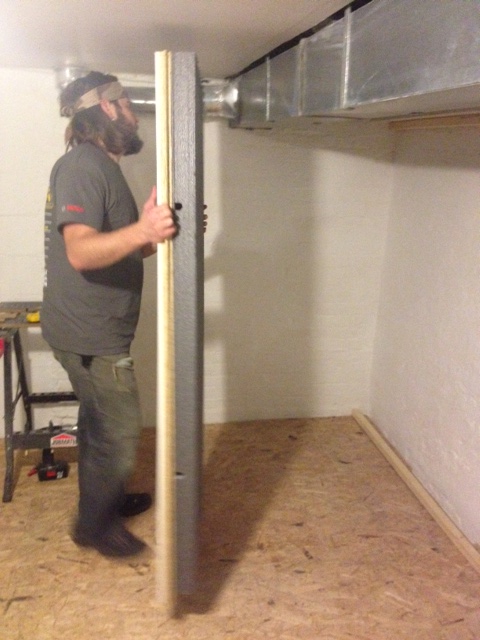
It’s messy work (the foam gets everywhere!) so we were glad we did it out on the deck. Once our panel was cut to height, we brought it inside, placed it on our 2×2 bottom cleat, leveled it and screwed it in place.
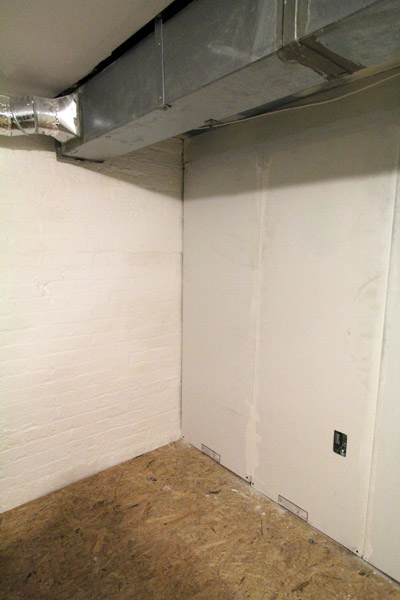
Time for the next panel. SMARTWALL comes in several different panel versions. Flat walled ones, outside corners as well as ones for electrical outlets and light switches. The electrical and light switch panels already have junction boxes installed along the wiring channels. We opted for two electrical outlet panels on our wall, one close to each end. The panels get cut and installed the same way. We will leave them empty until we have the electrician come in for our upstairs bathroom project, and will get him to run the basement electrical while he’s here.
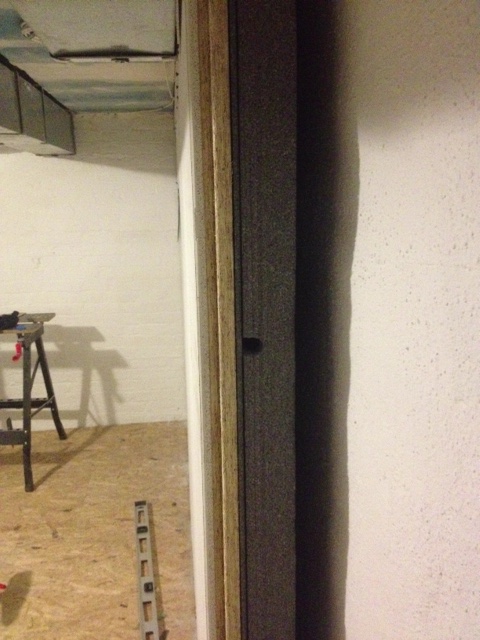
After the first two panels were up, we got into the swing of things and really got quick at install.
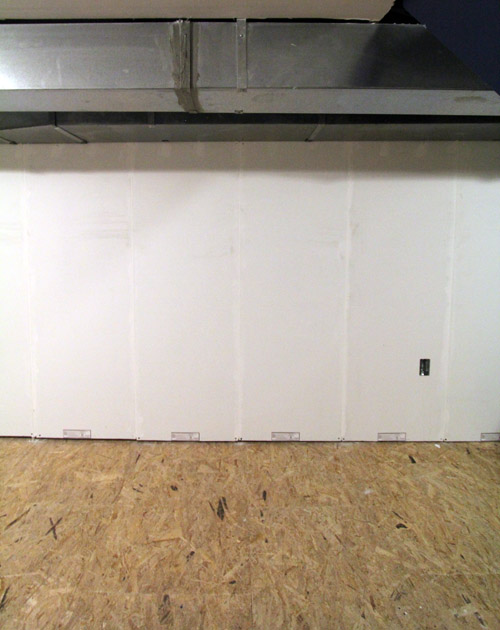
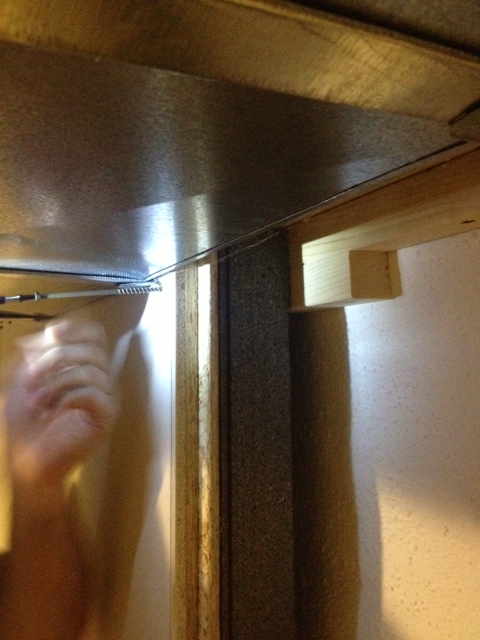
We ran into an issue when we got under our heating ducts. We couldn’t get a drill up to screw through the panels into the 2×2’s. So we attached another 2×2 below the other 2×2 so we would have a nice strong edge to attach the panel to.
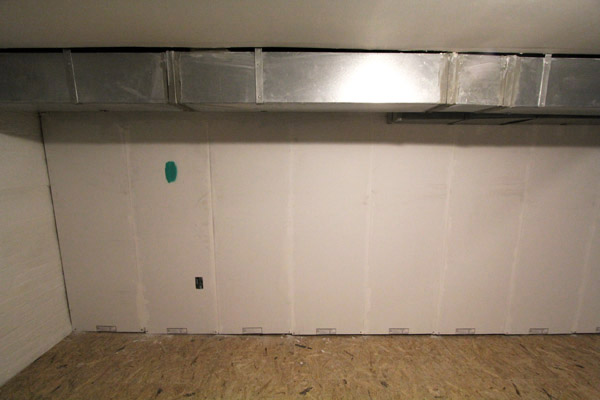
A few more panels, and bingo bang-o we were done installing! I cannot believe how quick it was to go up. We built a whole wall in a few hours. Crazy!
The next step was to tape and mud, which is my least favourite part of drywalling. The best part of this system however is you don’t have to tape! The drywall comes with these microbeveled edges which leave a little V channel when installed. All you have to do is spread some of the DRIcore Patch Pro into the grooves, and scrape away the excess. I mudded the whole wall in about 15 minutes!
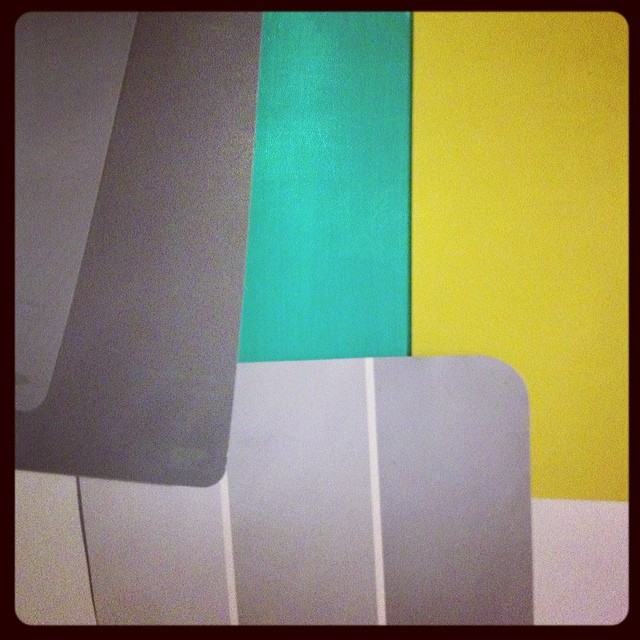
The basement project is really coming along now! We’ve got a blank slate to start working on. We need to add in some flooring, decide on a paint color & paint that wall, come up with some storage solutions, add back in my work bench, sewing machine, and build some fun accessories & decor pieces.
Any suggestions on paint colour for our new wall?
To see more info on SMARTWALL and where to purchase visit here.
Disclosure: This post is sponsored by DRIcore and through that sponsorship products used in this post were provided by DRIcore, however all opinions are my own.
I am in the process of installing these dricore smartwall panels. People who finish basements the same way as an above ground wall (wood studs, fiberglass insulation & drywall) are likely going to have mold problems in the future. Do not create a mold sandwich! The smartpanel graphite foam does not promote mold.
sorry, this is an older post but really useful, so thank you first of all but just curious how you would approach the ceiling part of this project? I’m really hoping this is the answer for our basement but not sure how to tie the ceiling in?
Did anyone check the price? its likely cheaper to buy studs, insulation, dry wall and have a Pro do it. Also Coding guys dont like it, they cant check the wiring to the sockets…….
New ideas are great once society takes them onboard (Coding) and the price drops. Hence why the watercar isn’t around (was invented 30 years ago)(
Hi Ashley,
At my Lowes the regular panels are $59.99 each. For my use, it came in significantly cheaper than buying all the supplies and hiring a pro, not to mention I could easily DIY it. For the wiring, my electrician requested we not run any of the wires, that they would come in, snake everything etc. As they are able to do everything one one trip (as opposed to roughing in, then coming back to wire everything up) I am saving on the electricians bill as well. Perhaps if you were yourself a licensed contractor it might be cheaper to traditionally build it out, but for the average DIYer this is an affordable, quick and easy option.
This is really neat! Nothing like instant gratitification!!!
Now that’s a cool product! We finished our basement with traditional studs, insulation and drywall. This seems so much simpler! Looking forward to seeing more!
Wow looks much easier that what we went through when we drywalled the basement. We have a dricore floor which we love, didn’t know they also made a wall product. Thanks for sharing.
Interesting product! My dad was a drywaller for years, and I know it’s a messy process. Cool to know that there are now other options!
Drywalling is an art I do not possess! This is much more up my alley, and to my skill level!
Look at how fast that all came together! I’m loving the all-in-one idea of SmartWall! So – you can paint right away? That’s fabulous! And I love grey (always), but that jewel-tone green is really sticking out to me too!
It comes pre-primed, so after a quick sand of the mudd I applied to the joints (the mud also comes with a built in primer) we’re ready for paint! I like the idea of a grey (also a big grey fan!) and then adding some colour into the mix with accessories. It’s a hard decision, cause its actually a spot I could go crazy with the colour!
wow, I have never heard of that product… It looks waaaayyy easier than regular framing, etc! Thanks for sharing!
It’s a lot easier Cher! I could have done the whole thing by myself in an afternoon. I’m not a big fan of drywalling normally (huge 4×8 sheets to maneuver, messy cutting and I hate taping and mudding) so this product really appealed to me.