This is a very exciting day! The Summer 2015 edition of Merry Mag is out! Head over to MerryMag.com to check it out in all its glory! From handmade decor, DIYs and everything you could possibly need to entertain this summer. You won’t want to miss out!
Tag: outdoor
Herb Centerpiece – Merry Mag Sneak Peek
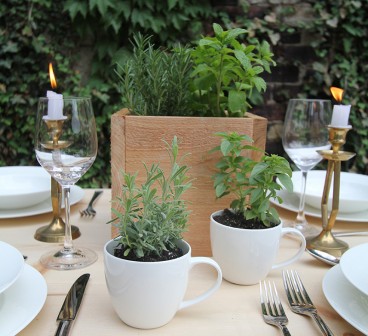
This is a sneak peek at a project you’ll see in the awesome summer edition of Merry Mag! Make sure you head over to MerryMag.com on June 8th for a huge helping of summer inspiration. Believe me, you wont want to miss out!
Easy Outdoor Pillows
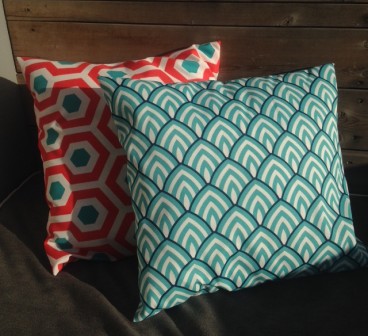
May rolled in like a hero and brought some fantastic weather. Off went the pants and on went the shorts! The city was flooded last weekend with legs and arms and all sorts of skin that had not seen the light of day since September.
Not to be outdone by the short wearing masses, I dragged out our daybed mattress and headed outside. Two minutes into my afternoon book and a cocktail on the daybed, I remembered the promise I made to myself to sew some new outdoor cushions. The ones I currently had were either too stuffed and hard or too empty and flat. I was Goldilocks in a house full of uncomfortable cushions. Continue reading “Easy Outdoor Pillows”
Pergola Canopy
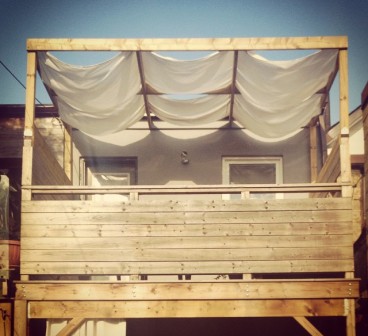
I did a whole hell of a lot of sewing last weekend. A marathon of sorts. I was adamant about getting the pergola and daybed finished by the end of the weekend. To accomplish this, I spent 13 hours sewing on Saturday. For realsies. El Granto helped too, measuring, cutting and installing grommets. What do we have to show for our work? Continue reading “Pergola Canopy”
NEW Outdoor Drapes!
We have new outdoor drapes!
Before I get to that, do you remember our budget friendly DIY outdoor drape project from a couple summers ago? They were cheap, quick and easy….but that’s about it. One summer of use, and they became stiff, riddled with mildew, and a haven for spiders. Awesome right? NOT! (FYI, I’m totally trying to bring back “NOT” as a hip thing to say. You with me?)
We took them down, washed and bleached them, only to have them shrink 12″ and still be covered with mildew. All in all, not one of my best DIY’s. I certainly got what I paid for. Aka about $50 (and most of that was spent on the curtain “rod”.) Continue reading “NEW Outdoor Drapes!”
Outdoor Daybed
Most home projects are practical. Fixing something that is broken. Improving something that will make your daily life better. Increasing property value etc.
Then there are projects that are none of the above.
They are the impractical high heels of the home world. Did you need them? No. Are you going to wear them to walk the dog, or get the groceries? Not a chance. But are they absolutely gorgeous, sexy as hell, and so very impractical that they were bought solely out of love? Absolutely.
Our outdoor daybed project is the 6″ hot pink stilettos of home improvement.
…and I LOVE IT.
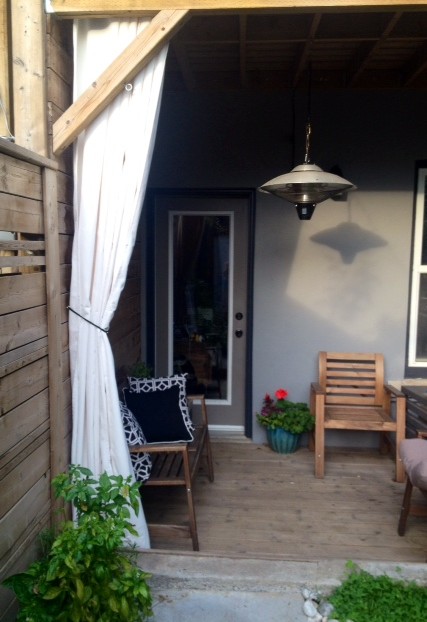
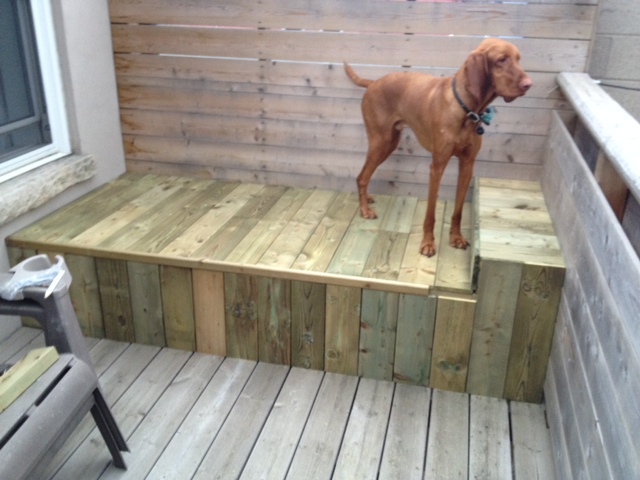
Before:
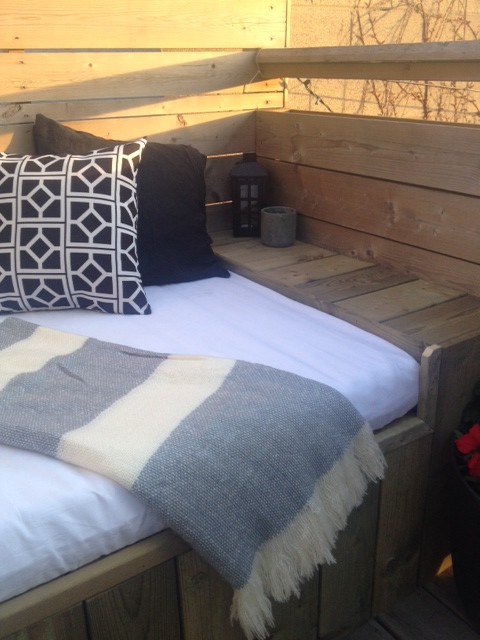
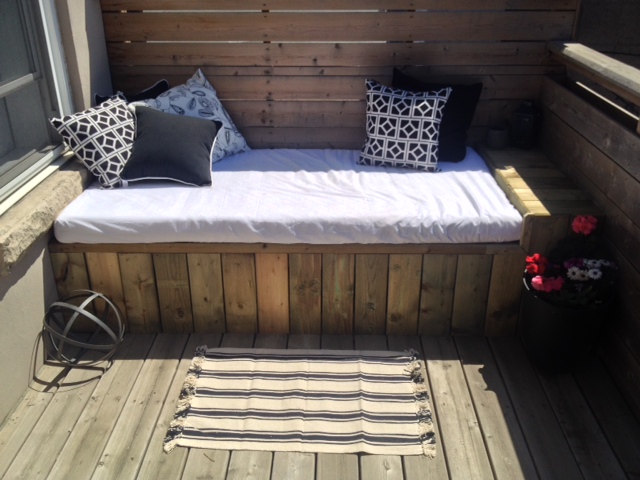
AFTER:

Here is how we did it:
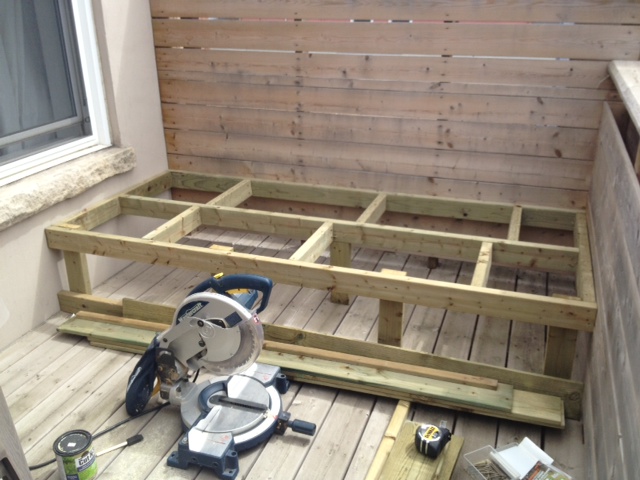
The structure for the daybed was built using pressure treated 2×4’s. The back of the daybed was securely attached to the deck support posts, and the rest of the frame built as a box around it. (similar to how you would build a deck)
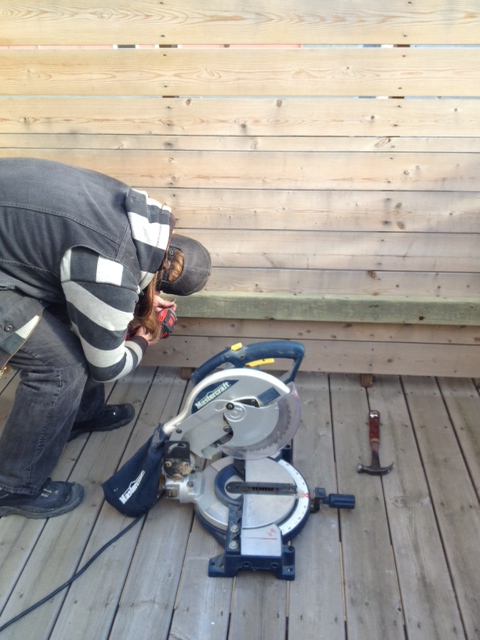
It was all assembled with deck screws. It was built to fit a twin size mattress, with a bit of room to spare at one end for a small built-in table.
After the frame was built, it was clad with 1×6 fence board. We broke out our new Ryobi cordless brad nailer, and it made quick work of the job.
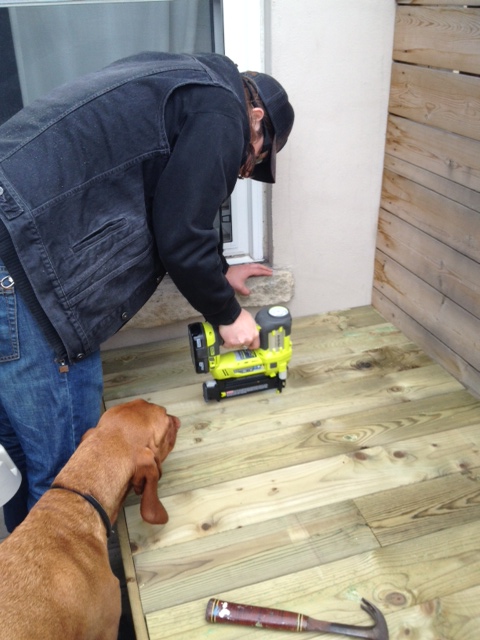
We trimmed the edge where the skirt met the seat of the daybed with a 1×2. This way you would not see any unfinished boards and the edge of the daybed would not be rough against your legs. (Here you an see the trim in progress & Odin helping of course.)
I had lots of trouble finding an economical cushion. So in the end, I headed to Ikea and picked up a twin size 4″ thick foam mattress.
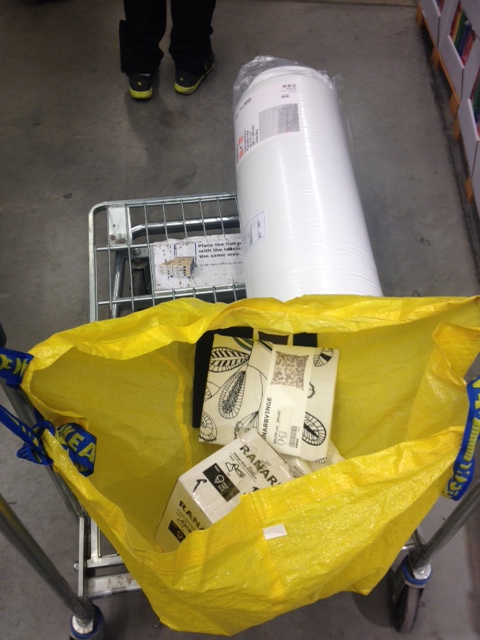
I would love to have a custom cover made for it, but until then an inexpensive twin size fitted sheet works perfectly.
All the linens come in each night, and in the winter, the Ikea mattress can be rolled up for easy storage.
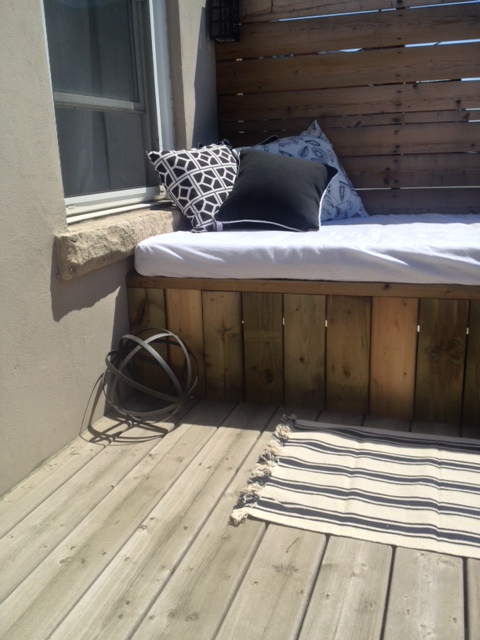
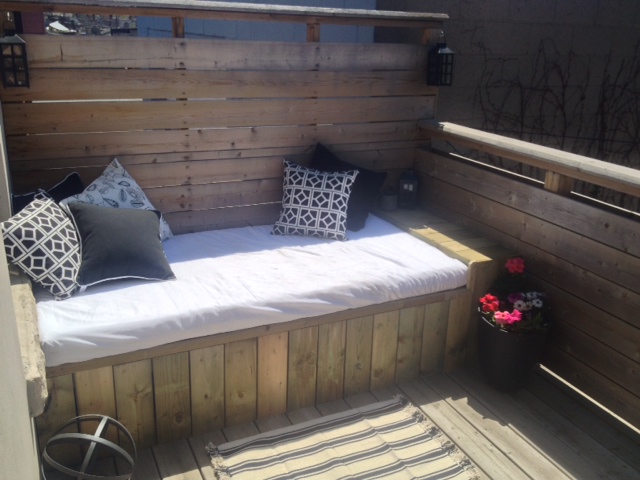

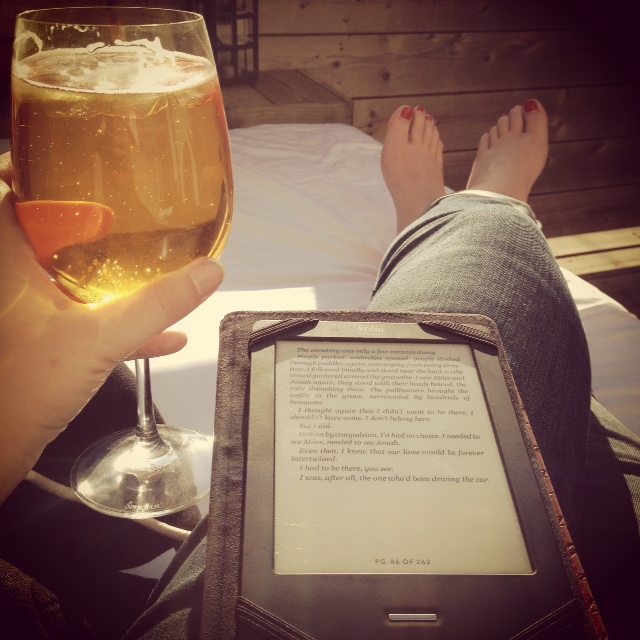
It is incredibly comfortable. Great for lounging or having a nap. It’s my new favorite spot for reading my book with a cold beverage in hand. We are going to get a lot of use out of the daybed this summer!
Do you have an outdoor daybed? Would you try your hand at building one?
SOURCE LIST:
Materialst:
8 – 2×4 8′ pressure treated c/o Home Depot Canada
14 – 1×6 6′ pressure treated fence boards c/o Home Depot Canada
1 – 2×2 8′ pressure treated (cut in half to make a 1×2 as a trim piece) c/o Home Depot Canada
Deck screws
Galvanized brad nails (1 1/2″)Twin size foam mattress
Twin size fitted sheet
Decorative pillows
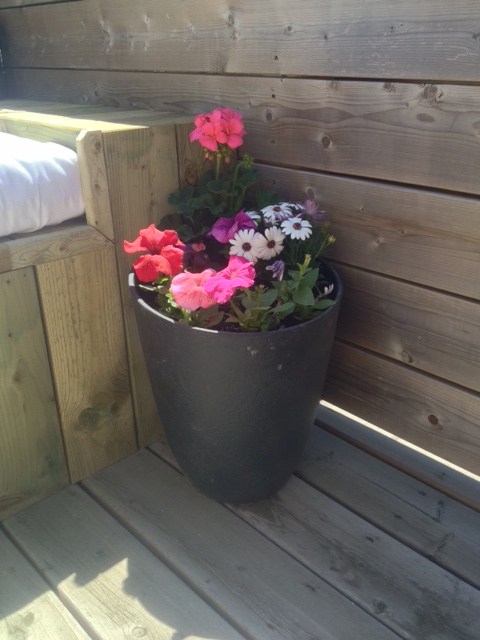
[Plant Pot – Home Depot, Candle holders – Dollarama, Concrete Candle – Loblaws, Mattress – Ikea, Sheet – HomeSense, Pillows – Ikea & HomeSense, Blanket – West Elm]
Tools Used:
Miter Saw
Drill
Ryobi Cordless Brad Nailer
Measuring Tape
Difficulty Level (on a scale of 1-5):
two out of five
Total Cost: $200
*Home Depot Canada provided a gift card to aid us in our project.
Project Outdoor Daybed
Two years ago today, I was relaxing in a cabana in Cuba at one of the most beautiful resorts I’ve ever seen. We were staying in the Royal Service Suites at the Paradisus Rio De Oro outside Holguin. It was a mini honeymoon for El Granto and I after we had to give up our European honeymoon to fix our house. It was a pretty amazing minimoon, in a beautiful exclusive resort. I could go on and on about the amazing service, poolside butler etc., but one of my favorite things were the Balinese cabana beds by the pool, and the outdoor daybed on our balcony.
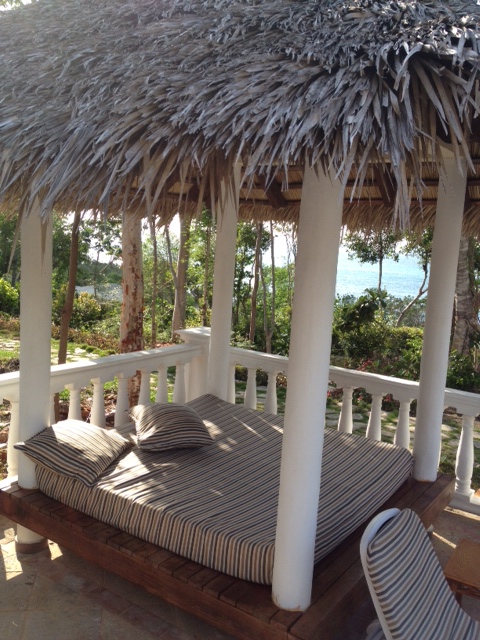
These beds put chaise loungers to shame. Huge beds with thick comfy mattresses covered with pillows. Perfect for an afternoon siesta or lounging with a cocktail.
Two years later, and I’m still thinking about those beds.
A few weeks ago Home Depot unexpectedly sent us a gift card in the mail, with no expectations other than that we should give a little love to our home for spring. We could use the card for whatever we wanted. We could add a fresh coat of paint, plant some flowers etc.
So we thought, lets build something fun. Something that is not in the giant to-do list, and that’s nice and indulgent.
You guessed it. We’re building an outdoor daybed on our master deck. It’s not quite a Balinese bed, but it will be the size of a twin mattress, and also have a built in table (or arm rest) to hold a drink or two.
It will be nestled at the end of our deck taking up the full width, using the fence as the back of the daybed.
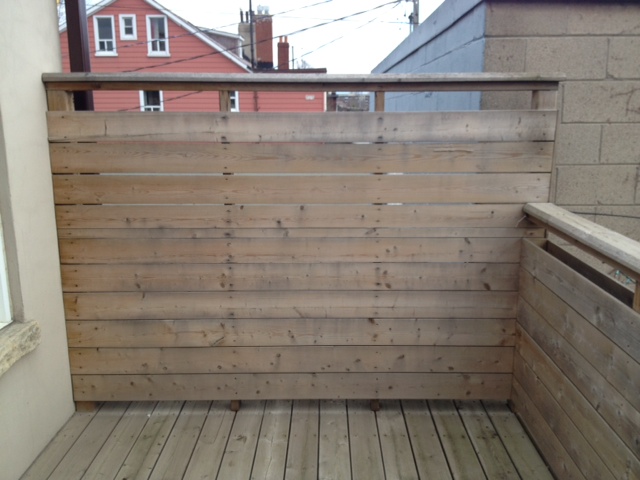
We will be making it blend into the deck with the same modern aesthetic as the deck and our fence. While it won’t have a thatched roof like our cabana in Cuba, we are going to bring in lots of pillows and accessories to add luxury and break up the hard surfaces.
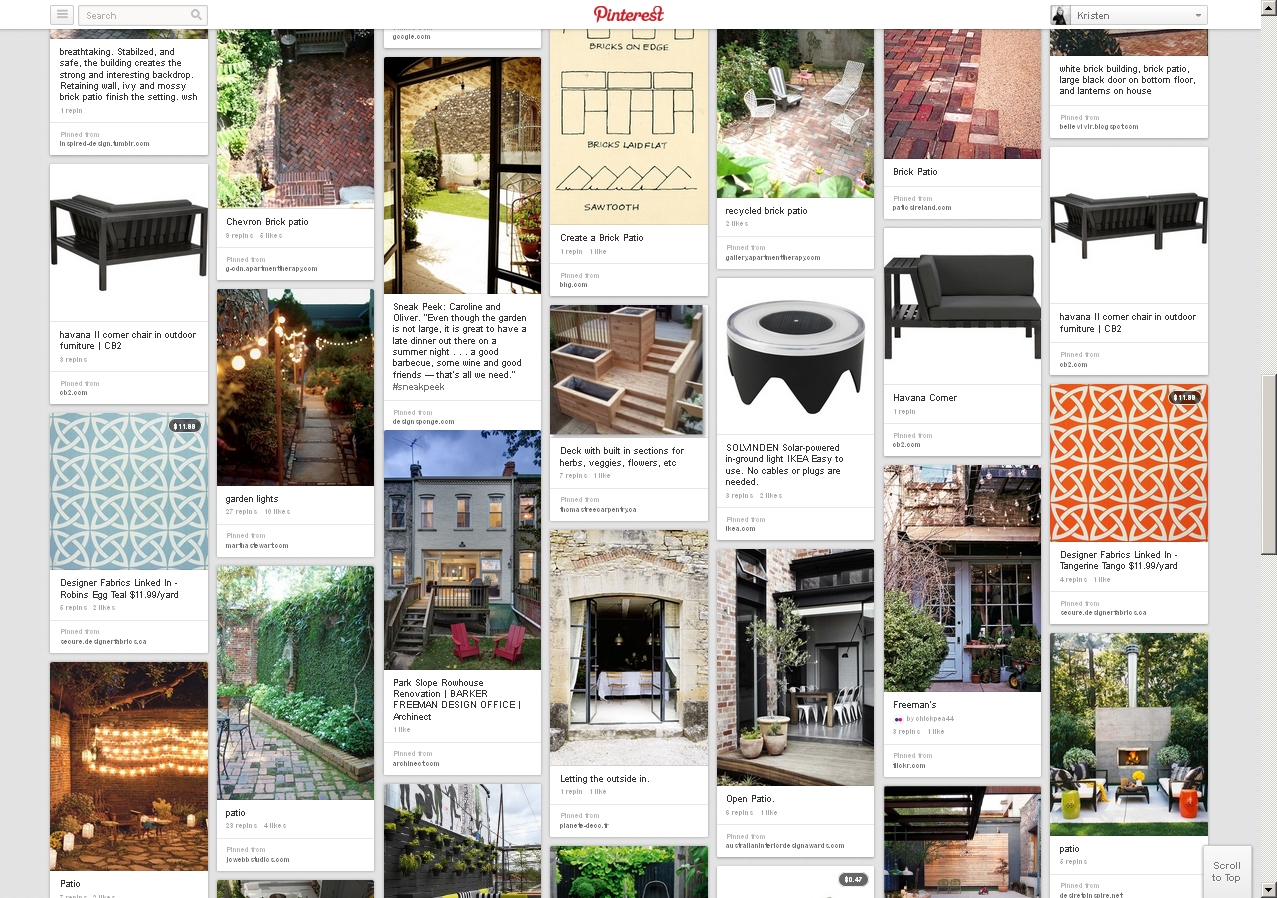
Here is some of our inspiration for the project:
Follow Kristen’s board Backyard Inspiration on Pinterest.
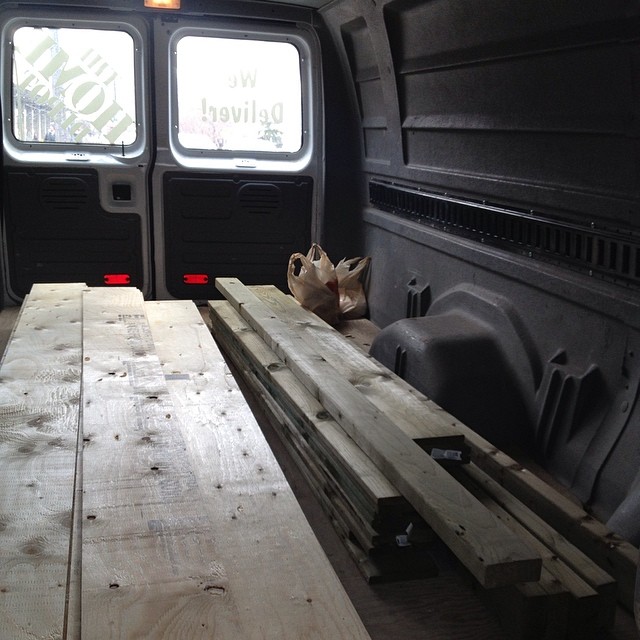
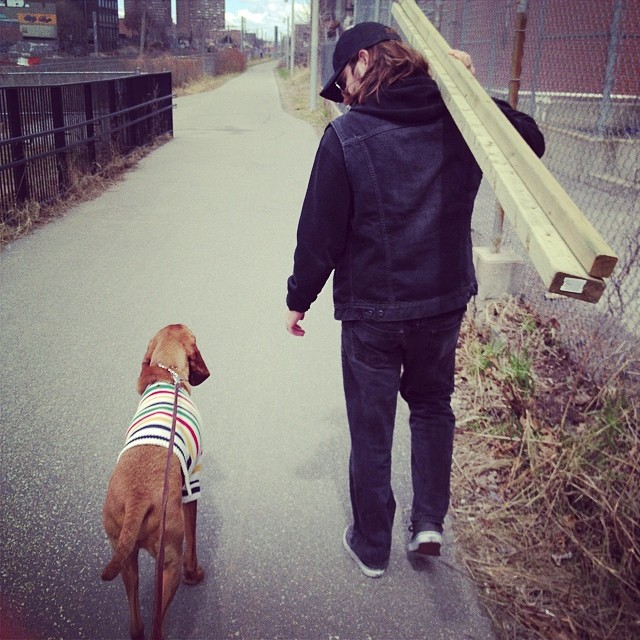
This past weekend we headed to Home Depot and picked up the lumber, as well as some wood for the basement. We rented a van to bring it all home (when you’re renting a van, buy all the big stuff you have planned, to save on van rentals).
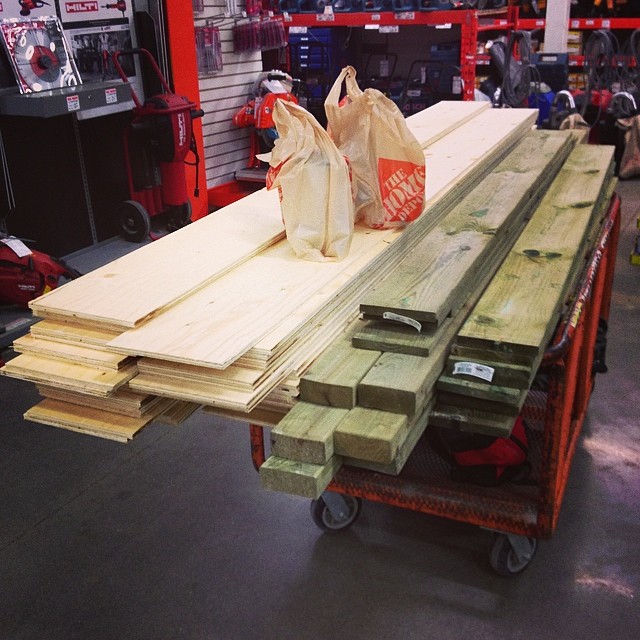
We got most of the frame assembled, then realized someone miscalculated the lumber list, and we were short a couple boards. Oops.

A walk back to get more lumber ensued the next day.
I’d love to get more work done on it this week, but our forecast is leaning towards April showers. Progress may have to resume this weekend.
In the interim, I am on the hunt for a cushion the size of a twin mattress. Any ideas? It also needs to be budget friendly. The current forerunner is a foam kids mattress from a certain Swedish retailer, but I would love an actual box cushion with outdoor fabric.
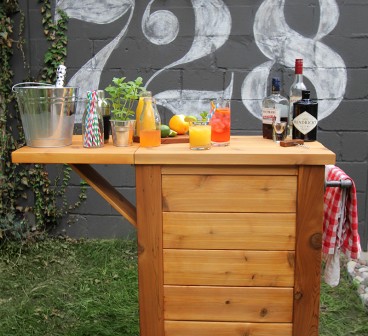
Quick & Dirty Outdoor Table
We got home from a week vacation in Vegas to find that our house hadn’t floated away in the Toronto Floods, and that our garden had doubled in size because of said rain. Win win. We also came home to a heat wave. You’d think I would be prepared for the heat after staying a week in the desert. No siree. Vegas heat = dry and wonderful, Toronto heat = humid and sweaty. Needless to say on our first day back we didn’t do much. We played and cuddled with Odin (who we missed desperately) and had a few cocktails on the deck.
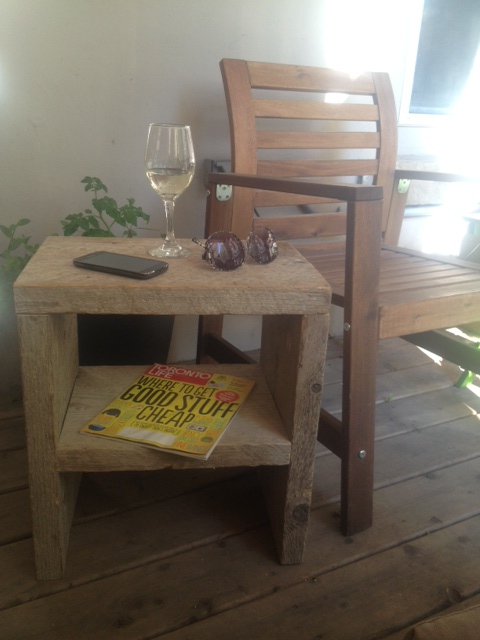
Our deck layout is small (big surprise), and features a bench and two chairs with a small folding table. This works well for the person sitting beside the table, but everyone else must hold on to their drinks, snacks, hats etc. Fed up with holding onto my wine glass, (yes yes I know, first world problems) I sprang into action and built a quick and dirty (literally) outdoor side table.
Last time I was up at the cottage, I stole borrowed an old battered 2×12 that was sitting under the bunkie. My Dad had used it for the concrete forms for the cottage foundation, and the old board was just hanging out under the bunkie left for a life of firewood/scrap. I saw the beauty in its weathered aged goodness and brought the board home with me. It has since sat littering the garage floor (much to El Granto’s chagrin) waiting for a project.
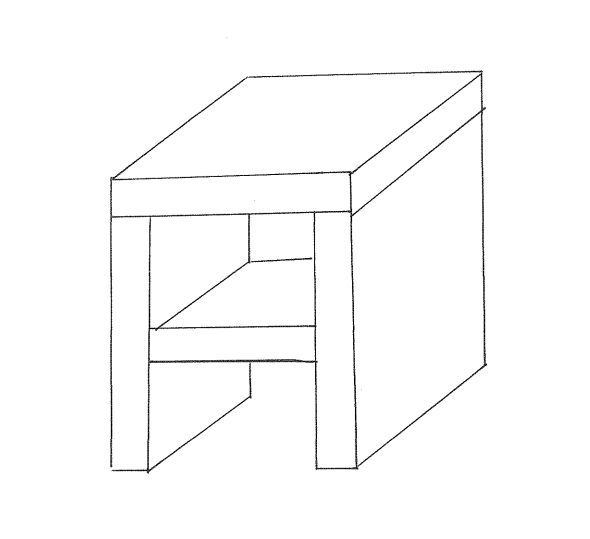
In my fit of DIY, I did up a quick drawing, decided on a design & size, and made a few cuts of the weathered wood (see cut list below.)
Outdoor Side Table
(19″ tall, 17″ wide and 11 5/8″ deep )
Note: My sketch is in no way to scale, or in correct proportions, or even straight. That’s just how awesome I am at drawing…
I drilled a few pocket holes (four in one end of each of the side boards, and two on each end of the shelf), and screwed in a few outdoor Kreg screws, and 15 minutes later we had a weathered side table. Perfect for holding a glass of wine, sunglasses & a magazine. I made the shelf big enough to hold our Bose sound dock. Cause no deck time is complete without some Robin Thicke.


SOURCE LIST:
Buy List:
1 – 2×12 @ 8′ (Under the Bunkie)
12 – 2 1/2″ outdoor pocket hole screws (Lee Valley)
Cut List:
1 – 2×12 @ 17″ (top)
1 – 2×12 @ 13 1/4″ (shelf)
2 – 2×12 @ 17 3/8″ (sides)
Tools Used:
Miter saw
Drill
Kreg Jig
Measuring Tape
Difficulty Level (on a scale of 1-5):
one out of five
Total Cost: $0 (booyakasha)
Project Backyard
For an urban backyard in downtown Toronto, our yard isn’t bad. We have a detached garage, main and second floor deck, and a 12′ x 26′ stretch of grass and garden.
Outdoor Planters
We made a large planter box for our cement front yard a few years ago. It served two purposes, it gave some greenery to an otherwise paved front yard and secondly it made people aware that it was our property not just a very large sidewalk, and thus in turn got them to stop walking right by my front window. It has worked quite well. We still get the odd person who will take the route up by our window, but generally it gives us much more privacy.
")
In the spring I have bulbs planted and get lovely spring flowers. In the summer I plant bright annuals which last mostly into the fall.
For the holidays (and the rest of the winter) I like to have some fresh greenery and a little bit of rustic winter charm. So this year I hit up a local grocer who sells Christmas trees and greenery. I purchased about 5 bunches of assorted greenery, and my Mom and I set to decorating the planter. We also had some left over garland from another project. We’re not florists, and our only mission was to give it a bit of height and fullness. I also purchased a package of pine cones at my local dollar store, hot glued them to coffee stir sticks, and tucked them in here and there.
We also did a small urn under our mailbox by our front door.
")
So even though we don’t have Christmas lights up (we don’t have any outdoor electrical boxes!) it still looks festive. That combined with a wreath on the front door has our storefront in the holiday spirit.