We have new outdoor drapes!
Before I get to that, do you remember our budget friendly DIY outdoor drape project from a couple summers ago? They were cheap, quick and easy….but that’s about it. One summer of use, and they became stiff, riddled with mildew, and a haven for spiders. Awesome right? NOT! (FYI, I’m totally trying to bring back “NOT” as a hip thing to say. You with me?)
We took them down, washed and bleached them, only to have them shrink 12″ and still be covered with mildew. All in all, not one of my best DIY’s. I certainly got what I paid for. Aka about $50 (and most of that was spent on the curtain “rod”.)
With Project Backyard in full swing, you all know that my anal retentive self was not going to leave those useless drop cloth drapes in place, nor would I make new ones out of the same shoddy materials. Sure, we absolutely loved having curtains to pull across the deck in the heat of the summer, but making new ones out of anything but outdoor fabric would be a big mistake.
Before we get started on new drapes, lets remember why I had to do custom ones last time. Our deck is over 11′ off the ground, and including hem, we would need 12′ long outdoor drapes. The internet laughed at me with such a request. Sure Restoration Hardware, Pottery Barn and Ballard Designs sell 10′ outdoor drapes. But 12′? Ha! Sorely out of luck. Quickly realizing this would be another DIY project, we started researching outdoor fabric. My Mom actually does marine and RV upholstery on the side, and she quickly suggested Sunbrella. I know the fabric well from watching my Mom sew seat covers and awnings, so I checked it out. I asked Sunbrella on Twitter what fabrics would be best for my drapes, my outdoor daybed cushion and the pergola canopy. They have one of the most helpful social media reps I’ve ever had the pleasure of dealing with who took it to direct message to help me pick the perfect fabrics. A week later, I was armed with samples, and after friend asking and dog testing (I literally rubbed the fabric on the dog to see which fabrics picked up the most hair and which showed the most dirt) a huge order of fabric arrived at my door courtesy of Sunbrella. Amazing! Thanks Sunbrella! Out came the sewing machine, and I got to work. Yes I can sew. I may look and act like a Tomboy, but my Momma ensured I could cook and sew as well as build stuff.
Now to sew! We working with Sunbrella Canvas in White (a new color) for the drapes. I picked up some extra strong upholstery thread, large plastic drapery grommets and got sewing.
The drapery panels were measured, hemmed on the sides, and have a large 5″ hem at the top. Thats pretty basic, boring sewing stuff, so I will skip the how to on that and move to the grommets. I only have experience with metal grommets, and I was a little skeptical of the plastic ones. How are they even installed?
Turns out, super easily.
You mark out where your grommets should go. Mine were 1 1/2″ down from the top and in from the sides, and 7″ apart, measured from the center of each grommet. How did I figure out this spacing? I copied the placement from my Ikea grommet drapes cause… I liked how they hung.
To install the plastic grommets you pop one open. You will see a small hole in one side of the grommet.
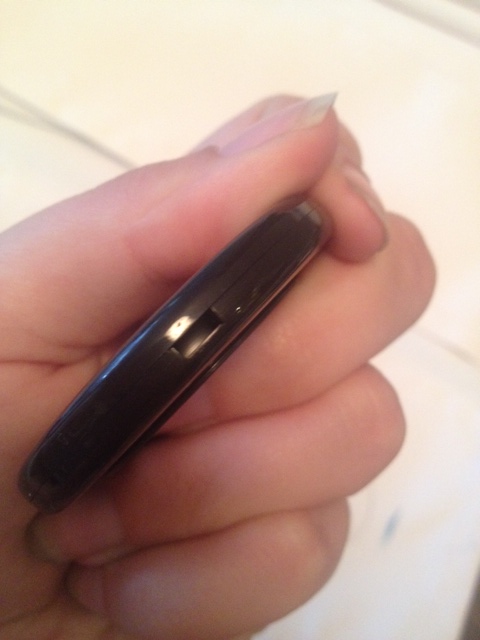
Use one side of the grommet as a stencil, and trace inside the grommet hole onto your fabric.

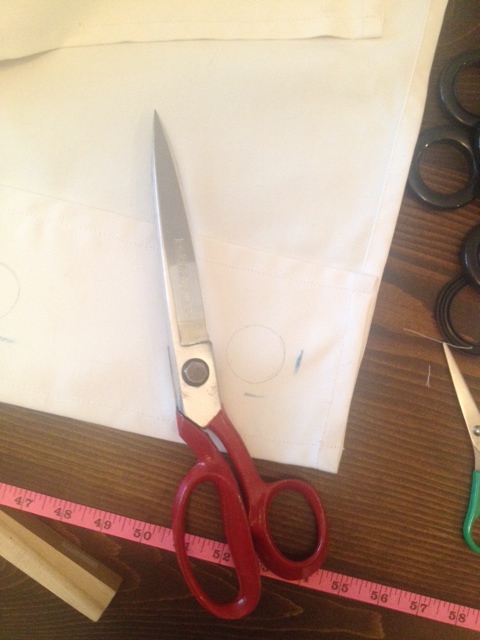
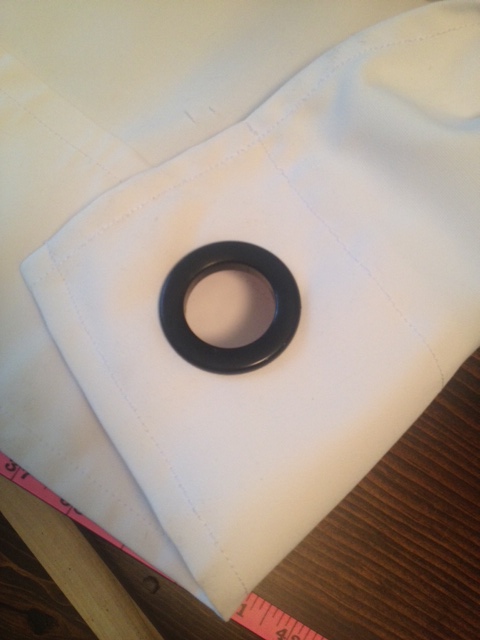
I hate hemming drapes, but this is the best way I have found to do it:
Do NOT sew your bottom hem.
I know, it sounds like I’ve been on the bottle a little bit, but here is my reasoning:
I like to do a large bottom hem. I do this for a couple reasons. One, you can lengthen the drapes later if need be. Two, it adds some weight to the bottom of the curtain, and Three, I think it looks better. What does NOT look good however is a large chunky hem with a seam running through it. It is rather hard to sew a nice straight like 5″ up into fabric. If you manage to do it, most of the time your hem still looks odd, because the thread will poke holes in your drapes, and pull at the fabric so it doesn’t hang perfectly. That’s a drape pet peeve.
Here’s what I do: I use extra strength fusible interfacing tape (hemming tape) and only sew the sides of the hem. I iron on the fusible tape, press the hem in place, then top stitch the sides of the hem along the edges of my drape (stitching on top of the side hem that I did earlier). Why do I stitch the sides? Where your hem meets the side of the drape is the first place a non sewed hem is going to fail. By sewing it, you reenforce it, and also stop creepy crawlers from going into the hem of your outdoor drapes and making a nest.*shudder*
Don’t let anyone tell you that sewing drapes is easy. It’s actually a lot of work, and if you don’t make nice straight hems and square panels, they can look so so cheap.
After a long days work (seriously this took 8 hours and I have a lot of experience with a sewing machine), our drapes were ready to be installed.
We re-used our cable curtain rod system, and up went the drapes.
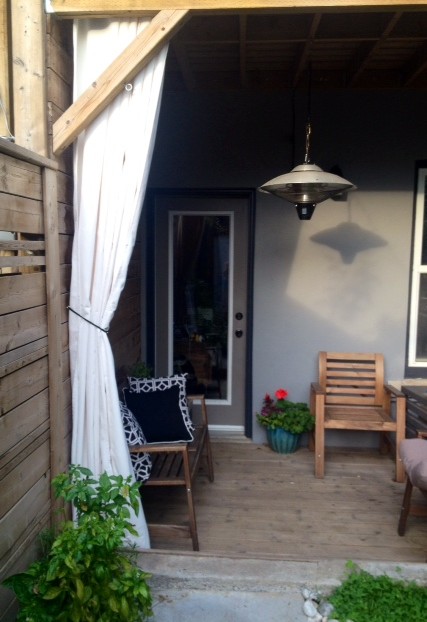
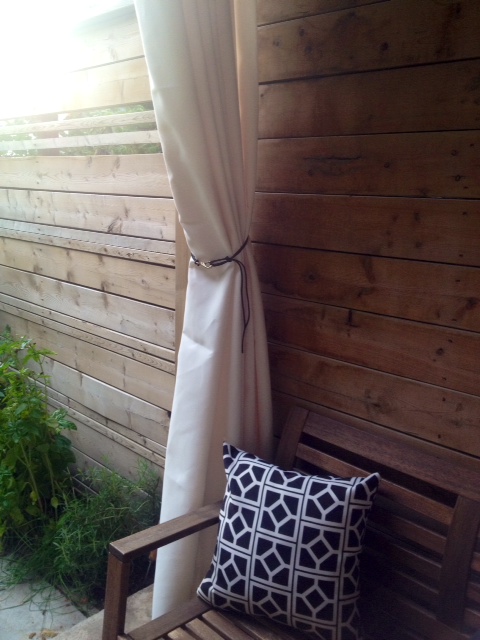
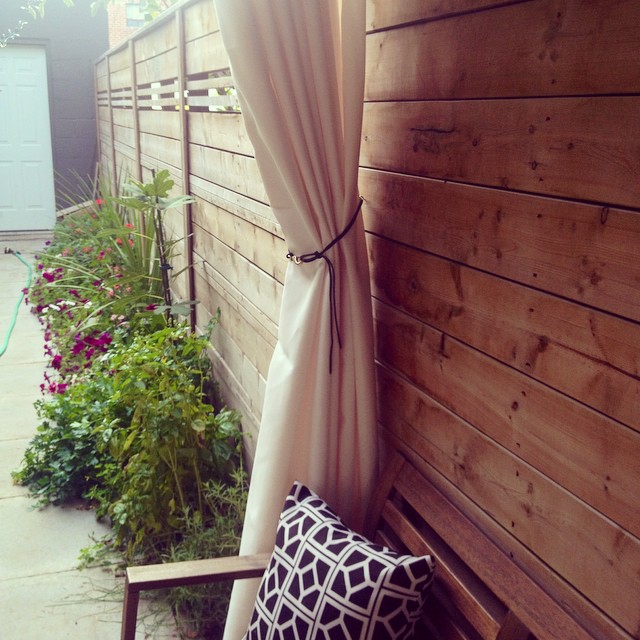
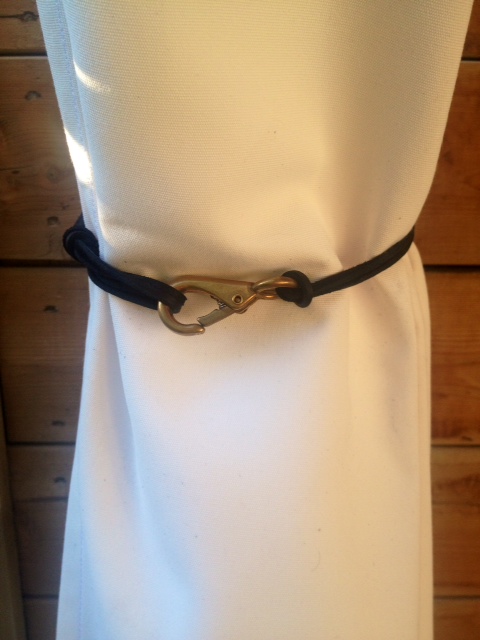
For a tie back, we choose a brass marine clasp, and black leather laces. We tied the lace to the clasp, looped it through a brass eye hook attached to the deck post, and then tied a loop for the clasp to attach to.

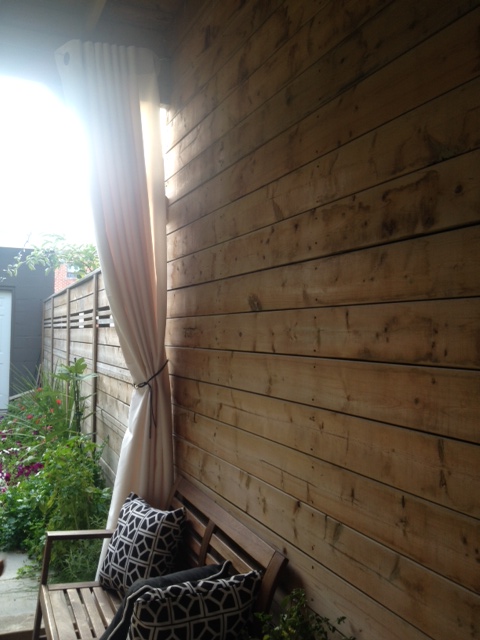
Do you have outdoor drapes? What do you think of ours?
Disclosure: Sunbrella provided us with the fabric, but all opinions, projects and sewing blunders within this article are my own.
I’m completely in love with these! Great job, and that clasp is genius!
ABSOLUTELY stunning Kristen! I can’t wait to see the whole backyard, you certainly have been working hard. LOVE LOVE LOVE your new blog look!
These look great kristen! I love the look of outdoor drapes – they’re so dreamy! Can’t wait to see the full reveal!
P.S. Love the new look over here!
LOVE the drapes! The fabric looks beautiful too! I had no idea you could install big grommets like that! VERY COOL!
They were SOOO much easier than I thought!
Your backyard looks fabulous, Kristen! Love the outdoor drapes – Makes for a cozy & mysterious hideaway.
Thanks Deborah! It’s our little oasis in the city!
Great job as always Kristen. I’m with you on the hemming tape. So much cleaner than a huge bottom hem. And anytime there’s an easier option when seeing I’m all for it! I can see a little bit but I’m far from attempting a project of this scale. Kudos to you!
Hemming tape is the best invention EVA! Cant live without it!
Looks great- nice job!