DIY Shadowbox Mirror

Here is how we created a maple shadow box mirror for the powder room. Originally we sourced the Ikea Molger mirror, but in real life the shadowbox was much too deep, and would not only block the faucet, but also jut into the room too far.

This is what we made instead: Continue reading “DIY Shadowbox Mirror”

DIY Marble Shelf

The powder room is small. At only about 4′ wide and 8′ long, with a closet jutting into it, it’s practically miniscule. To even be able to fit into the room, a vanity was vetoed for a pedestal sink. It’s great for the flow of the room, but offers no storage, and barely a surface to sit a bottle of soap. If you want to set your phone down, or touch up your makeup, you end up having to use the toilet tank as a shelf for your things. Not ideal (or very sanitary for that matter). To gain a much needed horizontal surface in our Powder Room Makeover, we opted to install a small shelf. Take a look at what we made.

Custom Marble Shelf

DIY Marble Shelf
Materials:

  • 1 4″ wide x 3′ marble shower sill
  • 1 pkg corner brackets
  • Spray primer
  • Krylon gold spray paint
  • 1 tube PL Premium construction adhesive

Tools:

  • Wet tile saw
  • Measuring Tape
  • Drill
  • Level
  • Caulking gun


How To:

Measure available space (ours was 18″). Mark and cut marble to length with wet tile saw and diamond blade.

Cutting Marble with wet tile saw
Prime & spray paint corner brackets. (We used Krylon Gold Metallic).

Install your corner brackets as shelf brackets screwing into studs, or using hollow wall anchors. We used black screws as we liked the contrast with the gold, and we have black accents in the room.

Spray painted gold brackets and black screws
Attach marble to the brackets with a small amount of PL Premium construction adhesive, and let dry for 24 hours.

DIY Marble Shelf Complete
The shelf is perfect for holding a few decor items, and a place to set down your phone and lipstick. Now to style it!

Marble Shelf Styledphoto 4
I tried out a few accessories, and decided I really need a piece of art to balance everything. A small print set off to the left side will be perfect .

The bathroom is really coming along now. I will be back with another DIY project later on in the week.

SOURCE LIST:

Materialst:
Marble – Home Depot
Primer – Zinnser – Home Depot
Paint – Krylon Gold Metallic
Brackets – Brass corner brackets – Home Depot
PL Premium Adhesive – Home Depot

Difficulty Level (on a scale of 1-5):

two out of five

Total Cost $25

Powder Room Progress

Work on the powder room mini makeover has begun, even with a 3 day trip to the cottage for Thanksgiving thrown in. Here’s a quick update on what I’ve been up to:

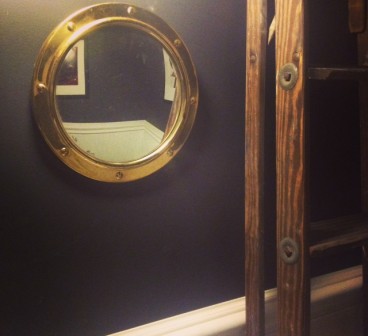
Removed the ornate mirror, and tried hanging the great portal mirror I grabbed at Value Village during the blogger thrift store tour. The mirror is AMAZING, and looks so good with the black wall color.

However… it is just too small for the space. Even with the convex shape of the mirror, it is just not big enough. Sad face.

portalMirror
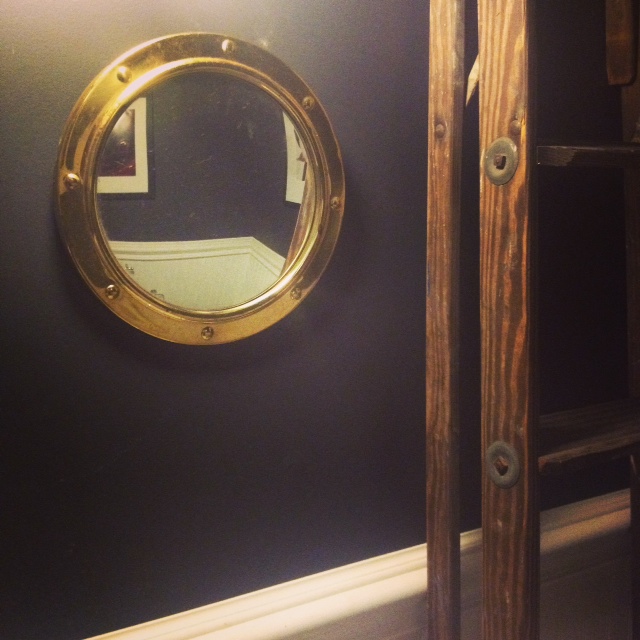
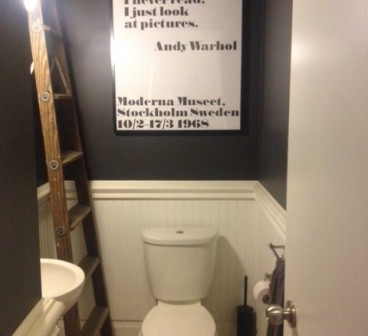
You may also notice another item in that photo. While out on the motorcycle one day, El Granto and I spied a couple of wooden ladders and some old signs on the side of the road. I jumped off and scooped up all the signs we liked, then we sped home, dropped off the moto, and El Granto walked back and lugged one of the large 8′ tall wooded ladders home. It’s in absolutely fantastic shape, and can double as a decor piece and a functional ladder. (It’s a tool hiding in plain sight!) We propped it up in the empty corner of the powder room. I really like the height it gives to the small room. Maybe it will stay there, maybe not, but for now I am loving the wood tones against the black and white.

When I was in Denmark and Sweden this spring, I went on a bit of an art print binge, and during that time I picked up the full set of Warhol quote posters from Moderna Museet in Malmo, Sweden. They are nice big prints (70cm x 100cm or close to 27 1/2″ x 40″) and I thought one or two from the series would look great in the bathroom. We have 12′ ceilings in there, so they should be able to hold the big art prints without feeling claustrophobic. Now all I needed were frames. Of course, there is really only one place to get good quality frames that large (we’re talking three and a half feet tall!) for a good price. Like the prints themselves, my frame source was also Swedish. Can you guess where that is?

I hopped on the subway last night, and trekked out to Ikea Etobicoke, and picked up two large 70cmx100cm Ribba frames in black.

While at Ikea, I did a good amount of perusing. They have upped their game with their new store displays. It was looking good! There were also a few new great items in store, that are not listed online yet. I could do a whole post on it, but here is one of my instagrams from last night:

10735048_865812560097984_209344928_n

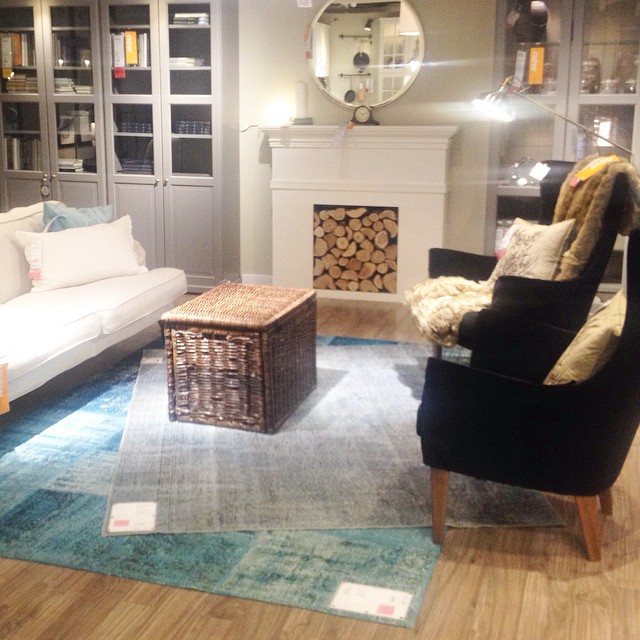
Alas I was not shopping for new armchairs or rugs (but hey, that faux fireplace would look great in my house!) I needed to source some bathroom items. I was hoping to pickup this Molger mirror (in birch):

Molger
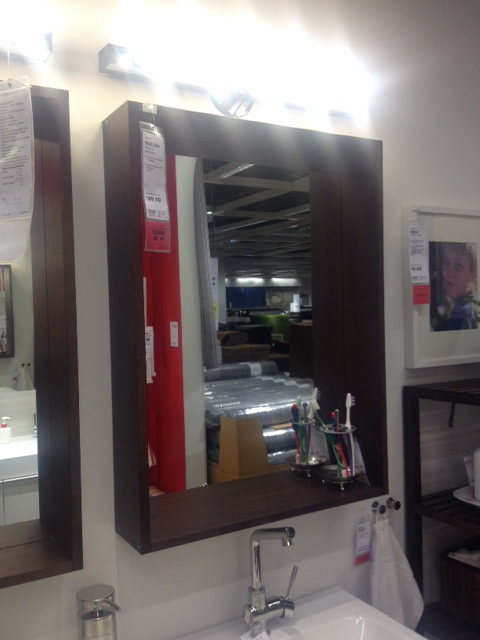
But after seeing it in store the frame was much too deep for my space. It would get in the way of the faucet and and light fixture. Boo.

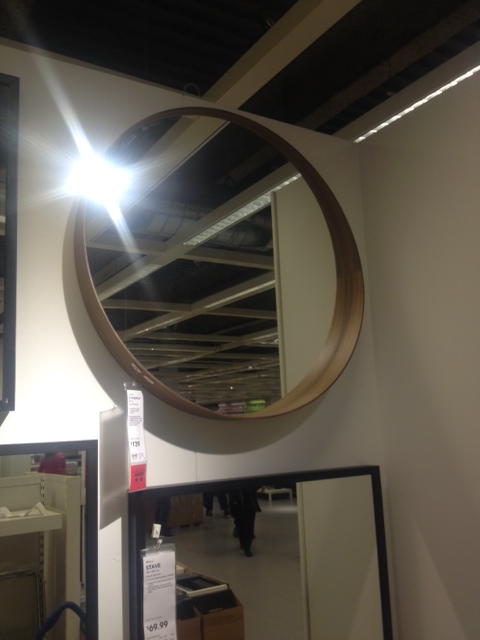
I saw this fab beauty, but it was like $120 (sorry no exact price as its not on Ikea’s site.) and thats more than I wanted to spend for the mirror for this project. Although I think two of them would be fab for my upstairs bathroom reno!

Stockholm
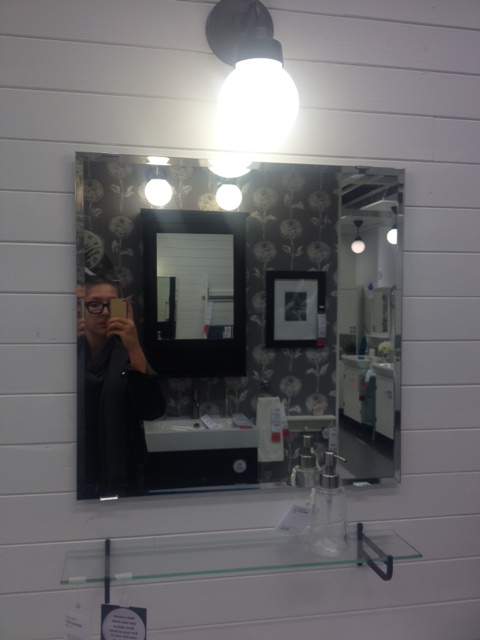
I ended up going with this simple square beveled mirror, and I may try my hand this weekend at a simple shadowbox frame for it. We’ll see.

squaremirror
I also left the store with a great toilet brush (no really!) This black svartsjon one for $8. Also, the 10 year old trapped in me, thinks svartsjon is a funny name for a toilet brush. Cause its got “jon” and “svarts” which I’m sure is how they must say farts in Swedish. Right? 😉

Then I went and carried everything home on the shuttle bus and the subway.

Subway

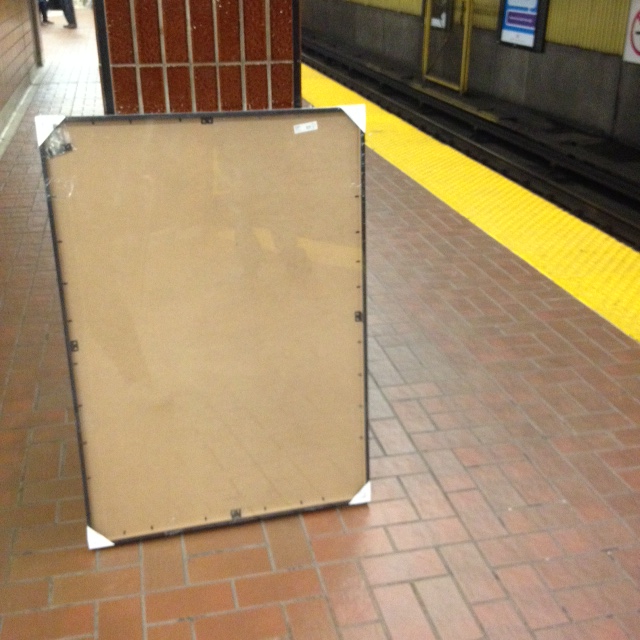
And no, that was not the most awkward nor heavy item I’ve carried home from Ikea on the Subway.

I can’t wait to get home from work tonight and start framing the posters. I want to see them on the wall!

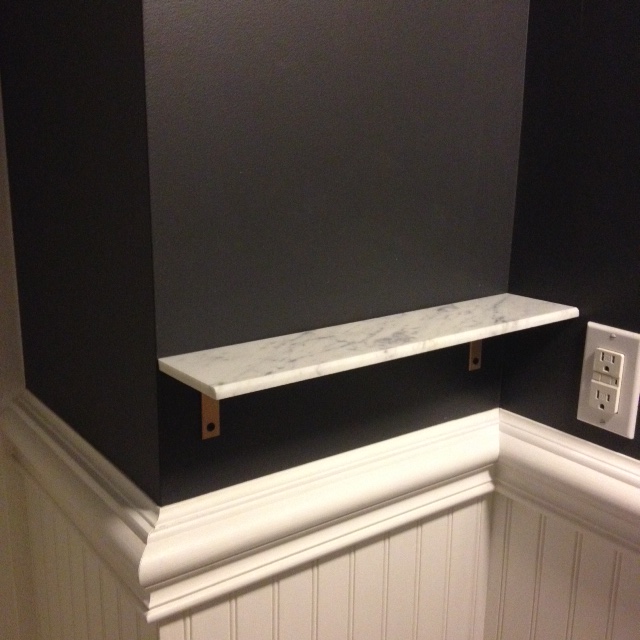
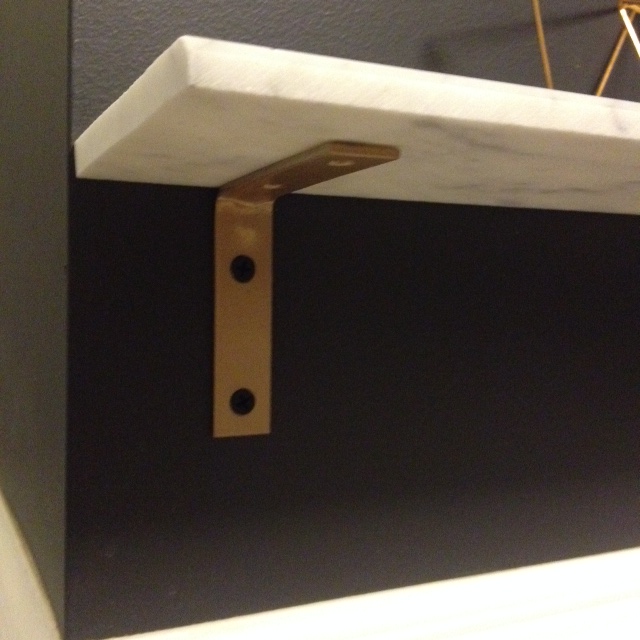
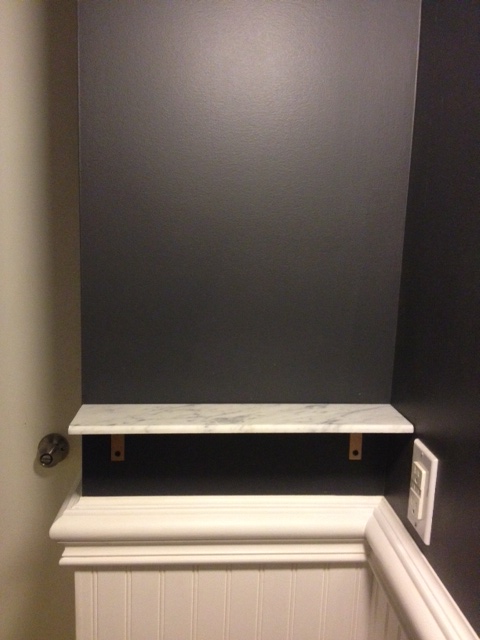
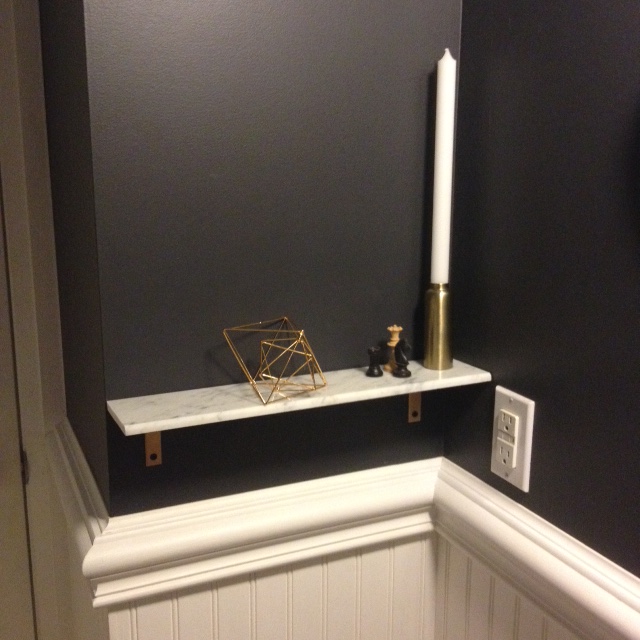
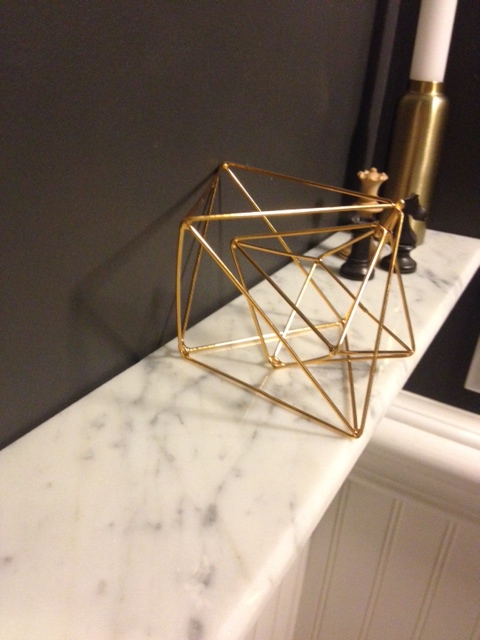
I am still however on the hunt for a light, a small shelf, towel & tp holders, trash can, and accessories. I also added to my wish list a set of antique taps, which I have my eye out for (aka stalking craigslist and eBay).

If you guys see any taps like these (for cheap) let me know!
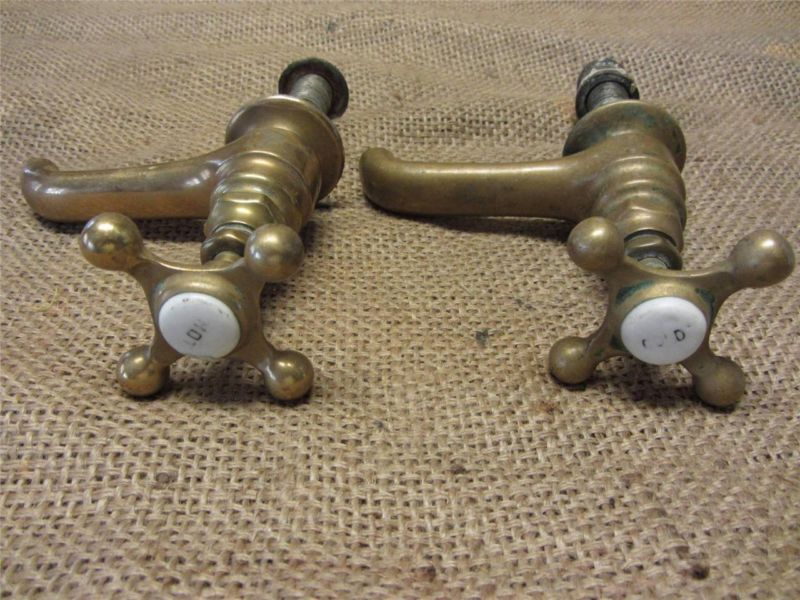
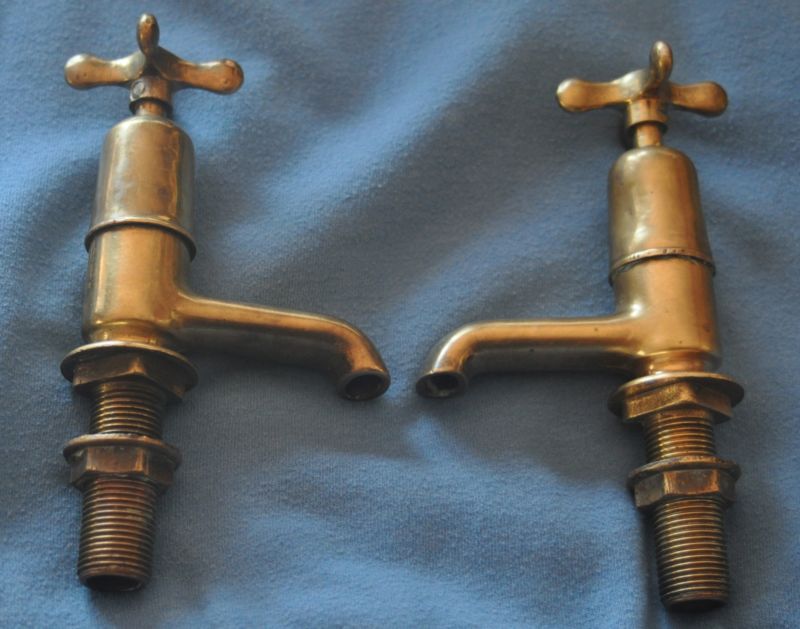
BrassTaps
BrassTaps2
Thanks!


When Design Love Turns to Design Hate.

Meet our powder room. It was the first room we decorated when we moved in almost four years ago.

Wainscoting and a chunky chair rail went up, the walls went black, and in came a new light, a glam mirror and some art we had laying around the house. Continue reading “When Design Love Turns to Design Hate.”

Don’t Crank That

Sometimes in home ownership you make costly mistakes. Case in point: We close our skylight too tightly.

We have an opening skylight in our bathroom. It opens and closes with a big pole that you turn the handle and it cranks open.

When we had one of our cold snaps I walked into our bathroom to find out skylight had shattered. Don’t worry, it was just the inside piece of plastic (they’re double layered with air in the middle for insulation.) The skylight has a screen, which luckily caught all the jagged pieces of broken plastic.

It still caught me completely off guard. Who knew skylights could just shatter? Why did it happen?

3c1d4e8c558211e3ab71120275a1e6b3_8

We called our roofers and they assured us that it wouldn’t leak or anything, and it was marked as a low priority. Flash forward to the bitter cold snap we’ve been suffering from (grrr polar vortex grrr). Because it is just sooo darn cold out, and nice and toasty warm inside, we were getting a whole lot of condensation on our now uninsulated skylight. The condensation was dripping down onto our floor and making puddles. We called the roofers back, they upped the importance and scheduled a site visit on one of the coldest days of the year. Upon inspection they discovered that we appear to have tightened the skylight too tightly, and when it expanded with the cold it broke.

A new skylight was ordered, and it was safely installed yesterday taking all the broken pieces of plastic and condensation with it.

Our pocket is lighter, or egos a little bruised, but at least we have a drip free skylight back in our bathroom.

While talking with the roofing company we learned the following:

Only JUST close crank windows & skylights. Over tightening can warp the frame and put pressure on the glass/plastic risking breakage.

DON’T CRANK THAT SOULJA BOY!

On the positive side, dude I’m the freakin HULK. I am so strong my muscles break skylights!!!!


Project Powder Room

Our main floor powder room needed some sprucing up, and you guessed it, de-beige-ing. We wanted something dramatic, yet still functional. I will be posting the results of our powder room facelift in the next week, but wanted to give you a sneak peak of our inspiration, and our to do list. Even though it was a small room, there are still a lot of things on that to do list! (and they are still not all finished…)

My Pinterest Bathroom Inspiration Board

TO DO:

  • Add Wainscoting and Chair Rail
  • Change Lighting
  • New Mirror
  • Paint
  • Hang Art
  • Change Towel Rack & Paper Holder
  • Add Open Storage for Towels and Toiletries

    *UPDATE* Check out this post for a view of the finished powder room