This is a very exciting day! The Summer 2015 edition of Merry Mag is out! Head over to MerryMag.com to check it out in all its glory! From handmade decor, DIYs and everything you could possibly need to entertain this summer. You won’t want to miss out!
Tag: backyard
Easy Outdoor Pillows
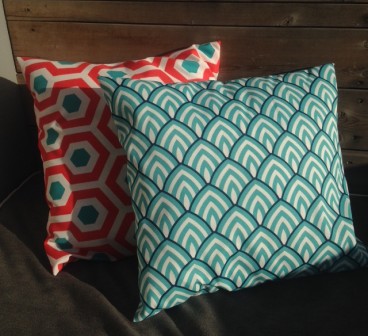
May rolled in like a hero and brought some fantastic weather. Off went the pants and on went the shorts! The city was flooded last weekend with legs and arms and all sorts of skin that had not seen the light of day since September.
Not to be outdone by the short wearing masses, I dragged out our daybed mattress and headed outside. Two minutes into my afternoon book and a cocktail on the daybed, I remembered the promise I made to myself to sew some new outdoor cushions. The ones I currently had were either too stuffed and hard or too empty and flat. I was Goldilocks in a house full of uncomfortable cushions. Continue reading “Easy Outdoor Pillows”
Backyard Update
The backyard project is coming to a close, I promise! If I get some decent weather and daylight, I will take some pics of the daybed to share with you guys. As the big stuff is checked off the list, we are now working on all the little stuff. The last 10% that always seems to take up 80% of the project timeline. Here’s what we’ve been up to: Continue reading “Backyard Update”
Pergola Canopy
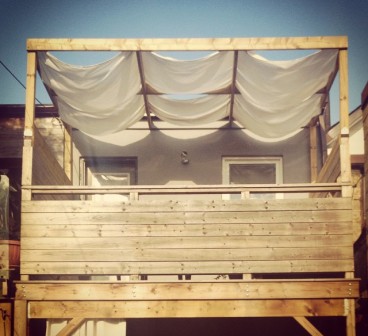
I did a whole hell of a lot of sewing last weekend. A marathon of sorts. I was adamant about getting the pergola and daybed finished by the end of the weekend. To accomplish this, I spent 13 hours sewing on Saturday. For realsies. El Granto helped too, measuring, cutting and installing grommets. What do we have to show for our work? Continue reading “Pergola Canopy”
Pergola
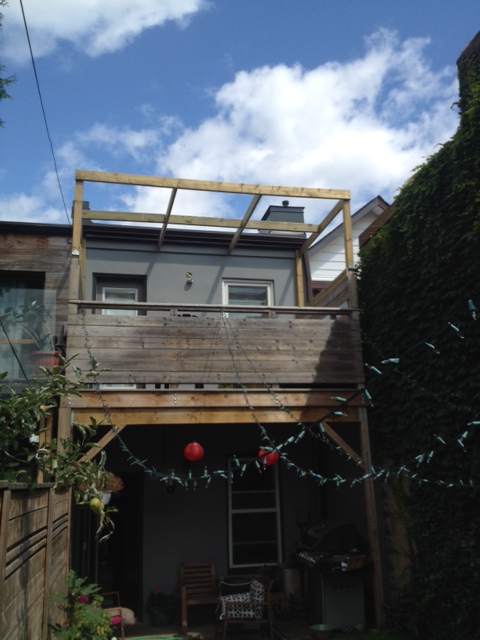
Our weekend pergola build is finished! AND it only took us a month.
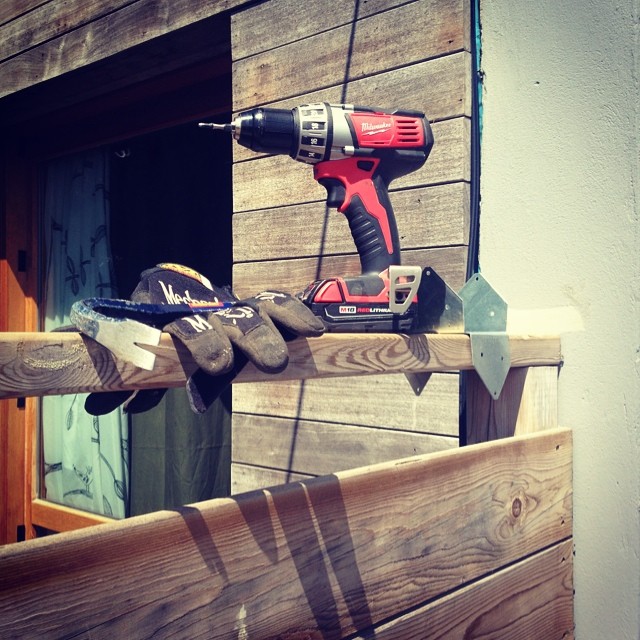
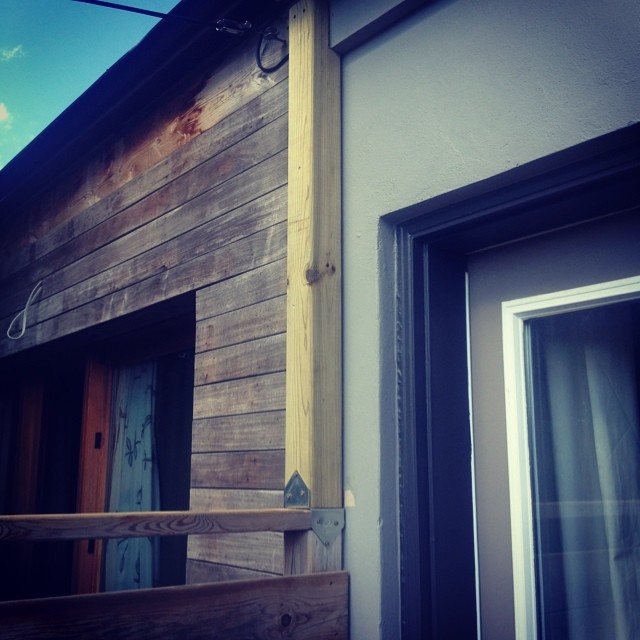
Well technically it took us two afternoons, they just happened to be a month apart. Why did a weekend project turn into a month long ordeal? Life. Weather. Summer. Family. Motorcycles. Friends. Birthdays. Fun. Oh and new tools. Life took over as a priority, and work came to a standstill on the backyard. But this weekend, we were back in action.This is how it went down. In the first stage we built up the existing corner posts (they needed to be extended a few feet taller). The ones beside the house needed to be notched to fit over the rim board on the house, and everything was attached with brackets and deck screws. Then up went the outside beams of the pergola.

Knowing this, we took a bit of a U turn in on how we were going to do the cross beams. I wanted to notch out the beams so that they all fit together in a basket weave. That would involve pretty accurate measurements and cuts, and if we were a hair off, nothing would fit. El Granto sat me down and had a little talk about biting off more than I could chew, the inability to get more lumber should I wreck it all, and how were we going to raise the beams up and install it. All very valid and reasonable points.
But… I didn’t want to use ugly joist hangers, and I needed the joints to be strong. (I am not to confidant with toe nailing, it never seems to tighten up the joint enough for me.) We brainstormed a bit, and broke out the Kreg jig. That thing tightens up butt joints like nobody’s business. (El Granto’s note: hee hee tight butts)
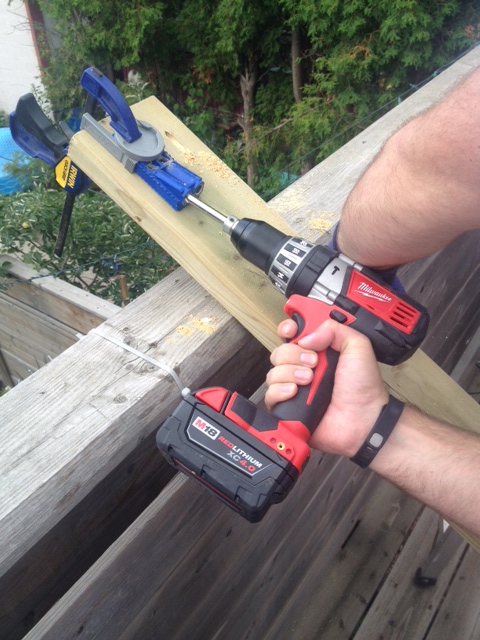
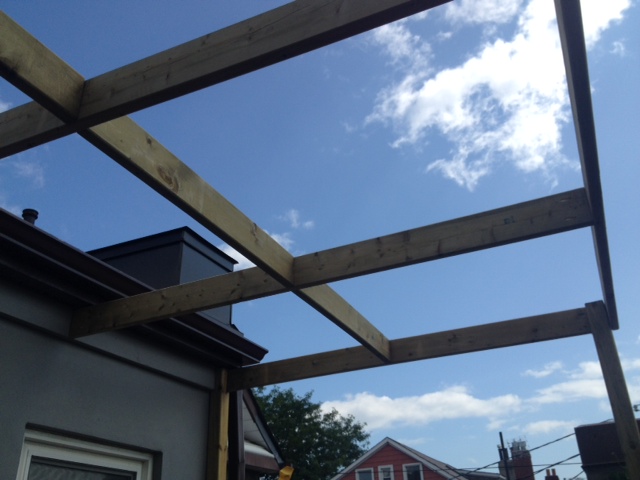
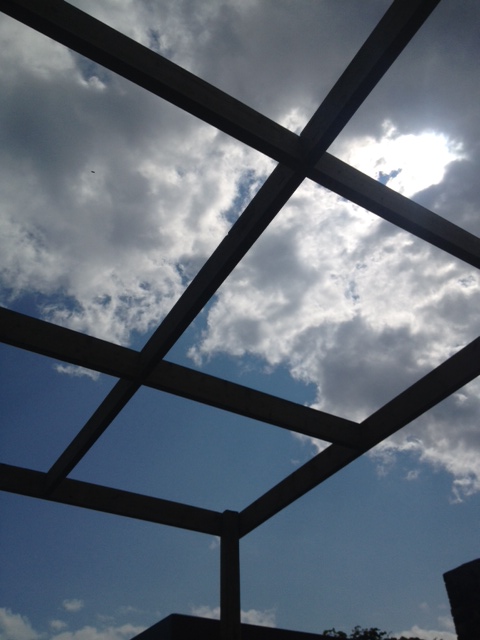
After all the joists were cut and pocket holed, up on the ladders we went and installed. No pics of this part, cause well, we were both up on ladders holding beams over our heads, but here is what it looked like when all was said and done.
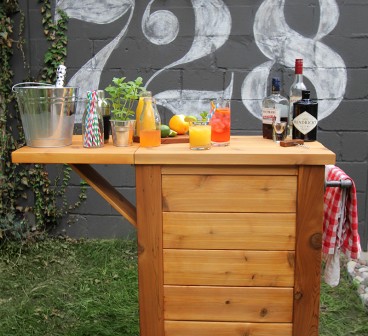
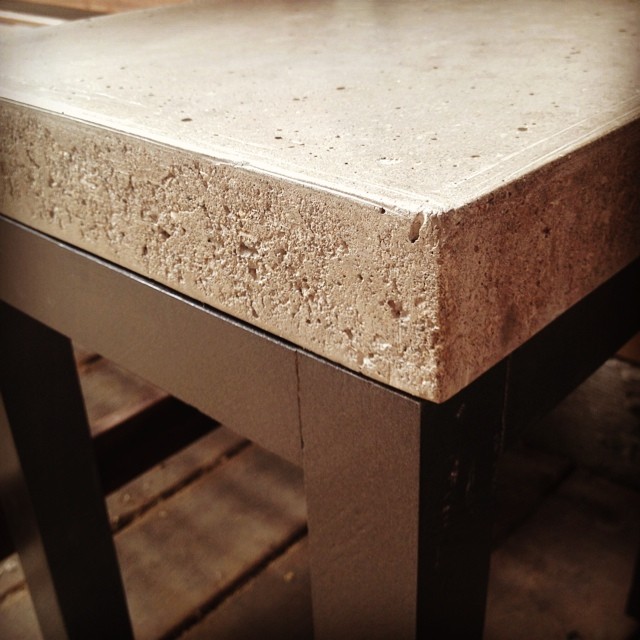
DIY Concrete Side Table
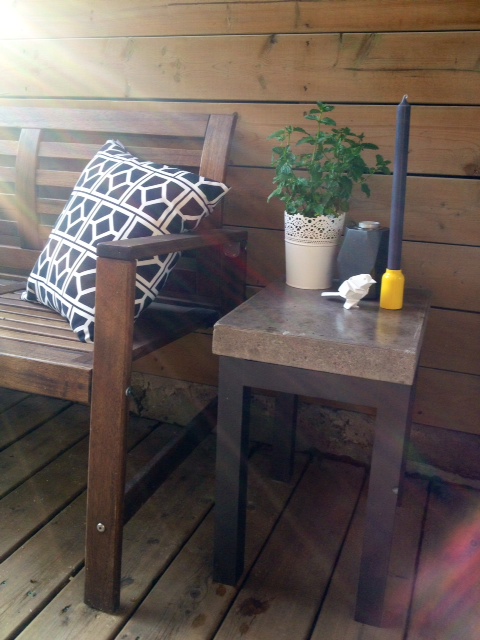
As we continue to push ahead with the backyard reno, I am starting to think about the smaller details. Accessories, lighting, flowers, furniture etc. We are currently happy with our outdoor chairs, but the rest of our outdoor furniture leaves a lot to be desired. We were using a old chipped green table with a cigar burn as a side table. Not the best looking piece of furniture…
As a place to set a drink and small plate of food is a must have in any backyard, I did what any DIY’er would do. I set out to make a useful, stylish new side table.
Back before we embarked on our concrete countertop project I made a small concrete test slab with some cheap big box store concrete mix. It had some big flaws, and I cringe when looking at it now. I used the wrong mix, did some sketchy form caulking, used a product with too large aggregate, and didn’t get out all the bubbles! None the less, I had created it, and rather than throwing it into landfill, I opted to re-use it.
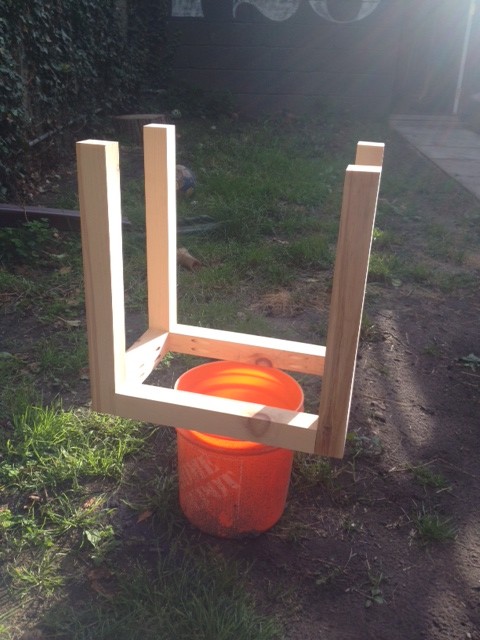
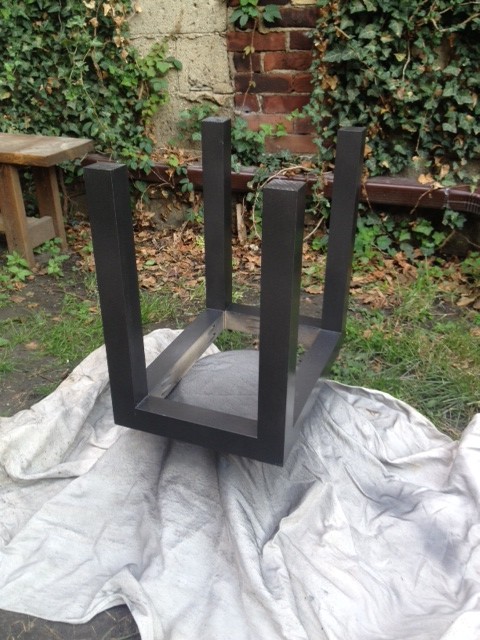
I fabricated some simple modern table legs, and this is the end result.
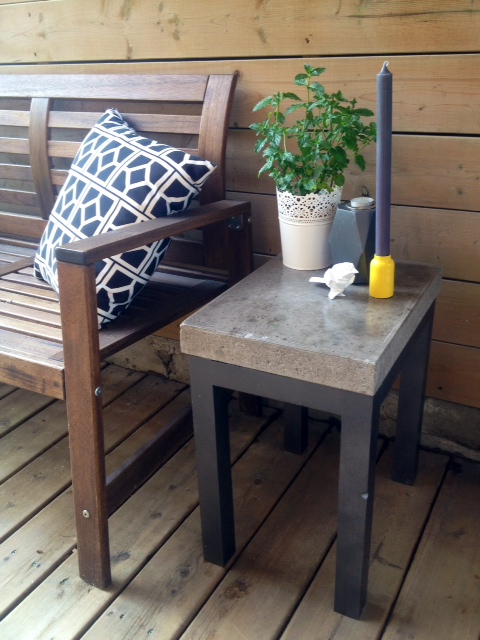
The legs are made with some kiln dried 2×2 pine from our local lumber yard. It was assembled with some simple pocket holes and screws.
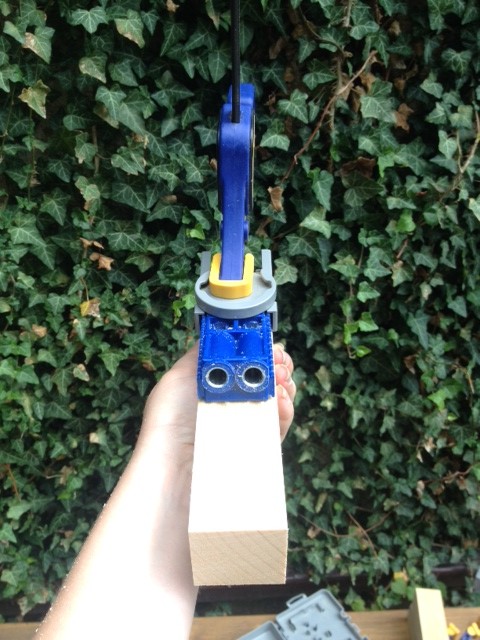
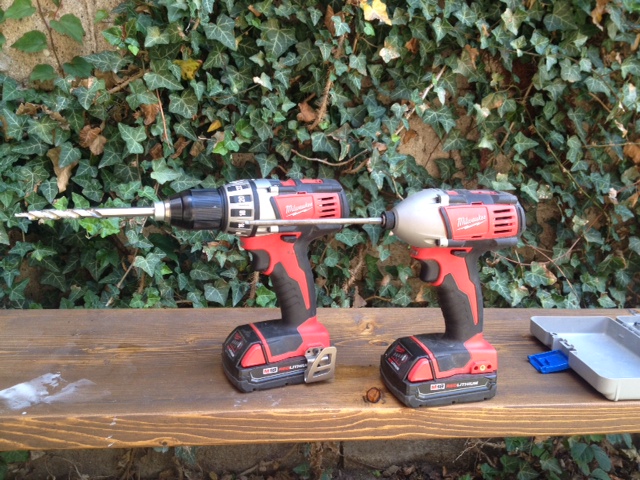
DIY TIP! I like to have two drills (or a drill and a driver) for working with pocket holes. One for drilling, and one for driving the screws. It saves having to change the bit every few minutes!
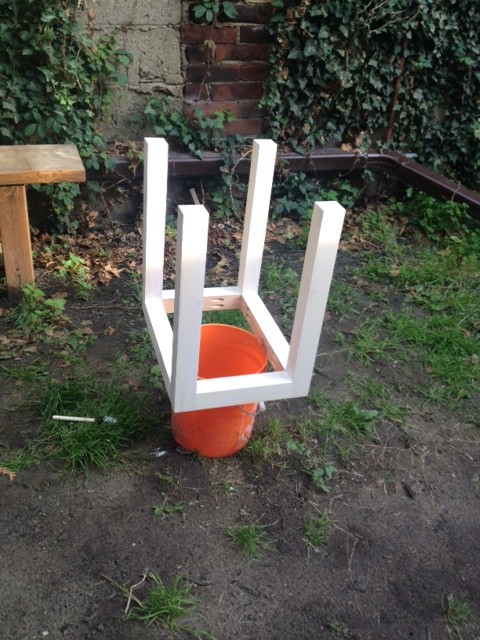
The legs were primed and then painted with Rustoleum Universal Flat Metallic Soft Iron spray paint (looove this paint and colour).
We topped the legs with our recycled concrete slab and sealed the concrete with the Buddy Rhodes concrete countertop sealer. If was to do this project again, I would have used the Buddy Rhodes mix instead of the cheap big box mix (the BR mix is lot lighter and easy to use.)
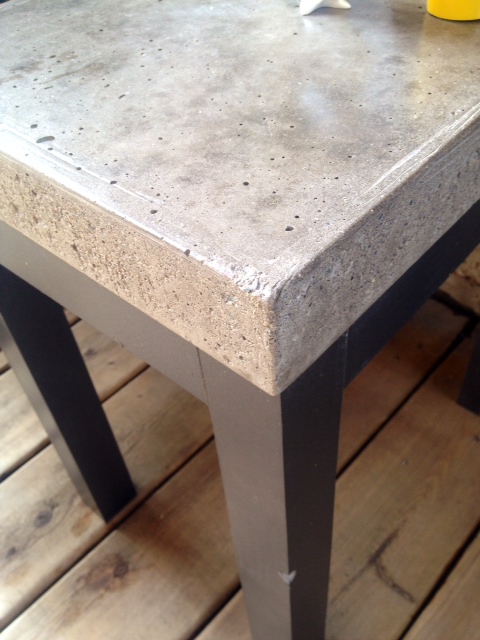
If you were to do this project, you could easily pour the concrete top yourself, or buy a prefab concrete patio stone at the big box store. If your patio stone has a texture on it, consider flipping it upside down so the raw concrete side is exposed. Make legs to fit your slab, seal it and you’ve got an inexpensive industrial table!
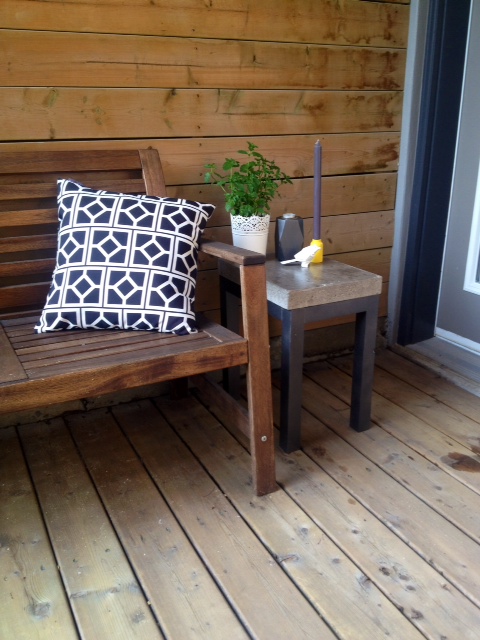
Here’s a few more shots of our finished table.

SOURCE LIST:
Materialst:
Concrete – Hardware Store
Concrete Sealer – Buddy Rhodes
1 2x2x10 kiln dried pine – Downtown Lumber
2 1/2″ pocket hole screws – Lee Valley Tools
Zinnser Primer – Home Depot
Rustoleum Universal Flat Metallic Soft Iron spray paint – Home Depot
Tools
Drill & Driver – Milwaukee
Measuring Tape
Kreg Jig – Lee Valley
Difficulty Level (on a scale of 1-5):
two out of five
Total Cost $40
Beats spending $1155 at Restoration Hardware for this, doesn’t it?!

What do you think of our new table? Would you give a try at making one?
Grass (& Clover) Watch 2014
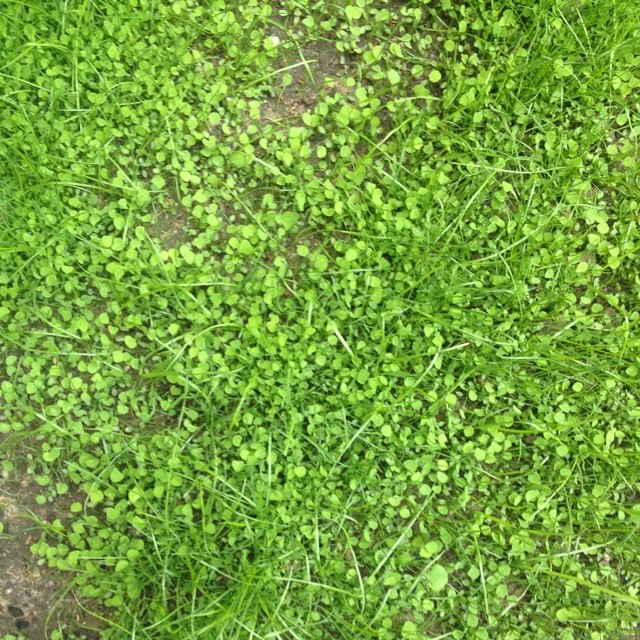
Watching grass grow isn’t the most interesting topic in blog land, but hey, at least it’s not another mason jar project.
Pergola Progress
Not quite sure where this week went. Last time I checked it was somewhere around Tuesday, and then BAM! Friday!
Hey, I’m not complaining, but I sure do wish I got more accomplished around the house this week.
Here is what we’ve been up to.
The pergola started creeping off paper and into fruition. We made a stop at our local lumber yard and picked up all the wood, including the 12′ pieces. Thanks again goes to El Granto’s Mum and Dad for the car loan.

After some demolition of the current deck’s fence/top posts, a big shout out goes to the previous owner for stripping Every. Single. Screw he used to assemble the deck. Really awesome work… A sawzall with a nail cutter blade later, and a pry bar, and we were rid of them, busted screws and all.
With demo complete, we started building anew.
The new posts were measured, kerfed (to go around the ledger on the wall), and up they went.
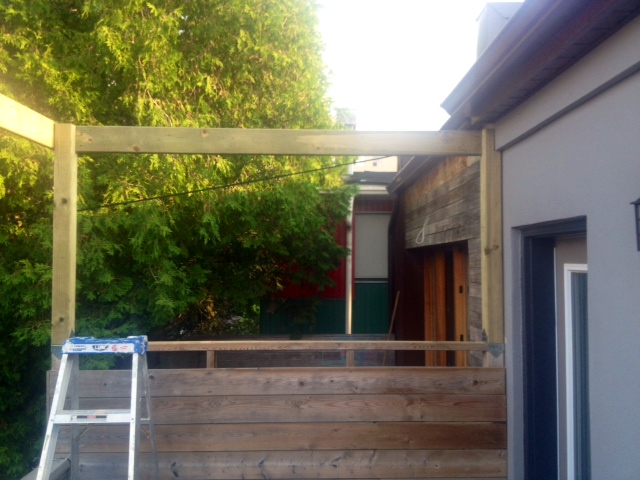
Then the front and side beams followed suit.
This was a bit of a scary ladder moment (14′ drop to our new concrete walkway with hands above head holding a 2x6x12), but El Granto took over for me, and got it done.
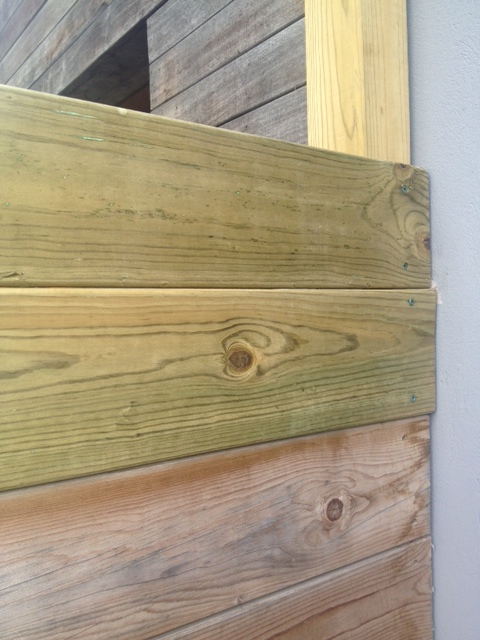
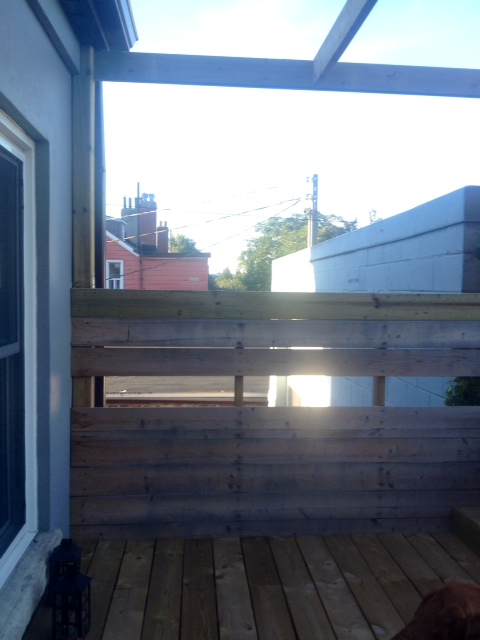
Decent progress, but still a ways to go. We have to add the cross beams, which overlap each other, so some careful math and half lap joints are in our future. Then we have to add some more fence boards. This kinda sucks. As our new pressure treated lumber is greener than a 19 year old after St. Paddy’s Day and our current fence/privacy screen has faded nicely. I know you’re going to lay into me about staining the deck. That is a ton of upkeep, and I’d like to ride the bare wood train as long as we can. I bought some Cabot deck wash, so here’s hoping I can brighten up the old bits a little, and that those new PT boards will fade quickly.
Back to the pergola. Our plan for the is to have a large open pergola like our inspiration:
This means not a lot of cross beams for shade, but what it does mean is that we are adding a fabric shade canopy.
We selected a Sunbrella sheer outdoor fabric for the canopy, Shadow Snow. It will filter out the harsh sunlight, but not block it completely. The last thing we wanted to do is remove all the beautiful natural light from our bedroom. The canopy will be loosely draped over the frame, and removable for winter. (Thinking corner grommets and hooks on the top of the pergola.)
Speaking of fabric. Our whole Sunbrella order arrived this week, and I’m super stoked.
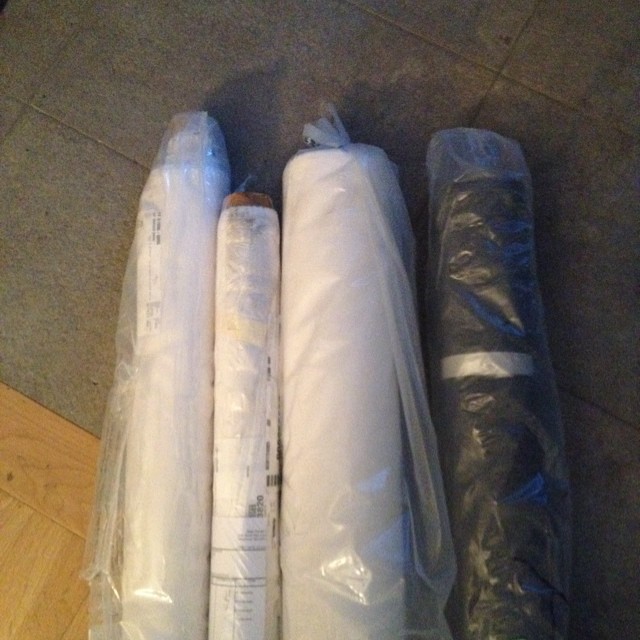
Looks like I’ve got a hell of a lot of sewing to do! Anyone want to come help? I’ve got two machines! That or I teach El Granto. I think that’s a damn good idea actually! He’s a great hand sewer. He’s the king of sewing motorcycle patches to his denim jacket and vest. No, not the gang variety. We’re friendly neighbourhood bikers, not Sons of Anarchy bikers.
Where was I? Busying myself with projects apparently. Looks like we’re going to have another full weekend.
P.S. It was my birthday yesterday, and my awesome husband baked me a gluten free cake. The dog was a bit jealous, but man was it good. Best. Husband. Ever.

Have a great weekend, and follow us on Instagram to see what we get up to!
Sore Muscles & Dirt
The pathway & lawn are done. I may have killed El Granto in the process, but they’re done.
No really, El Granto is a wreck. I think the sheer amount of sunlight, heat & heavy lifting was too much for the poor Englishman. He’s got a bit of heat exhaustion, and is spending the day in the a/c topping up his fluids. I feel like a bit of a jerk, cause my girly muscles couldn’t really help him as much as I would have liked.
Here is what we accomplished, although it doesn’t look like much, it was an absolute ton of work.
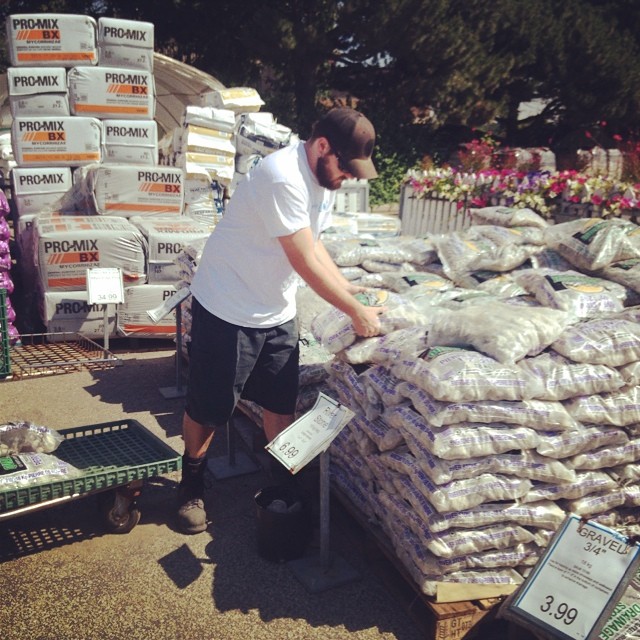
Recap from last weekends progress: We took up the path, laid down new rock bedding, and re-laid the pathway, this time with the concrete pavers upside down.
Now, here’s what we did this weekend:
We rented a rototiller, and tilled the whole lawn. Yep, the whole thing, even where we had bits of grass growing. We wanted a fresh clean start, and to get our really packed down lawn a loosening up, and re-grading.
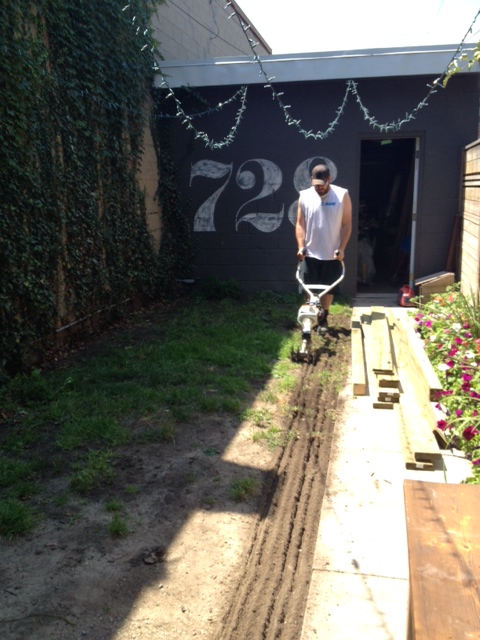
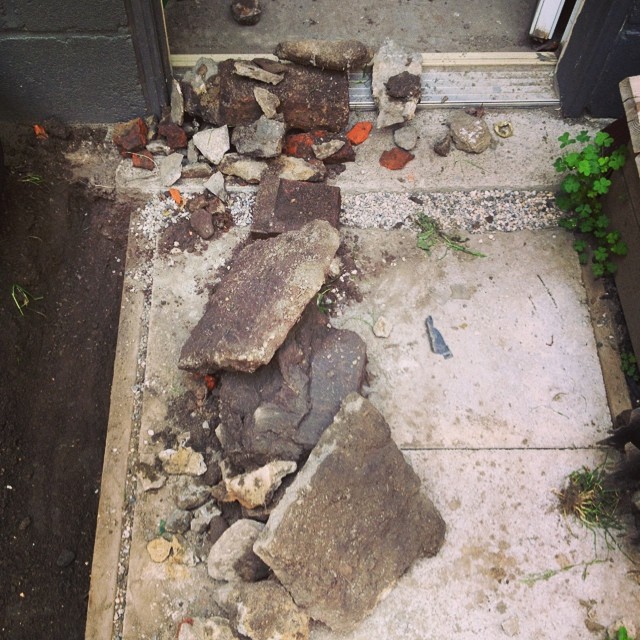
While we were tilling, we ran into a few bumps err rocks. As I started to dig further to get the rocks out, we realized the back half of the lawn was filled with rubble, and then topped with a tiny bit of topsoil. We’re not talking a few stones, we’re talking a bunch of whole bricks, chunks of concrete and other junk. We dug them all out, and bagged them up. They will go out with our trash in our Bagster in the next week or so.
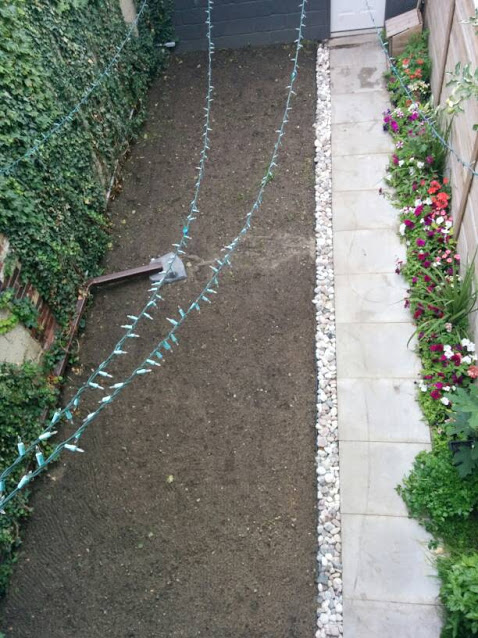
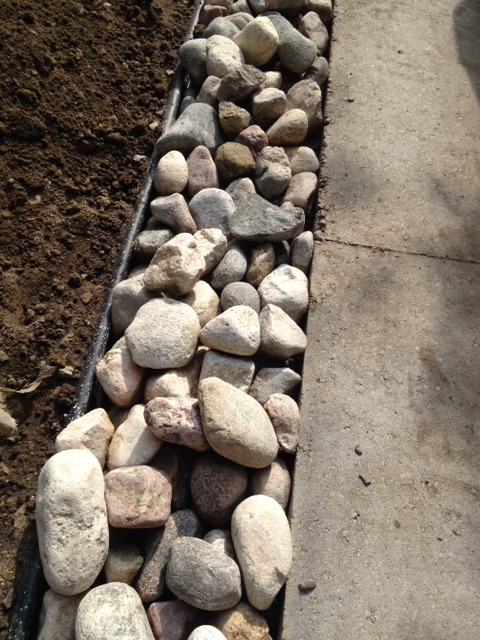
After we tilled and removed the junk, we dug out a trough beside the pathway.

We edged it with plastic edging, and lined it with landscaping fabric.
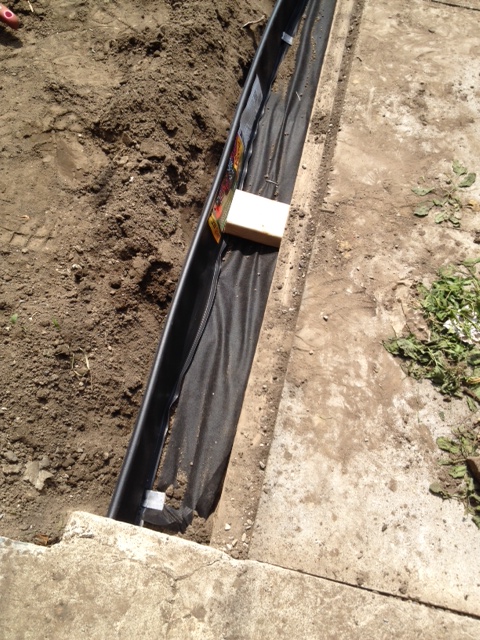
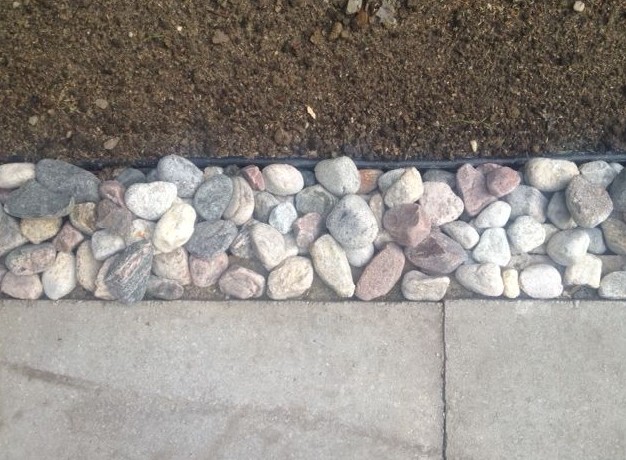
We then filled the trough with large river rock. This will not only be good for drainage, but it also gives a nice custom look to the otherwise cheapo concrete path. Like putting lipstick on a pig. You know its still a pig, but at least you’ve got something else to look at.
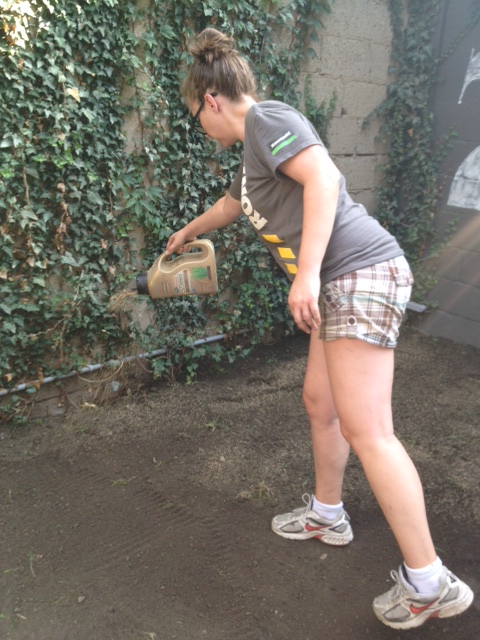
After the rocks were laid, we raked and re-graded the lawn, and seeded it. We used a combination of sun/shade grass seed and white clover, and used an old EZ seed container we had laying around to distribute the seed.
After we seeded, we raked over the lawn, and have been watering perpetually ever since. It isn’t ideal to seed in July, but we will try our hardest to make this grass & clover grow! For the next couple weeks, Odin is blocked from the yard, and we will have to do walks for all his dog needs. Hopefully this will actually give the lawn a shot to get going!
A full reveal is a few weeks away. We’ve gotta turn this dirt patch into a lawn. You can follow along on grass watch 2014 on Instagram. Cause you know, watching grass grow is super interesting. We know how to party round here!
We also got started on our deck pergola. An update will come on that later this week!
Excuse me while I go mow down on copious amounts of ibuprofen.
Bring It, Weekend!
I am counting down the minutes to the weekend. This one is going to be EPIC.
We have El Granto’s Mum’s SUV and a very long to-do list. When I say very long, I really mean it. We’ve started tracking our home to-do list, broken down into tasks on a project manager website called Trello. Our Backyard & Balcony lists are almost off the page. It gives me anxiety just looking at them.
However, we are making some progress! (even above and beyond our progress here.) We made all our outdoor fabric choices, and I ordered all the Sunbrella fabric for the whole backyard. We’re talking new curtains, a daybed cover etc. As soon as the fabric arrives, we can get started sewing. Little secret… sewing was the first DIY I ever learned, and I almost went to school in Halifax for textiles. However, since we moved to the Storefront, I haven’t gotten a sewing machine out ONCE. Literally, I have not sewn a single thing in over three years. I hope I’m not too rusty, and I still remember how to make cording, and how to sew a zipper panel.
Here is what our weekend plans are:
Till backyard, and plant grass & clover seed.
Finish pathway.
Dig garden beds, edge and plant.
Buy lumber for deck pergola.
Build pergola.
Buy & install new exterior lights.
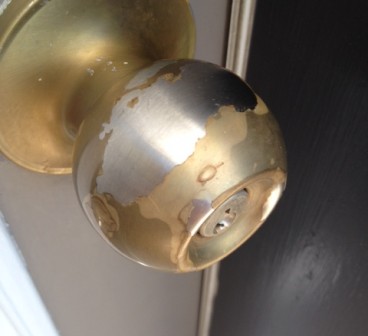
Install new door hardware.
Paint Doors.
Wash deck.
Finish this little outdoor side table project I started this week.
Bonus Project: We got a Bagster! This means we also hope to clear out all the reno debris and junk in the garage. [yeah, we still have reno debris from our kitchen reno, yikes!] We cant wait to get rid of all that junk.
Once the debris is out of the garage, El Granto can get to building a new work bench, and we can get permanent homes for some new tools we acquired over the winter (and we even added a few more new ones this past week.)
What have you got planned for the weekend? Wanna come over and lend us some muscle?