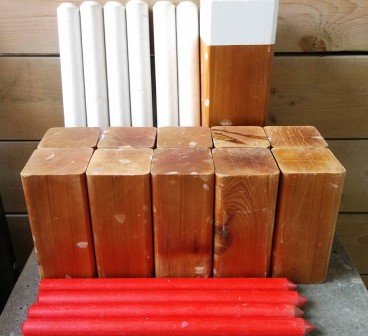
A few months back I heard about a new (old) game that’s been picking up some popularity and it sounded very interesting. The game is called Kubb and was supposedly invented by the vikings and sounded like a lot of fun so I decided I’d look for a set on the internet.
Oh it’s over $120 you say… and I have thousands of dollars worth of tools in my garage you say… well this won’t stand! It won’t stand I say! How can I be shopping online for wooden game sets!? To the El Granto cave! Continue reading “Kubb: The Viking Field Game”
We have started a new project in the Storefront garage; Project Nelson. We are making a Modern Farmhouse table and matching benches for a gentleman named Nelson. The table will be pretty much exactly the same as Dan’s table. As such, I won’t be boring you all with another build how-to from start to finish. I will however be popping in to share a few tips and tricks with you guys along the way, and keeping you up to date on the progress.
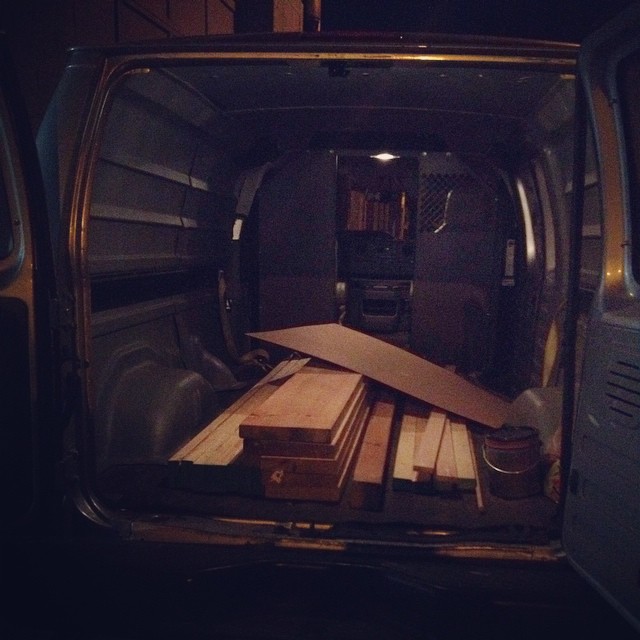
Progress got started this past weekend. A Zipvan was rented. Can I mention again how fantastic this concept is? We can have access to a large fully loaded cargo van without having to well… store or pay for a large cargo van. Instead we can get one once a month when we absolutely need it, and pay $30 or so for an hour and a half. With said Zipvan, we headed to Downtown Lumber and picked up lumber. We are using Canadian kiln dried 2″ thick pine for this project. (Although for the record, Downtown Lumber also sells 2×12 oak at about $18/board foot.)
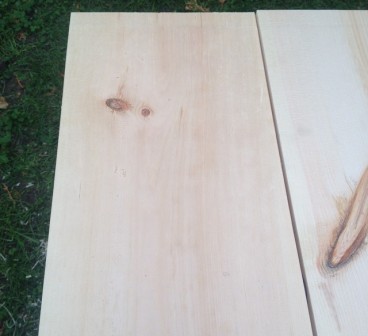
With lumber in the garage and a fine fall day, we planed all the lumber. My goodness, its amazing when you have the right tool for the job.
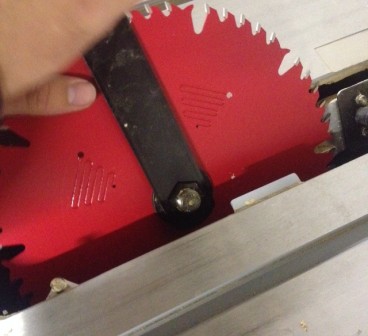
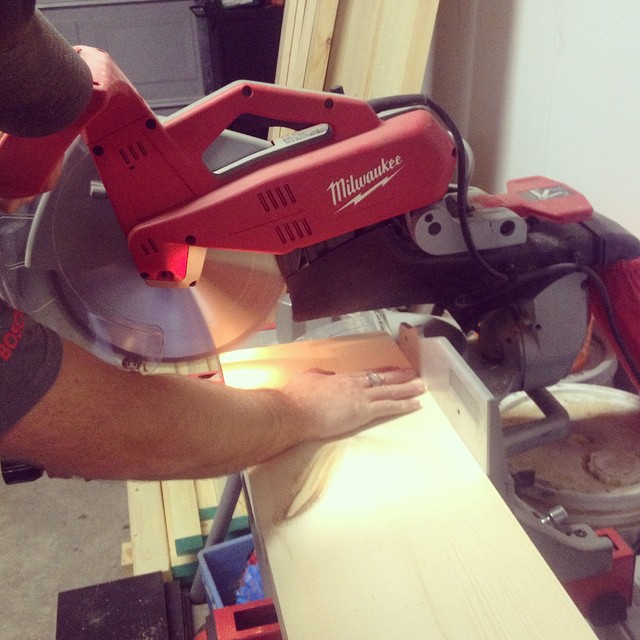
Maaaaan, the last table we built with our old Mastercraft saw. Comparing that saw to the Milwaukee is night and day. The beast Milwaukee cut through that pine like butter, not burning, sticking or generally seeming like it had to try very hard at all. AND it is accurate. Our old saw liked to waiver. Slowly creeping out of true and making us perpetually need to square it up, and never being happy with the results. We did a test cut with the Milwaukee, checked it with a square, and BAM it was perfect. That makes my life ever so much easier.
With everything cut to length. We glued up the table top, added some back supports, and filled a few knots with epoxy. Is anyone interested in how to epoxy knot holes? If so, let me know, and I will give a how to. While the epoxy & glue were drying, we cut down the legs, and got started on stain samples for Nelson. A good days progress. We hope to have Nelsons table finished and ready for delivery in a month.
We also got a bit of work done on the powder room, and will have a progress update for you later in the week.
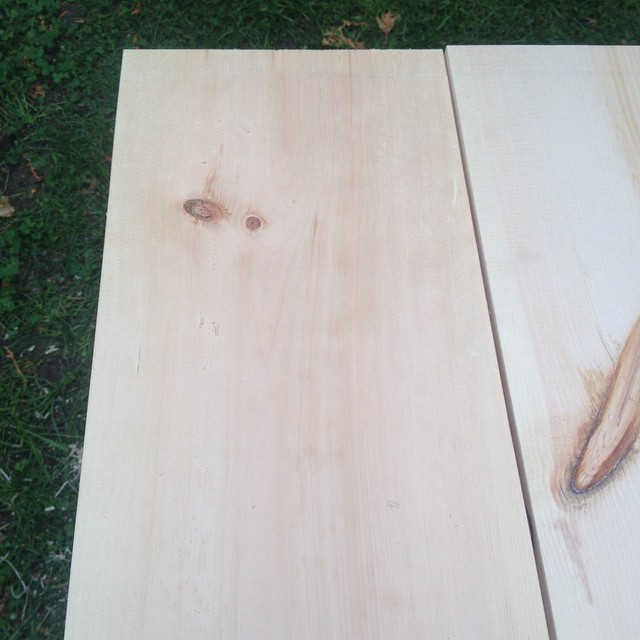
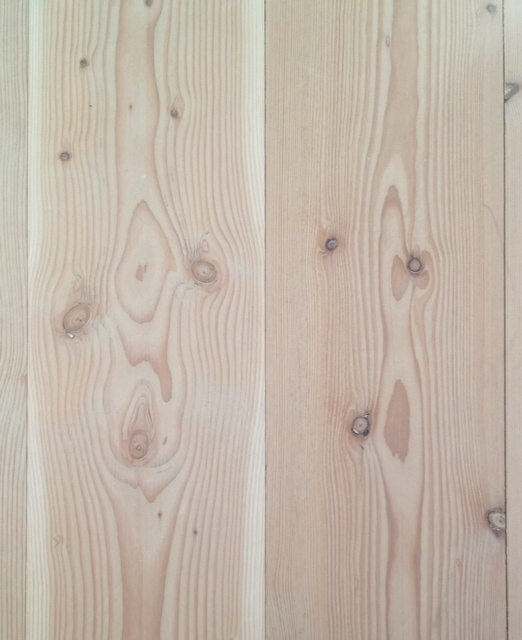
I received a sample in the mail the other day from Minwax. It included a couple packages of their wood finishing cloths, and a small piece of wood. At first glance the wood looked like an artists palette.
Two years ago today, I was relaxing in a cabana in Cuba at one of the most beautiful resorts I’ve ever seen. We were staying in the Royal Service Suites at the Paradisus Rio De Oro outside Holguin. It was a mini honeymoon for El Granto and I after we had to give up our European honeymoon to fix our house. It was a pretty amazing minimoon, in a beautiful exclusive resort. I could go on and on about the amazing service, poolside butler etc., but one of my favorite things were the Balinese cabana beds by the pool, and the outdoor daybed on our balcony.
These beds put chaise loungers to shame. Huge beds with thick comfy mattresses covered with pillows. Perfect for an afternoon siesta or lounging with a cocktail.
Two years later, and I’m still thinking about those beds.
A few weeks ago Home Depot unexpectedly sent us a gift card in the mail, with no expectations other than that we should give a little love to our home for spring. We could use the card for whatever we wanted. We could add a fresh coat of paint, plant some flowers etc.
So we thought, lets build something fun. Something that is not in the giant to-do list, and that’s nice and indulgent.
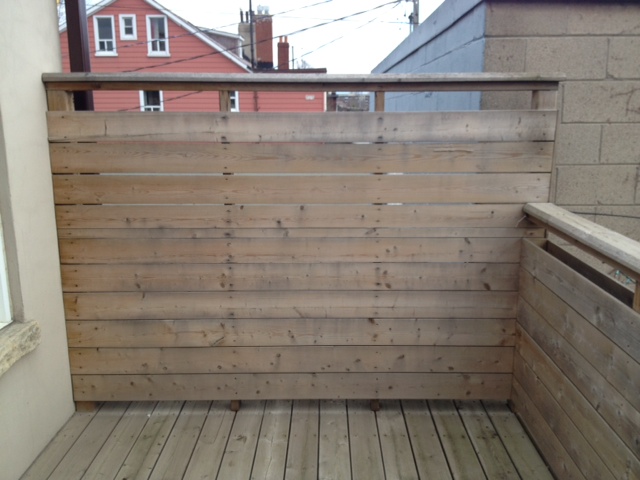
You guessed it. We’re building an outdoor daybed on our master deck. It’s not quite a Balinese bed, but it will be the size of a twin mattress, and also have a built in table (or arm rest) to hold a drink or two.
It will be nestled at the end of our deck taking up the full width, using the fence as the back of the daybed.
We will be making it blend into the deck with the same modern aesthetic as the deck and our fence. While it won’t have a thatched roof like our cabana in Cuba, we are going to bring in lots of pillows and accessories to add luxury and break up the hard surfaces.
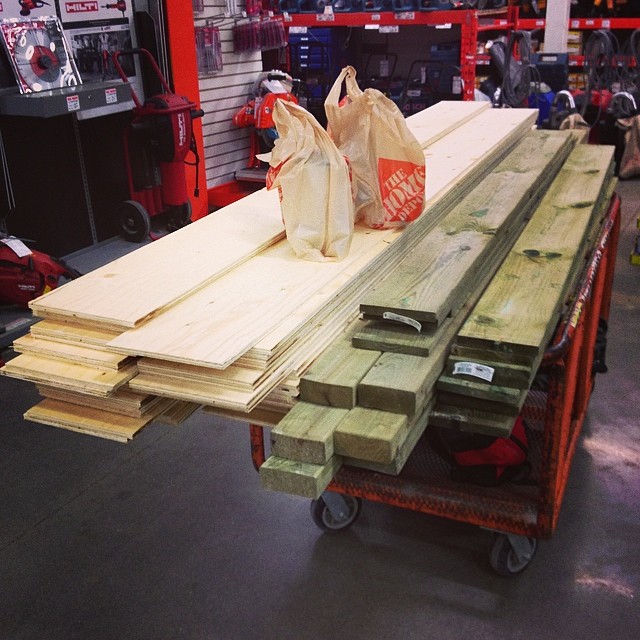
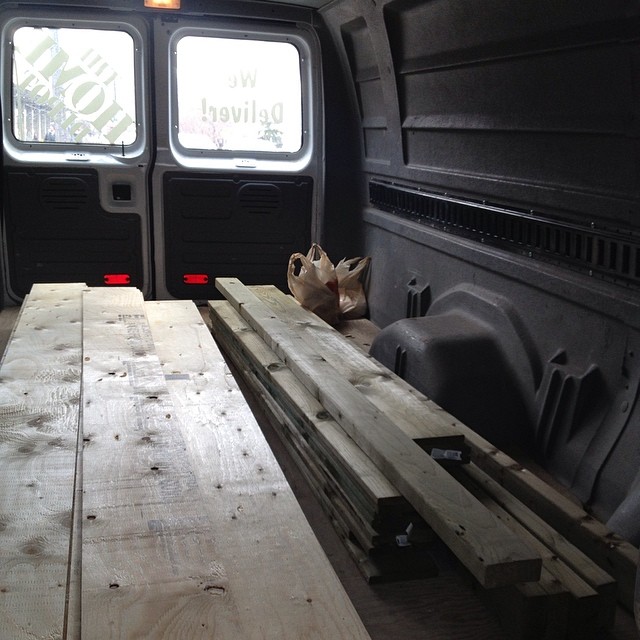
This past weekend we headed to Home Depot and picked up the lumber, as well as some wood for the basement. We rented a van to bring it all home (when you’re renting a van, buy all the big stuff you have planned, to save on van rentals).
We got most of the frame assembled, then realized someone miscalculated the lumber list, and we were short a couple boards. Oops.
A walk back to get more lumber ensued the next day.
I’d love to get more work done on it this week, but our forecast is leaning towards April showers. Progress may have to resume this weekend.
In the interim, I am on the hunt for a cushion the size of a twin mattress. Any ideas? It also needs to be budget friendly. The current forerunner is a foam kids mattress from a certain Swedish retailer, but I would love an actual box cushion with outdoor fabric.
As the Holidays are fast approaching, I am rapidly trying to knock a few items off the big old To-Do list, including making a few handmade gifts. This year has been a tough one to produce a lot of homemade gifts. Both El Granto and I have been working long hours at our day jobs, and by the time we get home we’d rather snuggle up on the sofa together than go back out to the garage and get to work.
This past weekend with nothing planned on the calendar, we decided to take a trip to the lumber yard, and start making some cutting boards for holiday host/hostess gifts.
After we had cut up all our wood, I noticed a few spare pieces too small to make into another cutting board, but rather than just toss them into the scrap bin pile, I opted to make a little side project.
Here’s what I did:
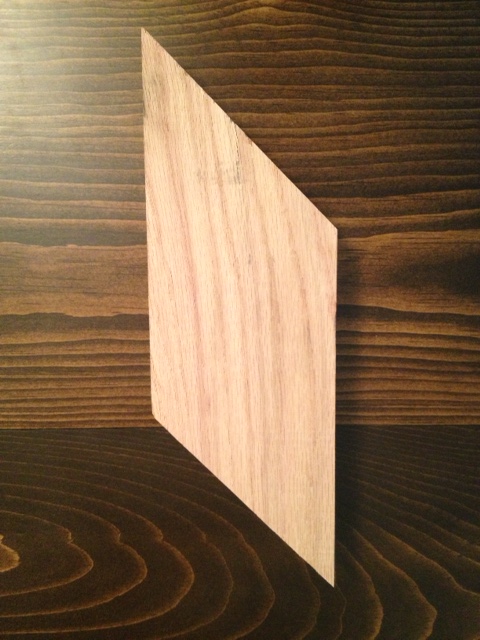
Set the miter saw to a 45. Took two scrap pieces of oak, stacked them on top of each other and cut a 45 through both of them at the same time. I then cut the same 45 at the other end of the pieces, again cutting through both boards at the same time.
Two pieces of wood cut into parallelograms
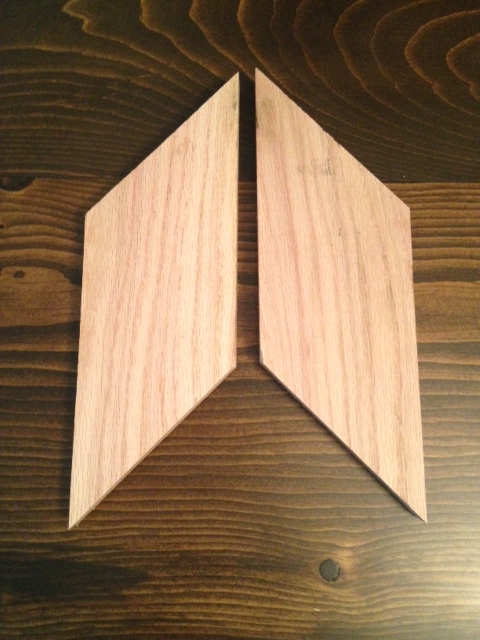
This made two pieces of wood about 9″ long that were EXACTLY the same. (the exactly the same is important.)
Two boards cut exactly the same, then one board flipped over
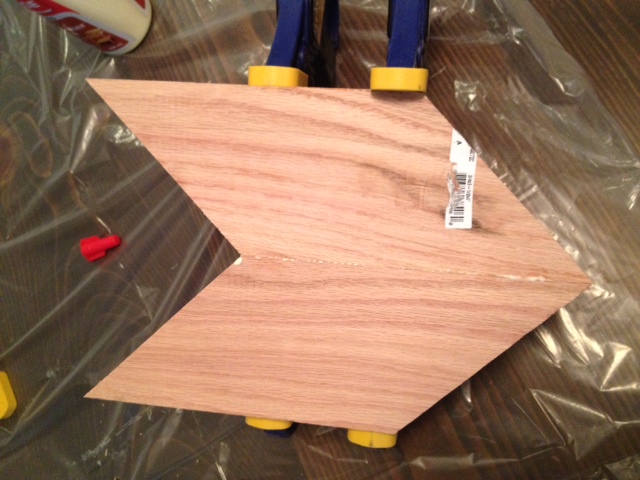
I then took those two boards, added glue, and clamped them together.
Boards glued & clamped
Once they were dry, I sanded, got the wood wet, let it dry, then sanded again. Why get the wood wet? It raises the grain, so you can sand it down again. If you don’t do this, then the first time the board is washed, the grain will raise and the wood will become rough again. It still may raise in the future, but at least you’ve sanded off the worst of it.
After everything is nice and sanded, I gave it a few coats of mineral oil, then followed up with some cutting board oil/wax.
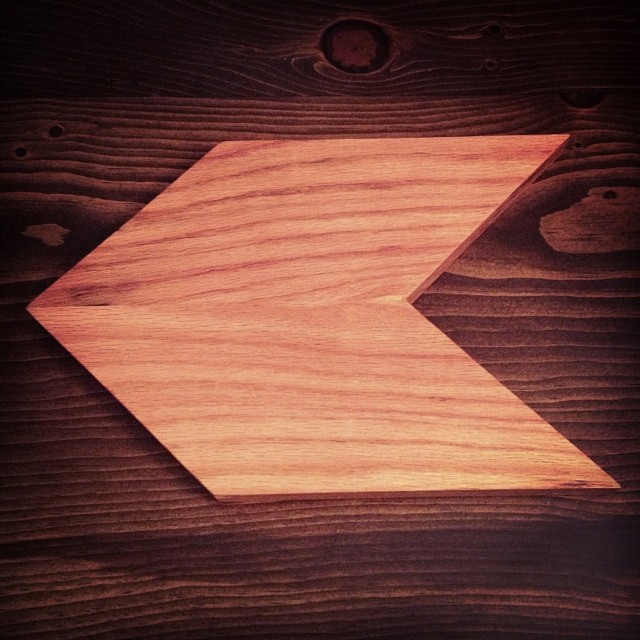
Ta da: Hipster Chevron Cheese Board
Chevron Cheese Board
El Granto had the brilliant idea that we should make a few of these, then we can slide them together at parties to make larger boards. I see another trip to the lumber yard, and more parallelograms in my future.
As the kitchen is starting to become functional again, we are starting to think about decor and other kitchen accessories. One of the biggest changes in the kitchen will be our new DIY concrete countertops. As concrete is rather hard and unforgiving, we will need to use cutting boards for all our chopping. I love a good cutting board, but they can be expensive, and often are not the size you need for your space.
We did a bit of research, and set out to make some easy & inexpensive cutting boards for our kitchen.
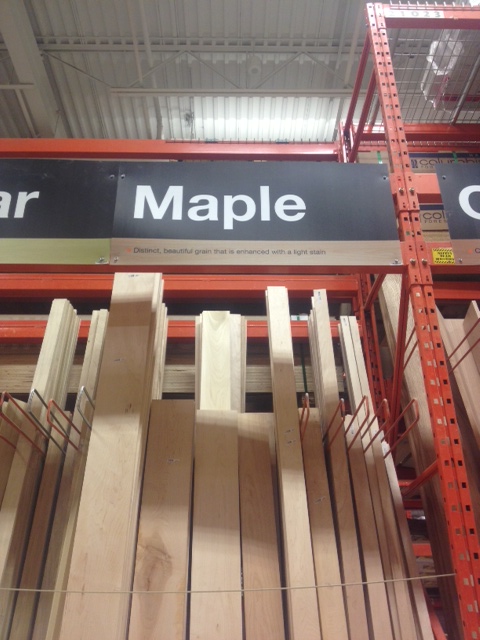
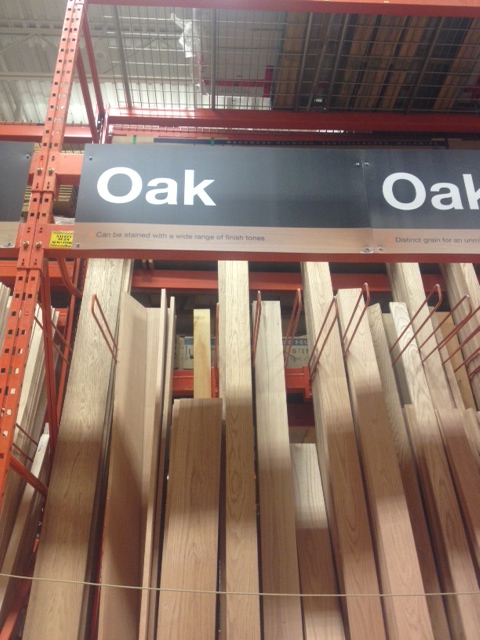
Selecting Material: Hardwood is preferred for a cutting board. Maple or Ash is the perfect material, as it has a nice tight grain. Oak is also usable, but not ideal as it is more of an open pore wood.
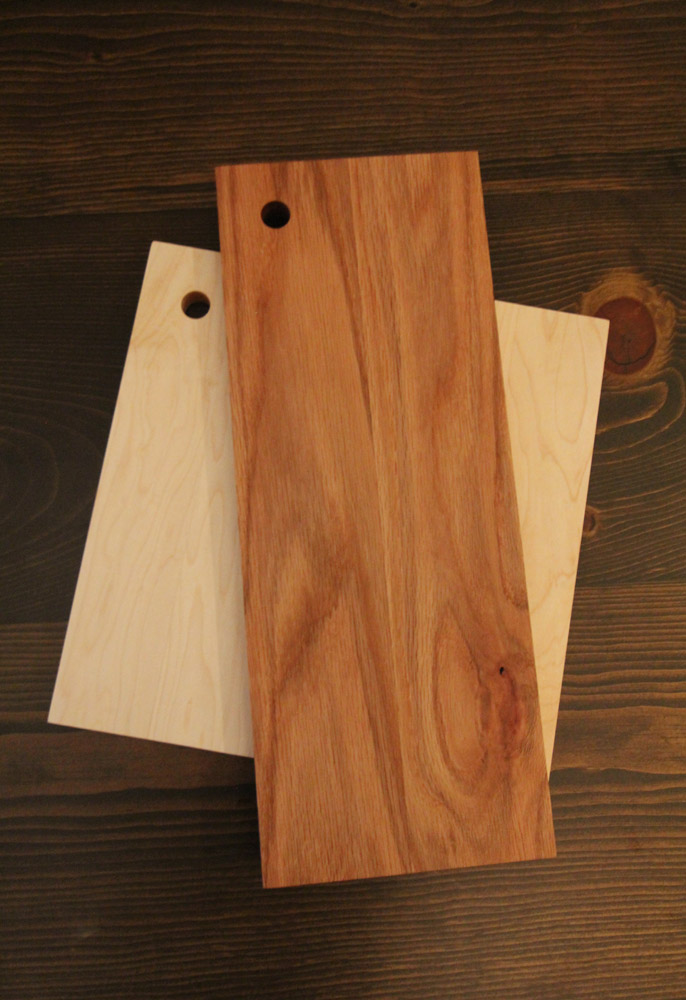
We decided to make one maple cutting board for everyday use as well as a red oak board more suitable for serving & veggie cutting (we wont be cutting raw meat on the oak).
We headed to the Hardware Store for some simple materials.
Here is what you need:
1 – 1×3 piece of Maple (6′ long)
1 – 1×4 piece of Oak (6′ long)
Saw – Table saw preferred, but a Miter or circular saw will work
Drill bit – We used a 3/4″ spade drill bit
Drill – Cordless or in our case we used a drill press (but that’s not necessary)
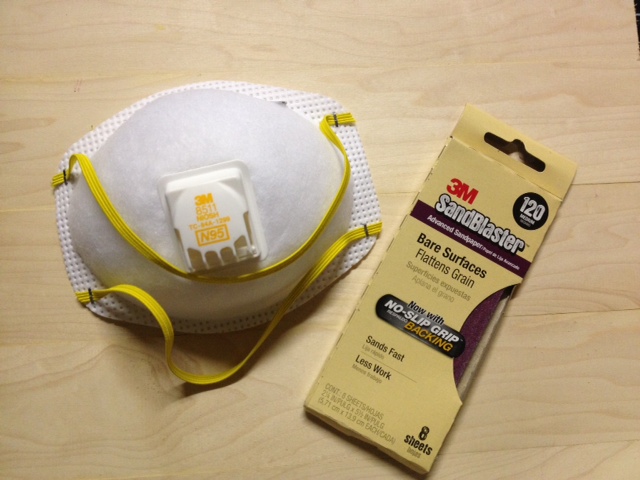
3M Advanced Abrasives sandpaper in 80, 120 & 220 grits (palm or orbital sander optional)
Wood Glue
Mineral Oil
We headed to our local lumber store and picked up a piece of 3″ wide Maple, and 4″ wide red Oak.
MapleOak
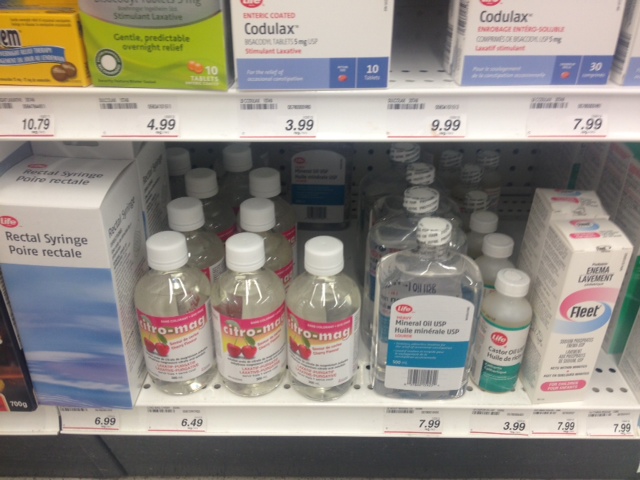
I also made a stop at my local drug store for some Mineral Oil. Mineral oil is used to protect your cutting board. You can find Mineral Oil at Kitchen Supply stores, Ikea, and your drug store. Mineral Oil is (apparently) used as a laxative, and can be found in the digestive aid section of your drug store. Yep, it’s true!
Mineral Oil – Three bottles to the right of the rectal syringe…eeep
Ignore the strange look the cashier gives you when you purchase your mineral oil while carrying two pieces of lumber.
*It is important to use Mineral Oil or an oil specifically marked as a cutting board/butcher block oil. Do NOT use olive or vegetable oil, as those will go rancid. Mineral Oil is food safe and will not spoil.
Now its time to make some cutting boards!
El Granto cutting the wood to length
Cut your maple into 5, 13″ long strips (does not need to be exact)
Cut your oak into 2, 20″ long strips (again doesn’t have to be perfect, we will be trimming the boards later.)
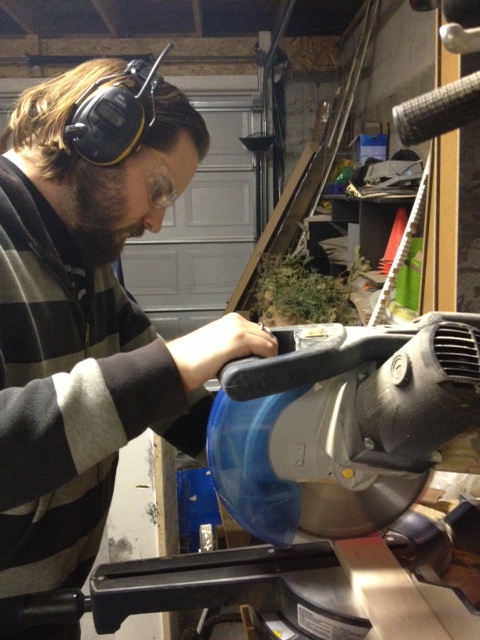
Make sure to use safety equipment! Eye & ear protection are a must. Cutting hardwood can get very loud.
Hearing ProtectionSafety Glasses
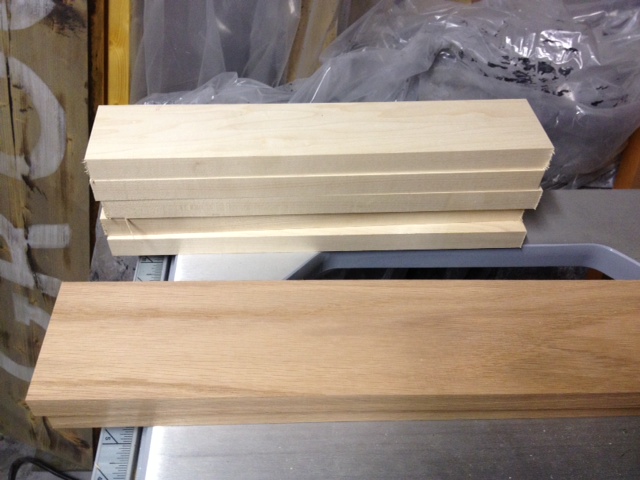
Once all your wood is cut, sand off any imperfections and get ready for gluing.
Wood cut to length
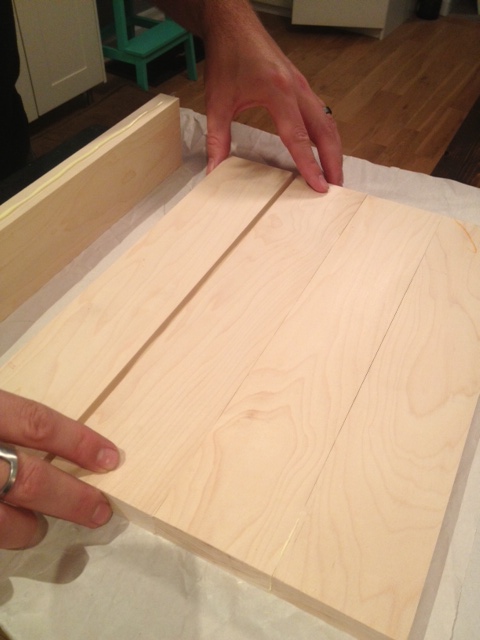
Make sure you have a nice flat surface to glue your boards together. We went inside and laid all our boards out deciding how we wanted them to look. Grain is important in the outcome of your piece. Make sure you take it in to account and lay out your boards to maximize the visual appeal of the grain markings in your wood.
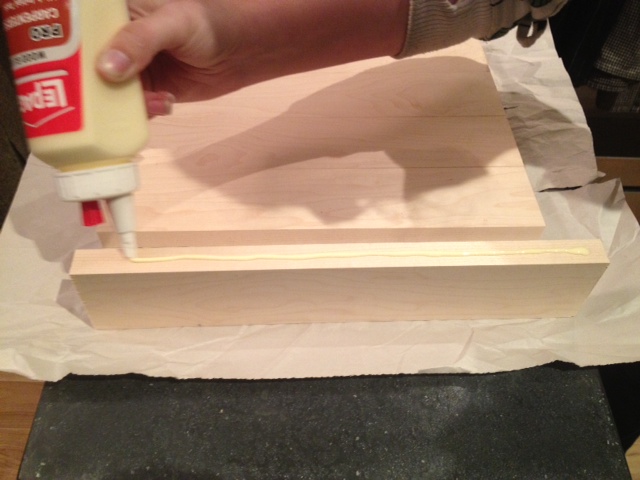
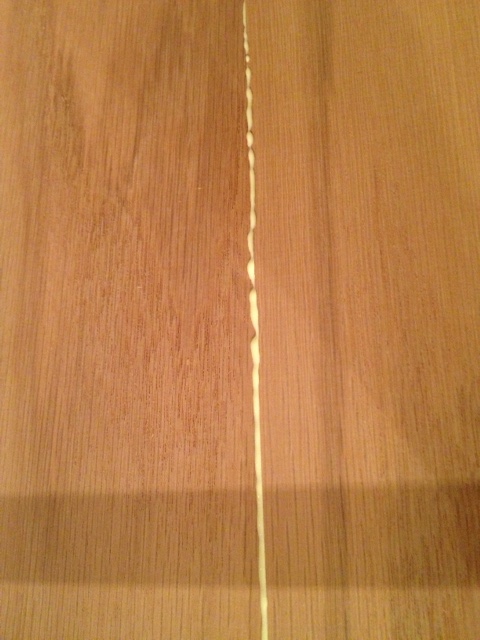
Next up, run a bead of wood glue on the edges of your boards (one board at a time) and glue them all together. When you’re pressing your boards together wiggle them lengthwise to spread the glue and work out any air bubbles.
Applying GlueAttaching boards together
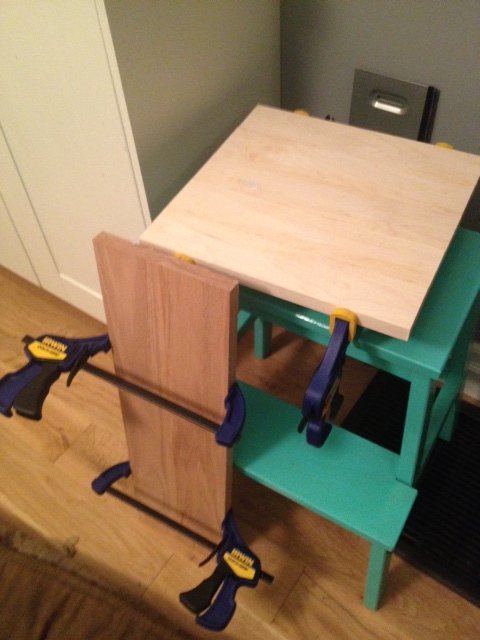
Once all your boards are glued together, clamp them, and wipe off any excess glue.
When you clamp the boards together, sometimes excess glue seeps out. Quickly clean this off before it dries (it is a pain to sand off)
After your boards are clamped, leave them to dry overnight.
Clamped & Drying
The next day, un-clamp your boards, and it’s time to drill & sand!
I like my cutting boards to have a handle or a hole to hold onto. It makes it easier to grip and to store (they can be hung up.)
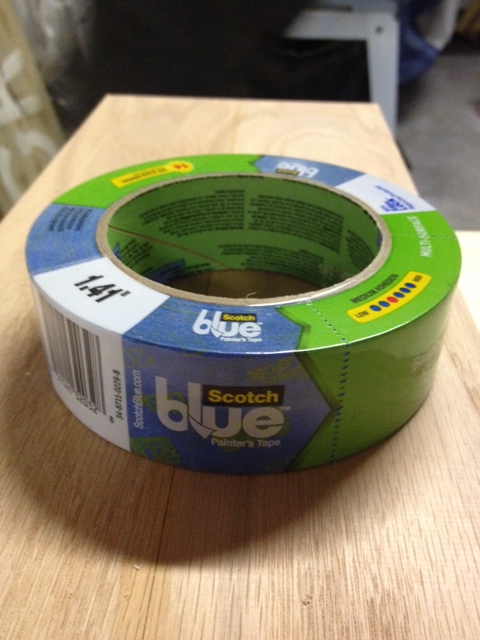
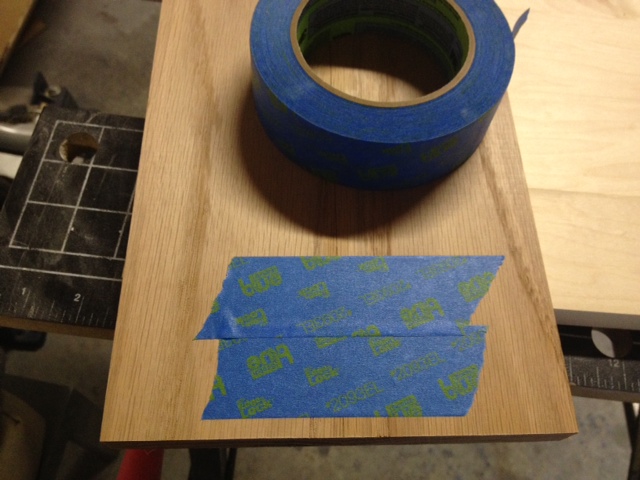
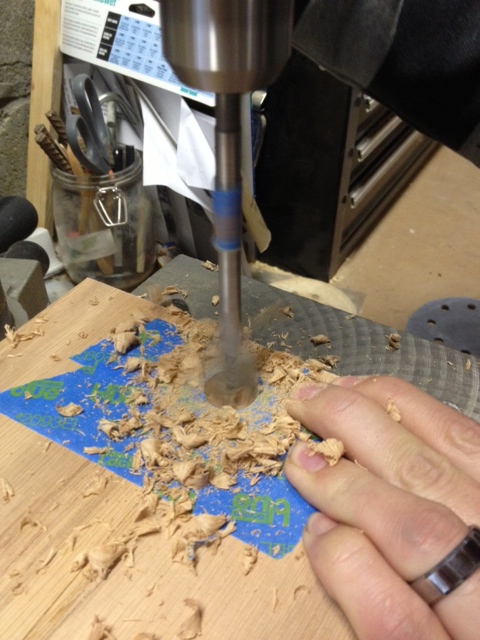
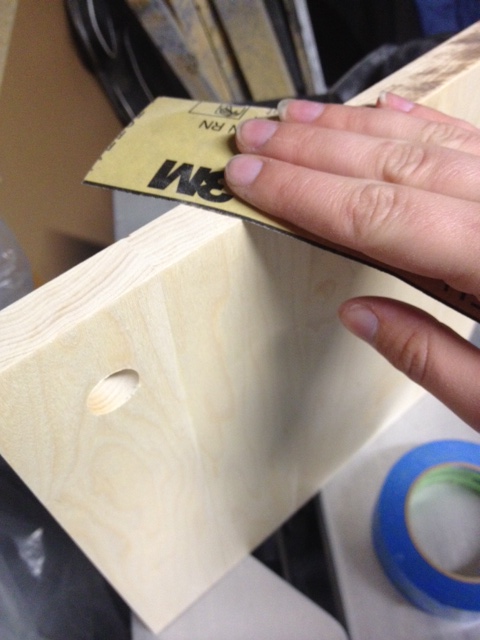
We added a 3/4″ hole to the corner of each board. To do this we taped off both sides of the board using ScotchBlue Painter’s tape. Applying tape before drilling reduces the amount of tear out (when the wood chips and splinters). Applying the tape also makes a great surface to mark your drilling location. We measured in a 1 1/2″ from either side for our holes.
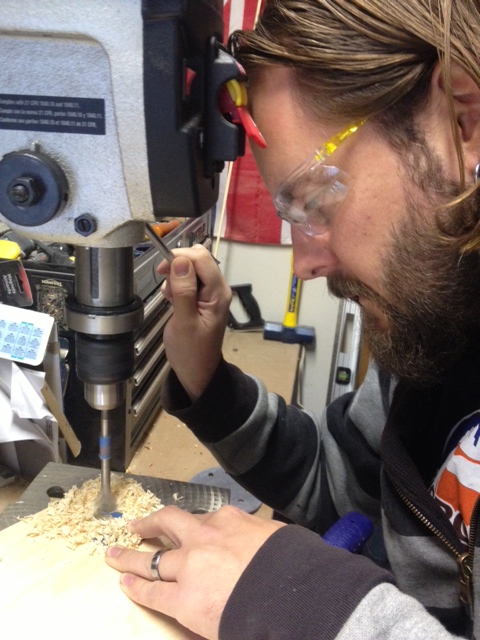
Next up, ready your drill with a 3/4″ bit, and drill your hole. We have a drill press, so we used that for an even more precise hole, but you can use your cordless drill. Just take the time to ensure you’re drilling straight. Place a piece of scrap wood under your cutting board so you don’t drill into your table! (It also makes the cut cleaner.)
El Granto drilling the holesEl Granto drilling the holes
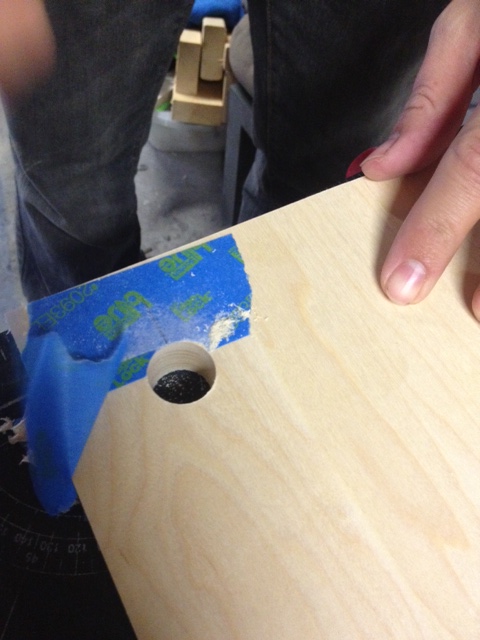
After your holes are drilled, remove the tape and check out your perfect hole!
Perfectly drilled hole
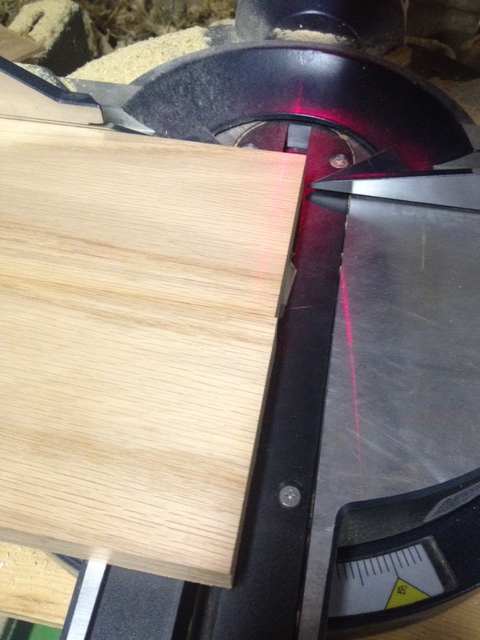
You may notice that the ends of your cutting board are not perfectly straight. You could spend hours trying to sand them, or the easy way is to head over to your sliding miter saw and trim up the ends. A couple quick cuts and your boards are nice and square and true. (If you don’t have a sliding miter saw, you can use your circular saw.)
See how the ends are uneven? No problem, a quick run through the saw will have everything perfect
Now its time to sand. Using a palm sander or an orbital sander will make this process a lot quicker, but you can do it by hand.
Remember to wear a dust mask while sanding. Aint nobody got time for sawdust in the lungs!
Starting with 80 grit sandpaper, sand off any imperfections, and make sure your board is nice and flat. Once you are happy with how flat everything is, step up to 120 grit and sand the whole piece making everything smooth.
Lastly, take a pass with the 220 grit to make everything perfectly smooth and buttery soft.
Sand the edges by hand, and gently round the corners ever so slightly so that they are not sharp.
Hand sanding the edges
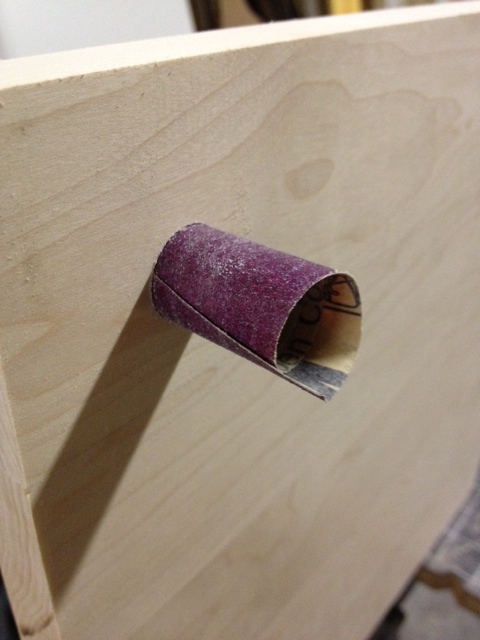
Roll your sandpaper into a tube shape, and insert it into the hole. Rotate it around sanding the inside of the hole.
Roll sandpaper into a tube to sand the hole
Once everything is sanded, wipe your boards off with a dry cloth.
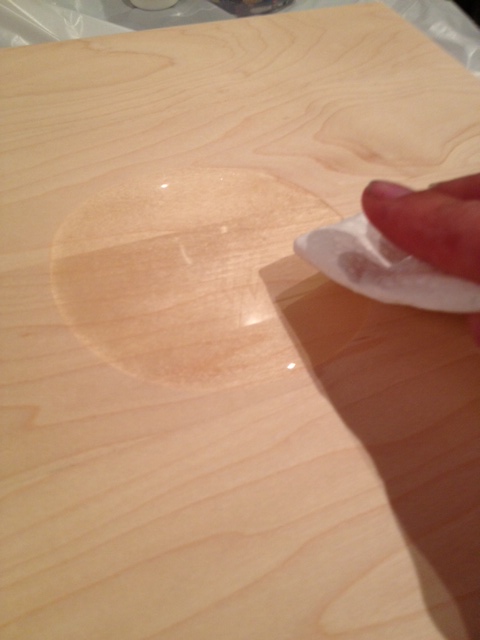
Now the next part may sound counter intuitive, but take a damp cloth and wet your cutting board (don’t saturate it, but get the whole surface damp.) Let it dry, and rub your hand along the wood. You will notice that it feels rough again. The water has raised the grain (better now then after you wash it for the first time!) Take your sandpaper and knock down the grain until it is smooth again, wipe your board again and get ready to oil!
Using a lint free rag or paper towel, apply a generous amount of mineral oil to your cutting boards. Rub it in, and let it sit for an hour or so. Come back and wipe off any excess. Repeat this 2-3 times until you notice your board stops absorbing oil. Let dry.
Applying Mineral Oil
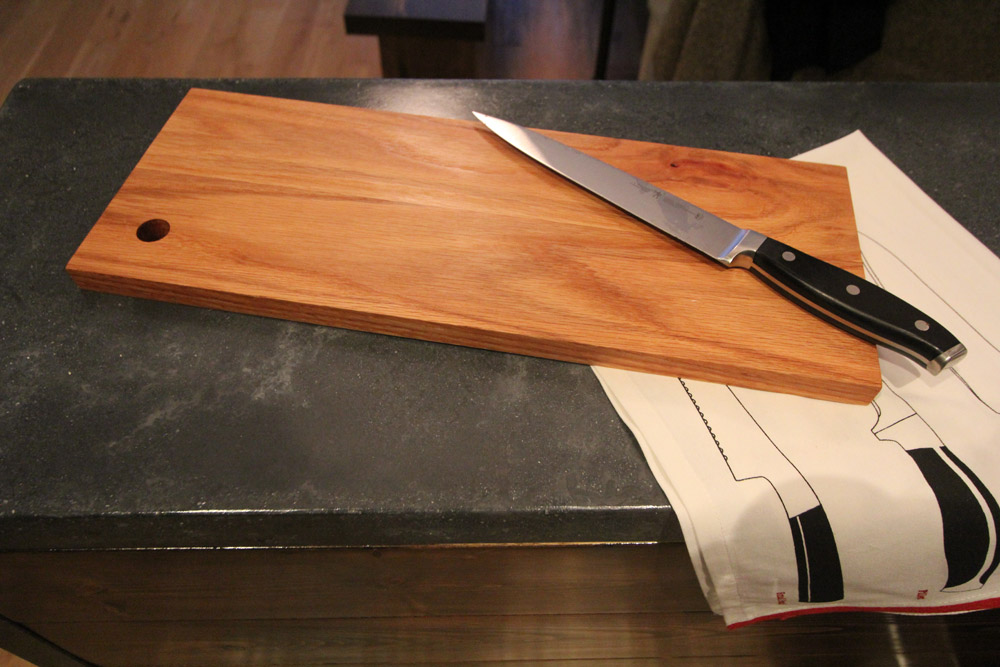
AND YOU’RE DONE! Enjoy your gorgeous new cutting boards!
12 1/2″ x 12 1/2″ Maple Cutting Board & 7″ x 19″ Oak Cutting BoardDetail of Cutting Board HolesOak Cutting Board
Make sure to re-oil your boards when you notice them looking a bit dry. Never put boards in a dishwasher, or let them sit in water. You can also use a mixture of 5 parts mineral oil to one part all natural beeswax, heated over low on the stove, then rubbed into your board for added protection.
***UPDATE: Check out our post on Wood Oil/Wax here***
What do you think? Wouldn’t these make perfect holiday gifts?
I cant believe I totally got off my butt and got some work done on the coffee bar. I know, amazing, isn’t it. I am a chronic project half finisher. Oh look at that new shiny project over there… Its not all my fault, money plays big into things, as do accessibility to materials.
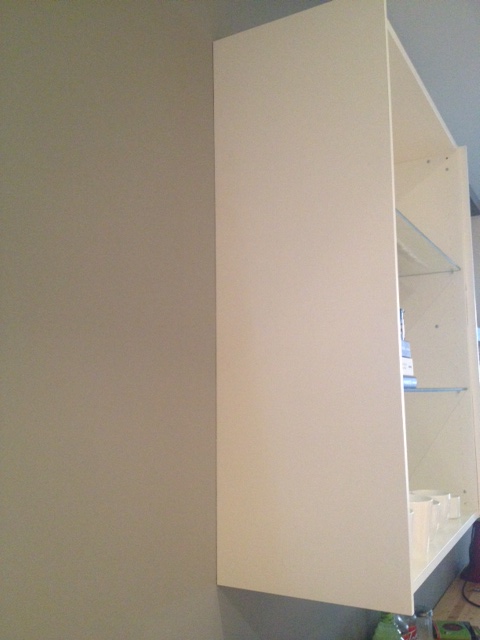
SO we knocked the filler panels off our to do list, and got to tackling the open area between the upper cabinets.
Upper Cabinet Filler PanelsCoffee Bar
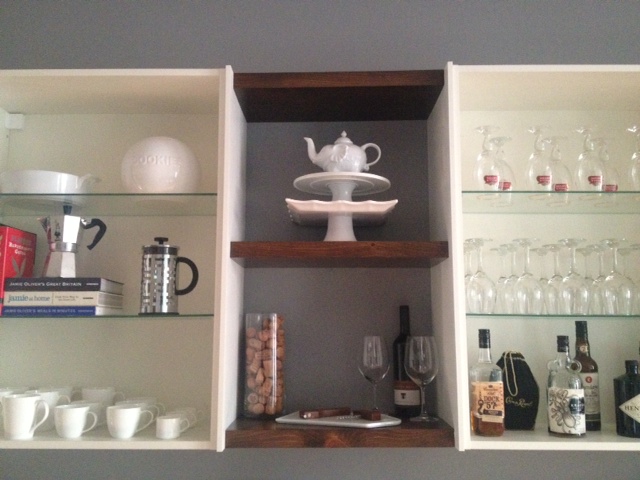
When designing the coffee bar, we left an open space between the upper cabinets for some open shelving. We thought it was a good place to mix things up a bit, and add a different colour/material.
We set out to finally add some shelves. They are short shelves, just under 2 feet wide. When deciding on materials we could have matched the cabinets, but the whole kitchen was feeling a bit matchy matchy. So we took a cue from our new dining table and bench, and went wood. We also wanted it to look a bit more modern, so we decided to forgo shelf brackets, and suspend the shelves between the upper cabinets.
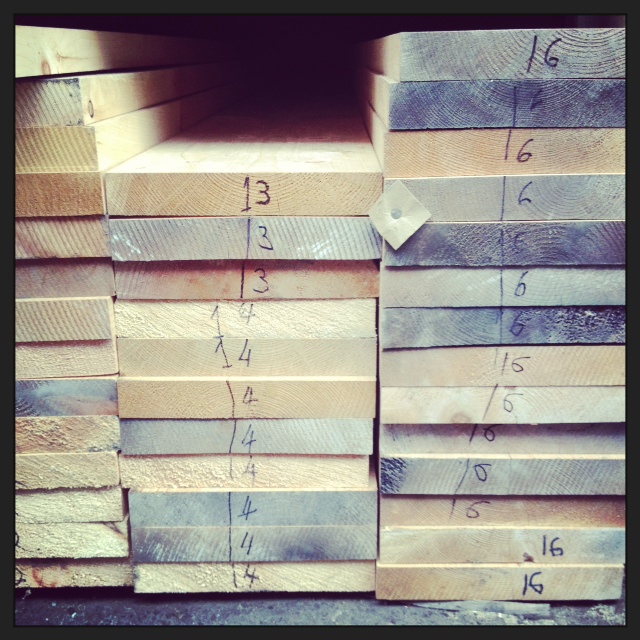
Off we went to the happiest place on earth (AKA the lumber yard.)
Wood as far as the eye can see. Its like Disney Land for 30 somethings who like woodworking
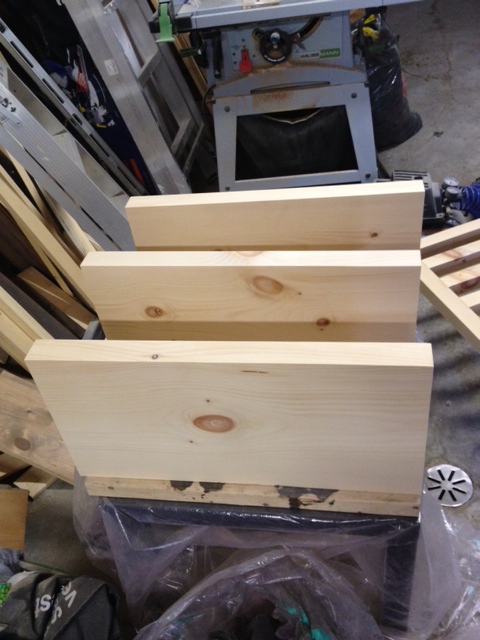
We picked up a 6′ length of 2×12 kiln dried pine from Downtown Lumber, carried it home and cut it into three shelves.
Wood Cut. We also marked which side was the prettiest, and if it would face up or down (cause you’re looking up underneath the taller shelves)
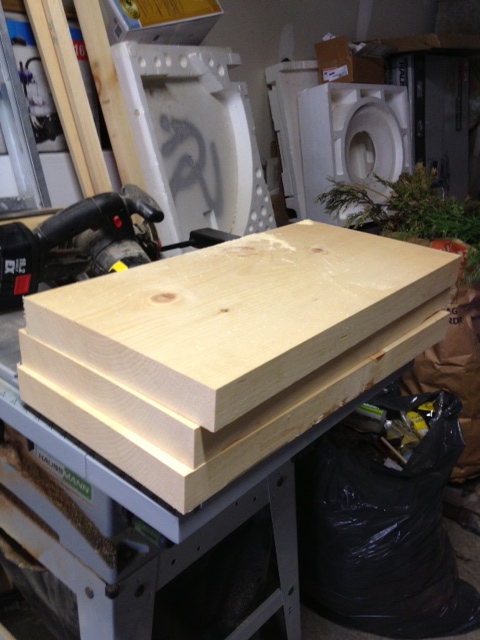
Then we sanded, and sanded and sanded some more (as always). If I could outsource sanding, I would. The only saving grace with sanding is blasting some rocking music that gets you working faster (ever listened to Andrew WK while sanding? It’s like you are compelled to work FASTER!)
After I was happy with the sanding, I cleaned everything off, and set up the shelves on blocks and gave it a coat of wood conditioner (followed by two coats of stain to match the table, and 4 coats of polyurethane.) I took photos of this step, then deleted them. Cause I’m awesome like that. So close your eyes and visualize it, k? Good.
Shelves ready for stain
After everything was dried and purdy, we went inside to install. This went surprisingly well. A couple ladders, swear words, some screws and leveling, and the shelves were screwed through the cabinet into the shelf.
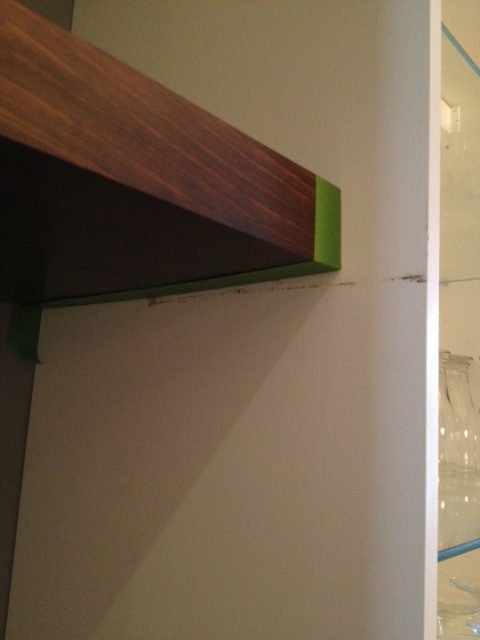
The only problem occurred was that I was TOO good at measuring, and the shelves were such a tight fit, that they left a few marks on the filler panels when we were shimmying them in place. No harm done, a bit of masking tape, and some touch up paint were all that was needed.
Marks on the cabinet covers
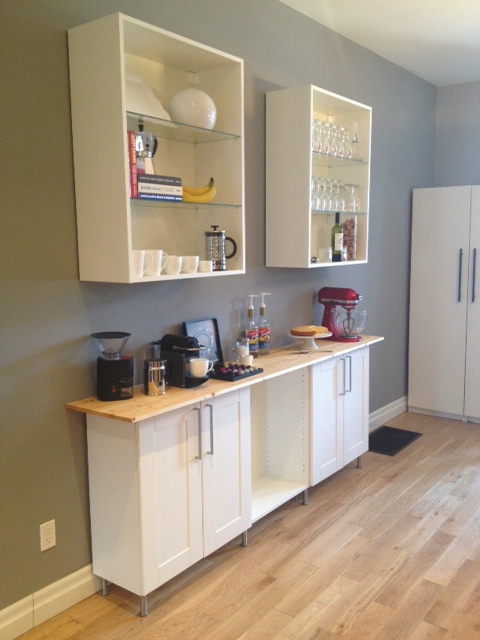
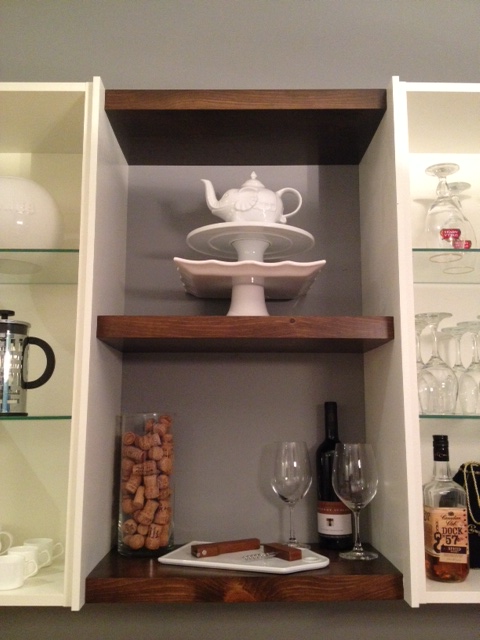
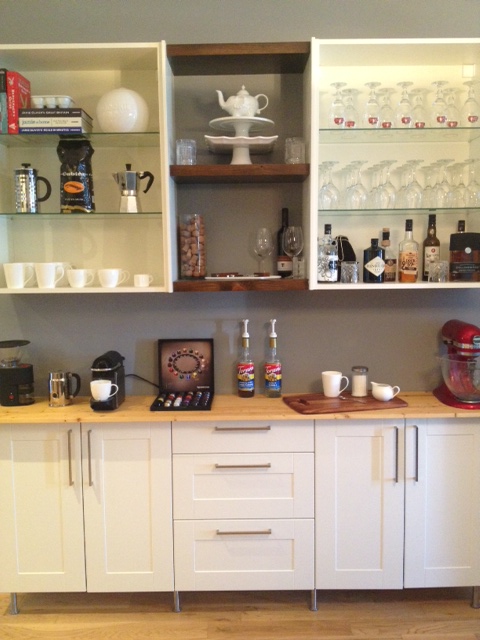
And ta-da, the shelves are done!
Shelves completeShelves completeOpen Shelving
My only problem is that I am HORRIBLE at styling shelves. Anyone wanna come to my house and style my shelves for me? That and I never seem to have any accessories of the right scale. Too big, too small, too weird. Check. So this kids is what it looks like when I throw together some shelving. Maybe I can get some of my photo stylist friends drunk and convince them to style my house for me.


 Digital WorkTunes™ Hearing Protector, Holmes Workwear™ Premium Safety Eyewear & 3M tekk Paint Sanding Valved Respirator
 sandpaper in 80, 120 & 220 grits (palm or orbital sander optional)