The Time Mike Holmes Fixed our House

I completely missed our Blog Anniversary last week!

On July 5th, we officially turned two!

I had plans of a whole Blogaversary week with my fave stuff, behind the scenes etc, but heck, summer happened, and so did work in our backyard. However, I will give you one flash back post!

I was talking to a good blog friend a few weeks ago, and mentioned that my lifelong dream was to have my own show on HGTV, and that we had loved being on Holmes Inspection. She gave me the WAIT WAIT WAIT, you were on HOLMES INSPECTION? And I was all like “yeah dude, Mike Holmes fixed our house! It’s on my blog!”. Then I realized I posted about being on the show on my 2nd ever blog post. Back when…oh about two people read the blog (Thanks Moms!)

So I said to myself. “Maybe my new readers don’t know about the time I cried on international TV, and Mike Holmes saved our butts”.

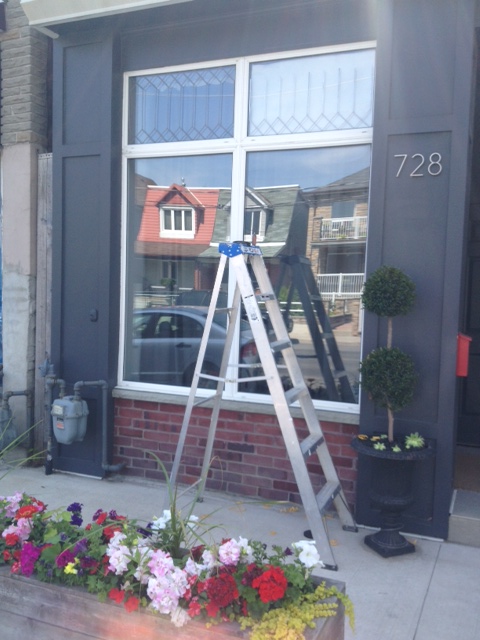
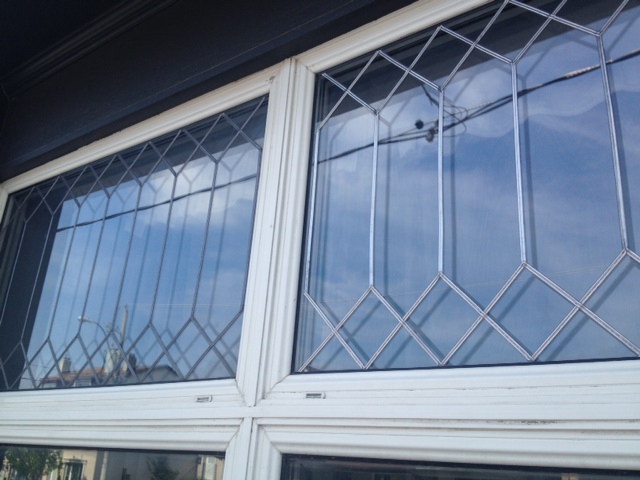
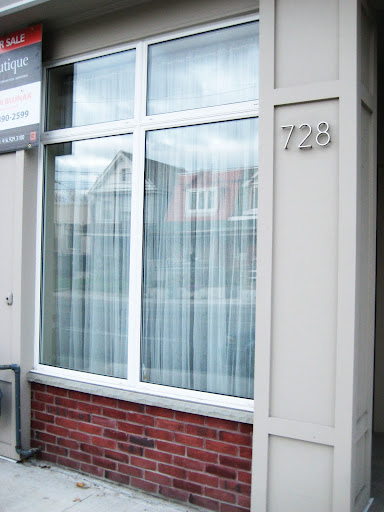
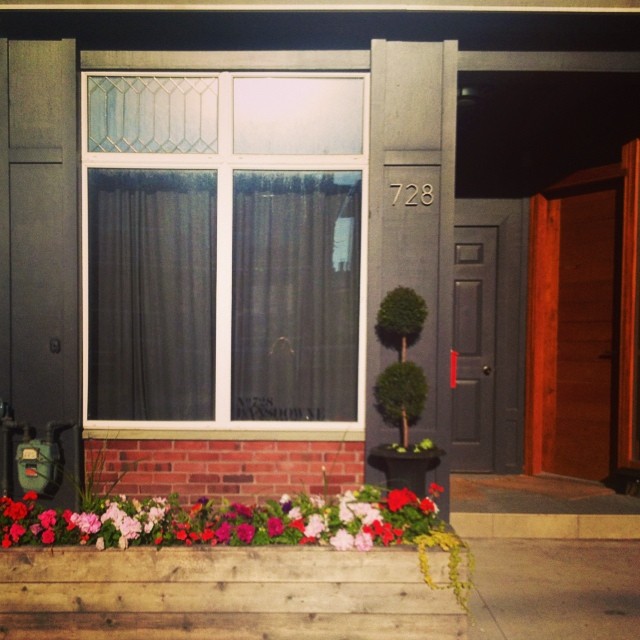
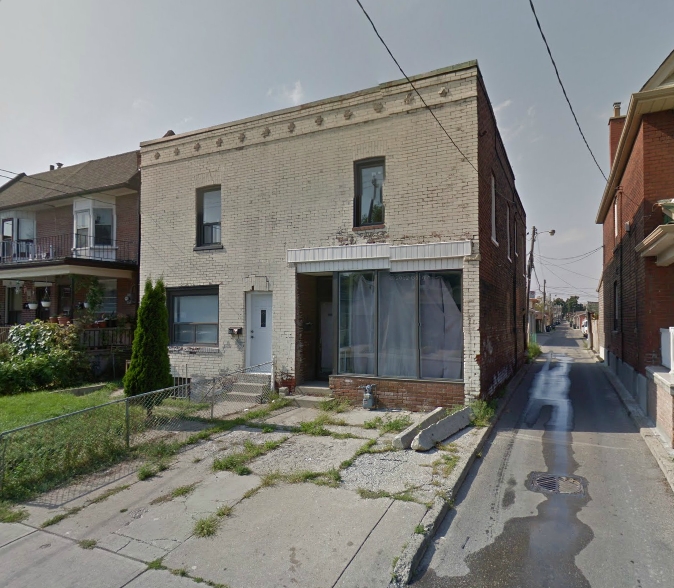
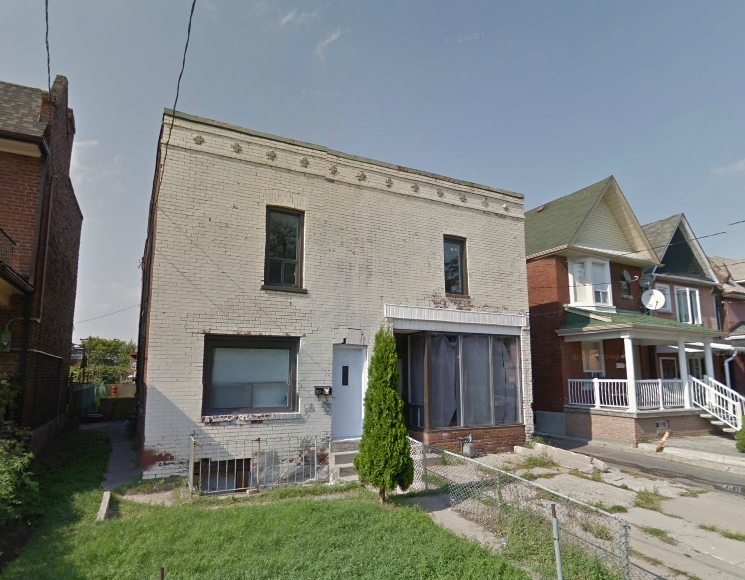
Here’s the scoop. We moved into our place, and had big problems from day one. We were in over our heads, and had spent ALL our money on buying the place. We had a home inspection (from a VERY reputable company) but a lot of things were missed.

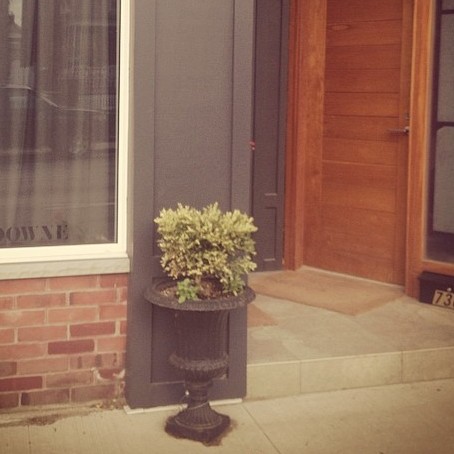
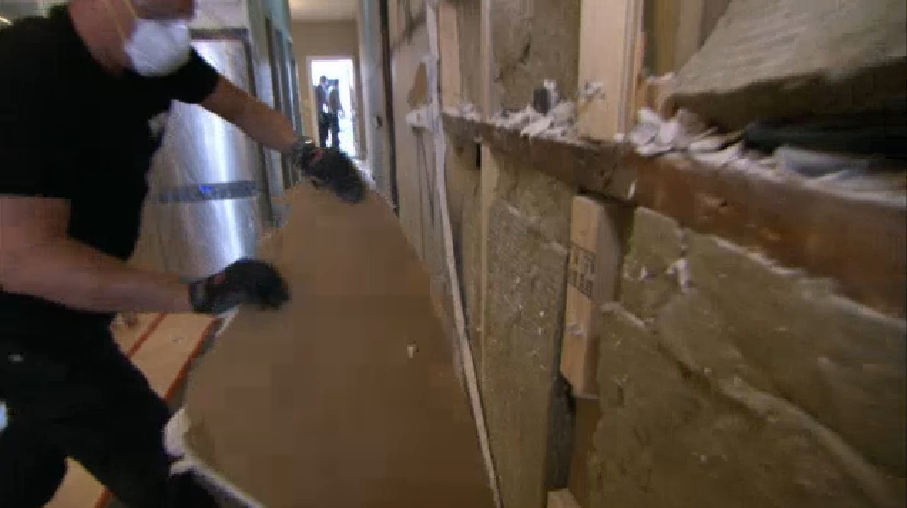
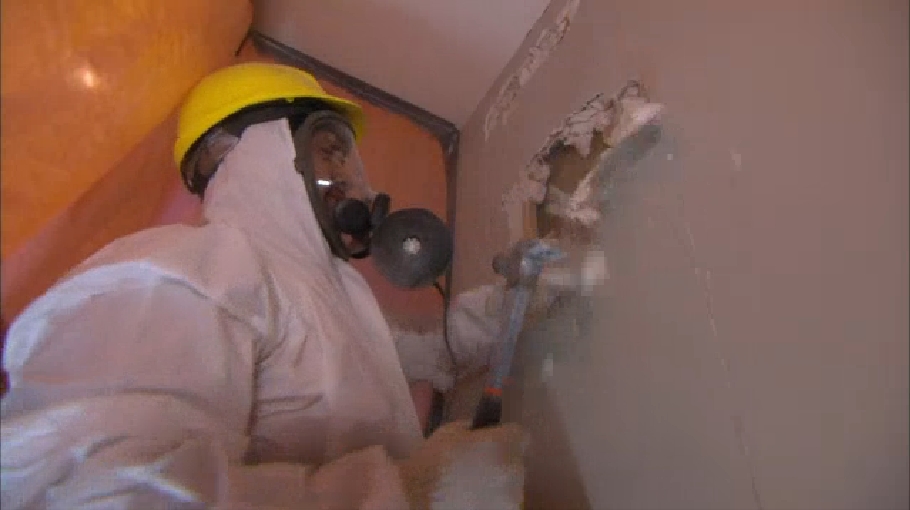
Mike, Damon & the team stepped in, and fixed all the problems hiding behind the walls of the Storefront.

I wont spoil the show for you, so head on over to HGTV and give it a watch!

Watch Moisture Madness
Watch our episode “Moisture Madness” on hgtv.ca

For my American & International readers, I don’t think it will let you watch it on the Canadian site, and I do not see whole episode listed as streaming on hgtv.com. Keep an eye out for our episode on your local listings, or give it a google and see if you can find it.

Our Episode: Holmes Inspection Moisture Madness.

FAQ

We get a ton of questions about the show. Here are answers to your most asked questions!

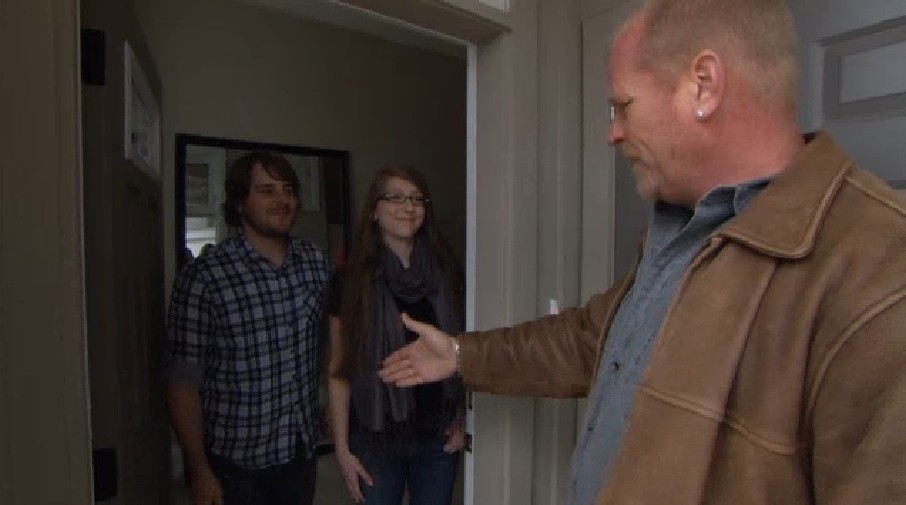
Whats Mike Like? Exactly as you see him on TV! He is kind, friendly, funny, and cares sooo much about quality construction, and helping people! The first time we met him was literally when he knocked on our door in the show. Nothing is scripted. He is genuine, and it was awesome to have Mike and his team come to our rescue.

Did we have to move out? Yep! We had a lot of construction going on, and some safety concerns, so we moved out for the duration of the show. We stayed at Grant’s Mom & Dad’s place, and the only time mid construction that we came back to the house was when you see us come back in the show.

How did we get on the show, and why did we apply? It was Christmas time, the house was falling apart around us, and no contractors were returning our calls as it was the Holidays. Defeated, we were sitting on the sofa watching TV, and a Holmes Inspection marathon was on HGTV. El Granto turned to me and said we should apply. I said, oh our house isn’t THAT bad, is it? He said…well, yeah it is. We emailed them our story via their casting call on hgtv.ca. I drafted the email, read it back aloud to El Granto, and burst into tears, as yeah, it did sound pretty terrible when you put it all on paper. Our story must have been compelling, as they picked us!

moisturemadnessdemos2

When did the show air? It aired in September 2011, a week and a half before our wedding! Don’t worry, we still got married, although we did have to postpone our honeymoon, and never did get to go to Europe. Instead we took a short tropical honeymoon six months later.

Did you have to pay? How much? Sorry guys, we’re not discussing anything about money. That’s private!

Would we do it again? OF COURSE! They saved our butts! We owe Mile & the team a world of gratitude and I don’t know where we’d be without them. We now have an awesome home, that we are loving putting our own stamp on.

moisturemadnessasbestos

Let me know if you have any more questions, and I will do the best to answer them.

Have you ever be on TV? Have any television aspirations? What did you think of our episode?


Leaded Glass Storefront Window

Almost two years ago, I started adding lead strips to the storefront transom windows, to create a faux leaded glass effect. I ran out of lead when I was halfway through, leaving one window unfinished. El Granto even purchased me a new roll of  lead last summer, but I had yet to get around to finishing the project. I often have trouble finishing projects. Once the project goes from fun to mundane, pulling the trigger on the last 10% is tough. I often find myself running onto the next project with full steam, and forgetting the last finishing bits.

Well this past weekend was finishing up projects & home maintenance weekend. From weed pulling and grass cutting to touch up painting, and yes that’s right, finishing the lead windows.

Armed with soap and water, windex and a broom, I headed out to the front of the Storefront and gave everything a thorough cleaning. The windows were washed, porch swept, doors and trim cleaned, and I even managed to clean out the leaf littered garbage room.

While up on the ladder washing the windows, I opted to get out my leaded glass drawing, a roll of Pebeo Vitrail Stained Glass Effect Self Adhesive Lead Strip, and finish the damn leaded glass windows. I taped my template on the inside of the window, and started measuring and cutting strips to length. I applied the lead strips starting with the long tall vertical pieces, then worked my way out from the middle adding the shorter criss-cross strips.

photo 1(13)
In progress: The vertical lead strips and the bottom criss-cross pattern applied to the right transom window.

The strips are not very adhesive, and don’t really stay on the glass until you burnish them with the provided tool. This project would be a lot easier on the ground. Being up on a 8′ ladder applying the lead to the 12′ tall windows was definitely the hardest part.

The old lead on the left, and the newly applied lead on the right.
The old lead on the left, and the newly applied lead on the right. You can see how the new lead is a bright shiny silver, whereas the old lead has gathered a lovely patina.

All told it took me about an hour and a half to complete the project, and now I can finally knock it off my to-do list!

Leaded Glass Complete!

In fact, the exterior of the Storefront now complete!


BEFORE:

Storefront Before
Storefront Before

Here is what we have done so far:

AFTER:

Storefront Complete for Now

The only remaining tasks for the Storefront exterior are wish list items, that will likely never get done. We would love to remove the vinyl siding on the second floor, repoint and clean the brick, and have the window & roof overhang re-flashed. Would also love to install a gooseneck light above the house number. This would involve drilling through brick, cutting through spray foam, running new electrical, then patching everything up.  So until pigs fly, I hereby pronounce the exterior completed!


P.S. I have had several comments and emails about the lead strips. You can purchase them online from Amazon, or from local art stores. We found ours at Curry’s art store on Queen West in Toronto. The price varies, but is usually about $25-30 per roll. We need two rolls to complete our two windows. Each window is just shy of 24″x48″.

The lead has been exposed to the elements for two years, and has not fallen off the window, or ruined the glass in any way. The only change to the lead was it’s patina. It has not run, rusted, or in anyway discolored the glass.

Eugenia; Our New Pet Poodle Tree.

If you follow me on Intsagram, you will note that I have been having a string of bad luck with my garden this year.

I lost my fig tree, a whole lot of ivy, the backyard boxwoods, and most recently, my hostas have been withering up and dying. Yes, I can even kill hostas.

To remedy the situation, I have been making weekly trips to the garden center bringing home new plants. I have replaced everything except the poor dead boxwood who lived in our front door urn.

Yep, he’s dead

I added the cast iron urn & boxwood last summer, and it was adding a bit of class to the Storefront.  Well it was looking anything but classy with the dead and yellowing boxwood. Something needed to be done.

I started searching for new replacement trees & shrubs, but they are expensive! I didn’t want to invest too much, as I am still worried our plant thief will come back and take them. With decorative trees in the $60+ range, I held off to find the perfect tree.

Surprisingly my waffling paid off. Last weekend while perusing the local Loblaws garden center, I spied a pretty  ball topiary tree. You know the ones, they look like a show poodle’s tail. Well this pretty topiary had a too good to be true price on it. The poodlesque Eugenia was a good 4′ tall and had a $29 price tag. Yes you read right, $29! I thought it must be a mistake, and lugged it to the checkout. Sure enough, it was on sale, at over 50% off! Woot woot! I snatched it up, and carried it the 5 blocks home.

I planted my new pet poodle tree in the urn, and surrounded it with a few succulents and some mulch, and we now have a regal poodle topiary. We’re back to being classy. Well as classy as you can possibly be when you call your topiary a poodle.

photo 3(9)
See what I mean about the whole Poodle thing?
10424610_1437733873155387_1135352746_n
The Storefront & new tree


What do you think? Any guesses on how long it will take me to kill it and/or butcher its pretty poodle haircut?

Storefront For Sale

We’re selling the Storefront and moving to Paris! Not. Well unless the unchecked lottery ticket in my purse pays out.

Nah, we are not selling our house. We’re still madly in love with it, and have many more plans and projects to finish yet. However if you are looking for a storefront conversion of your own, one just came up for sale in the neighborhood. Since we moved into our house, I have become a little obsessed with other converted storefronts. Its the same way when you own a unique model car or motorcycle, every other person who owns similar make or model is a friend. You wave at each other on the street and there’s just this untold bond. Or again, maybe that’s just me.

If you’d like to join the Storefront club (by the way, it’s awesome, and full of super cool attractive people.) There is a recently completed modern storefront conversion for sale in our hood.

I have been following the renos of these two semidetached storefronts. They happen to be located on our evening dog walking route, so we have seen them go from structurally questionable uninhabited structures to pretty awesome modern conversions.

Before - Google Streetview undated image
Before – Google Streetview undated image
Before - Undated Google Streetview
Before – Undated Google Streetview

Here’s an image from my post on Storefront Conversions showing midway progress on the two storefronts.

Mid Conversion (Spring/Summer 2013)
Mid Conversion (Summer 2013)

In the last few weeks the finishing details really have been coming together. Last week when walking past I noticed a for sale sign on one of them, and of course I just had to check it out. In the name of Storefront love, not just being a nosy neighbour.

So kids, if you’ve got $895,000 in the bank and would like to live in a converted storefront in my neighbourhood, this place may be for you.

(photos from MLS listing)

Specs: 3 story semidetached, 3 bedroom, 4 bath, 1920 square foot. Lot size 16.67×92 feet. (Its the house on the right in these photos)

 011519
032360

I like the use of black windows and a mix of materials. The pop of cedar is a nice touch.

159370

The open concept house opens into the diningroom.

199970

Then heads into the open plan kitchen with high gloss white cabinets. A staircase leading upstairs is on the right.219174

The large kitchen features high end appliances. I believe the cabinets are Ikea.

337534

The glass wall & staircase keep with the open plan.

454195

The bathroom finishes are all sleek and modern.

469686

The master is located all by itself on the third floor. Complete with ensuite bathroom and master rooftop deck.

5592

I’m going to take a page out of Old Town Home’s book and weigh the pros and cons of our house and this one.

STOREFRONT VS. STOREFRONT

Pro’s: With the third floor addition, this house has about 400 square feet of space more than our house. I love the addition of the third floor master & deck (I am lusting after a rooftop deck big time). We have a private master deck, but its not half as big. I love that they kept a lot of windows, and the place is light and bright. It is also 4 feet wider than our place, so it seems a lot bigger. They waterproofed & finished the basement. This is something that would never happen with our place, so it gets me a bit jealous. They also managed to cram 4 bathrooms into the house. With our 1.5 bath, this has me super envious. Not to mention a master en-suite. Want.

Con’s: No garage. This one would be a deal breaker. Motorcycles don’t really fit in basements very well. Not to mention an ever growing list of wood working tools. The backyard is also a bit small. As you may have noticed, I am also a bit of a traditionalist. Although I do like  a modern home, I cant help but wish they’d kept a few of the older features. Mainly the brick. They painted the exposed brick on the sides, but stuccoed the front and  back. Me no like stucco. There was also a nice brick detail pattern that was removed. The kitchen is a bit of an odd layout. It is a huge kitchen, but seems fairly empty with cabinets along one side. The living area is small in comparison, and I feel like they could have used a better kitchen layout, and given some of the space to the living room. Although that roof top deck is awesome, it’s also the main outdoor entertaining spot. So guests will have to traipse through your master bedroom to get to the deck. If you are bbqing out there, it also means getting your food & dishware up two flights of stairs and through your bedroom.

Conclusion: It’s a great house. Perfect for a young couple. Would we sell our place and make the move? I would consider it if it had a garage! But alas, without a garage we are staying put in our beloved storefront.

What do you think? Is this storefront conversion up your alley?

(I am in no way affiliated with the owners or agent of this property, I am just a nosy neighbour!)

Exterior of the Storefront

You’ve seen pics of the first floor of the storefront’s exterior, but what you haven’t seen is what the second story of our house looks like. That’s for one very good reason; its pretty ugly. Nah, I’m being mean to my poor house, its not THAT bad, but its not how we’d like it to look.  Continue reading “Exterior of the Storefront”

DIY “Leaded” Glass

I love leaded glass, especially in exterior transom windows of old storefronts. The transom above our front door is a leaded glass window (albeit new) and I love it. I WISH our house had some original leaded glass, but alas all we have are energy efficient double pane windows. I know, I am the only person on earth who complains about how energy efficient her house is…

The Storefront Window

We looked into getting some real leaded glass for the storefront window transoms, but it was darn near impossible, and pretty much a huge waste of money as our current windows are perfectly fine. The problem is however, that once I get an idea into my head I am not easily dissuaded. So I started researching for a solution and came across this:

Pebeo Vitrail lead adhesive strips. It’s used for faking your own stained glass. They have a line of glass paints, and you literally make your design out of this tape, then fill it in with the glass paint.

I didn’t want the stained glass look, but the lead looked like a pretty cool idea. So I popped into every art store I came across, and on my third try I managed to find a package. It was $24 for 33 feet. I thought that would be plenty for my project and headed home.

I then did some research for leaded glass patterns.

We narrowed it down to either a Diamond pattern, or  a Regent pattern. I drew both out to the size of our transom windows, and once drawn out, we liked the Regent the best.

I headed outside and thoroughly cleaned the windows and then taped my drawn out pattern on the inside of the window. I then set to re-create the pattern on the outside of the window. It was a bit tricky due to the space between the front pane of glass and the back one where the pattern was. If I change the angle I was looking at the window it changed the pattern. I tried hard to keep it straight and true but alas its a bit crooked. Shh don’t tell.

The adhesive leaded glass was very easy to cut, but the backing wasn’t that sticky. You really need to burnish it in place with the provided application tool to make sure it stays where its supposed to. Once I got into the swing of things my lines became straighter and my cuts more precise. Just as I was fining the first of two windows I noticed that I was dangerously low on adhesive lead! Eeep. Apparently 33 feet doesn’t go that far when you have an intricate pattern. So I was unable to finish both windows, so for now I have one leaded glass transom window. What do you think?

“Leaded” Glass Window (view from outside)
“Leaded” Glass Window (view from inside)