I went to Ikea in search of a plant. I left with kitchen cabinet drawers.
Every time I visit Ikea I take a look at the as-is section. Most of the time there’s nothing to be had, but sometimes, they might have the very thing you need.
Last you saw it, the coffee bar was still missing it’s drawer unit (bottom middle) as well as the upper glass doors. Why you ask? Cause that stuff was expensive… The drawer unit alone was $232 before hardware. Ouch.
Coffee Bar
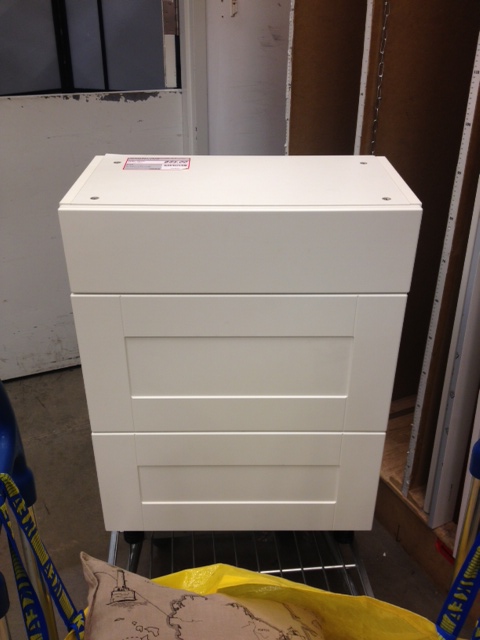
That was until I walked into Ikea on a fateful Friday night, and spied this fellow happily sitting in the as-is department with an $85 price tag.
Why hello there sad little drawer unit without a kitchen to call home
It was a complete drawer unit EXACTLY the size that we needed for the coffee bar. In perfect condition, fully assembled. I don’t know how poor little drawer unit got to the as-is, he clearly wasn’t a floor model as he didn’t have any handles, nor had the cabinet ever been attached another cabinet (as it didn’t have any holes drilled through it). I frantically texted El Granto at home confirming that yes that was the size we needed, and then I ran to the check out, having my own “Start the car!” moment.
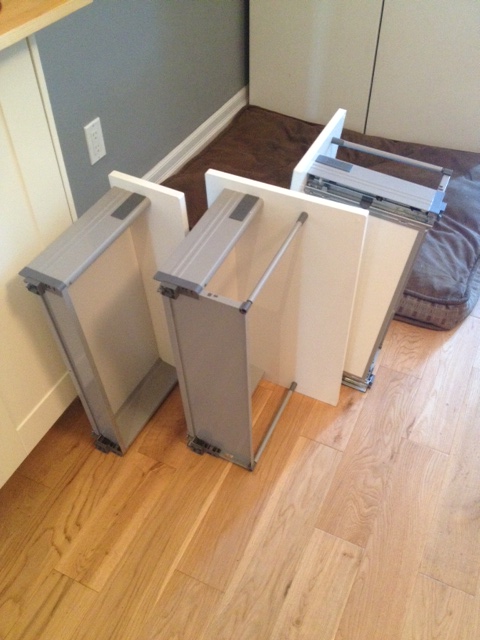
When I got home, we tried to figure out how to get the drawers OUT of the cabinet, as I actually already had the exact same cabinet frame already installed in the kitchen, and just needed the drawers. However they just wouldn’t come out! After goggling it, I finally discovered that there are two little tabs (one on either side) of the bottom of the drawer. If you press both tabs simultaneously towards the sides of the drawer and lift up and out, your drawer will come unattached from the drawer slide.
Drawers removed
El Granto then removed the drawer slides from the cabinet frame and installed them in our coffee bar and slid the drawers back in place.
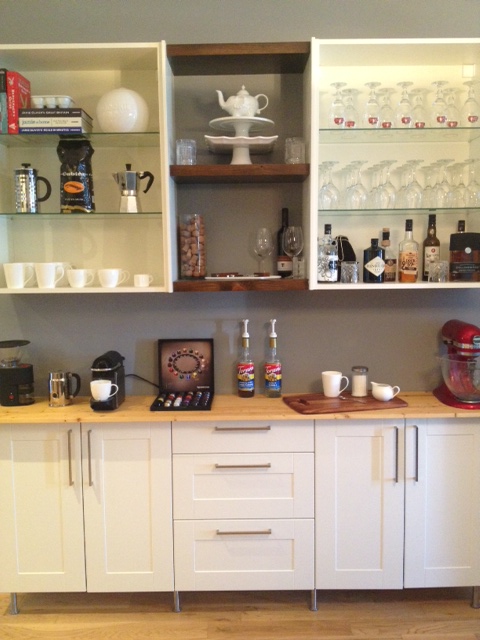
Using our cabinet handle template, El Granto attached matching handles, and our coffee bar was finally starting to look somewhat complete.
Look at those drawers!Coffee Bar
With the new drawers, open wood shelving and filler panels all complete, its looking pretty good. Progress baby!
Have you ever scored anything amazing in the as-is section?
I cant believe I totally got off my butt and got some work done on the coffee bar. I know, amazing, isn’t it. I am a chronic project half finisher. Oh look at that new shiny project over there… Its not all my fault, money plays big into things, as do accessibility to materials.
SO we knocked the filler panels off our to do list, and got to tackling the open area between the upper cabinets.
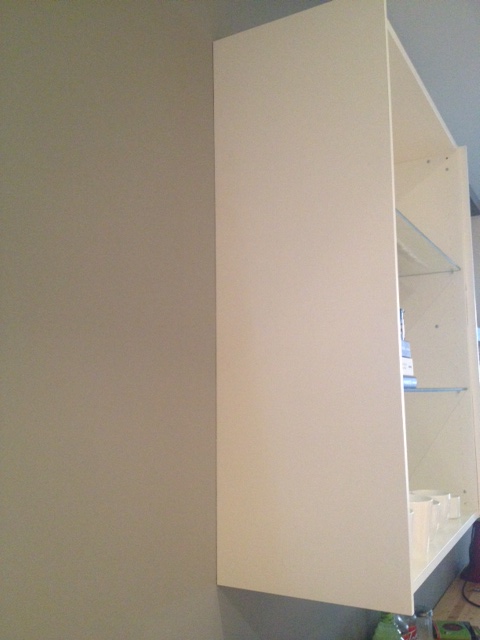
Upper Cabinet Filler PanelsCoffee Bar
When designing the coffee bar, we left an open space between the upper cabinets for some open shelving. We thought it was a good place to mix things up a bit, and add a different colour/material.
We set out to finally add some shelves. They are short shelves, just under 2 feet wide. When deciding on materials we could have matched the cabinets, but the whole kitchen was feeling a bit matchy matchy. So we took a cue from our new dining table and bench, and went wood. We also wanted it to look a bit more modern, so we decided to forgo shelf brackets, and suspend the shelves between the upper cabinets.
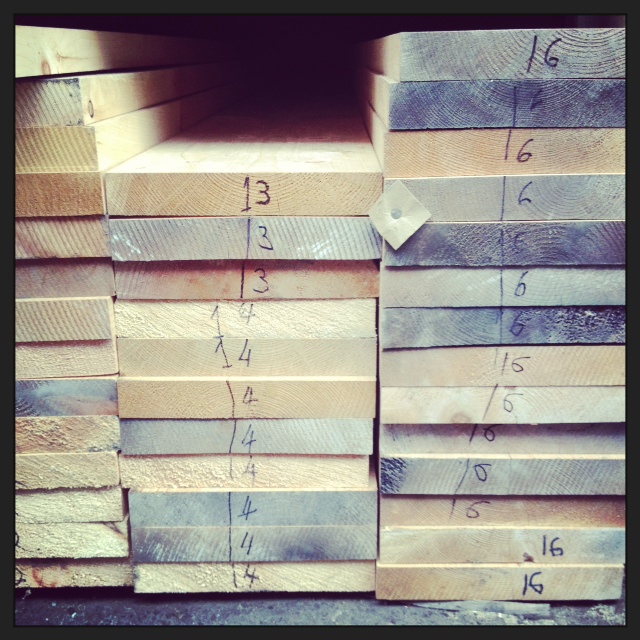
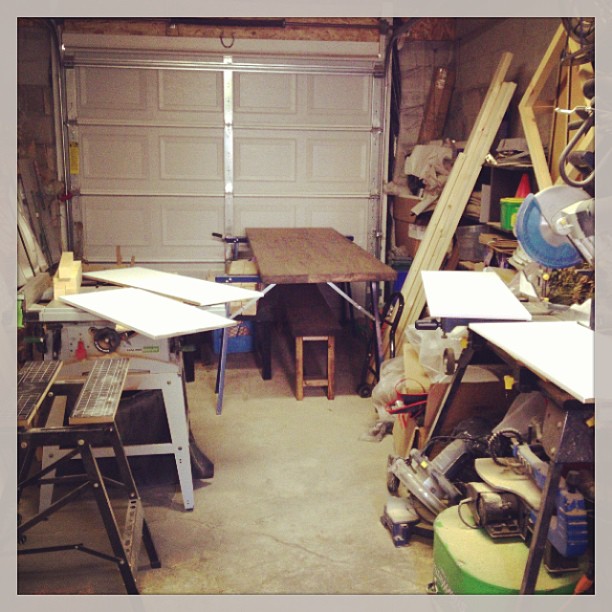
Off we went to the happiest place on earth (AKA the lumber yard.)
Wood as far as the eye can see. Its like Disney Land for 30 somethings who like woodworking
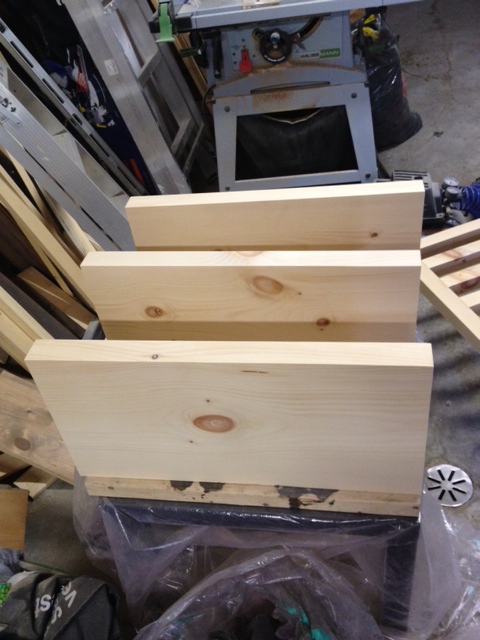
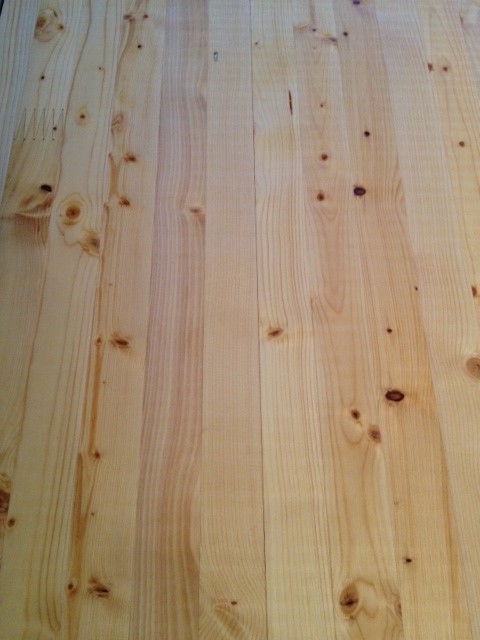
We picked up a 6′ length of 2×12 kiln dried pine from Downtown Lumber, carried it home and cut it into three shelves.
Wood Cut. We also marked which side was the prettiest, and if it would face up or down (cause you’re looking up underneath the taller shelves)
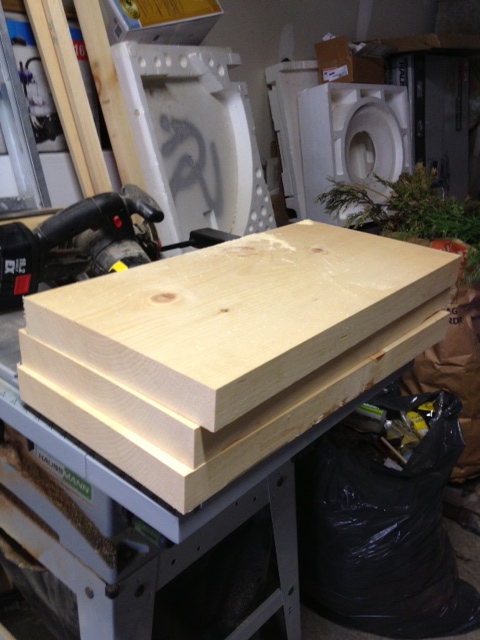
Then we sanded, and sanded and sanded some more (as always). If I could outsource sanding, I would. The only saving grace with sanding is blasting some rocking music that gets you working faster (ever listened to Andrew WK while sanding? It’s like you are compelled to work FASTER!)
After I was happy with the sanding, I cleaned everything off, and set up the shelves on blocks and gave it a coat of wood conditioner (followed by two coats of stain to match the table, and 4 coats of polyurethane.) I took photos of this step, then deleted them. Cause I’m awesome like that. So close your eyes and visualize it, k? Good.
Shelves ready for stain
After everything was dried and purdy, we went inside to install. This went surprisingly well. A couple ladders, swear words, some screws and leveling, and the shelves were screwed through the cabinet into the shelf.
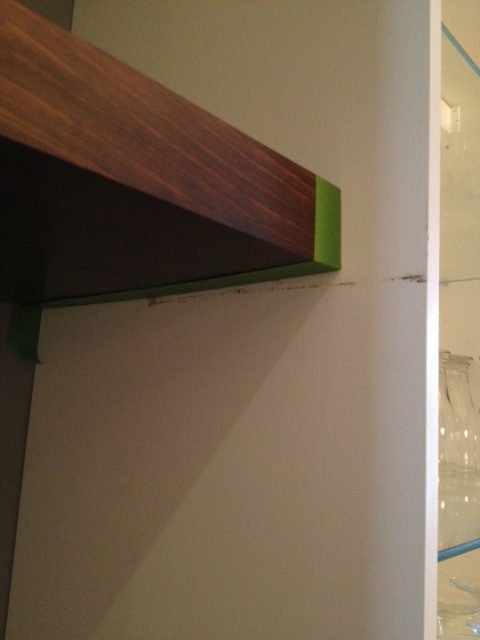
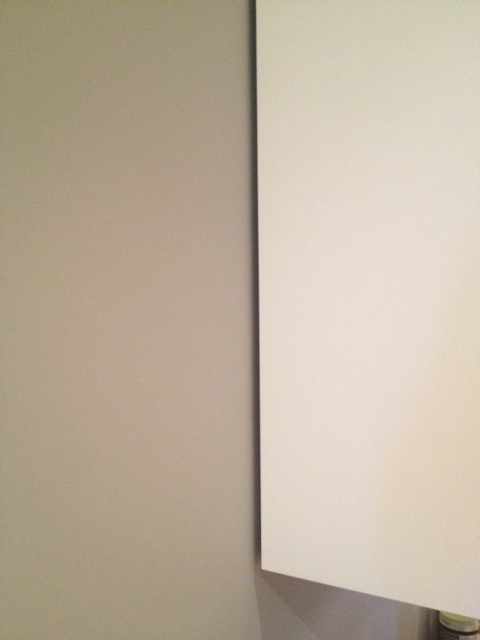
The only problem occurred was that I was TOO good at measuring, and the shelves were such a tight fit, that they left a few marks on the filler panels when we were shimmying them in place. No harm done, a bit of masking tape, and some touch up paint were all that was needed.
Marks on the cabinet covers
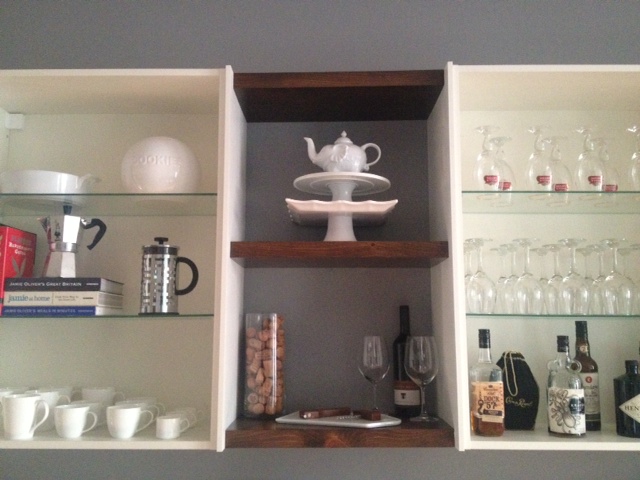
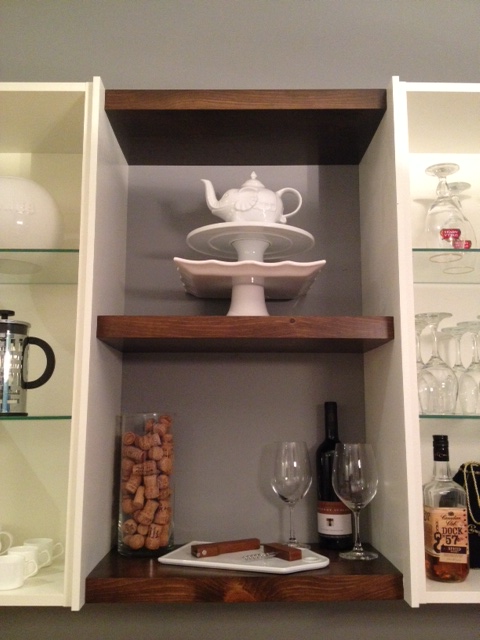
And ta-da, the shelves are done!
Shelves completeShelves completeOpen Shelving
My only problem is that I am HORRIBLE at styling shelves. Anyone wanna come to my house and style my shelves for me? That and I never seem to have any accessories of the right scale. Too big, too small, too weird. Check. So this kids is what it looks like when I throw together some shelving. Maybe I can get some of my photo stylist friends drunk and convince them to style my house for me.
You may remember we started the kitchen coffee bar project waaaay back at Christmas time. We knew that the project would be done in stages. Simply because it would cost too darn much to do it all at once! However, we have been a bit lazy on the coffee bar front, and last we left it, this is how it looked.
Coffee Bar
The base & upper cabinets were installed, there were doors on the bottom cabinets, and a temporary countertop.
Still nagging on the to do list:
Make & install cover panels
Make floating shelves for between the upper cabinets
Buy & install glass doors for the upper cabinets
Buy & install drawer unit for middle lower cabinet
Run electrical outlets for counter top appliances
Install backsplash
DIY concrete countertop
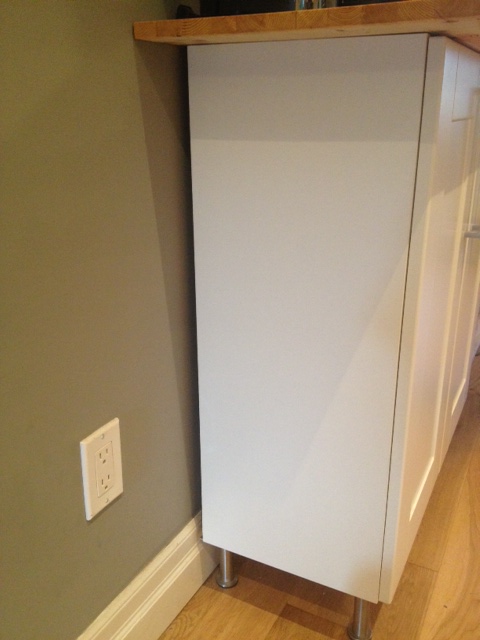
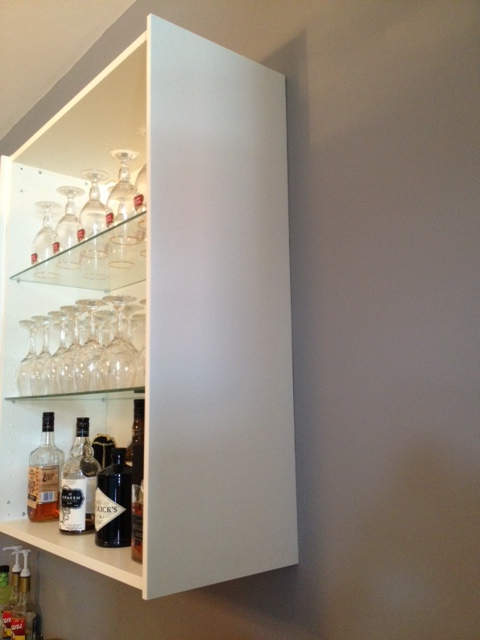
Time to get off my butt and knock a few things off the list. The one nagging thing were the cover panels. You see Ikea cabinets are meant to have cover panels on the sides of your cabinets that match your doors. They also cover up the gap between the cabinet and your wall. Ikea’s installation system involves a metal rail that is attached to the wall, and the cabinets themselves hang off the rail. Because of this, the cabinets actually stick out from the wall about 3/8″. Ikea sells pre-cut cover panels to neatly cover everything up, and make your cabinets look pro.
Look at that GAP!
Problem is, our old house has very crooked walls & floors, and due to that + our baseboards, the base cabinets of the coffee bar stuck out farther from the wall than they normally would. This meant that the pre-cut Ikea cover panels were too small. Sad face.
We had two options:
Option One: Buy larger Ikea cover panels, and cut them down to size. This would be a bit of a pain, and expensive. Cost $250
Which option do you think we went for? You guessed it; the cheaper one. We headed to Home Depot, got 1/2″ mdf cut to the rough size we needed, and stopped at Benjamin Moore retailer West Toronto Paint & Wallpaper, and got a quart of Benjamin Moore Regal Select paint mixed in Paper Mache (pearl finish).
At home, we scribed the panels to fit the crooked walls & baseboards, and cut with a combination of the table saw, circular saw and jig saw to get the correct sizes we needed.
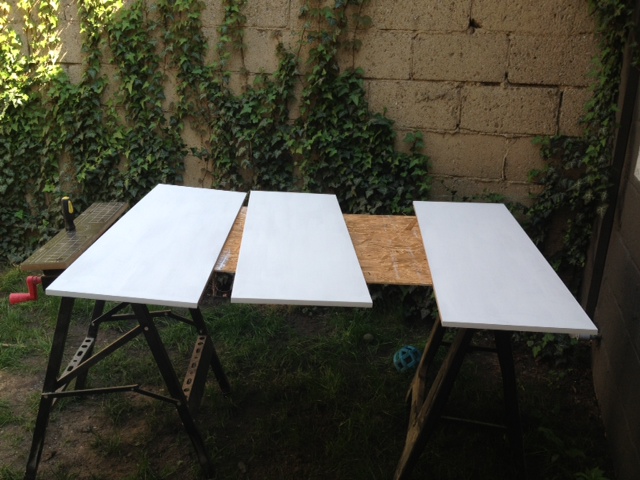
Next up, I applied a thin coat of spackle to the mdf edges (mdf edges are rough, and I find spackle is the best way to get a super smooth finish. Apply a thin coat, let try, and sand smooth.) After the spackle was sanded, a coat of primer was applied.
When dry, a light sand removed any roughness. Next up, four coats of paint, and we were ready to install.
We used 1″ screws through the cabinet shelf holes, and in a few minutes all the panels were up.
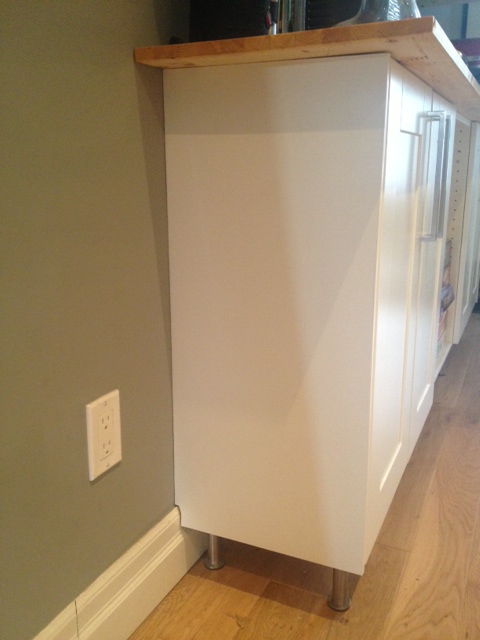
Here’s some before and afters:
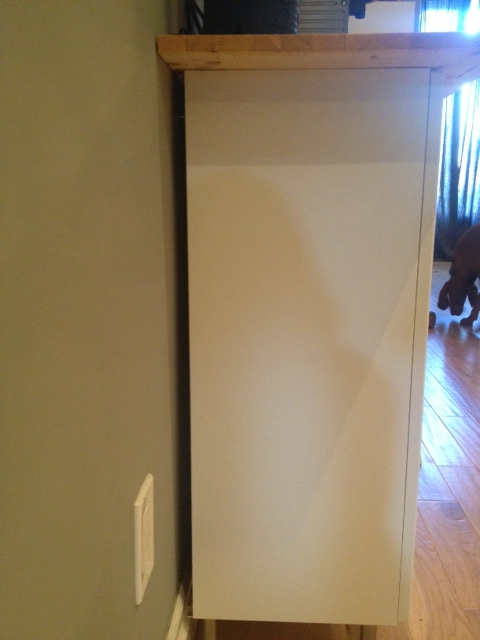
Bottom Cabinet BeforeBottom Cabinet After (still needs a smidge of caulk at the baseboard)Upper Cabinet BeforeUpper Cabinet AfterHere’s the other upper cabinet with the cover panel
The upper cabinets look a bit silly right now, as the panels stick out 5/8″ farther than the cabinets. That’s because when the doors are installed the panels will come out right to the edge of the door, making for a perfect fit.
A lot of the time the finishing touches on a job get put to the back burner, they are usually a lot of work, with little reward, but it is worth it to go the extra mile, and get it done! Now…for the rest of the items on that list!
Coffee Bar
SOURCE LIST:
Materials:
2 – 4×4 1/2″ MDF Handy Panels – Home Depot
Benjamin Moore Regal Select paint mixed in Paper Mache (Pearl) – West Toronto Paint & Paper
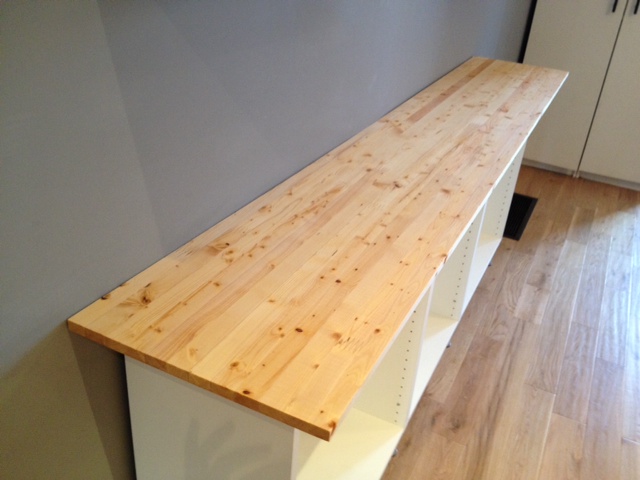
We will be living with the coffee bar without doors for a few months untill the budget will allow us to pruchase all the door and drawer fittings. The DIY concrete countertop will have to wait until spring (when its warm enough to pour in our unheated garage) but in the interim we still wanted to get some use out of our new cabinets. So we decided to make a temporary countertop using some inexpensive $20 shelving we found at Home Depot. It is finger jointed pine which looks a lot like butcher block. It’s 3/4″ thick and came in a 8′ length and 16″ wide. It was wide and long enough to fit the bill, and we figured we could finish it up to be a passable temporary butcher block countertop for our coffee bar untill project Concrete Countertops can happen.
We cut to length, sanded, and got to finishing it. We decided to give it a couple of coats of tung oil (same as our dining table) and call it a day.
Not bad for a $20 counter top eh?
SOURCE LIST:
Materials:
Pine Shelf – Home Depot (note we used the #2 grade, you can also get a #1 grade version for $46)
Tung Oil – Lee Valley Tools
On our list of 2013 DIY Goals we noted one big project being the coffee bar. The coffee bar will be placed in our open concept kitchen/dining room. It will be on the opposite wall from our U shaped kitchen, and will be placed half way between the kitchen and dining room.
Before
We decided to build a coffee bar there for several reasons. A.) We wanted more counterspace to house our prolific array of coffee paraphania. B.) We needed more storage for kitchen dishes and barware, and C.) we wanted more space to lay dishes during parties. We decided instead of getting a freestanding buffet, we would build in the coffee bar using cabinets that match our kitchen. I set to planning the coffee bar about a year ago, but it hasn’t been on the top of our DIY priority list, and to be honest its also a bit of a big ticket item. We decided to do it in stages to alleviate the financial burden. Thanks to some Ikea gift cards for my last birthday and Christmas, we were able to use our time off between Christmas and New Years to get started!
The first stage was buying and installing the cabinet bases, then making a temporary countertop. Stage two will be wiring in new electrical outlets, pouring a DIY concrete countertop, adding some reclaimed wood open shelving and getting a few doors for the bottom cabinets. The last stage will be adding glass doors to the uppers, and a three drawer unit to the middle base cabinet.
So here’s part 1 (aka the manual labour):
We headed to Ikea with plans in hand and had the friendly kitchen department write us up a purchase order for the cabinet bases. We went with two 12″ deep, 30″ wide lower cabinets as as well as a 12″ deep 24″ wide lower (which will have a drawer unit in it). For the uppers we went with two extra tall 12″ deep 30″ wide cabinets which will eventually have glass doors. We also purchased some feet and the hanging rail for the upper cabinets. What we forgot to purchase were any shelves for said cabinets. Oops, looks like another trip to Ikea is in our future! After our purchase order was made up, we headed down to the checkout to pay and then off to full serve pickup to get our order. It was fast and easy and we were outta there in no time.
Ikea Full Serve Pick-Up
We got home and set to assembling and installing. We had previously assembled and hung an Ikea kitchen for a friends reno, and having assembled our fair share of Ikea we were fairly proficient in our assembly.
Cabinet Parts
We averaged about 12-15 minutes per cabinet, and with the help of a brad nailer to nail on the back panels, we were ready to install!
Brad nailer = best friend
We started with the lower cabinets which we attached together by clamping them, drilling out the hole and attaching with the accompanying screws.
Drilling out hole to attach cabinets together (protect your cabinets from the clamps!)
We then attached the stainless steel feet we had purchased. We decided to go with the feet so that it looked more like a piece of furniture, rather than the rest of our kitchen which has a toe kick panel. It also made the unit look a little less domineering from the hallway.
Attaching the foot bases to the cabinets. When you’ve got two cabinets right beside eachother you dont want a foot on each cabinet (would look silly) so you place the foot right in the middle of both cabinets. It saves you buying more feet, and it looks better.
8 feet later and we had ourselves a fully assembled base unit.
All the feet attached, ready to be flipped and installed
We flipped it over, decided on the position on the wall, we leveled it using the level-able feet (thank you Ikea, you are awesome for owners of an old crooked house!).
El Granto looking super impressed while leveling the cabinets
Once everything was correctly positioned we attached it to the wall. Our biggest issue was that we were attaching to a firewall which has 1 1/2″ thick drywall and our stud finder was having a hell of a time finding anything! After a few curse words and a couple heavy duty EZ Ancors we were in business.
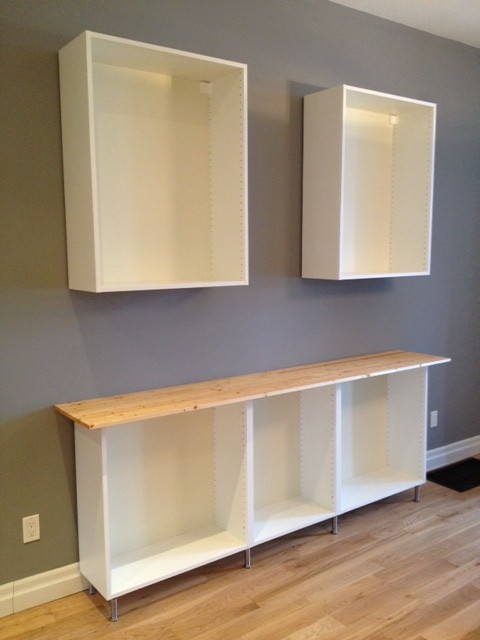
Lower cabinets installed
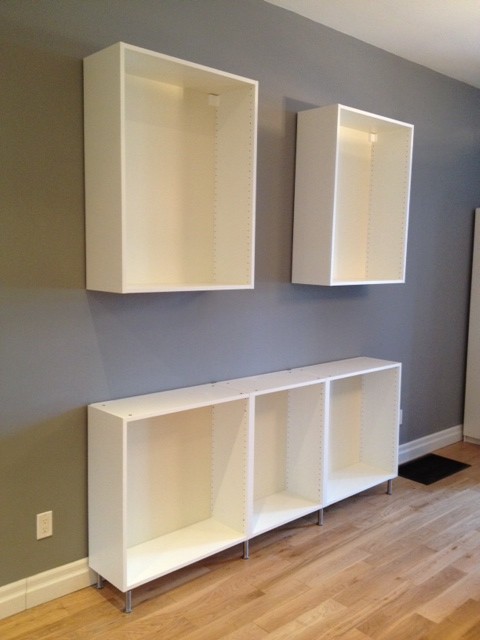
After the lowers were done, we set to hanging the uppers. They were to be placed one cabinet on either end with a stretch of open wall 24″ wide in the middle. We want to put some reclaimed wood open shelving in there, so we left the space open for now.
Hanging the uppers was also super simple, as Ikea’s system is amazeballs. You hang a track on the wall all level and nice, screw it into the studs, then your uppers float on the track!
Ikea cabinet rail attached to the studs and showing the movable anchor where you attach the cabinet
It’s super simple for a long row of cabinets, and makes it so that you don’t have to worry about finding studs to attached each cabinet to. We only needed to hang two smaller individual cabinets. So we cut the rail into two pieces slightly smaller than the cabinets, and following Ikea’s instructions installed them in short order. All in all it took the two of us one evening and one morning to have everything hung.
Upper cabinets half hung, art project sneak peek on the ground and general mayhem and messCabinets Installed
The next steps to stage 1 will be getting the shelves we forgot at Ikea, adding a temporary countertop and some filler panels. This should all be complete by the end of January 2013.
Stage 2 will involve a DIY concrete countertop, some electrical outlets, open shelving between the two upper cabinets and hopefully a few doors and hardware. (ETA Summer 2013)
Stage 3 will complete the coffee bar with all the cabinet doors, drawers, and hardware. (ETA Fall/Winter 2013)


")


")
")
")
")
