I went to Ikea in search of a plant. I left with kitchen cabinet drawers.
Every time I visit Ikea I take a look at the as-is section. Most of the time there’s nothing to be had, but sometimes, they might have the very thing you need.
Last you saw it, the coffee bar was still missing it’s drawer unit (bottom middle) as well as the upper glass doors. Why you ask? Cause that stuff was expensive… The drawer unit alone was $232 before hardware. Ouch.
Coffee Bar
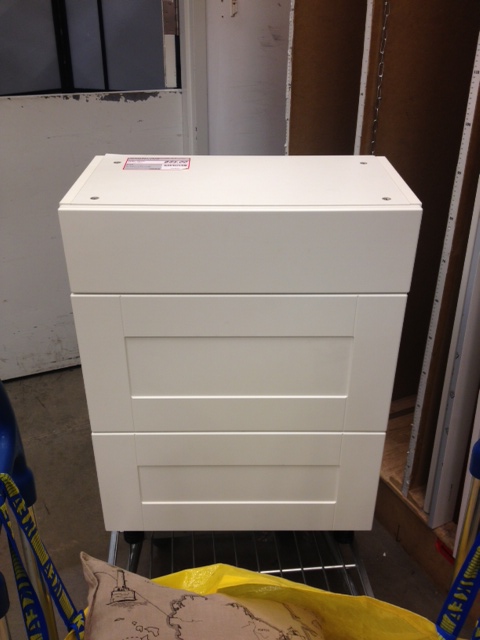
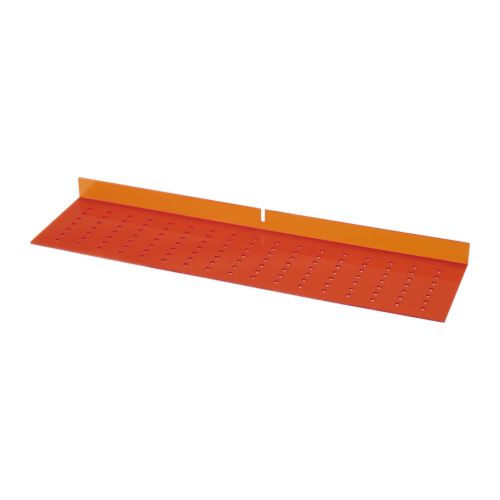
That was until I walked into Ikea on a fateful Friday night, and spied this fellow happily sitting in the as-is department with an $85 price tag.
Why hello there sad little drawer unit without a kitchen to call home
It was a complete drawer unit EXACTLY the size that we needed for the coffee bar. In perfect condition, fully assembled. I don’t know how poor little drawer unit got to the as-is, he clearly wasn’t a floor model as he didn’t have any handles, nor had the cabinet ever been attached another cabinet (as it didn’t have any holes drilled through it). I frantically texted El Granto at home confirming that yes that was the size we needed, and then I ran to the check out, having my own “Start the car!” moment.
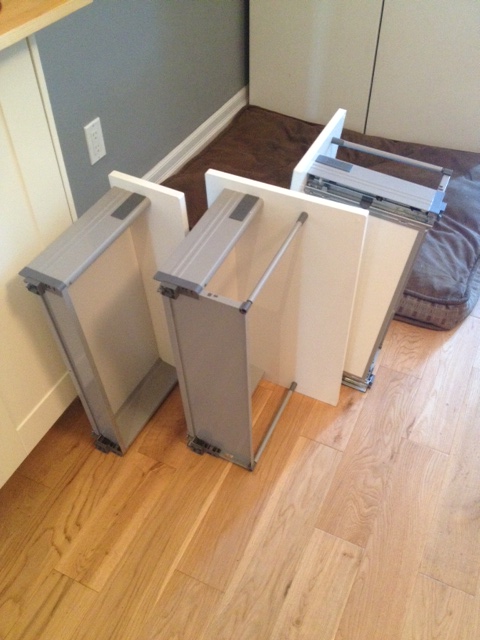
When I got home, we tried to figure out how to get the drawers OUT of the cabinet, as I actually already had the exact same cabinet frame already installed in the kitchen, and just needed the drawers. However they just wouldn’t come out! After goggling it, I finally discovered that there are two little tabs (one on either side) of the bottom of the drawer. If you press both tabs simultaneously towards the sides of the drawer and lift up and out, your drawer will come unattached from the drawer slide.
Drawers removed
El Granto then removed the drawer slides from the cabinet frame and installed them in our coffee bar and slid the drawers back in place.
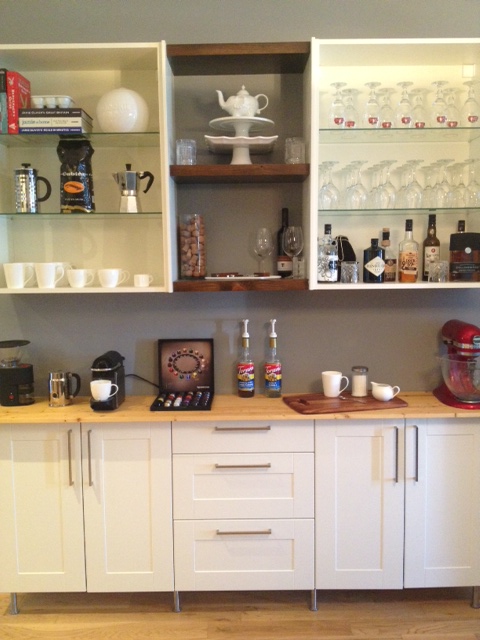
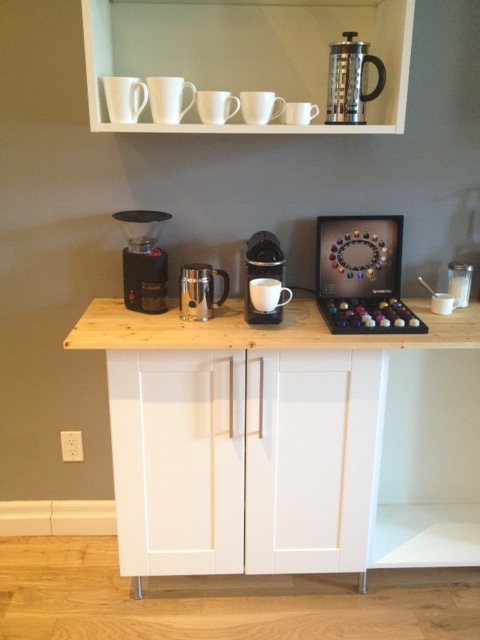
Using our cabinet handle template, El Granto attached matching handles, and our coffee bar was finally starting to look somewhat complete.
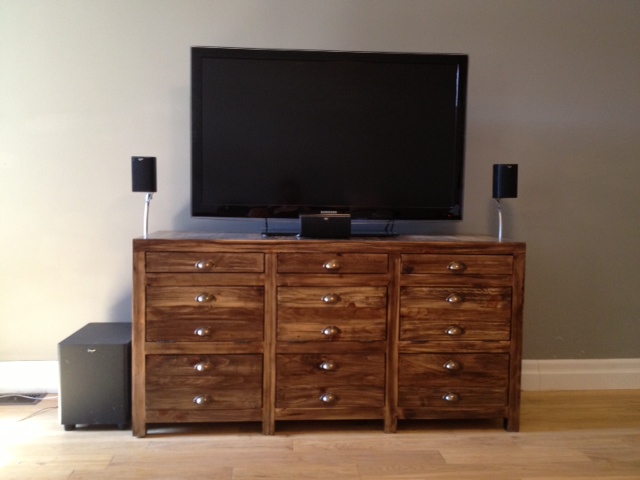
Look at those drawers!Coffee Bar
With the new drawers, open wood shelving and filler panels all complete, its looking pretty good. Progress baby!
Have you ever scored anything amazing in the as-is section?
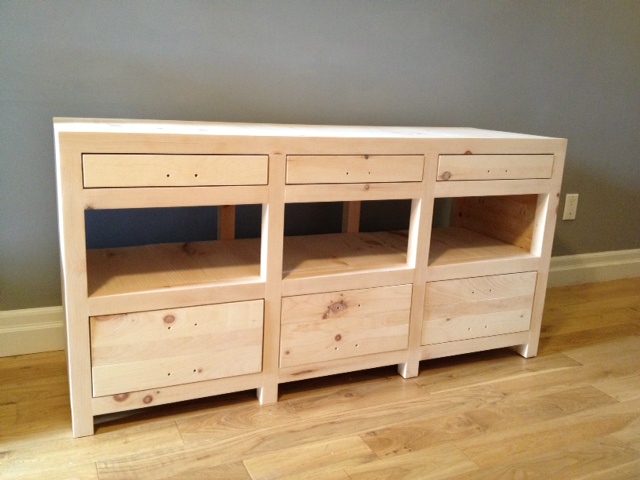
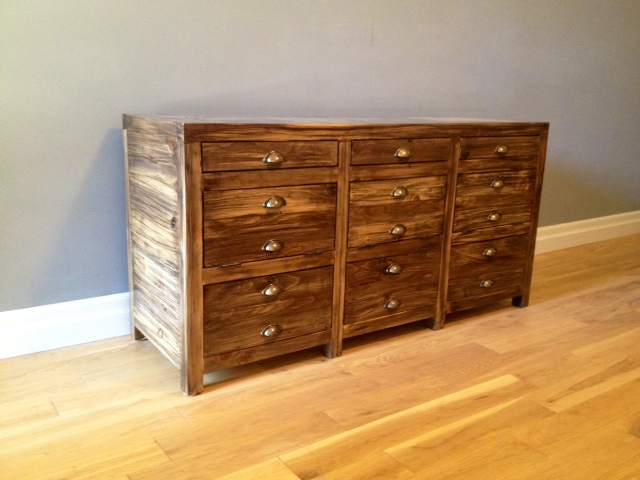
Its been six weekends of hard work, but we finally reached the final stretch of the printmakers media cabinet project.
This is where we left off. The cabinet was built and sanded and ready for finishing. If you missed it, check out part one, two, three, four, and five of the project.)
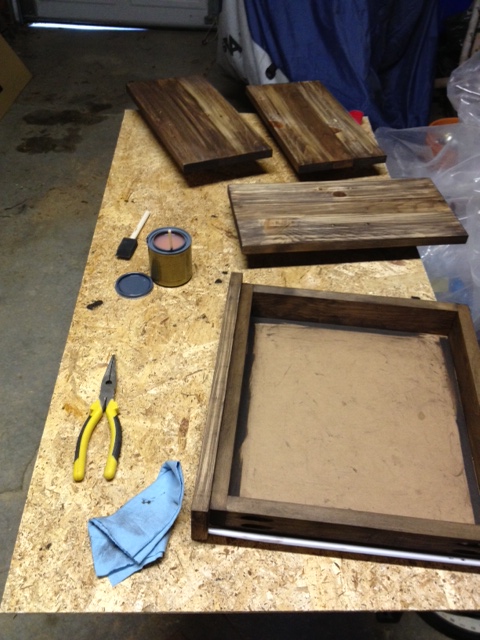
Cabinet built and ready for stain & hardware
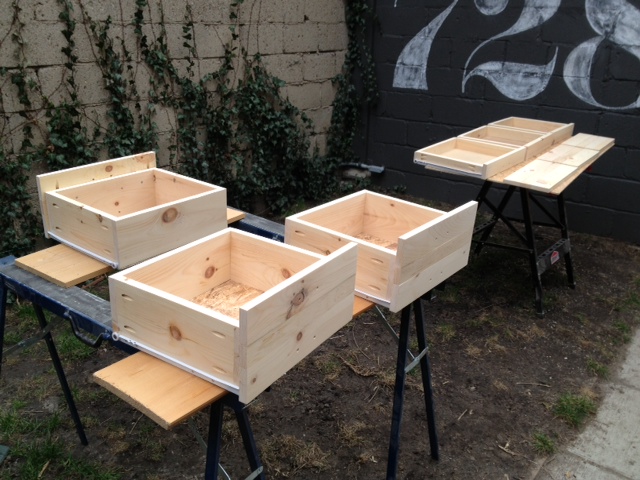
Next up we took all the drawers outside, and set up a staining station, and gave everything a coat of wood conditioner.
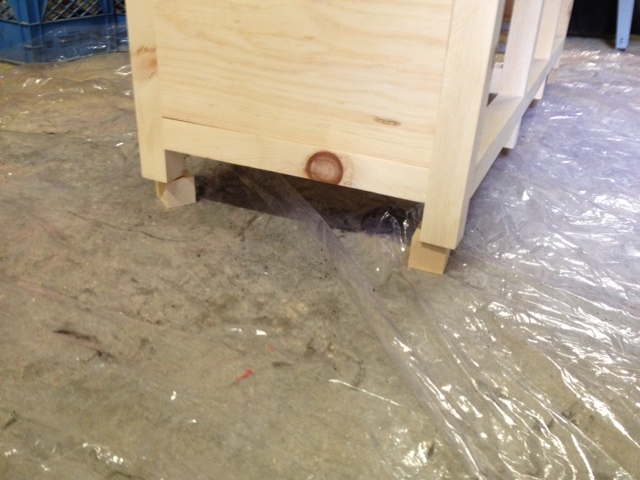
The drawers & doors ready for wood conditionerDIY Tip: Put your cabinet on scrap wood to make it easier to stain the bottoms of the legs
After letting the wood conditioner sit for half an hour, we set out to staining. We had done many a test on stain, and came across a cool technique we wanted to try on the cabinet. It involved wetting the wood, then putting on oil based stain on top of the water, then quickly wiping away. It left an almost zebra like effect. We knew it was going to be a risk, but decided to give it a try none the less. It involved several hours staining, many a swear word, lots of teamwork, and a whole lot of second guessing.
Cabinet stained
We took two days to stain everything, the first day we did the cabinet and all the drawer & door fronts. The next day we stained the interior of the cabinet and the drawer boxes. For the interior, we didn’t bother doing our stain technique, and instead just used the stain traditionally.
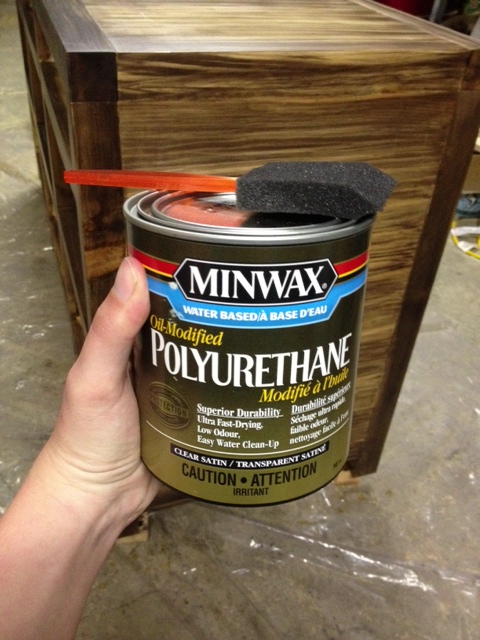
After the stain dried, we applied several coats of polyurethane, sanding with a 320 grit sandpaper in between coats. We put a total of 5 coats on the top of the cabinet, and three everywhere else.
We use Oil-Modified Polyurethane with a foam brushDrawers & Doors mid-poly
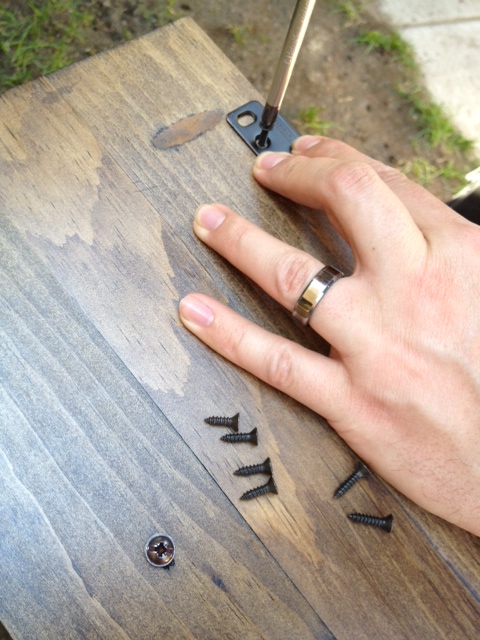
Once the poly had dried, we set to installing hardware. The screws that came with our cup pulls were too short for the double thick drawers, and too long for the single thickness doors. So we headed to the hardware store and picked up longer screws for the drawers, and El Granto cut down the screws with the dremel for the doors.
Pulls attached to door fronts, and ready for hinge installation
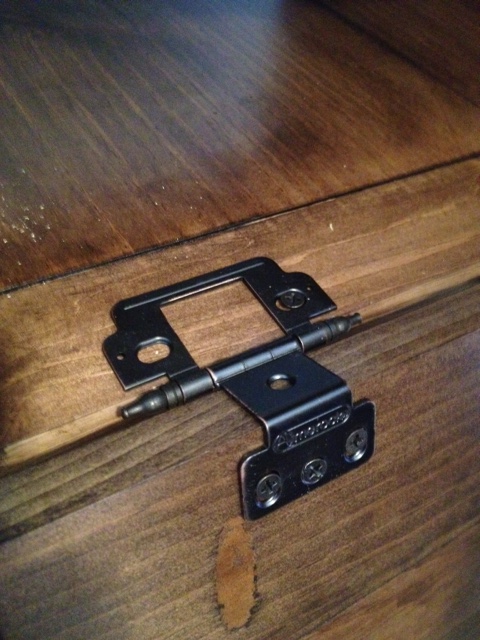
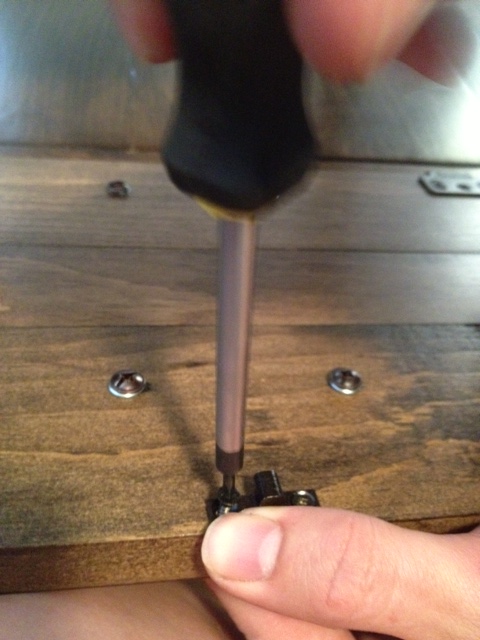
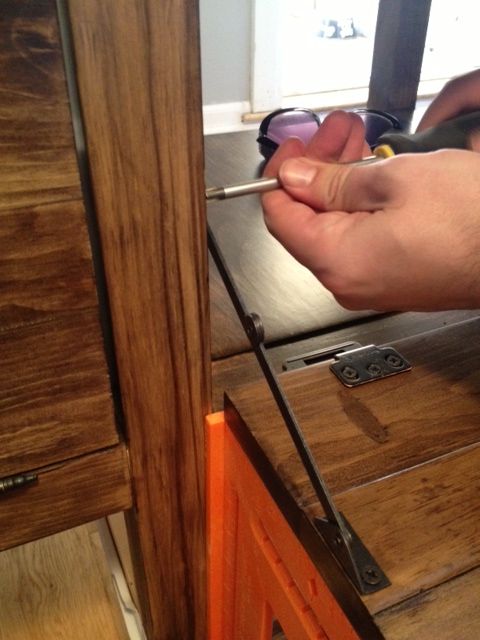
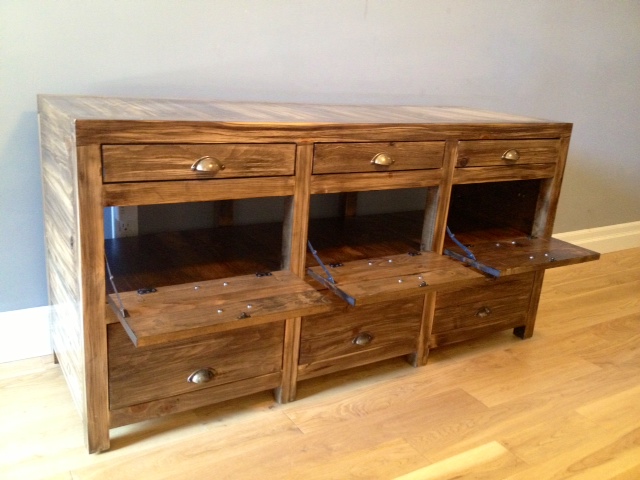
After the handles were installed, we set to installing the hinges, stays and clasps for the doors.
Installing hinges on the doors
This involved a whole load of finikity work, lots of tiny screws, and stubby little screw drivers to fit into the cabinet.
Attaching hinges to the cabinetAttaching claps to keep the doors closed
Next up, we needed to add the lid stays to make sure the doors dont open too far. We wanted them to stop at 90 degrees.
Installing lid stays
We used a square to hold the door at 90 degrees and attached the stays with small screws.
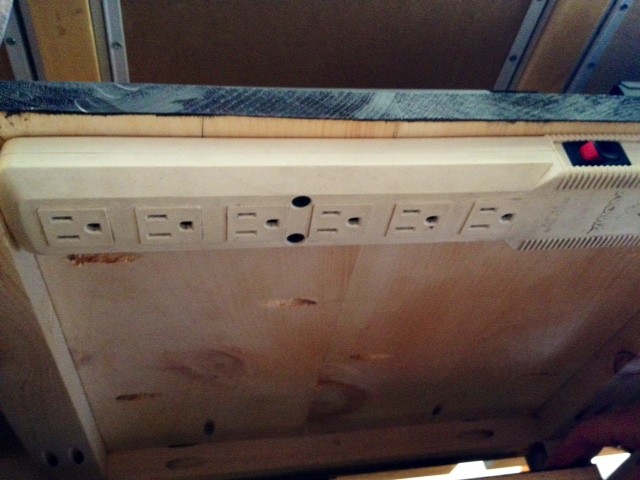
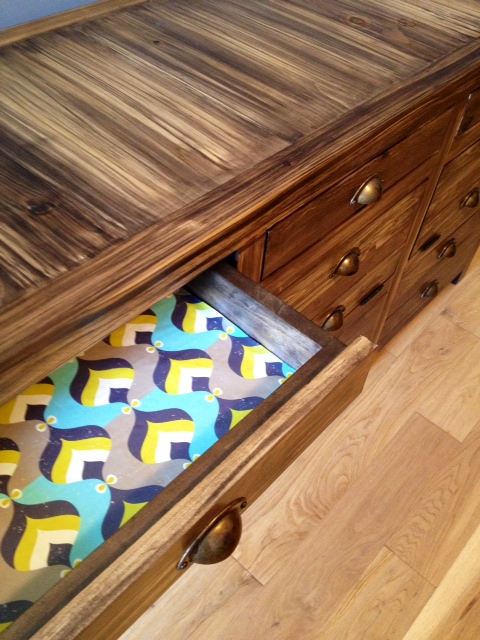
Now we could set to putting all our electronics into the cabinet. To keep things neat, we installed power bars to underneith the back of the shelves. This keeps the cords off the ground, and makes it so that the cabinet can sit flush with the wall.
The view of underneath the shelf in the cabinet showing the power bar.
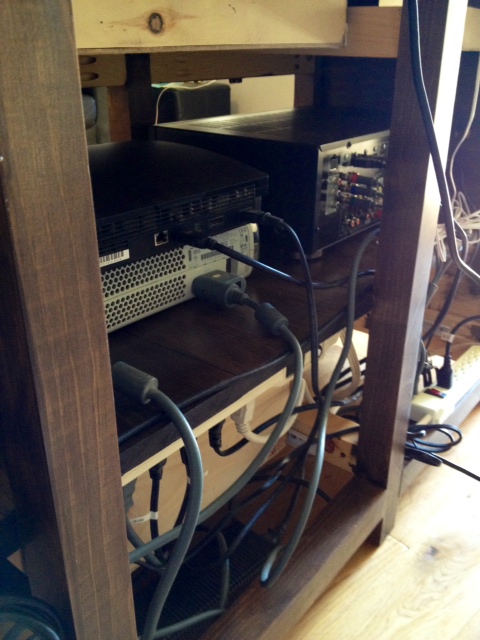
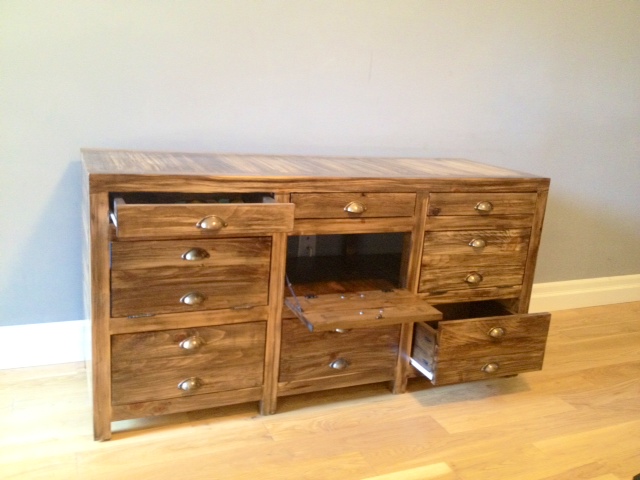
We routed all the cables and electronics as best we could through the cabinet, and its so much more organized than our old media center!
The electronics all tucked into the cabinet
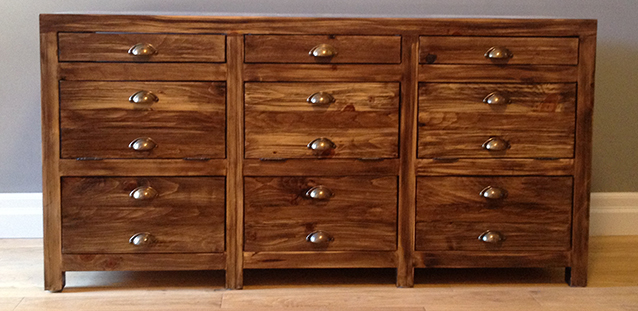
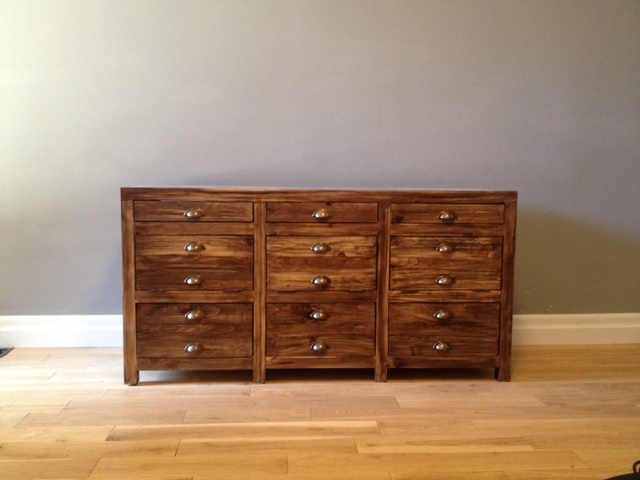
Enough with the technical stuff, are you ready to see what it looks like all finished?
Hardware: ($130)
15 cup pulls – Lee Valley
6 inset hinges – Lee Valley
6 sets drawer slides – Lee Valley
3 lid stays – Lee Valley
3 cabinet clips – Lee Valley
8 1 1/2″ felt furniture pads – Dollarama
Trips to lumber yard -4
Trips to hardware stores -10+
Coats of polyurethane – 5 on the top, 3 everywhere else
Stain samples made before deciding on one – 11
Time involved – 6 weekends, 70-80 hours total
Number of electronics in the cabinet – 11
Number of screw-ups – 3
Number of arguments – 2
Total pieces of wood – 119
Screws – about 300
Injuries – 0!
Swear words – more than I’m proud of
How was your Easter/Passover weekend? We enjoyed some well deserved good weather, which meant many a good dog walk as well as a lovely Easter dinner and ruckus Yahtzee game with the family.
We also used the long weekend to get a bit more work done on our media cabinet project.
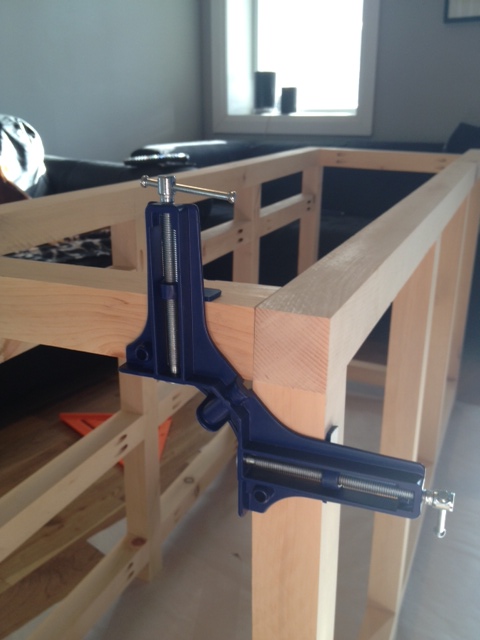
We started with the cabinet frame assembly, and quickly discovered that it would be near impossible to hold everything straight and square while screwing it all together without more hands or some sort of corner clamps. (Of course El Granto said we needed the clamps from the onset, but eager me said we should try without them. Kristen fail.) The problem with pocket holes is that you have everything lined up, and start to screw everything together and at the last second it all goes to hell. The last bit of the screw tightening somehow pulls it all out of whack. Swearing ensues.
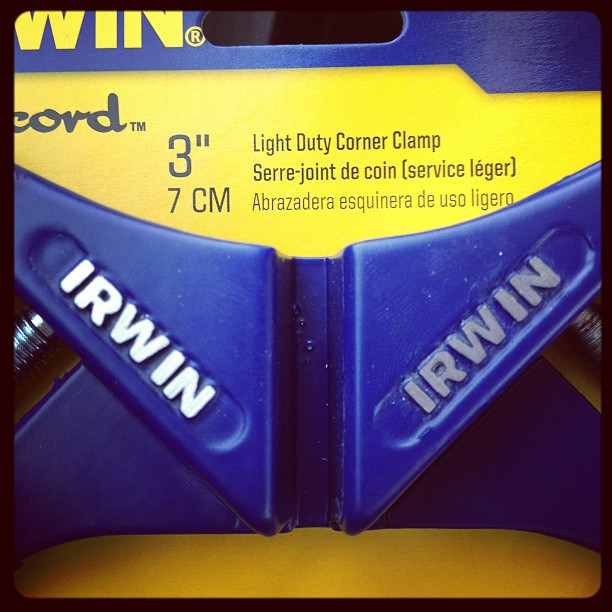
So we headed to the hardware store, and picked up two Irwin corner clamps. Best $25 spent, ever.
3″ Irwin corner clamps
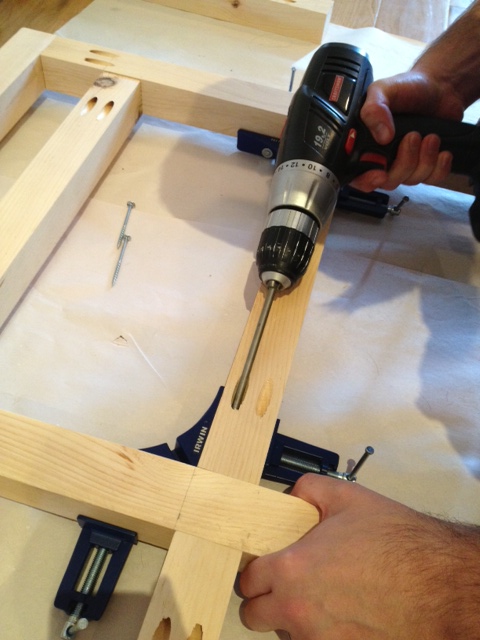
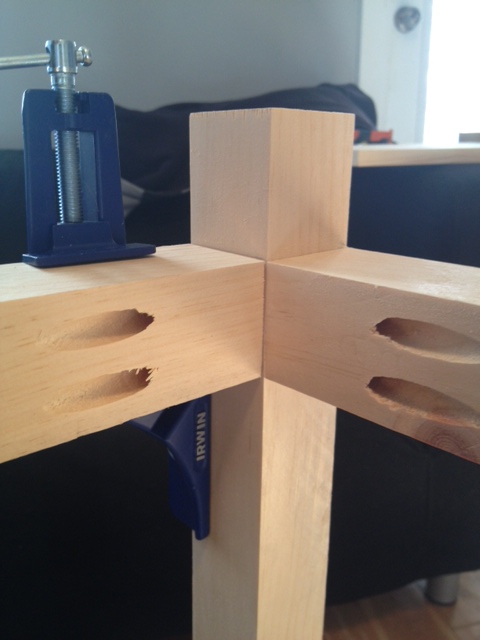
We then were able to pretty quickly assemble the rest of the cabinet frame. We were a little assembly machine, clamping, gluing and screwing.
Corner clamps in action holding everything in placeEl Granto assembling the frame using pocket holes and self tapping screws
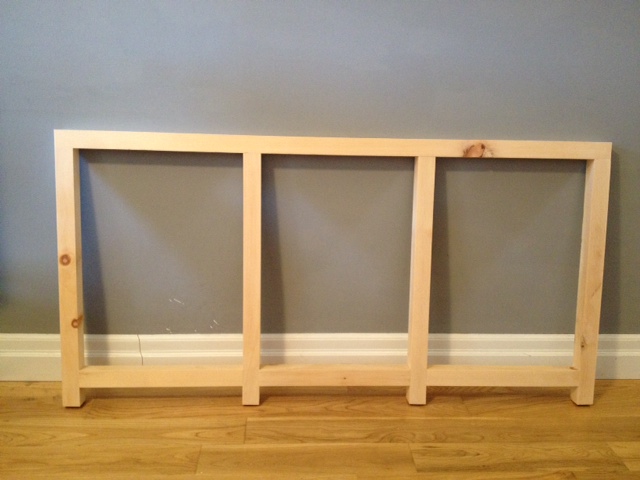
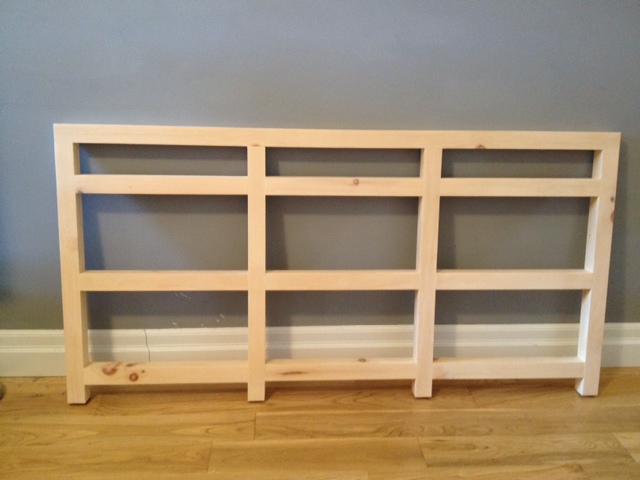
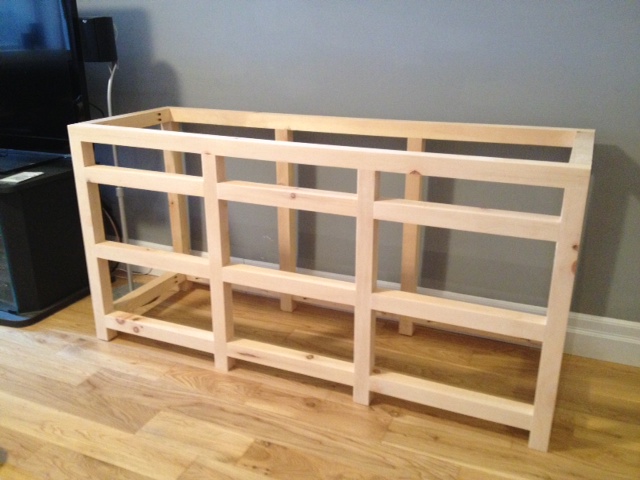
After a couple hours work we had the front and back frame built. (The front is more complicated as there is the whole exposed framework for the drawers and doors.)
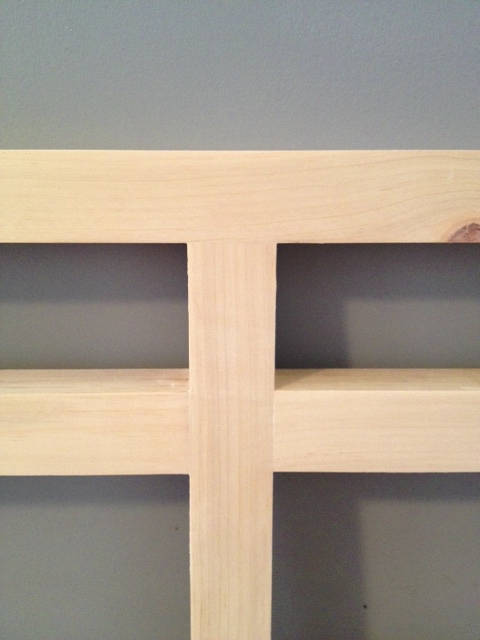
The frame backThe frame front. I really need to touch up that wall…Yay for dogs scratching your walls trying to get a ball.Detail shot of one of the (many) joints made perfect by the corner clamps
The next day we set to attaching the front to the back of the frame. According to the directions, we should have attached the sides before attaching everything, but of course we didn’t have the wood for the sides and impatient Kristen wanted to go ahead anyways. (It’s OK, it turned out fine!)
We used the corner clamps again to make sure everything stayed where it was supposed to be, then we screwed everything together from inside.
*TIP* The Kreg jig comes with an extra long drill driver. It normally works perfectly, however when we were trying to assemble the cabinet it was too long, and made it so the drill was not able to fit inside the cabinet. Oops. So we headed to the hardware store and picked up a mid sized #2 driver. This will come in super handy as the rest of the cabinet installation will be done from inside the cabinet!
Inside view of how the sides attached to the front and back of the frameThe sides being attached to the front and back of the frame
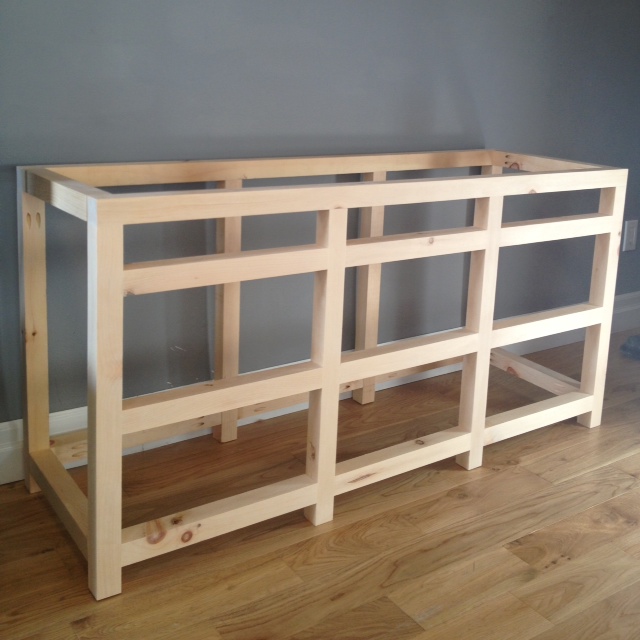
After almost 100 pocket holes and screws, this is our completed frame!
Cabinet frame assembledframe frame frame
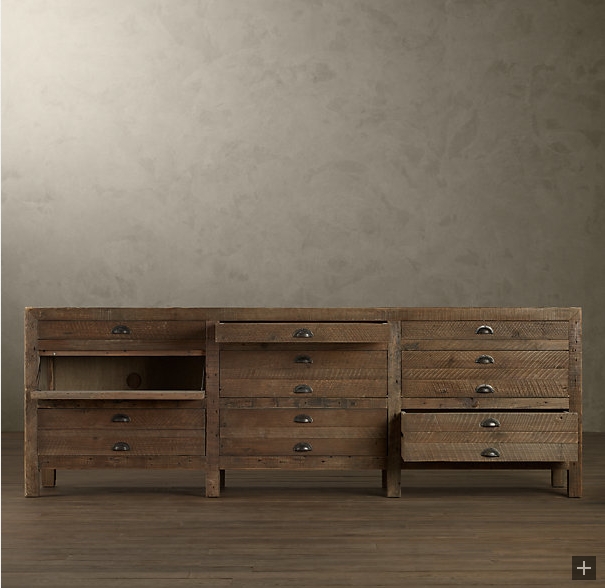
Starting to look like a cabinet now right? Remember this Restoration Hardware cabinet is our inspiration.
Restoration Hardware Printmakers Media Cabinet
The frame that we built will actually be exposed (you can see it in the RH version).
The front still needs drawers and doors, and of course the top and sides, but we’re actually over half way done! Woot.
Are you working on any big projects? Ever built a cabinet?
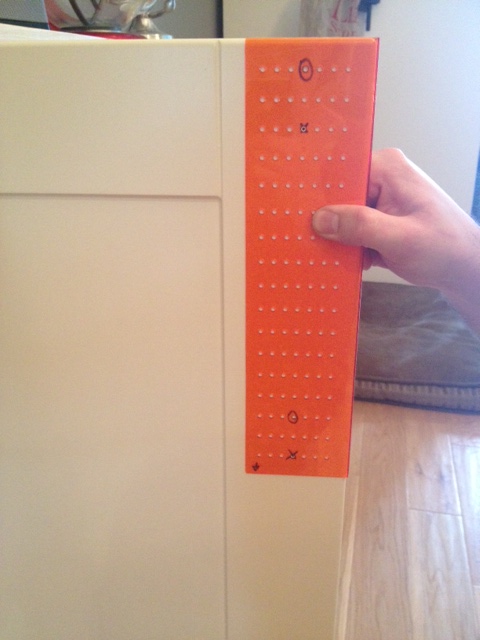
We needed to add hardware to the coffee bar that matches the rest of the kitchen. We found the hardware easily enough. The previous owners bought everything for the kitchen at Ikea, so its been super easy to add new cabinets etc. When we picked up the new hardware, we also purchased the Ikea Fixa Drill template. The template is supposed to make the placement and hole drilling of your cabinet hardware super simple. (I am all for making tasks simpler!) For the $3 price tag, we decided to give it a try.
Fixa Drill Template
We brought it home and checked the template against the current hardware in our kitchen to find that the old owners used the same template. Score! We marked on the template where the current hardware is hung, then transferred the template over to our new cabinets.
Template on Cabinet Door
Using a small sharpie, El Granto marked the holes.
Holes marked with a Sharpie
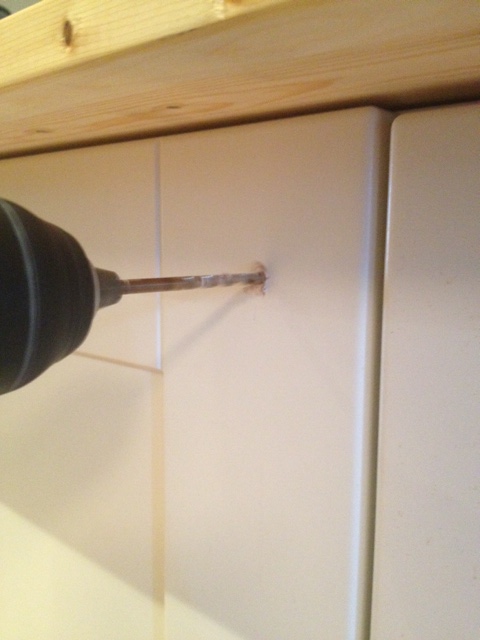
Then drilled them with a bit just slightly larger than the screws.
Drilling Holes
After El Granto drilled all the holes, he attached the handles in record time. For $3 Fixa Drill Template was well worth it, and we will definitely be using it next time we need to install hardware!