Its been six weekends of hard work, but we finally reached the final stretch of the printmakers media cabinet project.
This is where we left off. The cabinet was built and sanded and ready for finishing. If you missed it, check out part one, two, three, four, and five of the project.)
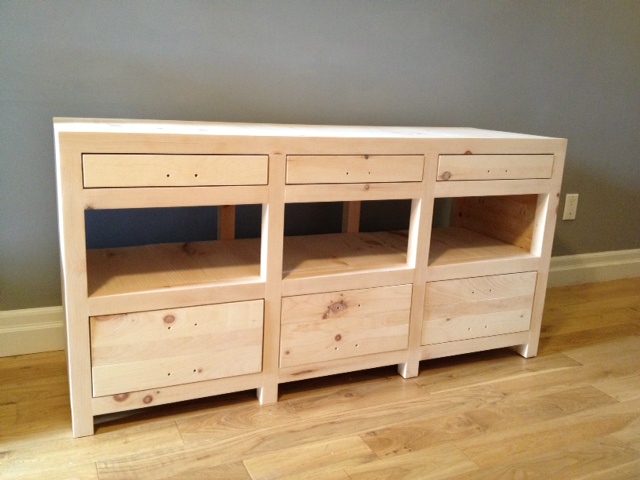
Next up we took all the drawers outside, and set up a staining station, and gave everything a coat of wood conditioner.


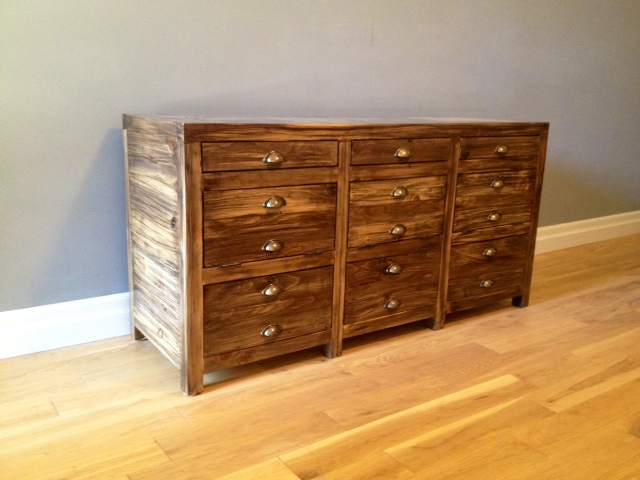
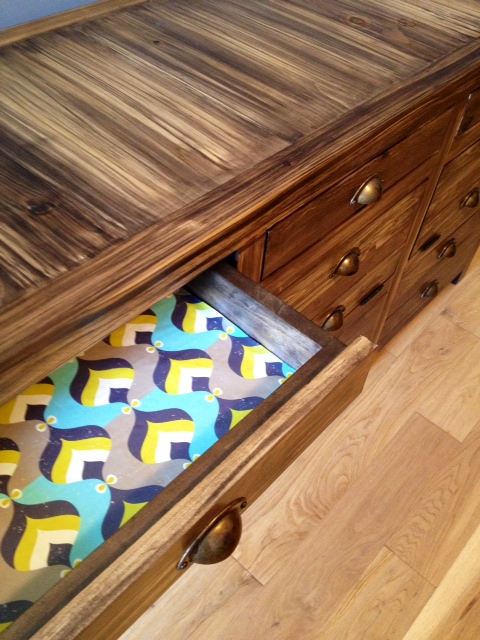
After letting the wood conditioner sit for half an hour, we set out to staining. We had done many a test on stain, and came across a cool technique we wanted to try on the cabinet. It involved wetting the wood, then putting on oil based stain on top of the water, then quickly wiping away. It left an almost zebra like effect. We knew it was going to be a risk, but decided to give it a try none the less. It involved several hours staining, many a swear word, lots of teamwork, and a whole lot of second guessing.

We took two days to stain everything, the first day we did the cabinet and all the drawer & door fronts. The next day we stained the interior of the cabinet and the drawer boxes. For the interior, we didn’t bother doing our stain technique, and instead just used the stain traditionally.
After the stain dried, we applied several coats of polyurethane, sanding with a 320 grit sandpaper in between coats. We put a total of 5 coats on the top of the cabinet, and three everywhere else.


Once the poly had dried, we set to installing hardware. The screws that came with our cup pulls were too short for the double thick drawers, and too long for the single thickness doors. So we headed to the hardware store and picked up longer screws for the drawers, and El Granto cut down the screws with the dremel for the doors.

After the handles were installed, we set to installing the hinges, stays and clasps for the doors.
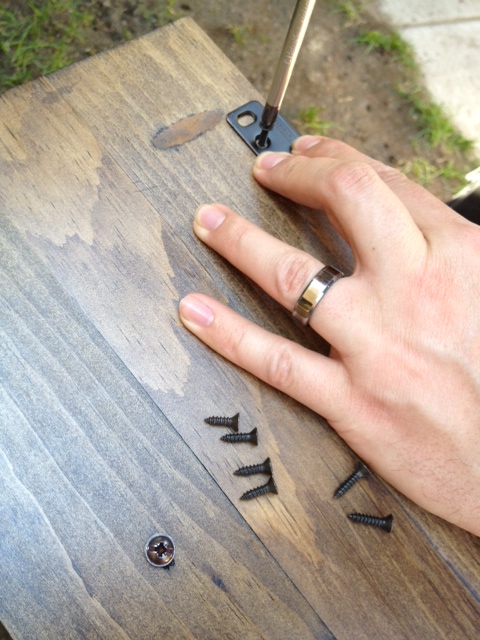
This involved a whole load of finikity work, lots of tiny screws, and stubby little screw drivers to fit into the cabinet.


Next up, we needed to add the lid stays to make sure the doors dont open too far. We wanted them to stop at 90 degrees.

We used a square to hold the door at 90 degrees and attached the stays with small screws.
Now we could set to putting all our electronics into the cabinet. To keep things neat, we installed power bars to underneith the back of the shelves. This keeps the cords off the ground, and makes it so that the cabinet can sit flush with the wall.
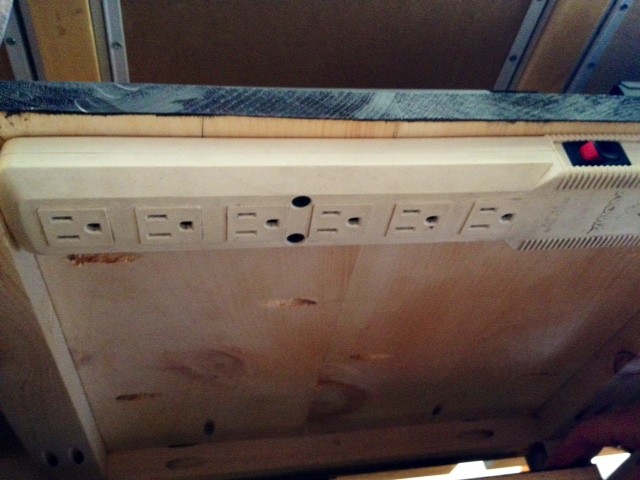
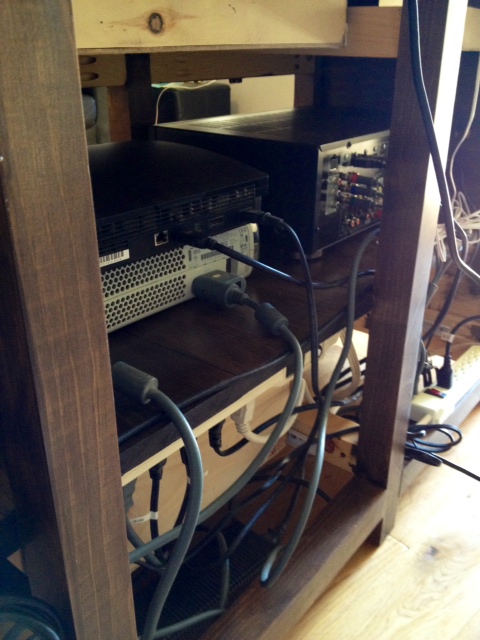
We routed all the cables and electronics as best we could through the cabinet, and its so much more organized than our old media center!
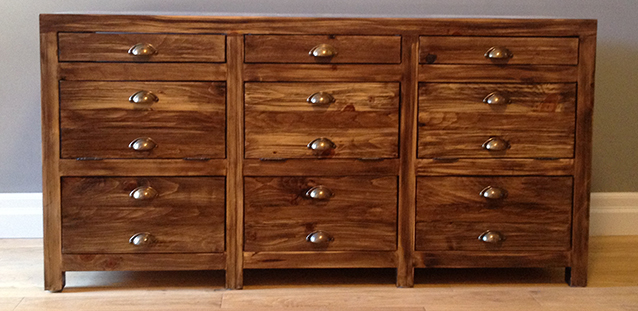
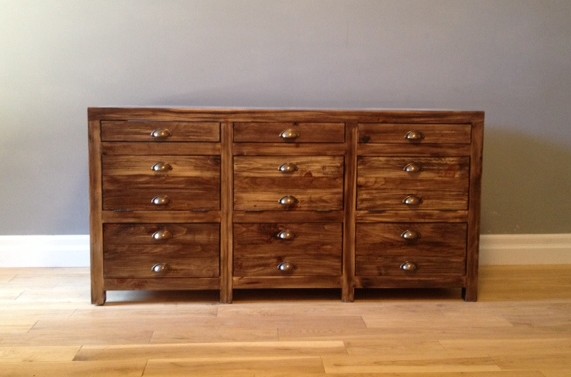
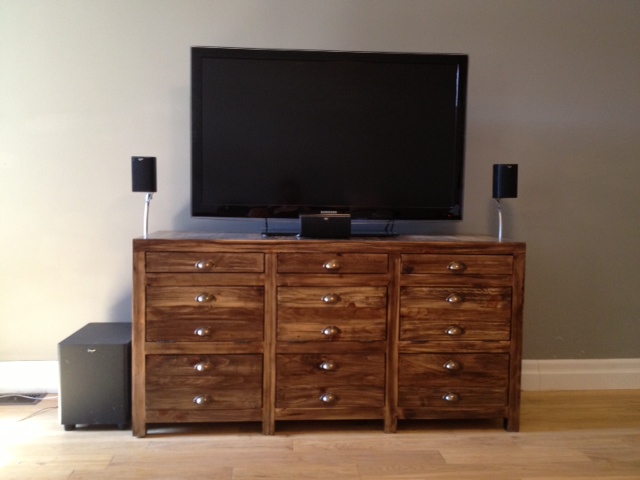
Enough with the technical stuff, are you ready to see what it looks like all finished?
DRUMROLL PLEASE
Now a little comparison between our cabinet and our inspiration: the Restoration Hardware Printmakers Media Cabinet. (ours on top, the RH cabinet below)
What do you think?!
SOURCE LIST:
Plans:
DIY Plans for an RH Inspired Printmakers Media Console – Design Confidential *(a BIG Thanks to Rayan @ Design Confidential! Her plans are awesome!)
Materials:
Hardware: ($130)
15 cup pulls – Lee Valley
6 inset hinges – Lee Valley
6 sets drawer slides – Lee Valley
3 lid stays – Lee Valley
3 cabinet clips – Lee Valley
8 1 1/2″ felt furniture pads – Dollarama
Lumber: ($100)
8 – 2x2x8 – Downtown Lumber
2 – 1x6x8 – Downtown Lumber
5 – 1x10x6 pine shelves – Home Depot
3 – 1x2x8 – Downtown Lumber
6 – 1x4x8 – Downtown Lumber
Finishing/Misc: ($50)
Wood conditioner (already owned)
Stain – Varathane “Kona” – Home Depot
Polyurethane – Minwax Oil Modified in Satin
Minwax Stainable wood filler – Home Depot
Kreg Screws – Lee Valley & Home Depot
Foam brushes – Dollarama
Shop rags
Sand paper
Tools Used:
Kreg Jig
Drill
Mitre saw
Table saw
Palm sander
Square
Level
Wood clamps
Corner clamps
Short Kreg drill bit
Stubby screw drivers
Stats:
Trips to lumber yard -4
Trips to hardware stores -10+
Coats of polyurethane – 5 on the top, 3 everywhere else
Stain samples made before deciding on one – 11
Time involved – 6 weekends, 70-80 hours total
Number of electronics in the cabinet – 11
Number of screw-ups – 3
Number of arguments – 2
Total pieces of wood – 119
Screws – about 300
Injuries – 0!
Swear words – more than I’m proud of
Difficulty Level (on a scale of 1-5):
Total Cost: $280



I ordered the regular printmakers sideboard from resto and was disappointed when it showed up made from cheap wood that was splintering and dry as fire wood… The piece is not what I would call “quality craftsmanship” by any means.
Love yours! I have 2 questions – how can you ship it to Boston? (Remember the Bruins allowed you to continue on this year! That should count for something!)
And – is yours smaller in size the Resto’s? The photo looks it… May just be the image though – it would be great to have the middle section be larger for photographers – we could store prints in the top drawer… Even better to cut and line the drawers with felt (to protect the images – but I’m talking crazy now right?)
So back to my first question how are you going to get this to me in Boston? Love it!
Oh so the Bruins allowed us eh?! Tell that to P. K. Subban 😉
It is smaller that the RH one, we have a very tiny house, and needed something a lot more to scale. You could absolutely build the bigger model, or just make the center drawer print storage size, with acid free felt of course.
The shipping from Canada to Boston would cost you a pretty penny. Perhaps you could send over a goalie in trade, I hear the Habs are now in need of one.
Ooooh, I love, love, love your cabinet – even better than the RH one!!
I showed this to my husband at midnight one day and was like So, you bought a mitre saw, let’s get on this. And I think his answer eluded me to thinking that I just may have to buy one from you down the line.
That’s gorgeous
Thank you!!
WOW! So cool, really good job.
This looks SO good!! You should both be so proud of yourselves 🙂
Fabulous!!!! Your version is much nicer then the original! Great Job!!!
Thank you!
WOW!!! Guys…..it looks friggin FANTASTIC!!! Love how the stain turned out! Great job!
Thanks Natasha! We’re really happy with it!