Pixel Art

We have a nickname for the baby. It’s not your normal baby nickname of bean, or peanut, or little one etc. Nope… it’s Pixel. Yeah, I know. Totally a weird name. Why does the baby have such a strange nickname? Here’s how it came about:

We had a bunch of reason to worry about the baby when I was only a few weeks pregnant. Emergency ultrasound ensued, and when the ultrasound tech found the tiny, itty baby on the screen, it was nothing more than a tiny blob, with one, singular blinking pixel in the middle. The ultrasound tech, turned to tell us that not only was the baby okay, but that single pixel was in fact it’s heartbeat. Continue reading “Pixel Art”

Kubb: The Viking Field Game

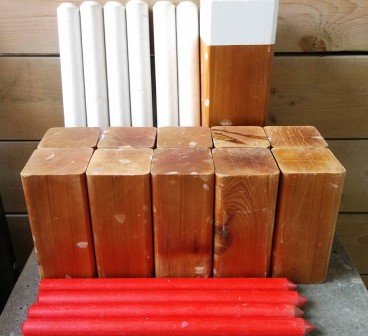
A few months back I heard about a new (old) game that’s been picking up some popularity and it sounded very interesting. The game is called Kubb and was supposedly invented by the vikings and sounded like a lot of fun so I decided I’d look for a set on the internet.

Oh it’s over $120 you say… and I have thousands of dollars worth of tools in my garage you say… well this won’t stand! It won’t stand I say! How can I be shopping online for wooden game sets!? To the El Granto cave! Continue reading “Kubb: The Viking Field Game”

DIY Outdoor Bar – Merry Mag

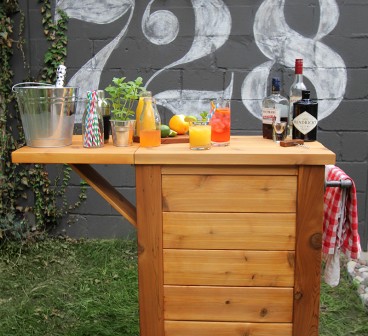
This is a very exciting day! The Summer 2015 edition of Merry Mag is out! Head over to MerryMag.com to check it out in all its glory! From handmade decor, DIYs and everything you could possibly need to entertain this summer. You won’t want to miss out!

Continue reading “DIY Outdoor Bar – Merry Mag”

Easy Outdoor Pillows

May rolled in like a hero and brought some fantastic weather. Off went the pants and on went the shorts! The city was flooded last weekend with legs and arms and all sorts of skin that had not seen the light of day since September.

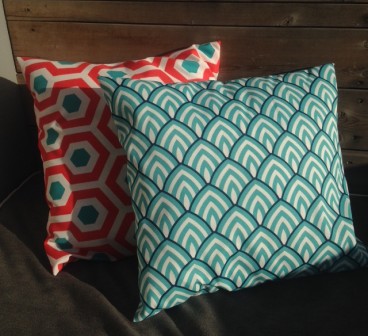
Not to be outdone by the short wearing masses, I dragged out our daybed mattress and headed outside. Two minutes into my afternoon book and a cocktail on the daybed, I remembered the promise I made to myself to sew some new outdoor cushions. The ones I currently had were either too stuffed and hard or too empty and flat. I was Goldilocks in a house full of uncomfortable cushions. Continue reading “Easy Outdoor Pillows”

DIY Notebook Tool Roll

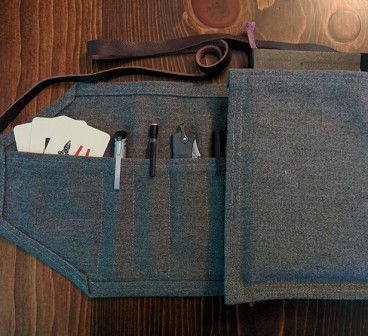
Hey, I don’t know if you’ve noticed the author name on this post or on the homepage but it’s not Kristen. Yeah, I know you don’t see the author name of El Granto here a lot. Frankly Kristen’s just better at it. But I’m here now and I’m all you’ve got for today, so you better like it! Continue reading “DIY Notebook Tool Roll”

How To – Waxed Cotton

In my DIY leather and waxed canvas apron post, I promised to come back and dedicate a whole post to waxing cotton and canvas.  Consider the promise fulfilled!

Waxed canvas is big in the motorcycle and accessory scene. Pre-waxed canvas items can be pretty pricey. However….its pretty easy to DIY. You can take any cotton item, and with simple waxing make it water resistant. It also gives a pretty badass patina to dark colored clothing. So grab your denim jackets, canvas bags, heck even jeans, and wax on wax off.

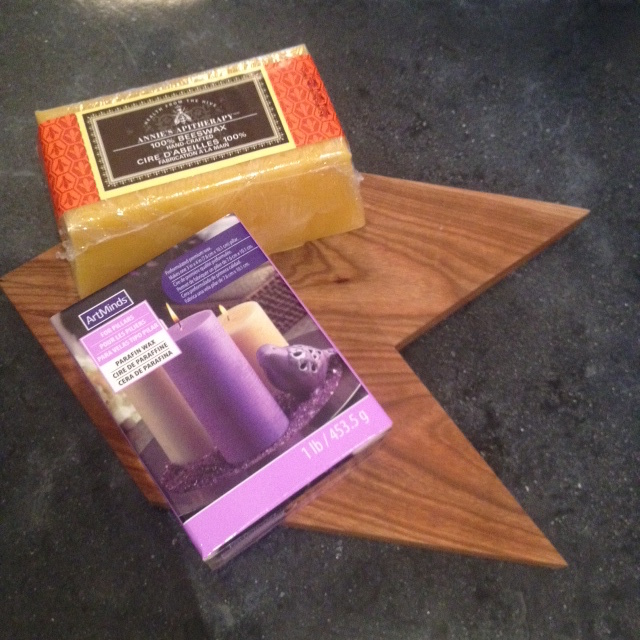
In a double boiler, or a metal bowl over a pot of simmering water, mix equal parts beeswax and paraffin wax. I sourced my beeswax from a local bee shop (really! I love living in the city) and the paraffin is from the craft store.

photo 4(4) photo 5(4)

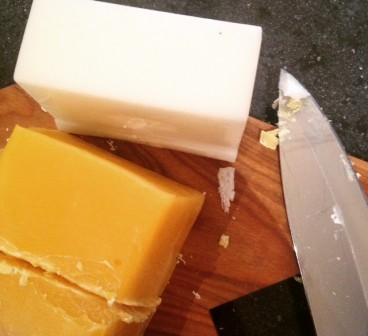
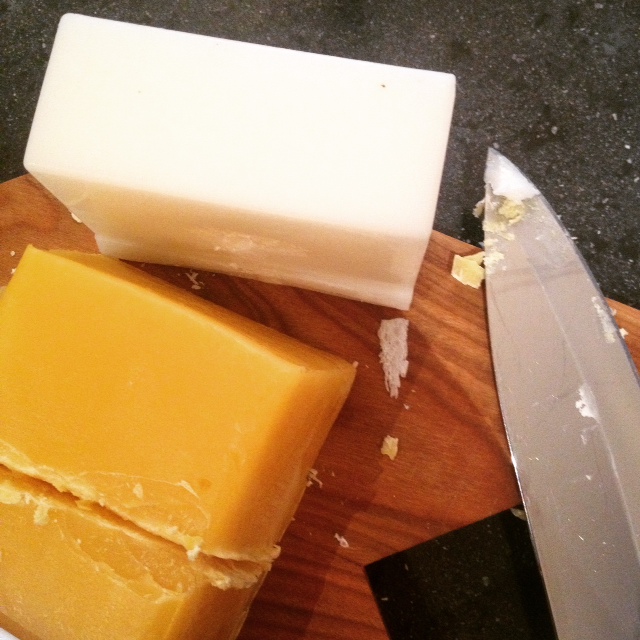
The hardest part is cutting up the wax. I couldn’t manage it at all. So I called for my muscles and El Granto came to the rescue. He placed a knife in a pot of boiling water for a few minutes and set to chopping. The knife went through like a hot knife through butter wax.

I like to use a popsicle stick or extra wooden takeout chopstick to occasionally stir the wax until it is completely melted.

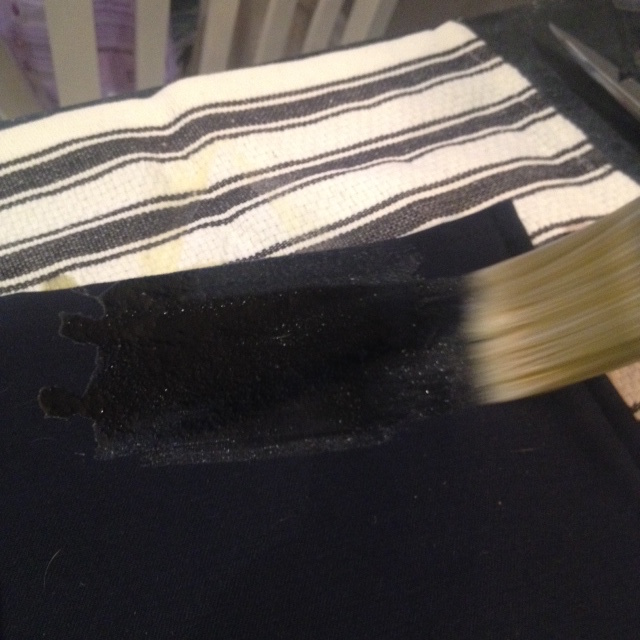
Once your wax is melted, lay your cotton item on some old towels on a surface that won’t mind a bit of heat (I used our concrete countertops). Using a dollar store or other inexpensive paint brush, dip it in the hot wax, then quickly brush a thin layer onto your canvas.

Apply Hot Wax to Cotton

Apply Hot Wax to Cotton

You don’t want a ton, just a light layer. It will start to harden almost instantly and dry white. Don’t worry, that is normal. You don’t need complete coverage. If there are some bare spots, that’s okay. It’s better to have less wax than more wax. It’s a whole heck of a lot easier to put more on than take some off.

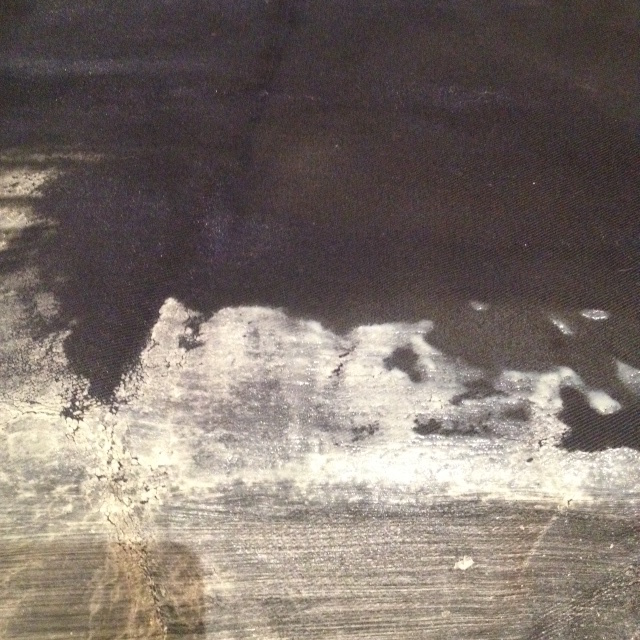
Waxed Canvas Apron prior to absorption

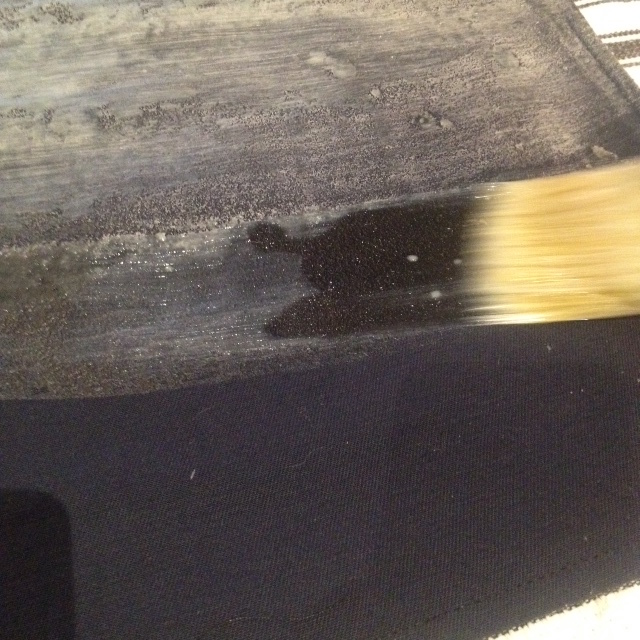
After you have completely covered your item, get out the hair dryer. I read other tutorials suggesting using your clothes dryer instead of a hair dryer. I tried it, and my energy star dryer never got close to being hot enough. Skip the clothes dryer, and break out the hair dryer.

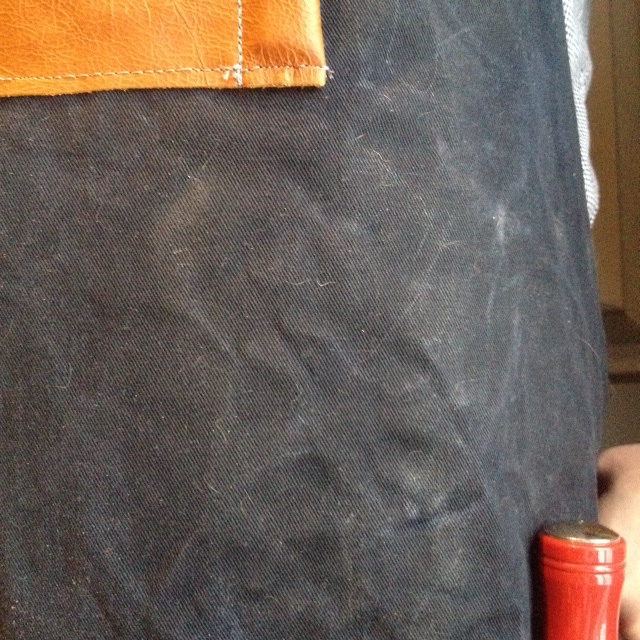
Holding the hair dryer a few inches from the waxed fabric, turn it on high and wave it over the fabric. In a few seconds, you will see the wax melt, and seep into the fabric. Going from white, back to the color of your fabric.

Apply hest to melt Wax into Cotton
Dark Blue: Wax has been heated and soaked into the fabric. White: Wax has not yet been heated, or absorbed into the fabric.

If you have applied too much wax it will not all soak in, and will puddle on the fabric. If this happens, use a popsicle stick to scrape off any excess wax. Continue heating up your wax until the whole item has absorbed all the wax. Let cool and dry.

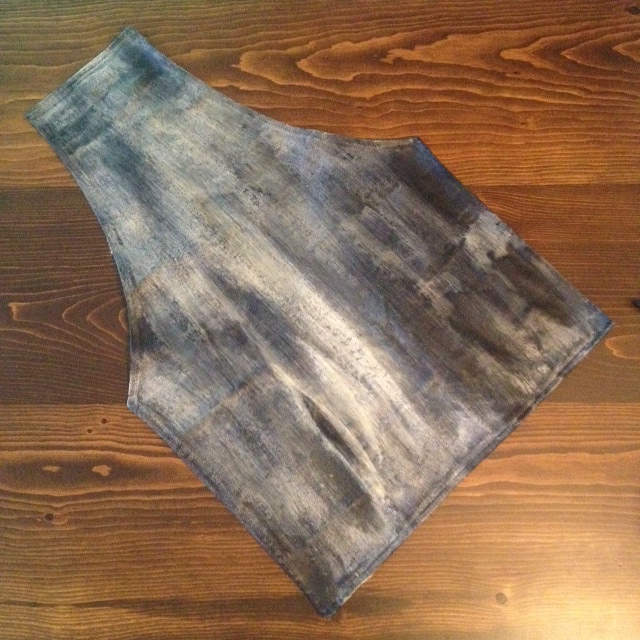
If you want a more distressed look, after the waxed cotton has dried, scrunch it up with your hands.

Waxed Canvas Apron
Waxed Canvas Apron

Enjoy!

[See our post on how to make a DIY Waxed Canvas and Leather Apron here.]

SOURCE INFO:

Materials:
Navy Blue Cotton Canvas – Designer Fabrics
Bees Wax – The Bee Shop
Paraffin Wax – Michaels

Tools:
Double Boiler
Cheap Paint Brush
Blow Dryer
Scrap Towels

Difficulty Level (on a scale of 1-5):

two out of five


Total Time: 1 hour

Total Cost: $10


Waxed Cotton & Leather Mens Apron

This project is about six months in the making. I intended to make a mens canvas and leather apron, and have it ready to present to El Granto for our 3rd anniversary (the leather anniversary). That came and went, and I hadn’t moved beyond…well…thinking about making it. Fast forward to the beginning of February. Winter had officially set in in Canada, and it was so bloody miserable, one couldn’t fathom leaving the house. There is only so much Netflix and takeout a girl can handle before snapping and dragging out the sewing machine.

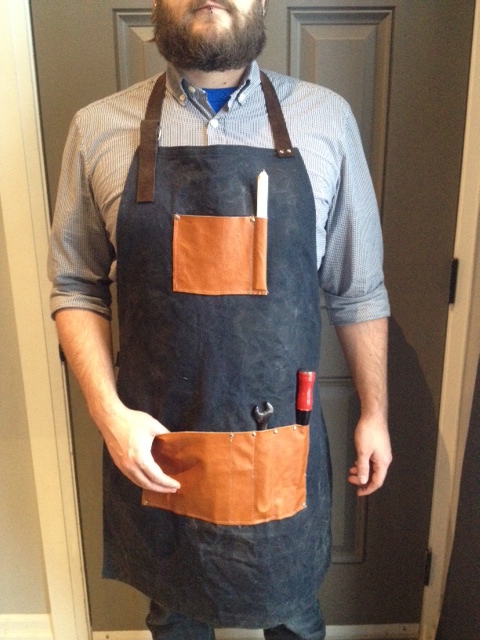
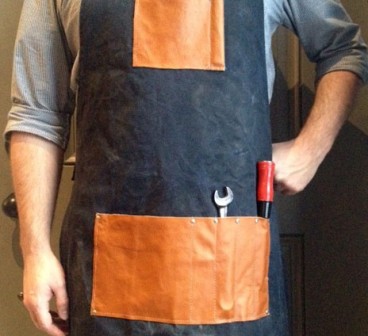
Only six months late, I was finally able to give El Granto his waxed canvas and leather apron. Perfect for wrenching on his motorcycle, or tinkering in the garage.
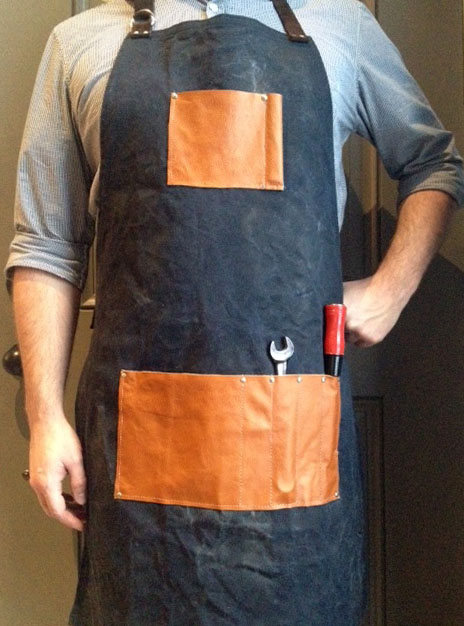
DIY Mens Leather and Waxed Canvas Apron

DIY Mens Apron DIY Mens ApronDIY Mens Leather and Waxed Canvas Apron

How To:

Cut a 36 1/2″ x 25 1/2″ piece of canvas. Fold it in half lengthwise. Measure 5 3/4″ from the fold on one short side. Mark with chalk. Measure in 15 3/4″ in on the long side, starting the measuring from the same short end you previously marked. Draw a concave curve between the mark on the short side and the mark on the large side. Cut through both layers of fabric along your curve.

Using an hot iron, roll and press a 3/8″ double hem (fold in 3/8, iron, then fold it over again and iron) on all the raw sides. Top stitch a 1/4″ hem all around the edges with a matching thread. That is now the base of your apron complete.

Using a mixture of melted beeswax and paraffin, wax the canvas. **I will be back with a whole post later in the week on how to wax canvas**

Cut your leather pieces to size (see cut list below). On the small pocket of leather, fold in one short side 1 1/4″. Stitch through both layers of leather on the folded side, 1″ in. This will make the pencil pocket.

Place the small pocket 4″ below the top of the apron, and centered. Topstitch with a 1/4″ hem along the pencil pocket stitch line, then the bottom and the other side. This pocket will hold a carpenters pencil or sharpie, as well as screws, nails or nuts and bolts.
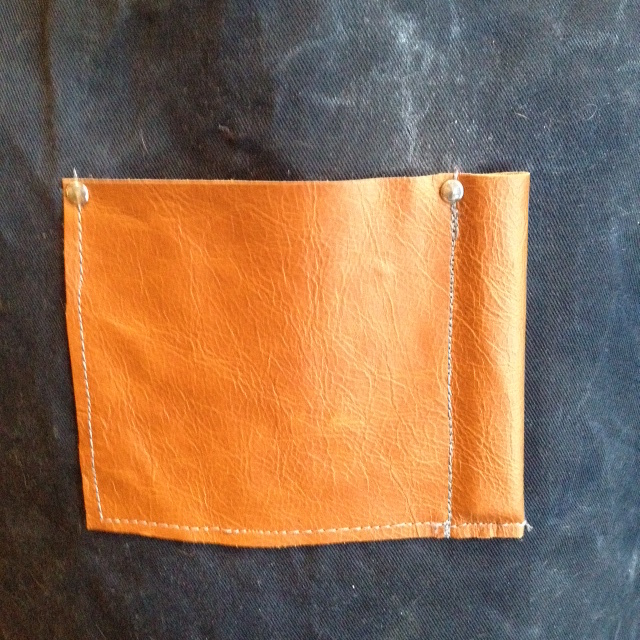
Leather Waxed Cotton Apron

Place the large bottom pocket 18″ from the top of the apron and centered. Topstitch (1/4″ again) around the sides and bottom of the large pocket. Measure in  1 1/2″ from the right side hem of the large pocket, and mark. Mark again 1 1/2″ from the first marked line. Continue this another two times.

Topstitch along the marked lines. This will make the smaller pockets to hold wrenches, screw drivers and other long skinny tools. The larger pocket will hold an assortment of miscellaneous stuff (i.e. a rag, a notebook, an Allen wrench etc.)
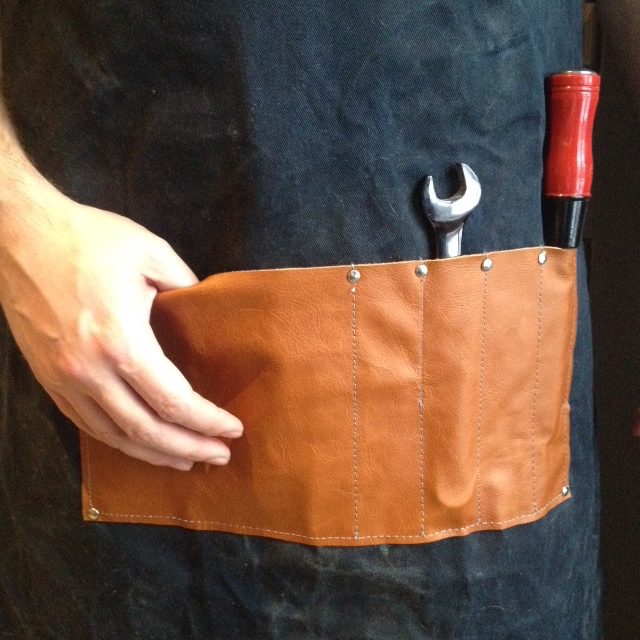
DIY Mens Apron

Fold the D ring pieces of leather (see measurements below) in half and punch two holes on the end of each piece. Punch two corresponding holes in one side of the apron as well as one side of the top of the apron. Place two D rings on each piece of leather. Line the holes in the pieces of leather with the holes in the apron. Place a rivet post through each set of holes, and using a rivet tool, hammer in place. [Rivets are easy! Just place the post of the rivet through your materials, then set in the concave rivet setting tool. Place a rivet cap on top of the post. Using the setting part of the rivet tool, hammer the rivet in place.] The D rings will allow you to thread a piece of leather between them, to easily secure the leather apron straps.
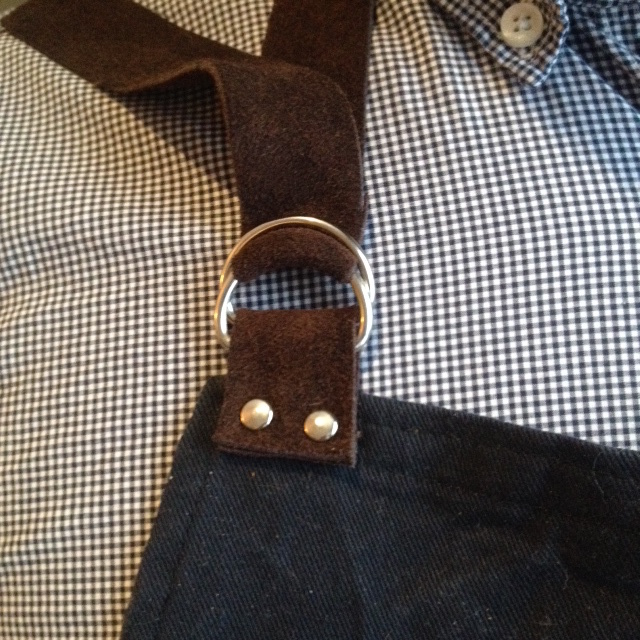
photo 4(1)

On one end of the neck and waist apron strings fold the ends over 1/2″ and punch two holes. Rivet to the neck strap to the top of the apron, on the opposite side of the D rings. Rivet the waist strap to the opposite side of the D rings.

Punch holes and rivet where the pockets meet the apron. This will ensure a long life to the apron, and take the abuse your man is sure to hand it.

Thats it! The waxed canvas and leather will weather and patina, growing nicer with age. The man in your life will thank you for making him such an awesome man apron, and for saving his clothes from motorcycle grease or saw dust. Not to mention having a place to stash a tape measure or screw driver.

DIY Mens Leather and Waxed Canvas Apron

Now…I want to make one for myself.


SOURCE INFO:

Materials:
Navy Blue Cotton Canvas – Designer Fabrics
Scrap leather – Designer Fabrics (all pieces were purchased from their scrap and trip leather bins, for a grand total of $1.50 spent!)
Bees Wax – The Bee Shop
Paraffin Wax – Michaels
Rivets – Michaels
1″ D Rings – Amazon

Cut List: (for a large mens apron)
36 1/2″ x 25 1/2″ piece of canvas (body of apron)
6 1/2″ x 13″ piece of leather (large pocket)
5″ x 7 1/4″ piece of leather (small pocket)
2 – 1″ x 2 1/2″ piece of leather (D Ring holds)
1″ x 25″ piece of leather (neck strap)
1″ x 30″ piece of leather (body strap)

Tools:
Fabric Scissors
Measuring Tape
Square
Leather Punch
Rivet Tool
Double Boiler
Blow Dryer

Difficulty Level (on a scale of 1-5):

three out of five


Total Time: 1 day

Total Cost: $27


DIY Felt & Leather Laptop Cord Pouch

Happy Friday! I’ve got a quick little project for you today. I promise to not take up much of your time, because WEEKEND.

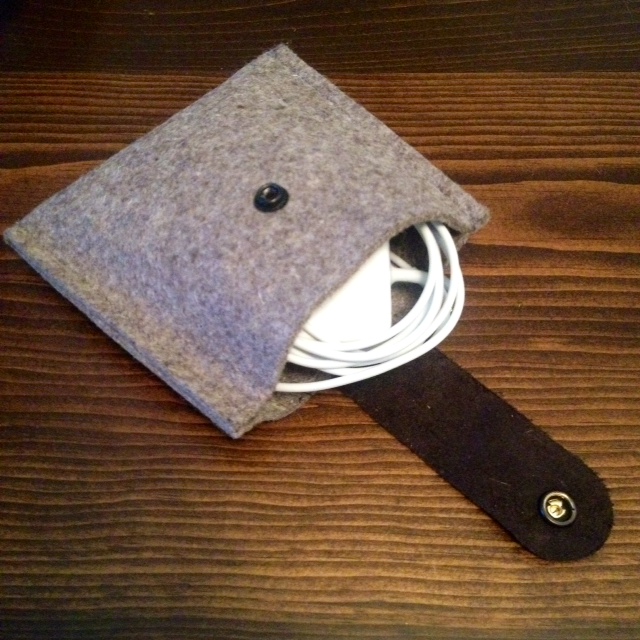
Have you checked out the felt and leather laptop sleeve I made earlier in the week? After finishing the sleeve, I still had a ton of extra felt and leather, and opted to make a quick little pouch for my laptop cords and cables.

Felt and Leather cord pouch

For the amount of cordless devices in my life, I certainly have a hell of a lot of cords. All of which seem to be tangled into a heap. Why are cords like that? They go in all organized, and then you pull them out and they have gotten themselves all tied up it knots, like some weird cord orgy.

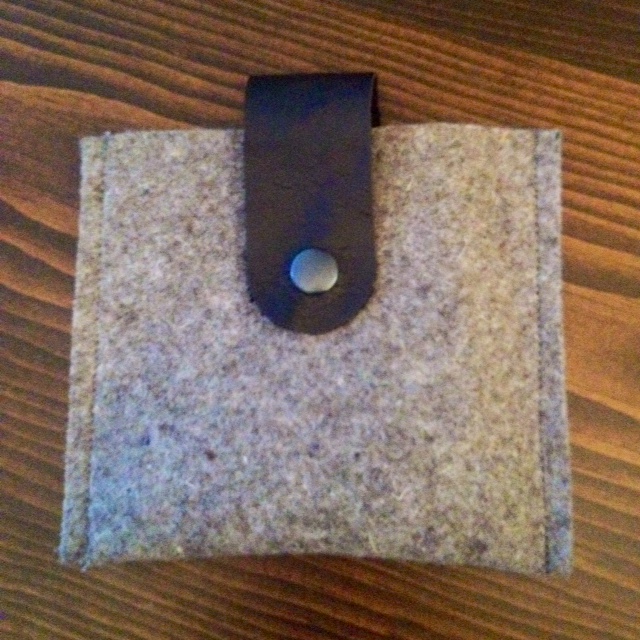
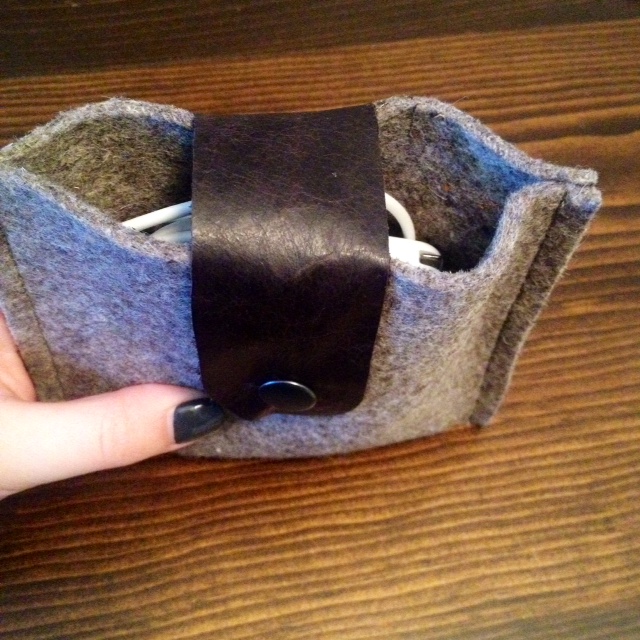
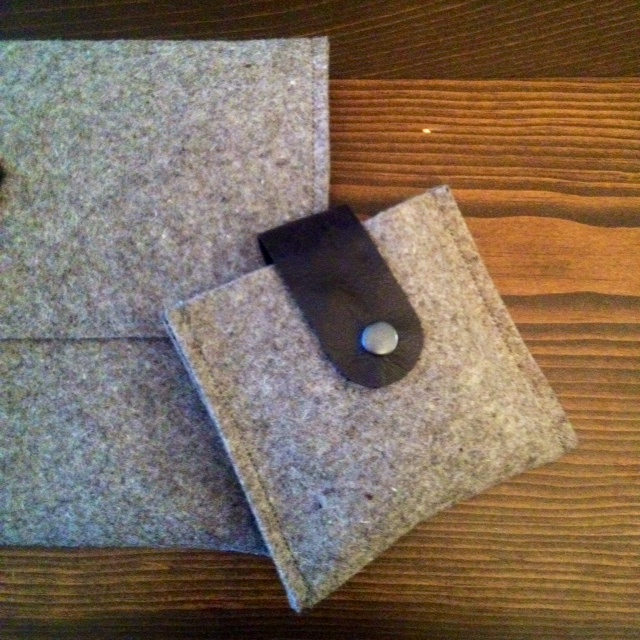
Not anymore cords! You will stay all neat and tidy in your little cord house. The pouch holds my MacBook Air charger and an extra iPhone charger. Huzzah!

Felt and Leather cord pouch

photo 2(9)

Here is how I made it:

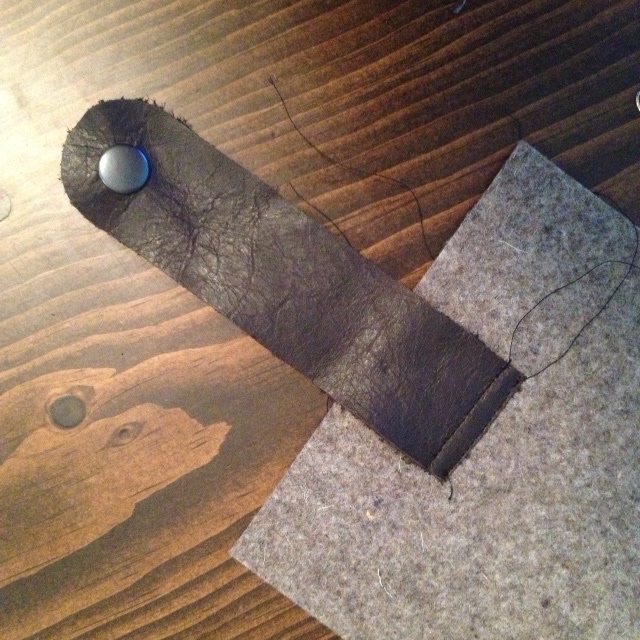
The pouch is simply constructed out of one long felt rectangle (6″x11″). The rectangle is folded in half, sewn on each side, and then closed with a scrap piece of leather.

The leather has a snap on one end, and the other end is sewn to the back of the pouch.

photo 2(8)

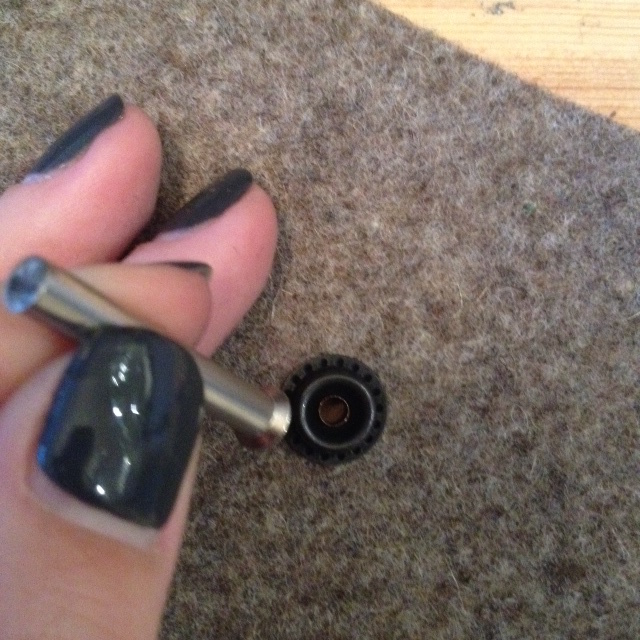
Snaps are a lot easier than you would think. All that is required is a snap starter kit which comes with a punch, a setting tool and a little round piece of metal to hold your snap while you’re setting it. Follow the directions on the kit, and you are off to the races.

Installing snap

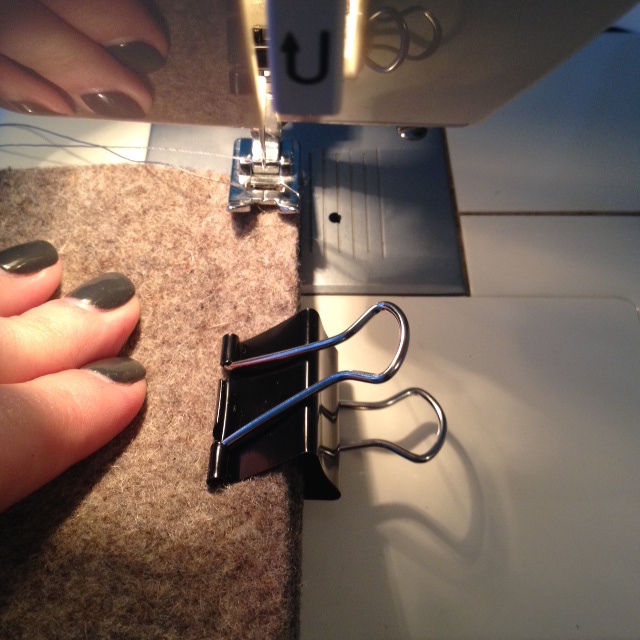
After the snaps were installed, and the leather strap sewn on, I topstitched the sides of the pouch with grey upholstery thread, and 1/4″ seam.  (TIP: use binder clips to hold the felt in place.)

photo 3(5)photo 4(6)

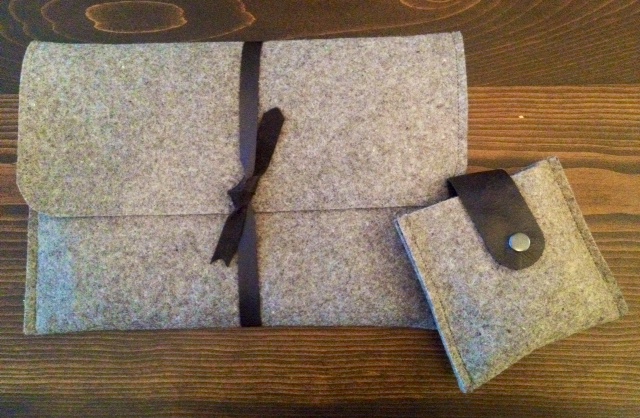
It’s a perfect accompaniment to my felt laptop sleeve.

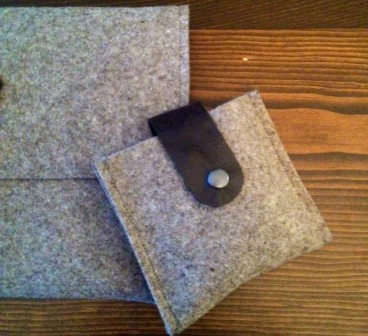
Felt and Leather laptop sleeve and cord pouch

What do you think?

Happy Weekend!

SOURCE INFO:

Materials:
Industrial felt – 3/8″ thick – The Felt Store www.thefeltstore.com
Scrap leather – Designer Fabrics
Snaps – Designer Fabrics

Cut List:
6″ x 11″ piece of 3/8″ thick felt
2″ x 6″ piece of leather

Tools:
Scissors
Measuring Tape
Square
Marker
Round objects (thread spool, cup etc.)
Thread

Difficulty Level (on a scale of 1-5):

one out of five


Total Cost: $5


Disclosure: The Felt Store sent me a sample of their felt, with no obligation or compensation to post about it. As always, all opinions, typos and overuses of the word “awesome” are my own.


DIY Felt & Leather Laptop Sleeve

I recently started commuting to the office with a laptop. While having a laptop is fantastic for working remote, the actual commuting with the laptop was a bit of a pain. I was hauling it in a thin nylon sleeve, in a laptop backpack. If you have ever tried to ride a crowded subway with a backpack, you will know that it sucks. You have to remove your backpack (otherwise you hit poor strangers with it). This leaves you holding onto it. If you are a girl like me, you will also be holding onto a purse…and a coffee. This leaves me with one hand carrying a backpack, with my purse tucked under that same arm, and my coffee in the other hand. That leaves me exactly no hands to hold onto the subway pole. A week of this, and I almost tossed hot coffee onto innocent strangers and/or almost fell on my ass at least twice.

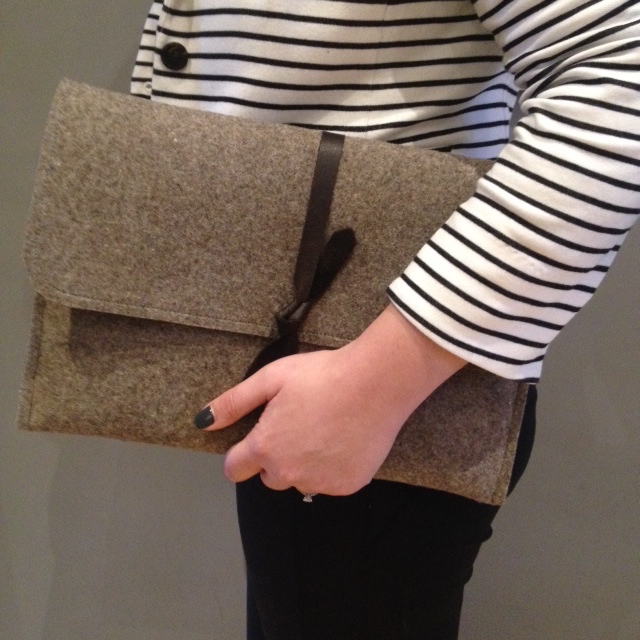
Sick of arriving at the office with coffee on myself, I took matters into my own hands and created a simple felt laptop sleeve.

Felt Laptop Sleeve

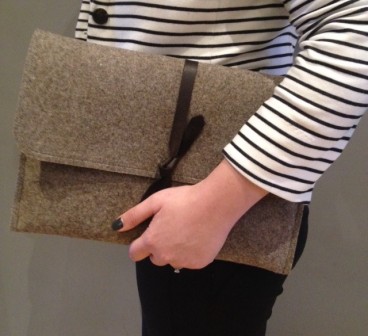
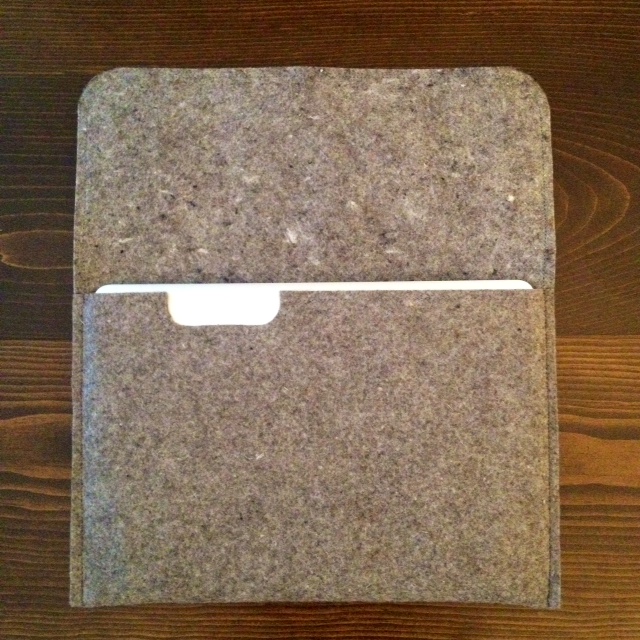
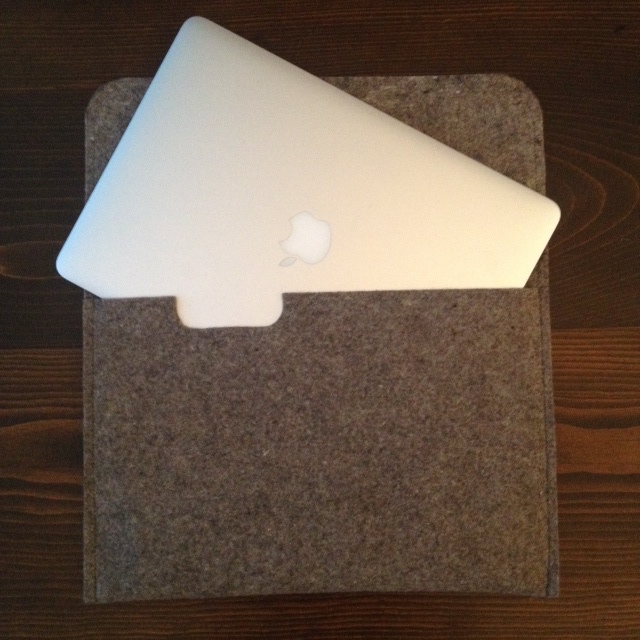
This felt sleeve offers a ton of protection to my MacBook, and allows me to toss it into a large purse for commuting to the office and client meetings. No more laptop bag or backpack!

felt laptop sleeve

Here is how I did it:

I have the 13″ MacBook Air. I took a few measurements, and decided a 14″ one piece tri-fold sleeve, with 1/4″ hems on either side. This would allow for easy laptop removal, but still keep my laptop nice and snug. I got some some 3/8″ industrial felt online from The Felt Store. I have never seen thick felt like this in fabric stores, so your best bet is to buy it online and have it shipped. I took a large framing square from my workshop (this may be a woodworking tool, but it is super helpful for sewing, leather crafting etc.) and squared up my piece of felt on two sides. (if you don’t start with a nice square straight piece, you will have a heck of a time marking out your pattern.)

photo 1(2)

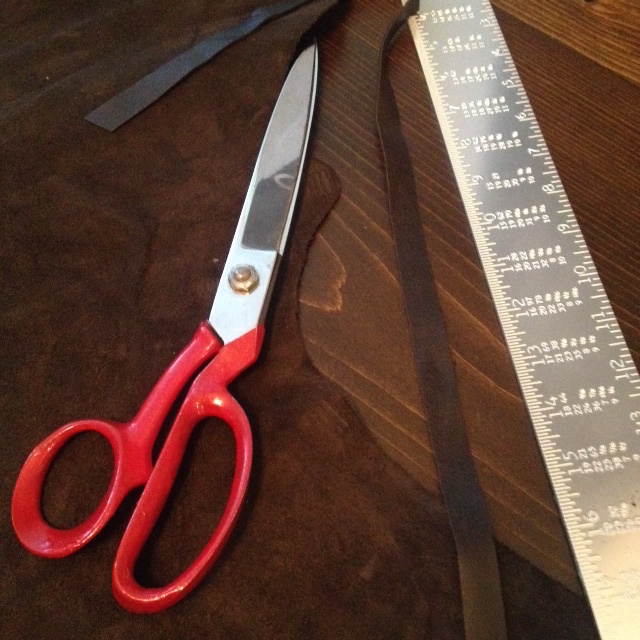
I marked out a 14″ x 25″ rectangle on the felt using my square and a fine tipped felt marker. Using my big sharp sewing sheers, I used long smooth cuts, and cut out my piece of felt.

photo 5(1)

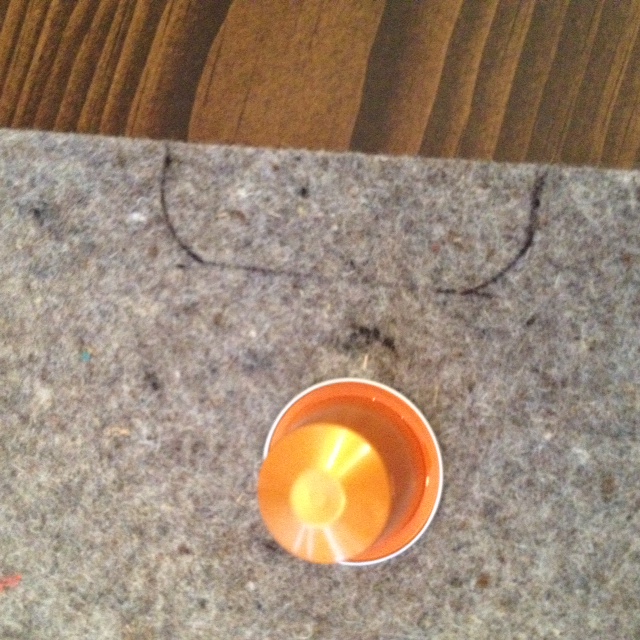
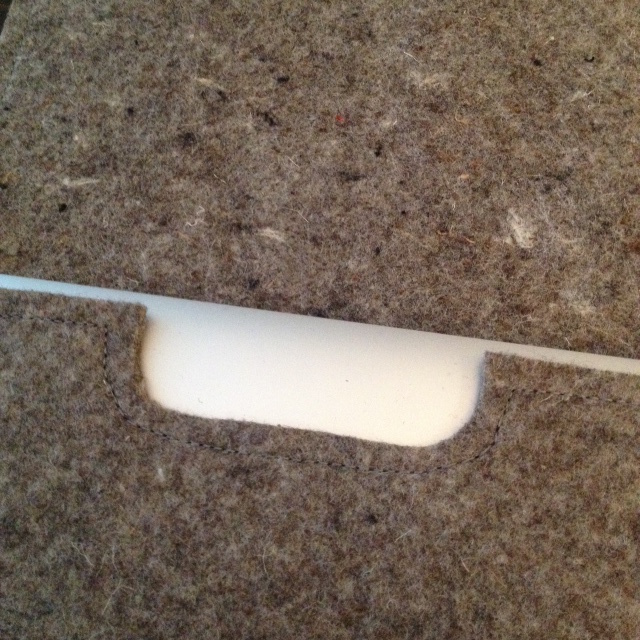
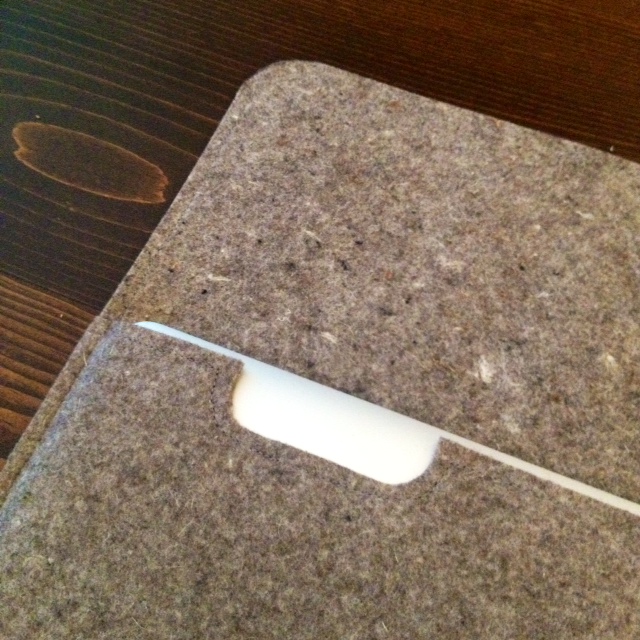
I wanted to add in a little hand hold for easy laptop removal. I marked a 3″ wide and 1″ deep notch into one end of the felt (on one of the short sides). I offset it to one side. Rather than having square corners for the notch, I used a small circle object (a pod from my Nespresso machine!) to trace a rounded corner. Using the sharp scissors again, I cut out the notch.

photo 2(4)

photo 4(3)

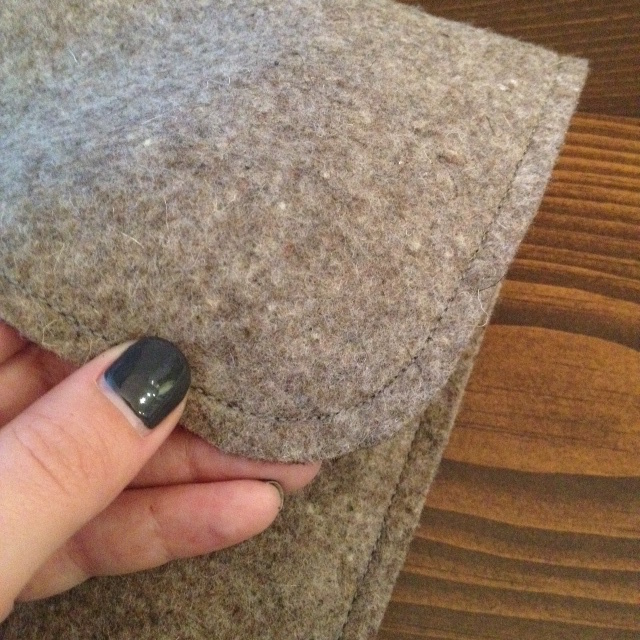
Using a larger round object (this time a drinking glass) I rounded the corners on the other short side of the felt, which will be the top flap.

I top stitched around the short side with the notch. Using my sewing foot as a guide, I top stitched 1/4″ in with grey upholstery thread, making sure to lift my foot at the 90 degree corners, and going slowly around the curves. I then continued to top stitch around the entire piece.

photo 3(2)

Next, I folded the notched end up 9″, and using binder clips, holding the folded end to the rest of the felt so it makes a pocket. I topstitched with the same 1/4″ seam down the side of the folded pocket, moving the binder clips as needed.

photo 3(5)

I did the same for the other side, and the felt sleeve is now complete!

DIY Felt Laptop sleeve

photo 5(3)

photo 3(3)

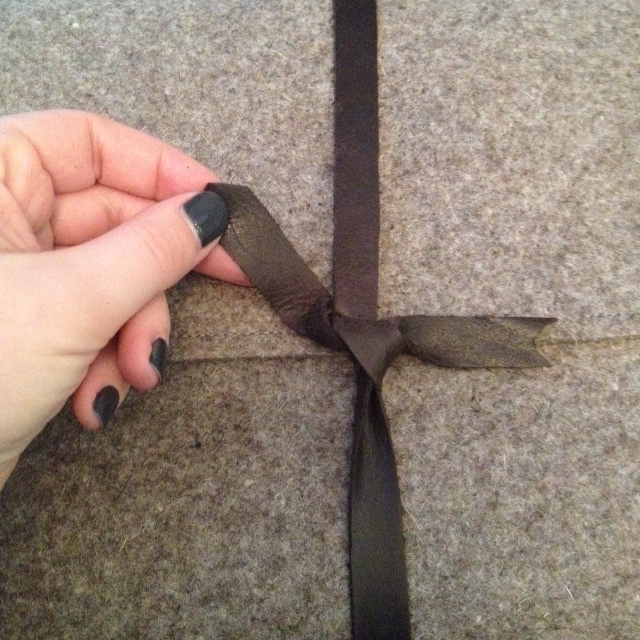
For closure, you could install a few buttons, snaps or buckles. I oped for a simple strip of leather tied in a knot. I purchased some scrap leather, and cut a strip roughly 1/2″ wide by 26″ long.

photo 4(1)

I cut the ends to a point on one end, and an inverse point at the other, and tied it around the sleeve.

photo 2(5)

Felt laptop sleeve

felt laptop sleeve

Not too shabby for a half hours work. What do you think?


SOURCE INFO:

Materials:
Industrial felt – 3/8″ thick – The Felt Store www.thefeltstore.com
Scrap leather – Designer Fabrics

Cut List: (for 13″ Apple MacBook Air)
14″ x 25″ piece of 3/8″ thick felt1/2″ x 26″ piece of leather

Tools:
Scissors
Measuring Tape
Square
Marker
Round objects (thread spool, cup etc.)
Thread

Difficulty Level (on a scale of 1-5):

one out of five


Total Cost: $25


Disclosure: The Felt Store sent me a sample of their felt, with no obligation or compensation to post about it. As always, all opinions, typos and overuses of the word “awesome” are my own.


Concrete Swiss Cross

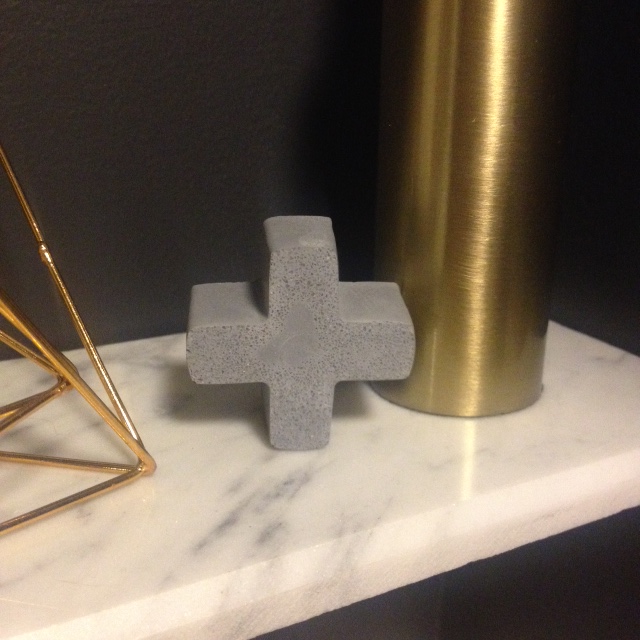
In the modern and Scandinavian home scene you notice a lot of similar trends. Monochromatic palettes, clean uncluttered design, negative space, candles, wood, black and white etc. One other motif you will note is Swiss crosses. They’re on blankets, pillows, art and accessories. Find a scandi home pic on Pinterest, and play the find the Swiss cross game. Why is this motif so popular? It’s simple, bold and classic. Not a design fad, but a timeless design element.

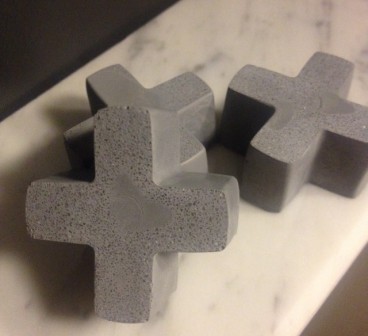
I’ve been Scandinspired as of late, so when I spotted X silicone ice cube trays at Ikea, I saw them not as X’s but as +’s. With silicone + tray in hand, I used some leftover concrete from my concrete clock project to make concrete Swiss crosses.

Concrete Swiss Crosses

I poured excess grey concrete into my silicone ice cube trays, and covered with plastic. I left them to cure overnight, then easily popped them out of the silicone mold. [see how to mix & pour the concrete here.]

Concrete Poured into Ice Cube mold

Any excess concrete was lightly sanded off, and the crosses were lightly sanded the edges of the +’s so they would stand up easily.

Concrete Swiss Cross

Not only did I use up my excess mixed concrete, I also made a cute decor item. The little Swiss crosses look sweet in my black and white powder room.

Concrete Swiss Cross

Concrete Swiss Cross

Working with concrete and silicone molds was incredibly easy. I am now on the hunt for other cool silicone molds. One of those sphere ice cube trays perhaps?

SOURCES:
Concrete – Buddy Rhodes 10lb Artisan Mix
Silicone Ice Cube Tray – Ikea

See post on mixing the concrete here.

Difficulty Level (on a scale of 1-5):

one out of five


Total Cost: $3