DIY Felt & Leather Laptop Cord Pouch

Happy Friday! I’ve got a quick little project for you today. I promise to not take up much of your time, because WEEKEND.

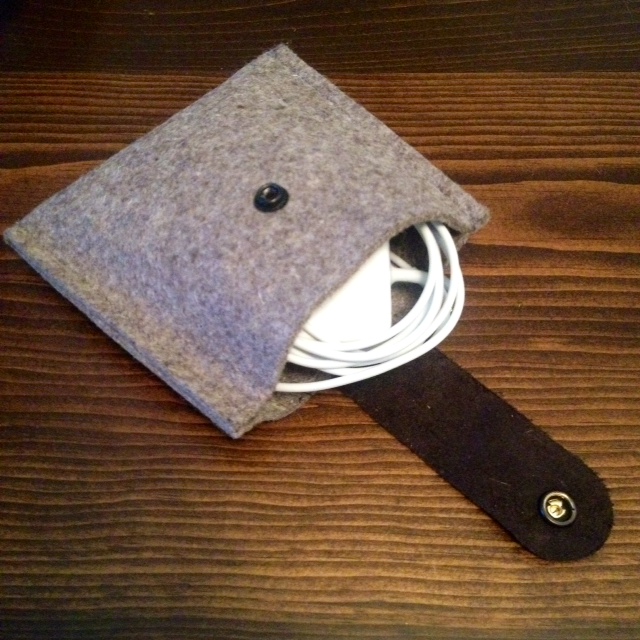
Have you checked out the felt and leather laptop sleeve I made earlier in the week? After finishing the sleeve, I still had a ton of extra felt and leather, and opted to make a quick little pouch for my laptop cords and cables.

Felt and Leather cord pouch

For the amount of cordless devices in my life, I certainly have a hell of a lot of cords. All of which seem to be tangled into a heap. Why are cords like that? They go in all organized, and then you pull them out and they have gotten themselves all tied up it knots, like some weird cord orgy.

Not anymore cords! You will stay all neat and tidy in your little cord house. The pouch holds my MacBook Air charger and an extra iPhone charger. Huzzah!

Felt and Leather cord pouch

photo 2(9)

Here is how I made it:

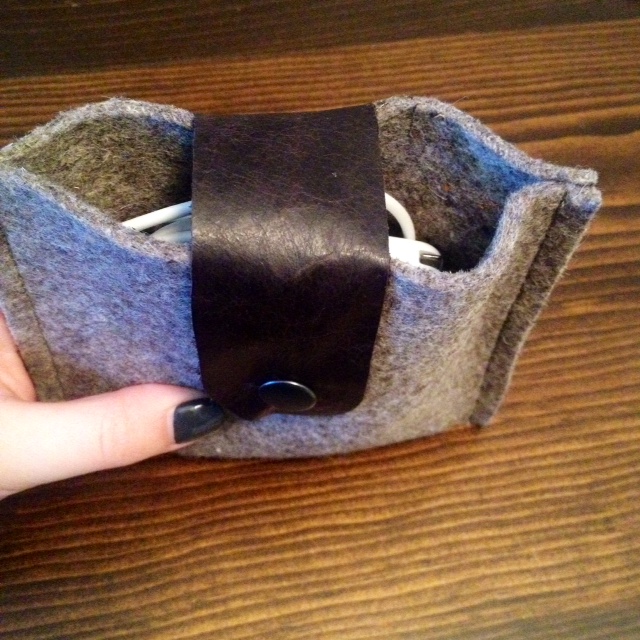
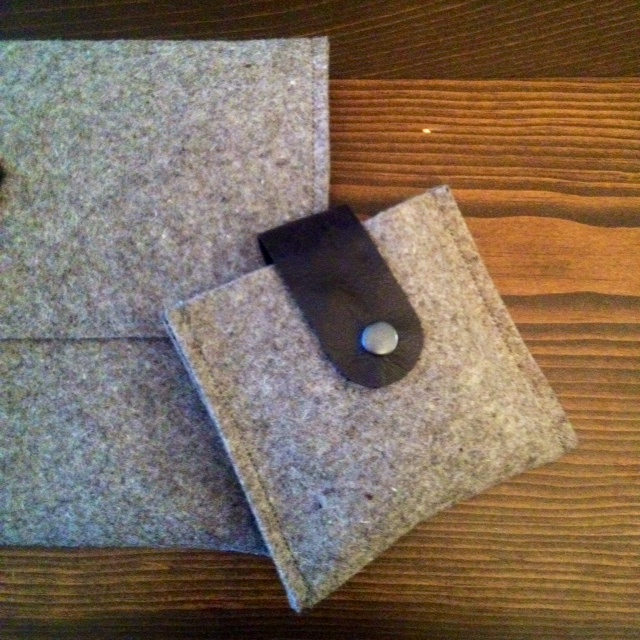
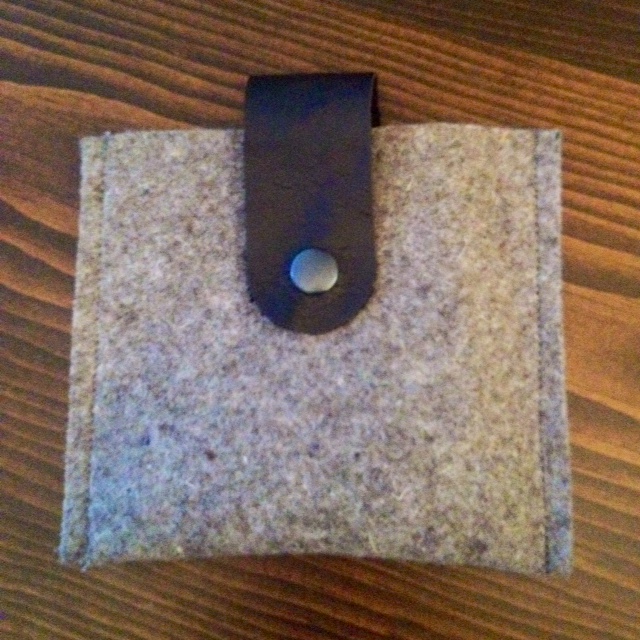
The pouch is simply constructed out of one long felt rectangle (6″x11″). The rectangle is folded in half, sewn on each side, and then closed with a scrap piece of leather.

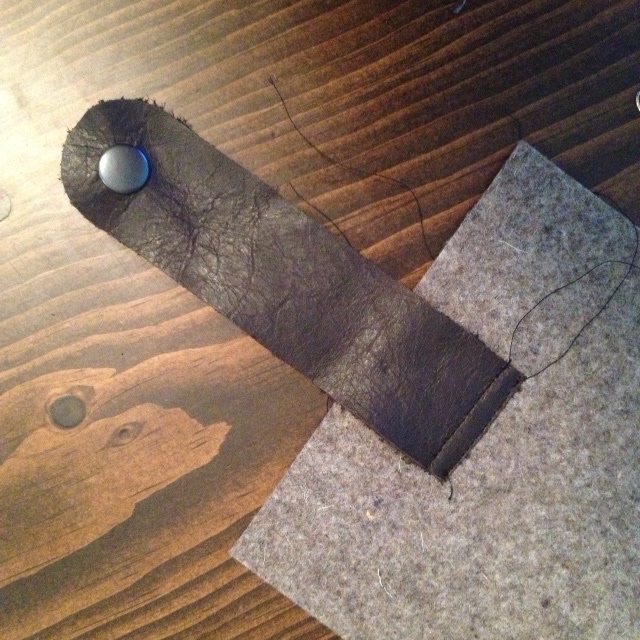
The leather has a snap on one end, and the other end is sewn to the back of the pouch.

photo 2(8)

Snaps are a lot easier than you would think. All that is required is a snap starter kit which comes with a punch, a setting tool and a little round piece of metal to hold your snap while you’re setting it. Follow the directions on the kit, and you are off to the races.
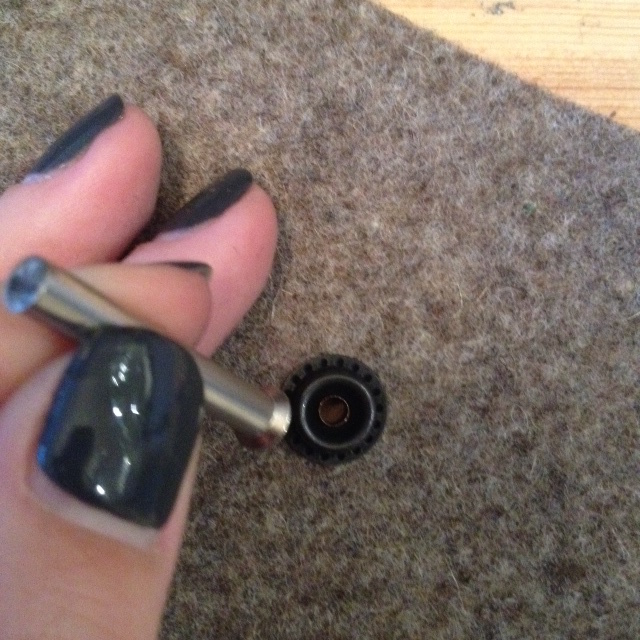
Installing snap

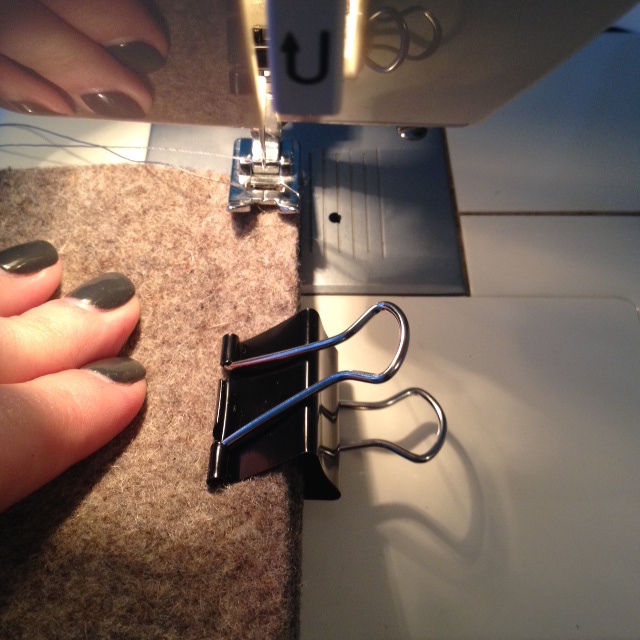
After the snaps were installed, and the leather strap sewn on, I topstitched the sides of the pouch with grey upholstery thread, and 1/4″ seam.  (TIP: use binder clips to hold the felt in place.)

photo 3(5)photo 4(6)

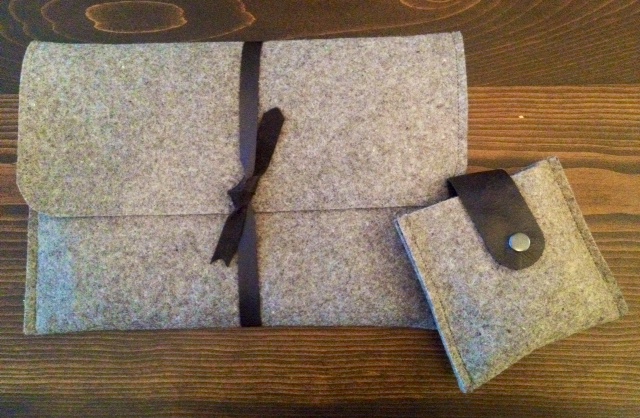
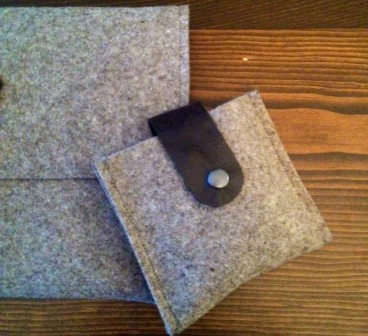
It’s a perfect accompaniment to my felt laptop sleeve.

Felt and Leather laptop sleeve and cord pouch

What do you think?

Happy Weekend!

SOURCE INFO:

Materials:
Industrial felt – 3/8″ thick – The Felt Store www.thefeltstore.com
Scrap leather – Designer Fabrics
Snaps – Designer Fabrics

Cut List:
6″ x 11″ piece of 3/8″ thick felt
2″ x 6″ piece of leather

Tools:
Scissors
Measuring Tape
Square
Marker
Round objects (thread spool, cup etc.)
Thread

Difficulty Level (on a scale of 1-5):

one out of five


Total Cost: $5


Disclosure: The Felt Store sent me a sample of their felt, with no obligation or compensation to post about it. As always, all opinions, typos and overuses of the word “awesome” are my own.


DIY Holiday – Chrismas Carol Art

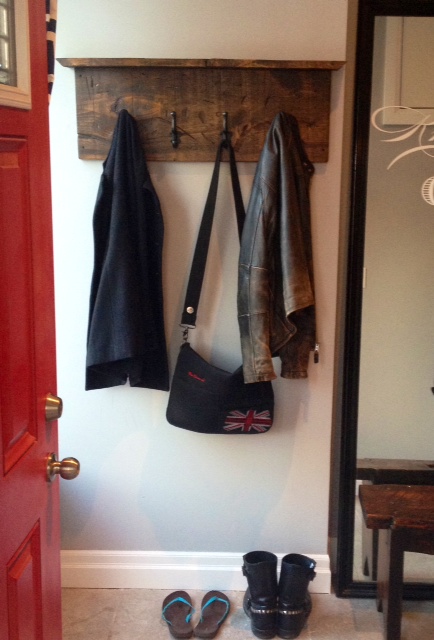
I have taken to decorating the little shelf over our front hall coat rack as a would-be mantle. It got decorated for Halloween, Thanksgiving and now its getting a little Christmas cheer. My local dollar store sells 12×16 stretched artist canvases for the low price of $2. They also sell $1 acrylic paint. I figured this was an excellent excuse to make some inexpensive holiday art.

The Coat Rack Mantle without any decoration

While singing Christmas carols at my desk one day (yep I’m one of those holiday spirit kinda people)  I decided that my art project should revolve around Christmas carols. I promptly went home and laid down some type in Illustrator of  the lyrics “Faithful friends who are dear to us, gather near to us once more”.  Hopefully our visiting friends and family will feel welcome this holiday season!

Type laid out in Adobe Illustrator

After I was happy with my type layout and font selection, I cut out the type using my Silhouette SD onto adhesive vinyl. If you don’t have a silhouette, you can pick up alphabet stickers from craft stores, or you can cut your own out of adhesive material. After my stickers were cut, I removed the excess vinyl (called weeding) and transferred my stickers using transfer paper (it’s sticky paper which pulls off the vinyl from their backing, then you place it where you want your stickers and apply using a credit card.)

Half the words adhered to the canvas

After my stickers were adhered I took a look and loved it just the way it was! I know, lazy me! If you want to do it right,  paint around the edges of the stickers with some white acrylic paint. You do this so that if any of the paint bleeds under the stickers, its white like the canvas so it wont be visible. After it dries,  coat the whole canvas in 2 coats of black, red or green paint.

After the paint dries, remove your stickers, and reveal the white canvas below. Or be lazy like me and just put stickers on canvas, then go drink some rum laced eggnog instead.

Where was I? Eggnog? Oops. Right. Project…

Then I placed it up on my mini mantle with a small artificial tree, candles, fresh greenery and a ceramic pear.


SOURCE LIST:

Materials:
12×16 Art Canvas
Adhesive Vinyl
White & Black Acrylic Paint
Eggnog for extra holiday cheer

Tools Used:
Silhouette SD
Paint Brush

Difficulty Level (on a scale of 1-5):

One out of five

Total Cost: $2 ($4 if you paint it)