Focus on the Journey, not the Destination.

Focus on the journey, not the destination. Joy is found not in finishing an activity but in doing it. -Greg Anderson

That is crappy advice. Cause sometimes the journey SUCKS.

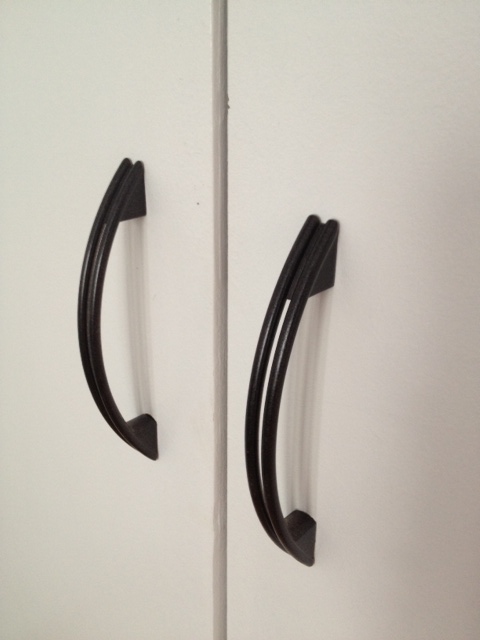
Case in point: Gathering supplies for an industrial chandelier project in mid January in Canada without a car.

This is how our weekend went:

Friday after work I took three buses and a shuttle to get to Ikea North York (aka the Ikea in the opposite end of Toronto from where we live.) Getting two lights (which have been sold out at my local Ikea for months). Then taking a shuttle, three subways and a bus to get home. Three and a half hours later I had my lights, and fro-yo. So there’s that saving grace.

Ikea Ranarp Pendants. I purchased two!

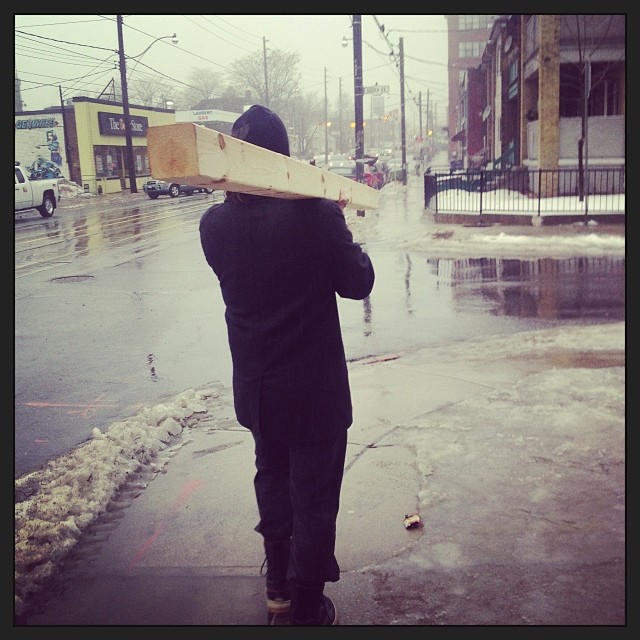
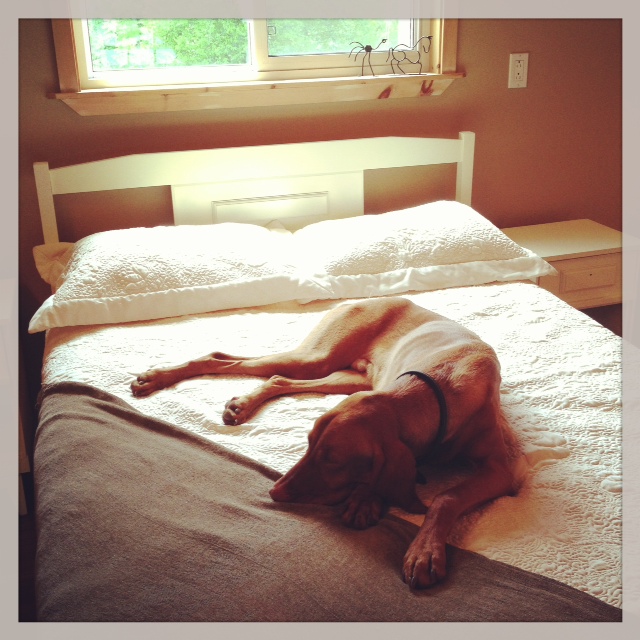
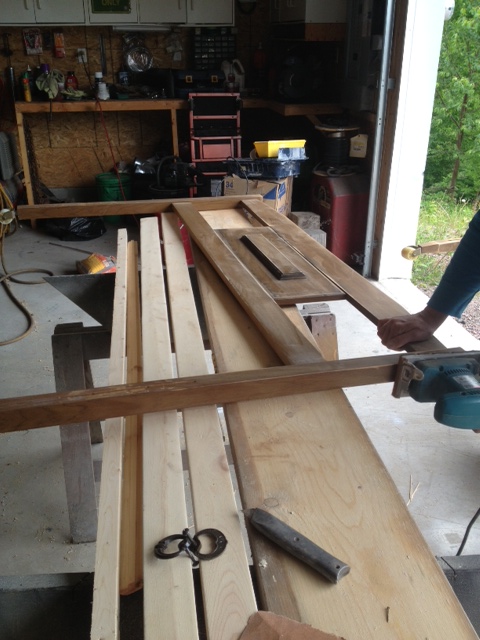
Saturday El Granto, myself and the dog headed out to the lumber yard. We took our favorite route along the West Toronto Railpath only to find halfway along our route the path turned into 2″ of solid ice covered in water. AKA the most slippery walk ever. Then it started to rain. We proceeded on city streets, which weren’t much better. Why cant people with corner lots SHOVEL THEIR SIDEWALKS?! Insert blood pressure rising. We got our needed lumber, and El Granto carried it home while I wrangled the bags of supplies and the pooch.

El Granto carrying home a 4x4 8 foot post.
El Granto carrying home a 4×4 8 foot post.

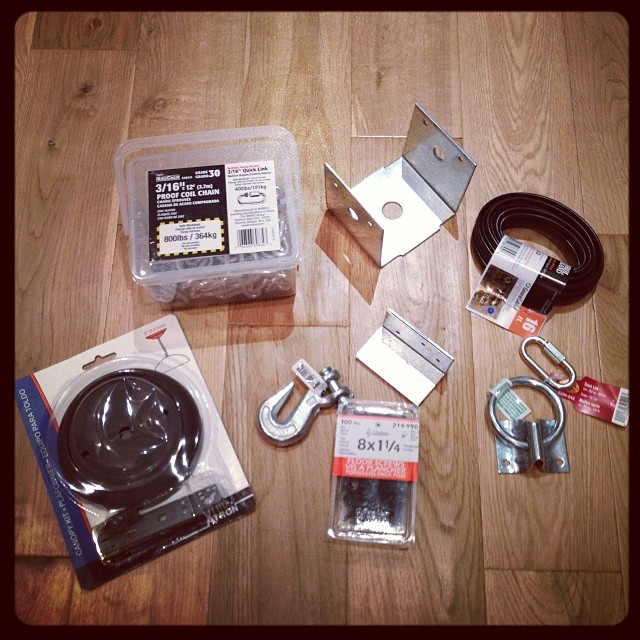
Next we dropped off the dog at home, and took the bus & streetcar to Home Depot to get everything else we needed.

Our menagerie of weird supplies for this project.

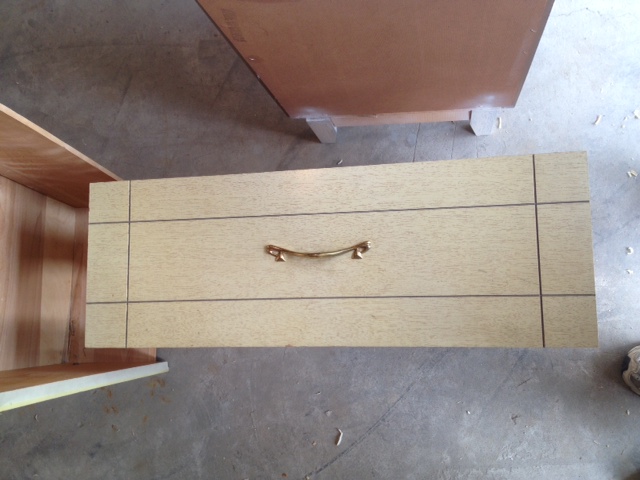
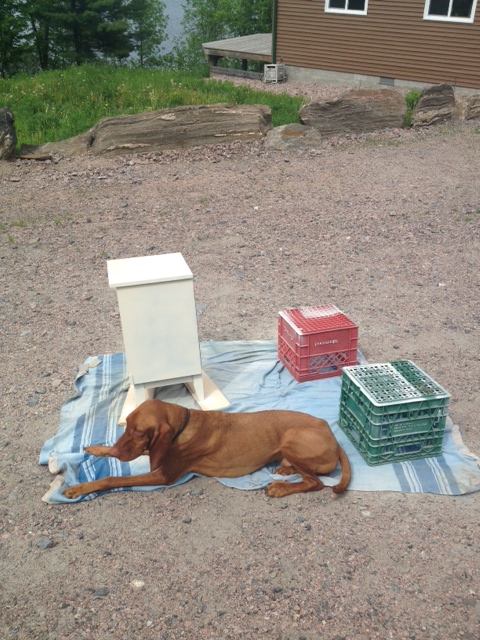
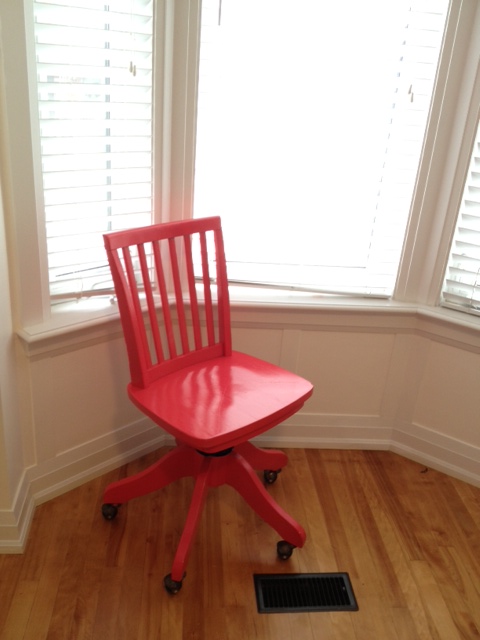
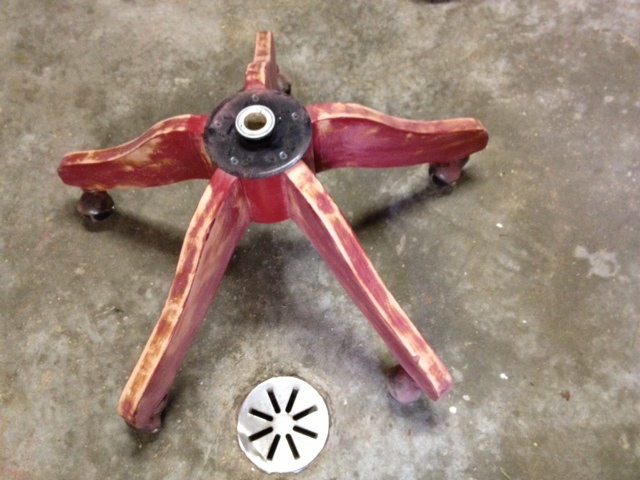
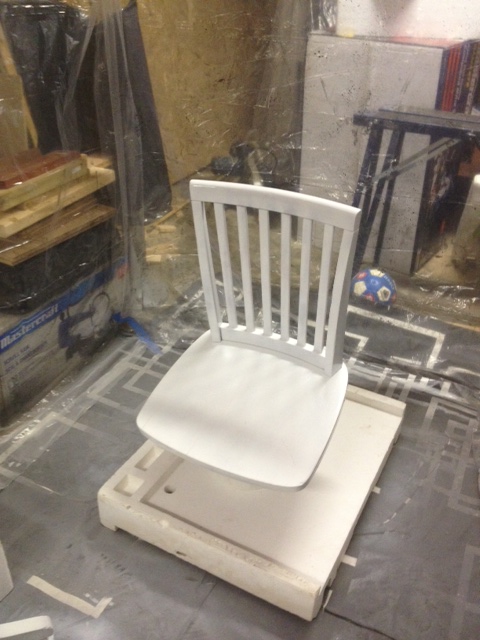
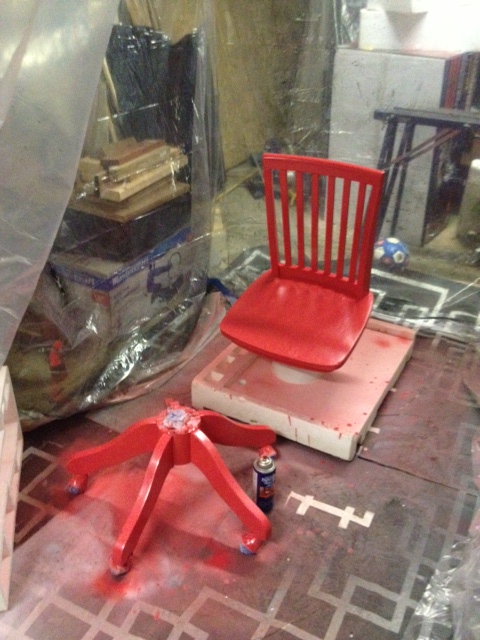
I then braved the skating rink which is our backyard, and headed into the garage to spray paint while the weather was warm enough. (It had reached +6 in Toronto, and with the heater on in the garage I could get it to +10, which is the minimum temperature for my spray paint to cure.) I set up my drop cloth and painted three light coats on all my lights & supplies, and left it to dry.

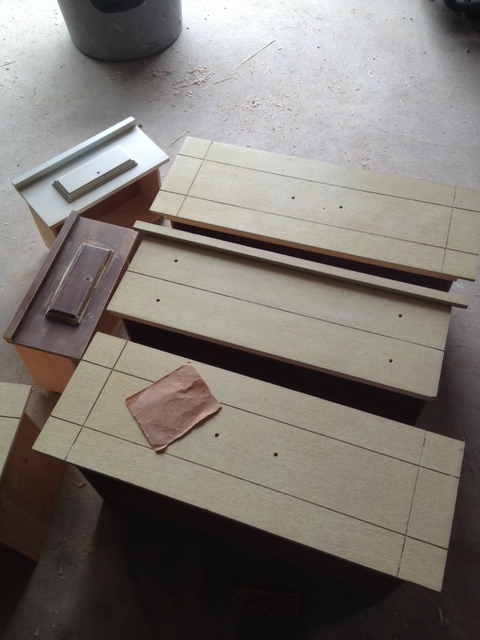
Sunday I went to check on my paint, and discovered that the drop cloth had fallen onto the lights and f@#ked up my paint job. Insert string of expletives. I conquered my anger, sanded down my newly painted lights, and painted another two coats of paint. I then marched them inside to safely dry in the basement. Where no big mean drop cloths could fall on them and make me cry.

Our light(s) after 6 coats of paint. Three would have done it except for the damn drop cloth that decided to fall on it and wreck everything.
Our light(s) after 5 coats of paint. Three would have done it except for the damn drop cloth that decided to fall on it and wreck everything.

SO three days of journey, very little accomplished, and no actual “industrial chandelier” made.

Eff you Journey. I will stop believing.

Everybody’s Workin on the Weekend

Last weekend I had big plans of finishing a couple projects in the dining room. I was going to accomplish sooooo much. It was totally gonna happen.

Then I got an email from my Mom asking if I wanted to head up to the cottage and give her a hand with a few things. I could DIY at home OR I could DIY at the cottage? Needless to say, the dog & I were packed and ready to go that evening. El Granto & I had some prior commitments in the city, and we both couldn’t bail on them, so El Granto stayed in the city while Odin and I headed north.

73e04706d11711e2873222000a1f9e77_7

A few years ago, my parents purchased what was literally a shack, on a beautiful waterside property in Northern Ontario.  Since then, they have built a huge addition, turning it from a 400 square foot room to an over 1500 square foot cottage with a huge loft, a bunkie, and a great big garage. The work is almost finished, but there’s still a few things on the To Do List. One of those things is furniture. The house is going from a 1 bedroom to a 2 bed + loft, so more furniture was needed!

Mom and I headed up with a truck and trailer full of two sofas, a mattress & box spring, a headboard & foot board, two night stands and a dresser. We managed to not only get it up north, but down the ravine into their property, get the truck and trailer turned around, disconnected the trailer, and unloaded all the furniture. Yay girly muscles!

My Mom was gifted the bedroom set, which was awesome, but it needed some TLC. It was 50’s laminate in all its glory (they put laminate OVER solid wood!)

50's dresser!
50’s dresser!

Mom & spent an afternoon sanding, cleaning, and spray painting away.

drawers
Sanding & Painting drawers
Sanding & cleaning headboard
odin & furniture
Odin didn’t understand that the drop cloths were for the furniture to be painted on, not for him to lay on…

We then headed up to the loft and worked on laying some laminate flooring. Turns out, laminate is super easy to lay! Once you have a solid flat surface, you lay down some underlayment, and the flooring just clicks together! The hardest part is carrying the boxes of flooring up to the loft, and working on your knees clicking it together.  You can also see a sneek peek of the super cool railings my parents made. My Mom drew cottagey silhouettes onto sheet metal, they then cut it out using a plasma cutter. (Aren’t they creative!)

laminate flooring
Installing laminate flooring

All our hard work paid off though, as this is what the loft was looking like when we were done.

The Cottage Loft Bedroom

Odin

The room still needs some trim work, and the furniture needs hardware. Some lamps, drapery and  accessories and this will the perfect cottage space. (Oh and that’s bolts of fabric on the right, my mom has an industrial sewing machine in the loft and likes to knock out upholstery projects in her spare time!)

I think Odin likes it.

Update Chairs w/ Spray Paint + The Best Paint News Ever!

We re-used our old dining chairs when we made our DIY iron & wood dining table. As you can see below, it’s not ideal. The chairs don’t  “match” the table, yet they’re not different enough to pair well with the table.  Why didn’t we get new chairs? Chairs are expensive!  I wanted pretty metal Navy chairs, or metal Tolix chairs. Then I remembered one of those chairs is more than our grocery budget for a whole month…eeep

Dining Room
Dining Room & Kitchen

Chair vs. Food. I choose food.

However those chairs were still driving me nuts. They have lived with us since we moved to Toronto 7 years ago. They’re well built, but they lived through our late 20’s, a lot of fun and a few exuberant parties. They are scratched, and are finished with that really dark espresso stain color that might as well be painted on. You cant even tell that there is real wood hiding under it. Combined with the dark dining table in our otherwise bright kitchen/dining room, it was making a bit of  black hole.

It was time for a change.

Now. As you may have noticed, I heart spray paint, and in particular I have a soft spot for RustOleum Universal spray paint. Their oil rubbed bronze finish may be the best spray paint finish on the market. Really. In the past we’ve made a knock off Restoration Hardware mirror with RustOleum Universal, refinished a busted rocking chair, given new life to mismatched heat registers, brought a light fixture back from the 80’s, gave a bit of glam to a plastic frame, and even saved some shabby door handles.

The choice was obvious. Chairs; meet spray paint.

I set up my DIY spray booth in the garage. Gave a light sand, and a good cleaning to the chairs, then gave them several coats of RustOleum Universal in gloss white.

DIY TIPS! When spray painting, the prep is the most important step! Ensure your surface is very clean. Use a degreasing cleaner such as TSP to remove any oil or wax from the surface. If your surface is very shiny and slippery, always rough it up a bit with some sandpaper, to ensure good adhesion. Spray painting is all about light coats. Give your piece several light coats using a sweeping motion about an arms length away from your surface. To avoid drips and runs, don’t spray too close.  For surfaces that are going to see a lot of wear, put on an extra coat. Make sure you re-coat within an hour, or after 48 hours to avoid the paint cracking or not adhering properly. Go out and paint something!

Chairs Before
Chairs Before
Chair in the paint booth
Newly painted chairs drying
Chair After
Chair After

That’s just a sneak peek of the changes to the dining room. We have another couple projects in the works, so a full reveal in a few weeks!

Now for my super special awesome paint news!

I had the chance to meet the folks from RustOleum last week at the Home Depot DIY 101 day, and they let a super big secret drop. RustOleum is coming out with SEVEN new colors of Universal paints in Home Depot stores this week. Yep, 7! They look amazing, and I cant wait to try them all out. Check your local Home Depot Canada store in the coming weeks for these new colors:

RustOleum Universal Flat Metallic:

  • Chestnut
  • Burnished Amber
  • Soft Iron
  • Antique Nickel

RustOleum Universal Hammered Metallic:

  • Chestnut
  • Burnished Amber
  • Antique Pewter.

These paint finishes look amazing! Very Restoration Hardware-ish. Perfect for refinishing dated hardware, light fixtures, furniture and anything else you can think of.  I cant wait to try them out!

Have you spray painted anything lately? Ever used RustOleum Universal paint?

Reclaimed Chair

We’re not dumpster divers, we don’t go out LOOKING for garbage to bring home, it just so happens that we have come across some good finds on the side of the road. We dragged home the rocking chair for the office a few months ago, repaired and refinished it with a coat of glossy black spray paint.

Just before Christmas El Granto happened to come across this guy, a red bankers chair with some nicks and scratches and a large X slashed across the seat and back.

El Granto snapped this pic with his phone of the chair on the curb

El Granto immediately spied the chairs potential and rolled it home and tossed it in the garage. We knew that we would not be able to refinish it untill the weather was warm enough to spray paint in the unheated garage.

Chair Before
Chair Before

I flipped it over to discover it was a Pottery Barn Kids chair. In fact it’s this $250 chair, but in red (guessing red was a seasonal colour). Have I mentioned lately how much I love my husband and his ability to spot fine craftsmanship?

We got to sanding the nicks out and prepping the surface for primer, and man the paint finish on this chair was strong. It took both of us hand sanding the first layer of finish off with a rough grit sandpaper, then using a palm sander and a oscillating multi tool with a sanding attachment to finally get the paint sanded down.

Chair Seat Sanded
Chair Seat Sanded
Chair Base Sanded
Chair Base Sanded

The X slashed in the seat of the chair was super problematic. We sanded and sanded and just couldn’t get it to disappear completely. When we had enough of sanding, we gave up and prepped for paint. We cleaned the chair of all the sanding dust with a damp cloth then a tack cloth, and masked off all the metal parts such as the wheels and the seat adjustment.

We took the legs off so that we could paint them easier, and we stuck the top of the chair into a bucket and styrofoam so that it would stand up (kinda) straight. We gave it two coats of primer in our spray booth.

Chair Primed
Chair Primed

We let it dry, then painted two coats of RustOleum Watermelon spray paint. We usually use the RustOleum Universal paint, but their colour selection is limited, and we wanted a pinky-red-coral colour, so we went with the regular RustOleum primer + paint. I forgot how terrible regular spray can nozzles are. I got paint all over my hands, the nozzle dripped like crazy, and the round spray pattern doesn’t cover as effectively as the more linear spray of the Universal paint. So RustOleum, I beg of you, make more colours in your Universal line! xxo love Kristen

Chair Sprayed
Chair Sprayed

After I swore a bit, and gave the chair two coats of paint this is what we have.

Chair After
Chair After

She will live in the guest room, and enable guests a place to sit and read, get dressed, or stash all the stupid pretty throw pillows. Not bad for trash on the side of the road!

SOURCE LIST:

Materials:

Rustoleum Spray Paint in Watermelon – Rona
Rustoleum Spray Primer – Rona

Tools Used:

Palm Sander, Oscilating Multi Tool, tack cloth, rags, muscles, Dexter kill room paint booth

Difficulty Level (on a scale of 1-5):

three out of five

(the sanding sucked…)
Total Cost: $12

Making a Paint Booth

When I need to spray paint a small item (knob, handle or vent cover) I usually put it on some cardboard and head out into the alleyway behind our house to paint. I then bring it inside our garage to dry. However when the weather turns cold, or when you’re painting a big item, that may not be an option. Such was the case this past weekend when we needed to spray paint a rocking chair we were working on. It was BIG and I needed a lot of space to paint, which mean a lot of over spray. We decided to set up a temporary spray booth in our garage. Which El Granto proceeded to call my Dexter Kill Room for the entire weekend. He even posted this pic on facebook with the caption “Built Kristen her own Kill Room”. No wonder no one wants to come over for dinner…

So here’s how we did it. I bought some heavy weight plastic drop sheets. We stapled them to the ceiling rafters in our garage in a 6’x6′  square.

El Granto Stapling up Drop Sheets
Inside the Spray Booth

We laid down a canvas drop cloth on the ground (which was an old wall hanging in our loft!) And using plastic clamps, shut the sides.

Clamp Holding Sides Shut

I left one side open for easy entry to the spray booth. We moved in our project.

Ready to Paint

After I finished painting (wearing a mask of course!), I opened up the sides of the spray booth and let the paint dry (note the garage was getting a bit cool by then, so to ensure my paint dried right I put a heater on to warm up the garage a bit.)

Chair Painted

The next day after everything had dried, we took down the plastic, folded it up and its ready to go for next time.

SOURCE LIST:

Materials:
10×25′ Heavy Weight Plastic Drop Cloth – Home Depot (note, the so called 25′ drop cloth was less than 20 feet long! We didnt have enough plastic, and had to use an old drop sheet we had laying around… insert grumpy face here.)

Tools Used:
Scissors for Cutting Drop Cloth
Staple Gun

Difficulty Level (on a scale of 1-5):

One out of five

Total Cost: $8

Light Fixture Facelift

Do you have something in your house that works perfectly well, it looks fine, and you have no justification what so ever to replace it, but you HATE IT? Yeah…that was my living room light fixture. It was fine…I just didn’t like it. It was also big, and costly to replace with anything I like. So it had no hope of getting replaced anytime soon. I had come to terms that our whole living room is in fact an epic fail (sofas don’t fit the space, the tv console is hideous, the dogs crate lives in the living room, and there’s no place to set down a drink.) So you think I would just concede the light failure and learn to live with it. Like the way hoarders seem to have come to terms with crawling over their belongings to get to the bathroom. Not so. I my friend am what you would call anal retentive, and if I can possibly change something I hate; I will.

This weekend I had enough of that light fixture, so I got El Granto to take it down, and I marched it outside and I spray painted that light. Take that heinous light. Now you are the same heinous light with a prettier color! Nah, I’m not giving it enough credit, I think it looks much better, and definitely good enough to get it off my hit list for a few months.


So here’s what we did.

Took the light apart (the bowl came attached from the rods, and the rods from the light fixture). It’s hard to see the lights terrible color from my before pic. It was white with gold brush strokes and a hint of green. Waaaay to country for this city house.

Close up of strange gold faux finish

I cleaned everything, then dragged a few saw horses outside, and made myself a little work station. I hung the rods and the hoop that the bowl sits in from an old piece of wood with some nails in it. I sat the light on some cardboard. In hindsight I should have hung the light as well as it would have been easier to paint. I made sure to mask off the light socket with tape. I painted with my favorite spray paint; Rustoleum Universal. This time with some left over Oil Rubbed Bronze. I painted with several light coats, ensuring I got into the nooks and crannies of the light.  Sorry grass, you were collateral damage in this project.

Painting the light in the backyard

After it dried we took it back inside and re-hung. Easy peasy lemon squeezy.

SOURCE LIST:

Materials:
Rustoleum Universal Spray Paint in Oil Rubbed Bronze – Home Depot

Tools Used:
Screw Driver, Ladder, Husband

Difficulty Level (on a scale of 1-5):

One out of five

Total Cost: $0 (already owned the paint, $10 if you needed paint)

Guest Bedroom Hardware

The guest room has one entry door and two closet doors. I have been trying to convince El Granto to let me paint all the door knobs and hinges in the house with Oil Rubbed Bronze Spray paint (like I used on my DIY “Cast Iron” Heat Registers) but it’s been a tough sell. The problem is all our door knobs are almost brand new brushed metal. So they are in fine shape…they’re not super dated, and they look fine…I just want them oil rubbed bronze. But what if I paint a house load of perfectly fine knobs only to have them peel or chip or look like crap? Then it would be death to wife.

So untill I am able to convince El Granto that oil rubbed bronze is the way to go, I will have to satisfy myself with change all the other hardware in the guestroom. For the closet we have two brushed stainless pull handles. They are a strange size, and until I find some oober nice handles, I figured I’d give them a coat of paint of my favourite paint; RustOleum Universal in Oil Rubbed Bronze.

Handles Before
Handles After

Then we added a cast iron coat hook to the back of the door for guest robes or wet towels.  This I think is a necessary in all guestroom, else your guests put sopping wet towels on the floor and/or furniture.

I had just bought some cast iron hooks for the front entry coat rack. They cost around $6 a hook. So when El Granto found this hook at our local dollar store for $1.50 I jumped and got him to buy two.

Doesn’t it look good for a $1.50 hook?