We’re not dumpster divers, we don’t go out LOOKING for garbage to bring home, it just so happens that we have come across some good finds on the side of the road. We dragged home the rocking chair for the office a few months ago, repaired and refinished it with a coat of glossy black spray paint.
Just before Christmas El Granto happened to come across this guy, a red bankers chair with some nicks and scratches and a large X slashed across the seat and back.
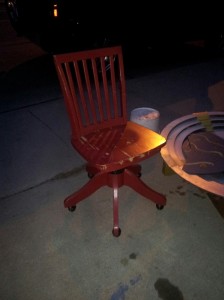
El Granto immediately spied the chairs potential and rolled it home and tossed it in the garage. We knew that we would not be able to refinish it untill the weather was warm enough to spray paint in the unheated garage.
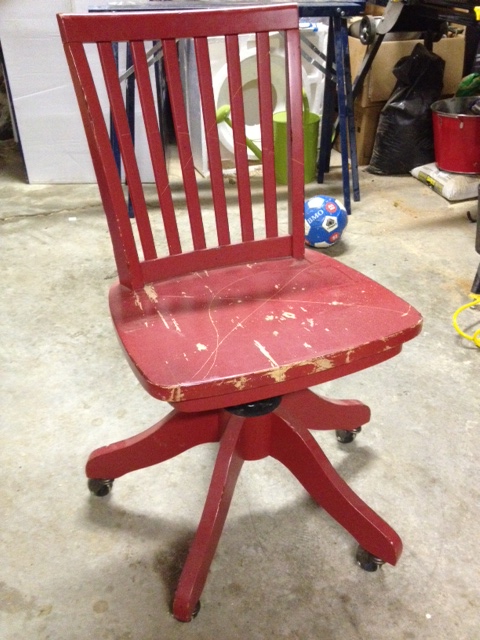
I flipped it over to discover it was a Pottery Barn Kids chair. In fact it’s this $250 chair, but in red (guessing red was a seasonal colour). Have I mentioned lately how much I love my husband and his ability to spot fine craftsmanship?
We got to sanding the nicks out and prepping the surface for primer, and man the paint finish on this chair was strong. It took both of us hand sanding the first layer of finish off with a rough grit sandpaper, then using a palm sander and a oscillating multi tool with a sanding attachment to finally get the paint sanded down.
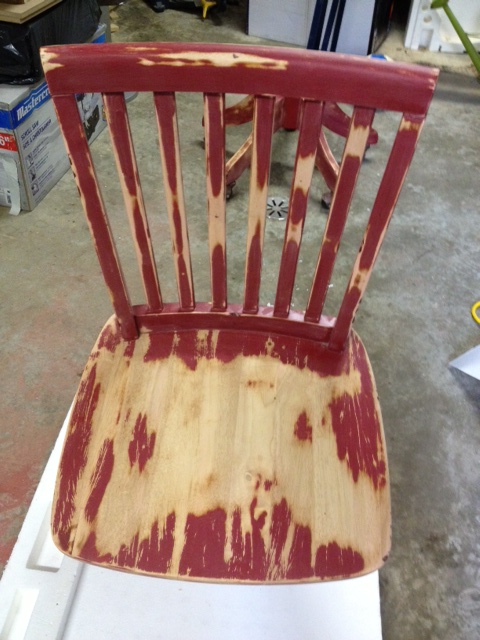
The X slashed in the seat of the chair was super problematic. We sanded and sanded and just couldn’t get it to disappear completely. When we had enough of sanding, we gave up and prepped for paint. We cleaned the chair of all the sanding dust with a damp cloth then a tack cloth, and masked off all the metal parts such as the wheels and the seat adjustment.
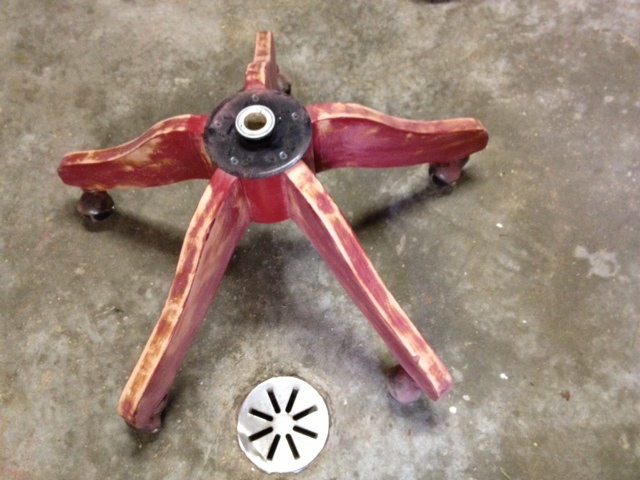
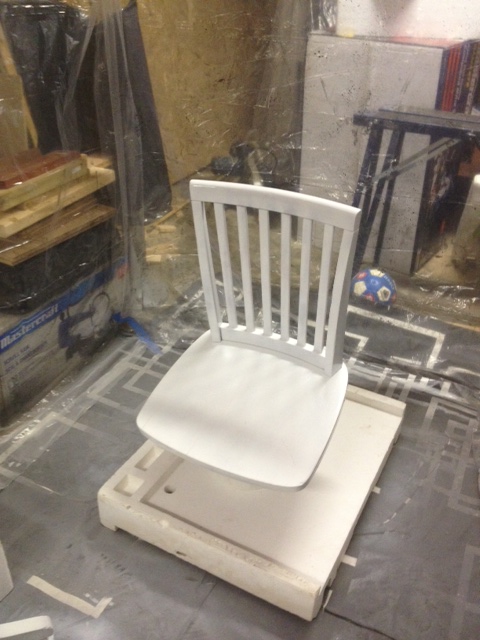
We took the legs off so that we could paint them easier, and we stuck the top of the chair into a bucket and styrofoam so that it would stand up (kinda) straight. We gave it two coats of primer in our spray booth.
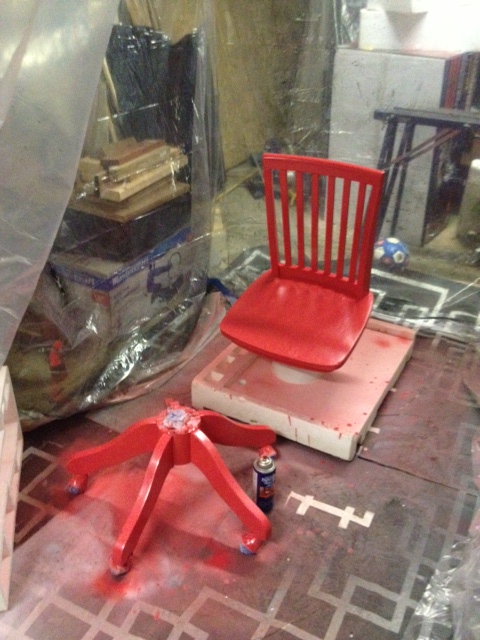
We let it dry, then painted two coats of RustOleum Watermelon spray paint. We usually use the RustOleum Universal paint, but their colour selection is limited, and we wanted a pinky-red-coral colour, so we went with the regular RustOleum primer + paint. I forgot how terrible regular spray can nozzles are. I got paint all over my hands, the nozzle dripped like crazy, and the round spray pattern doesn’t cover as effectively as the more linear spray of the Universal paint. So RustOleum, I beg of you, make more colours in your Universal line! xxo love Kristen
After I swore a bit, and gave the chair two coats of paint this is what we have.
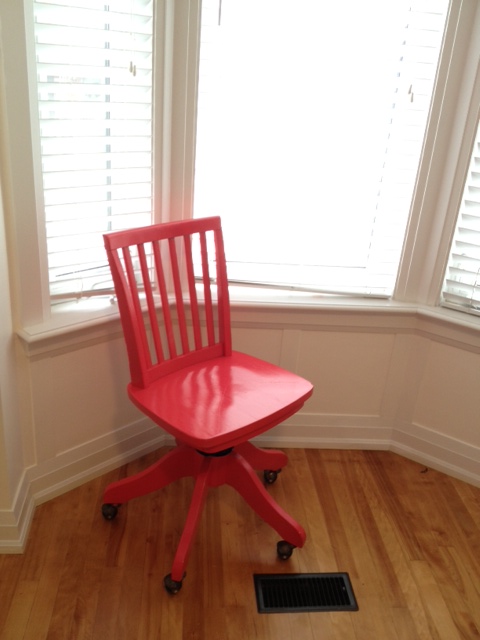
She will live in the guest room, and enable guests a place to sit and read, get dressed, or stash all the stupid pretty throw pillows. Not bad for trash on the side of the road!
SOURCE LIST:
Materials:
Rustoleum Spray Paint in Watermelon – Rona
Rustoleum Spray Primer – Rona
Tools Used:
Palm Sander, Oscilating Multi Tool, tack cloth, rags, muscles, Dexter kill room paint booth
Difficulty Level (on a scale of 1-5):
(the sanding sucked…)
Total Cost: $12