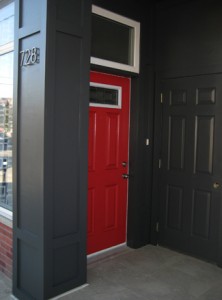
Leaded Glass Storefront Window

Almost two years ago, I started adding lead strips to the storefront transom windows, to create a faux leaded glass effect. I ran out of lead when I was halfway through, leaving one window unfinished. El Granto even purchased me a new roll of  lead last summer, but I had yet to get around to finishing the project. I often have trouble finishing projects. Once the project goes from fun to mundane, pulling the trigger on the last 10% is tough. I often find myself running onto the next project with full steam, and forgetting the last finishing bits.

Well this past weekend was finishing up projects & home maintenance weekend. From weed pulling and grass cutting to touch up painting, and yes that’s right, finishing the lead windows.

Armed with soap and water, windex and a broom, I headed out to the front of the Storefront and gave everything a thorough cleaning. The windows were washed, porch swept, doors and trim cleaned, and I even managed to clean out the leaf littered garbage room.

While up on the ladder washing the windows, I opted to get out my leaded glass drawing, a roll of Pebeo Vitrail Stained Glass Effect Self Adhesive Lead Strip, and finish the damn leaded glass windows. I taped my template on the inside of the window, and started measuring and cutting strips to length. I applied the lead strips starting with the long tall vertical pieces, then worked my way out from the middle adding the shorter criss-cross strips.
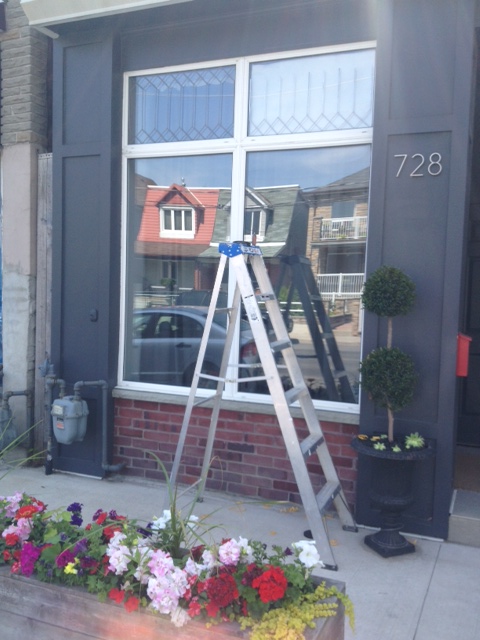
photo 1(13)
In progress: The vertical lead strips and the bottom criss-cross pattern applied to the right transom window.

The strips are not very adhesive, and don’t really stay on the glass until you burnish them with the provided tool. This project would be a lot easier on the ground. Being up on a 8′ ladder applying the lead to the 12′ tall windows was definitely the hardest part.
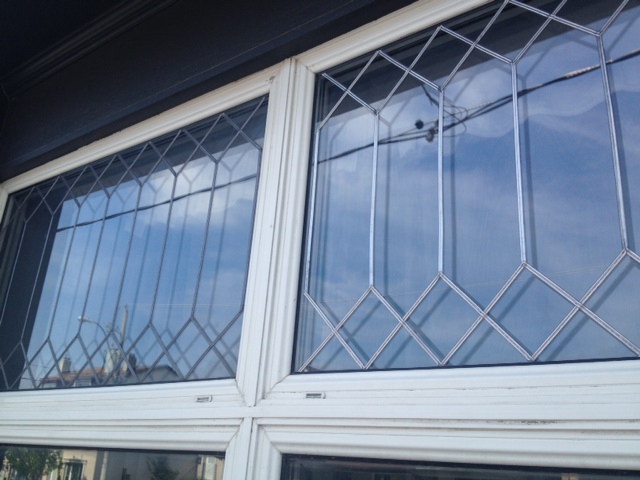
The old lead on the left, and the newly applied lead on the right.
The old lead on the left, and the newly applied lead on the right. You can see how the new lead is a bright shiny silver, whereas the old lead has gathered a lovely patina.

All told it took me about an hour and a half to complete the project, and now I can finally knock it off my to-do list!
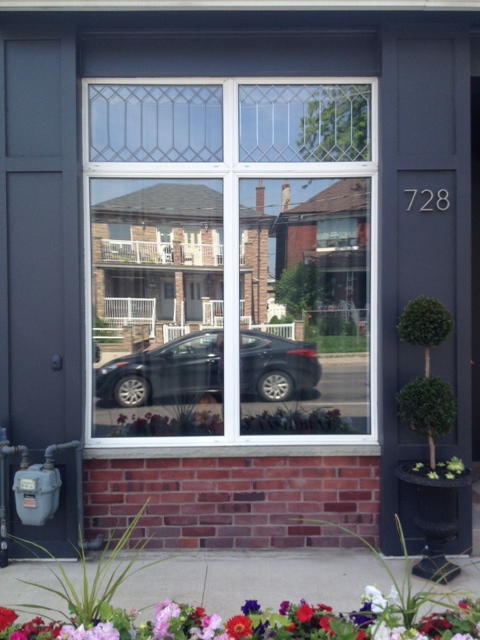
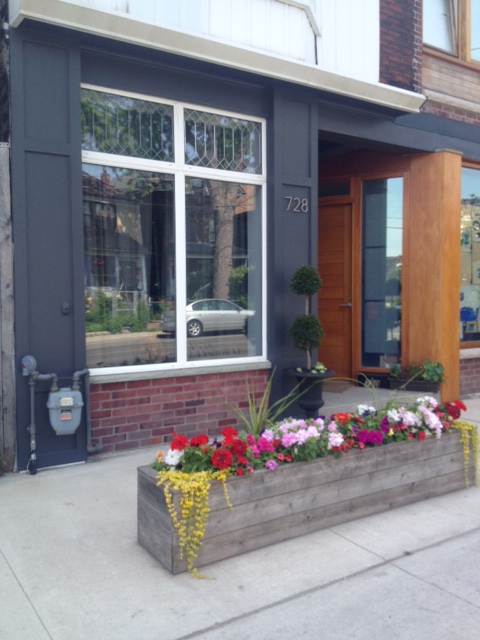
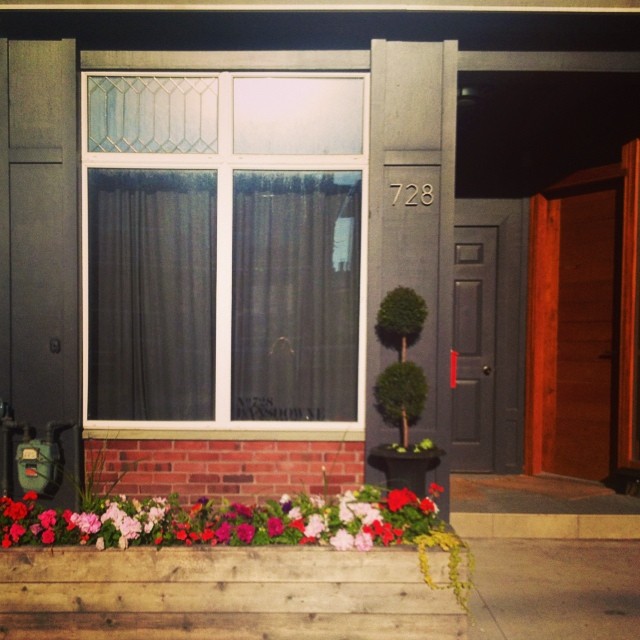
Leaded Glass Complete!

In fact, the exterior of the Storefront now complete!


BEFORE:
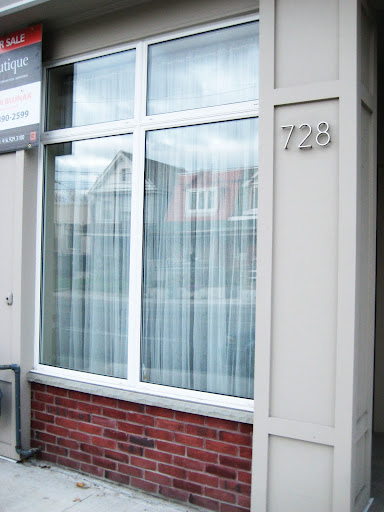
Storefront Before
Storefront Before

Here is what we have done so far:

AFTER:

Storefront Complete for Now

The only remaining tasks for the Storefront exterior are wish list items, that will likely never get done. We would love to remove the vinyl siding on the second floor, repoint and clean the brick, and have the window & roof overhang re-flashed. Would also love to install a gooseneck light above the house number. This would involve drilling through brick, cutting through spray foam, running new electrical, then patching everything up.  So until pigs fly, I hereby pronounce the exterior completed!


P.S. I have had several comments and emails about the lead strips. You can purchase them online from Amazon, or from local art stores. We found ours at Curry’s art store on Queen West in Toronto. The price varies, but is usually about $25-30 per roll. We need two rolls to complete our two windows. Each window is just shy of 24″x48″.

The lead has been exposed to the elements for two years, and has not fallen off the window, or ruined the glass in any way. The only change to the lead was it’s patina. It has not run, rusted, or in anyway discolored the glass.
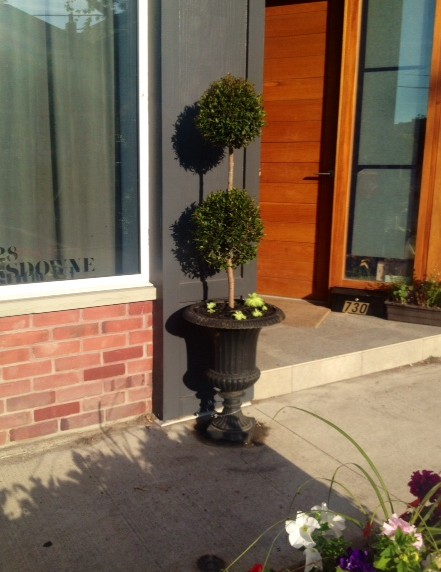
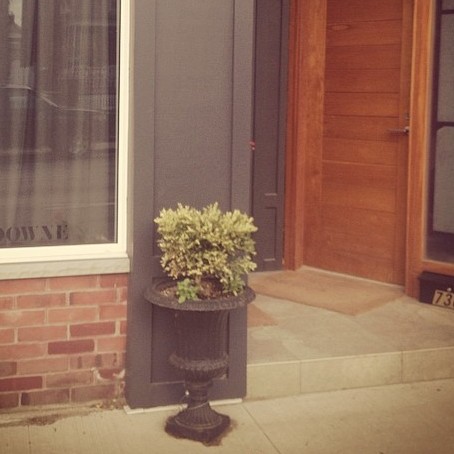
Eugenia; Our New Pet Poodle Tree.

If you follow me on Intsagram, you will note that I have been having a string of bad luck with my garden this year.

I lost my fig tree, a whole lot of ivy, the backyard boxwoods, and most recently, my hostas have been withering up and dying. Yes, I can even kill hostas.

To remedy the situation, I have been making weekly trips to the garden center bringing home new plants. I have replaced everything except the poor dead boxwood who lived in our front door urn.

Yep, he’s dead

I added the cast iron urn & boxwood last summer, and it was adding a bit of class to the Storefront.  Well it was looking anything but classy with the dead and yellowing boxwood. Something needed to be done.

I started searching for new replacement trees & shrubs, but they are expensive! I didn’t want to invest too much, as I am still worried our plant thief will come back and take them. With decorative trees in the $60+ range, I held off to find the perfect tree.

Surprisingly my waffling paid off. Last weekend while perusing the local Loblaws garden center, I spied a pretty  ball topiary tree. You know the ones, they look like a show poodle’s tail. Well this pretty topiary had a too good to be true price on it. The poodlesque Eugenia was a good 4′ tall and had a $29 price tag. Yes you read right, $29! I thought it must be a mistake, and lugged it to the checkout. Sure enough, it was on sale, at over 50% off! Woot woot! I snatched it up, and carried it the 5 blocks home.

I planted my new pet poodle tree in the urn, and surrounded it with a few succulents and some mulch, and we now have a regal poodle topiary. We’re back to being classy. Well as classy as you can possibly be when you call your topiary a poodle.

photo 3(9)
See what I mean about the whole Poodle thing?
10424610_1437733873155387_1135352746_n
The Storefront & new tree


What do you think? Any guesses on how long it will take me to kill it and/or butcher its pretty poodle haircut?

Door Bling

You know when you buy a house there’s a ton of expenses. Mortgage, down payment, closing, moving and all the stuff you need for the house.

What do you mean, the house doesn’t come with any closet rods, curtains or door mats? Crap. You can almost see the money evaporating out of your bank account right before your eyes.

So when it comes to things like buying new locks for the house (cause really you trust that the old owner gave you ALL the keys to the house? Even the one the dog walker had, or grandma stashed in the bottom of her purse? Yeah right.) Having someone you don’t know possibly having a key to your house? Ummm no thanks.

So new locks were a necessity, but dude locks are expensive. So you leave the hardware store with a combo set of 5 locks for $69 for the whole house. Great idea right? All the same key, easy peasy lemon squeezy.

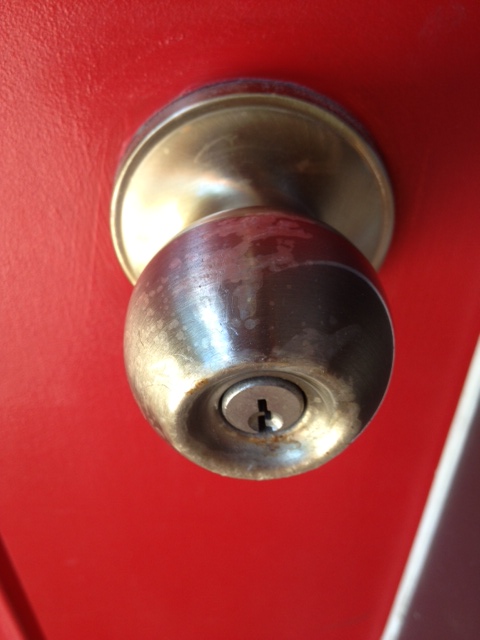
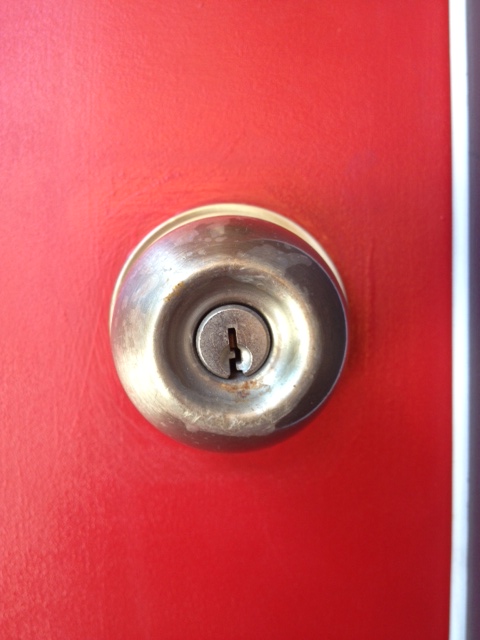
Then two years later, this is what your front door handle looks like.

Door handle
Look closely. See all the peeling covering? Nice.
door handle 2
Here’s another view showing the really sweet rust action going on.
The deadbolt
The deadbolt wasn’t much better. Remember these are outdoor lock sets protected by our covered entryway. So snow & rain don’t even touch them. That’s what it looked like after two years use. Quality product eh?

The other thing was that they didn’t look very stately. Not that our house is “stately” but these things weren’t really doin anything for the door. They were like chinos, or flip flops. Nice enough but no ones gonna complement you on them.

See, they're OKAY but not awesome.
See, they’re OKAY but not awesome.

This past weekend we were window shopping in Rona. Yes I said window shopping. Really it’s not THAT weird. They have a Tim Hortons and they let the dog come in, so its a good place to spend an hour perusing the isles. What, you don’t window shop at the hardware store? Well then you my friend need to get out more.

While wandering down the door hardware isle I spotted my favorite thing. A clearance sticker. I can see one a mile away. They call to me. “Look over here, you may not need me but I’m on SALE and that makes me so much more attractive.” The thing was this clearance item happened to be awesome. A “grandish” entry door set for the price of $39.

New lock set
Yes, I said $39!

That thing went in the shopping cart faster than a Kim K marriage.

Once home El Granto set out to installing it. This ended up being a shade more complex than expected as our old dead bolt was one of those “little hole” deadbolts, whereas our new one was full size. That meant that a new hole had to be drilled in the door. Sure we have hole saw bits, but a hole saw works well because it has a little drill bit in  the middle to start the hole and keep the big hole blade steady. With there already being a hole in the door, there was nothing for the little starter bit to hold onto, making a hole saw very inaccurate and rather unsafe as it would try to fly around willy nilly instead of cutting a nice hole.

So El Granto being the ingenious man I married, made himself a little guide out of a piece of old deck board. He cut a hole (with the hole saw) in the deck board, then clamped it to our door as a template to drill the new hole. The template would keep the hole saw where it should be (instead of trying to cut off El Granto’s arms and massacring my door.)

Hole Template
Hole template clamped to door

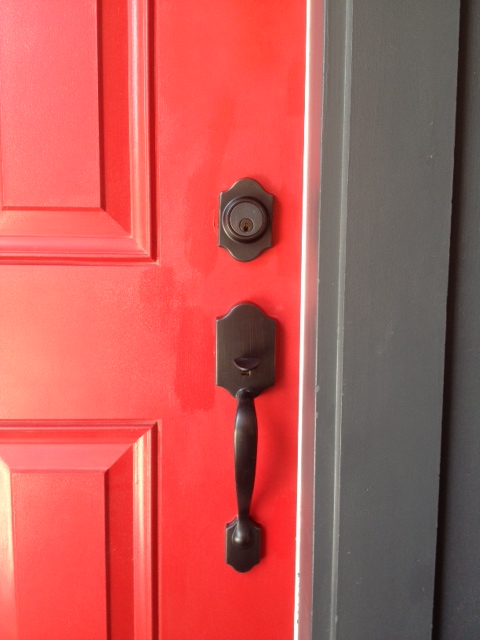
After the hole was drilled, the new hardware was installed, I touched up the paint, and voila! Grown up door hardware.

New door handle
I just couldn’t wait for the paint to dry, so ignore the touch ups
door hardware
Yay new door hardware!

So what do you think of our $39 purchase? The front of the storefront just keeps looking better. Now if only I could keep people from stealing my plants, and we’d be golden.

Planter Box Facelift?

Our first spring in the Storefront we built a cedar planter box at the front of the house to keep people from using our “front yard” as a sidewalk, and to keep people from peeping into our window. Its worked well, and I love having a mini garden out there to soften up the concrete landscape.

However, this spring our dear old planter is looking a bit, well shabby. The cedar has weathered into a muddy dirty grey colour, and isnt doing much for me. The spring bulbs have started poking out, but after someone stole my evergreen shrubs from the planter last summer, its a bit bleek.

Planter Box
The sad planter

The planter will get a load of new flowers, top dressing and some sort of evergreen plantings, but I am thinking of changing up the planter as well. The cedar has just seen better days.

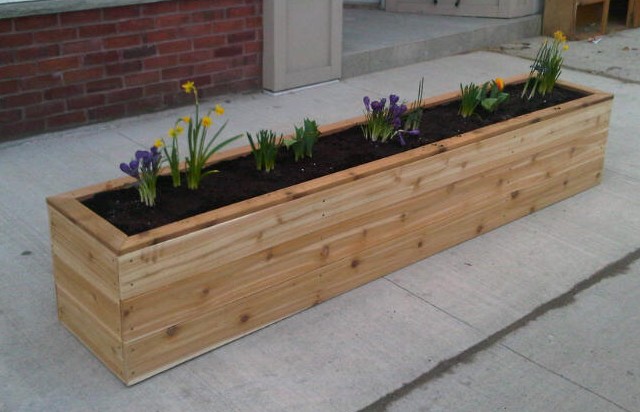
In fact this is what it looked like brand new:

What the planter looked like when it was first built

A whole lot better than the weathered dirty version I have now, right?

So what can I do to make it look a bit less ghetto? Here’s a couple options I am thinking of:

  • Sand the cedar and staining it with a cedar colored stain, so it looks a bit more like it used to.
  • Painting it dark grey to match the storefront. (although that may be a bit dark)
  • Staining it a darker wood color, something a bit more walnut.
  • Trimming it out to match the shaker style paneling of the house, and painting it a fun color (like lime?)

What do you think? Any other brilliant ideas? I need all I can get, throw them at me!


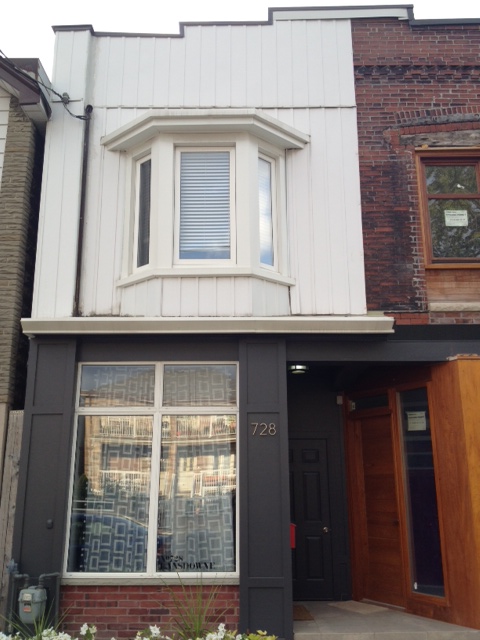
Exterior of the Storefront

You’ve seen pics of the first floor of the storefront’s exterior, but what you haven’t seen is what the second story of our house looks like. That’s for one very good reason; its pretty ugly. Nah, I’m being mean to my poor house, its not THAT bad, but its not how we’d like it to look.  Continue reading “Exterior of the Storefront”

Painting the Storefront

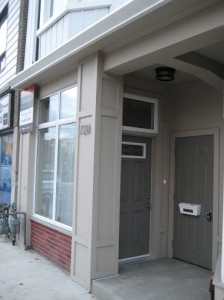
When we purchased the house it was beige. Beige exterior, beige on every single wall inside, and a beige garage. We knew right away that one of our first tasks would be to “un-beige” the house.

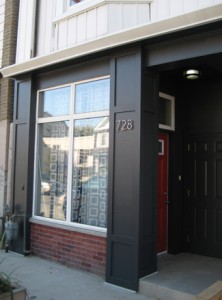
We decided to tackle the front of the house last fall. It was a simple project that had a lot of impact. We looked at lots of photos of historical storefronts, and decided to go with a simple dark grey colour. It would offset our storefront window, and look nice with the brick under it.

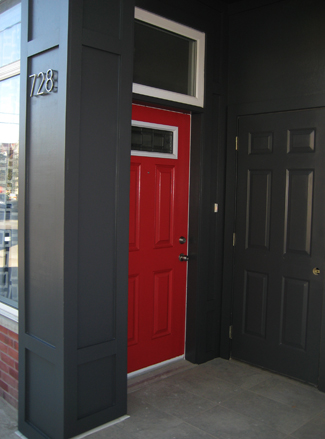
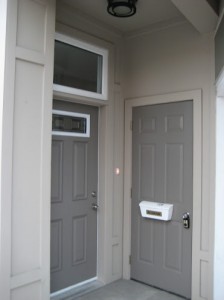
The project took two days, one day cleaning everything, the second taping and painting. We also have two doors at the front of our house which confuses delivery people to no end. Its actually a pretty smart design, as we are a row house of sorts, there is no place to store our garbage and recycling cans out of sight, other than having to keep them in the garage, and wheel them around the block on garbage day. So they built in a “utility room” into the front of our house. Its great, but confusing! So we wanted to make the door to it disappear, and make our front door stand out. We painted out the utility room door the same colour as the house, and our front door in a bright red.

We used Behr Premium Plus Ultra Paint + Primer and it painted beautifully! The door took three coats, but the house only took two.

Without further adieu, here are the before and afters!

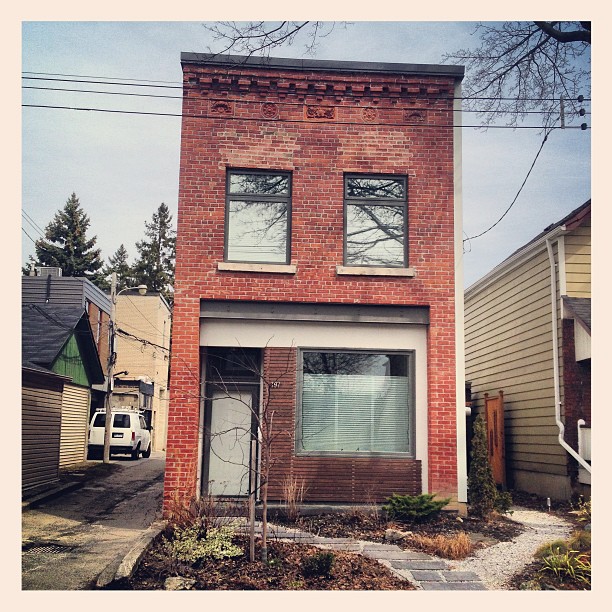
Front of a house
Front of house before.
Front of house after painting
Front of house after.
Door before painting
Door before.
Door after
Door after


SOURCE LIST:

Materials:
Behr Premium Plus Ultra Exterior Satin in Cracked Pepper: Home Depot
Behr Premium Plus Ultra Exterior Semi Gloss in California Poppy: Home Depot
2″ Frog Tape: Home Depot

Tools Used:
Paint Brushes, Trays, Roller, Foam Roller, Tarps, Newspaper, Ladders, Cleaning Supplies

Difficulty Level (on a scale of 1-5):