Basement Stair Paint

I’m currently balancing two projects. Finishing the basement when the weather is terrible, and working outside on the daybed when the sun is shining. Oh and shopping when it’s just too miserable to do either.

I made a stab at painting the stairs to the basement a few weeks ago.

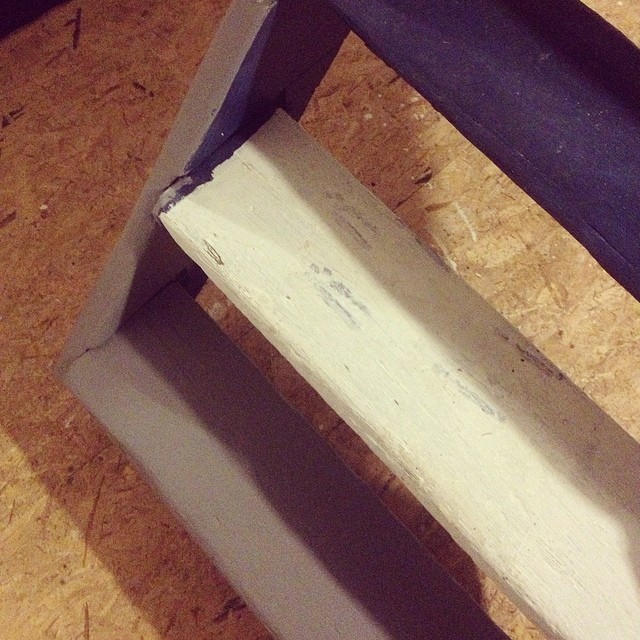
The staircase is slightly sketchy looking, held together by magic, physics and luck. The stairs were made with what appears to be the left over rough sawn douglas fir floor joists. They were old, dirty, full of charcter and needed a little tlc.

photo-3-e1394544644806

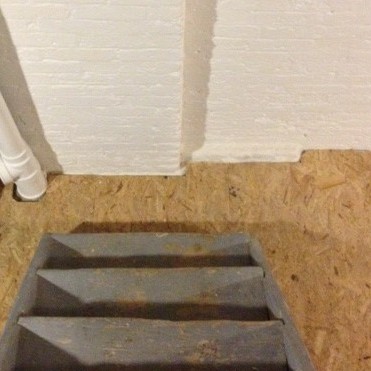
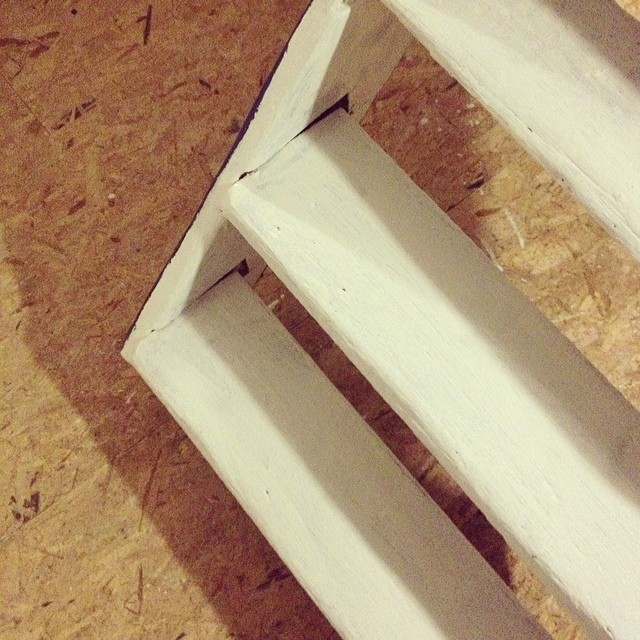
They would never be pristine, but hey, they could be a bit better. I scrubbed them down, gave them a sand, pulled out the errant nails on the stair treads (who puts nails on stair treads?!), and gave the whole staircase 2 coats of BIN primer.

c103f44ead4c11e3946c12acc09e8934_8

As I put the primer on the last step I realized I had painted myself DOWN the stairs, and had effectively trapped myself in the basement until the primer dried. Have I  mentioned lately how awesome I am?

After I watched the paint dry (about as fun as it sounds), it was paint time. I picked up the color chart for Behr flooring paint, and said to myself: “Self, I know you want to pick grey, but maybe you should step outside of your comfort zone and pick something a little different”.

1922498_1429217817320734_201415659_n

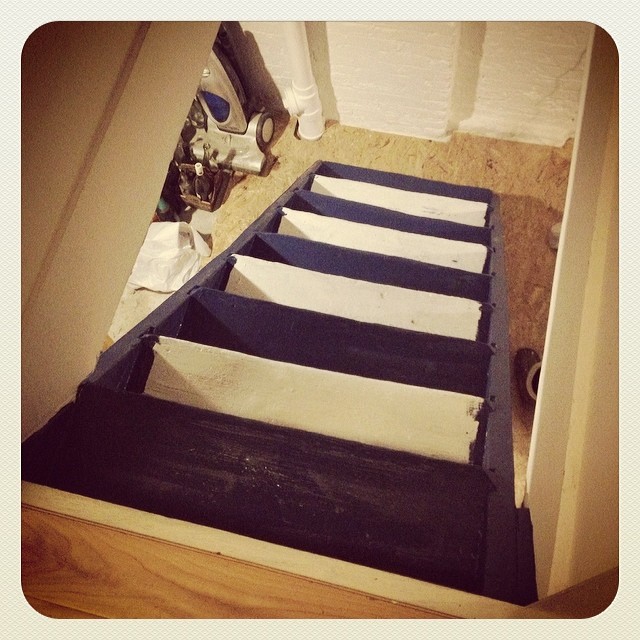
I jumped out of that comfort zone and went with the nice rich navy blue of Deep Galaxy.

With paint in hand, I started to paint the stairs, this time painting every other step so that I could escape and not have to live in the basement indefinitely.

1941049_224878017702741_399114897_n

What do you think of my color choice?

Cause I HATE it.

I looked at it for weeks contemplating finishing the blue paint job and seeing if it magically grew on me.

Weeks later…It still sucks. It’s too dark, it makes the steps hard to see, and the color matches nothing in the rest of my plan for the basement.

I bit the bullet, headed back to Home Depot, and picked a new color.

Any guesses?

926747_494303314003734_1146064016_n

Yep…grey.

My old friend. My standby. My tried and true companion. My Amy Pond*.

Now. Anyone want to come over and paint my stairs? Cause painting stairs kinda sucks.

* That’s a Dr. Who reference for any non-nerdy (aka non-awesome) people out there.

Basement Step 1

We finally got started on our laundry room project, but before a paintbrush was lifted, we did a lot of research and prep. Basements are notorious for having problems with water (especially ones that are over 100 years-old). As the ad for Dricore told me at Home Depot, 98% of homes have basement water issues.

Basement before shot. Notice the evidence of the water that once entered the basement (from a blocked drain.)
Basement before shot. Notice the evidence of the water that once entered the basement (from a blocked drain.) and the dirt that came in with it.

Whether it’s a bit of condensation, dampness, or a basement floor that weeps when it rains, you probably have some sort of water hanging out in your basement. Before we could do anything with the basement we needed to get our water under control. We knew the water issue that occurred previously was from a blocked drain in the backyard. That has since been fixed, and the only water we’ve had in the basement since was a little puddle from the giant downpour we had this summer (remember the one with the flooded GO train and the abandoned Ferrari?) Even then the water puddled right beside the drain, and if our floor was sloped properly, it would have made it to the drain on it’s own. (We will be fixing the  floor slope as well.)

So our brick foundation is without active leaks, cracks and is generally in good repair. We have a working outdoor drain and two basement floor drains. We have a back flow valve that was installed in the basement floor, and all our broken clay pipes were replaced with PVC.

How else could water possibly get in? Dampness can come up through our cement floor, or in through our unsealed painted bricks.

So we needed to tackle both of these items. After much deliberation we opted to do a waterproofing paint on the walls and a Dricore subfloor on the floor.

Why did we opt to just waterproof paint the walls? Several reasons: we didn’t have active water, and the bricks had been painted in the past. To do an interior waterproofing system we would need to strip all the bricks (possibly causing damage) and then add an interior waterproofing membrane and French drain. Lots lots lots of work, and $.

So option B, waterproofing paint. There are several of these on the market, but only one that I could find which you could paint over existing (in good condition) paint; Behr Basement & Masonry Waterproofer. We are big fans of Behr paint (we’ve painted most of the house in it). So we feel confident in using the Behr product. While our work wouldn’t be warrantied (Behr only warranties it on unpainted brick). We felt confident that if we did proper prep and application we would be good to go!

Now it was time to prep. A paint job (especially of the waterproofing variety) is only as good as your prep work. So we moved everything away from the walls and got to work. We wire brushed the walls from top to bottom, removing any loose paint, and checking the mortar and brick for any problem areas.

Basement prep tools.

We were happy with the state of our foundation (no cracks, or problem areas! YAY!) So we moved on to cleaning the bricks. We mixed up a solution of TSP and scrubbed the walls with TSP and a scrub brush, then washed off with clean water, and left everything to dry overnight.

Basement walls wire brushed, and washed with TSP
Wall after wire brushing
Look how impressed (and sexy!) I look after wire brushing the basement.

The next day we came back and started applying our Behr Basement & Masonry Waterproofer in un-tinted white . We opted to use a long bristle brush to apply. This would end up being tedious, but ensured that we got the paint into every nook and cranny. We went over all the brick, one brick at a time ensuring we got good coverage with our waterproofing paint.

Painting the brick
Painting the brick
One coat of Behr Basement & Masonry Waterproofer painted
One coat of Behr Basement & Masonry Waterproofer applied

6 hours later and we completed one coat on about 3/4 of the walls in the laundry room. A lot of work, but the results are looking great so far!

I can’t wait to get back down there and finish painting. We have to move the washer & dryer to get to the rest of the basement. Hopefully we’ll have more progress to show you next week.

Painting the Storefront

When we purchased the house it was beige. Beige exterior, beige on every single wall inside, and a beige garage. We knew right away that one of our first tasks would be to “un-beige” the house.

We decided to tackle the front of the house last fall. It was a simple project that had a lot of impact. We looked at lots of photos of historical storefronts, and decided to go with a simple dark grey colour. It would offset our storefront window, and look nice with the brick under it.

The project took two days, one day cleaning everything, the second taping and painting. We also have two doors at the front of our house which confuses delivery people to no end. Its actually a pretty smart design, as we are a row house of sorts, there is no place to store our garbage and recycling cans out of sight, other than having to keep them in the garage, and wheel them around the block on garbage day. So they built in a “utility room” into the front of our house. Its great, but confusing! So we wanted to make the door to it disappear, and make our front door stand out. We painted out the utility room door the same colour as the house, and our front door in a bright red.

We used Behr Premium Plus Ultra Paint + Primer and it painted beautifully! The door took three coats, but the house only took two.

Without further adieu, here are the before and afters!

Front of a house
Front of house before.
Front of house after painting
Front of house after.
Door before painting
Door before.
Door after
Door after


SOURCE LIST:

Materials:
Behr Premium Plus Ultra Exterior Satin in Cracked Pepper: Home Depot
Behr Premium Plus Ultra Exterior Semi Gloss in California Poppy: Home Depot
2″ Frog Tape: Home Depot

Tools Used:
Paint Brushes, Trays, Roller, Foam Roller, Tarps, Newspaper, Ladders, Cleaning Supplies

Difficulty Level (on a scale of 1-5):