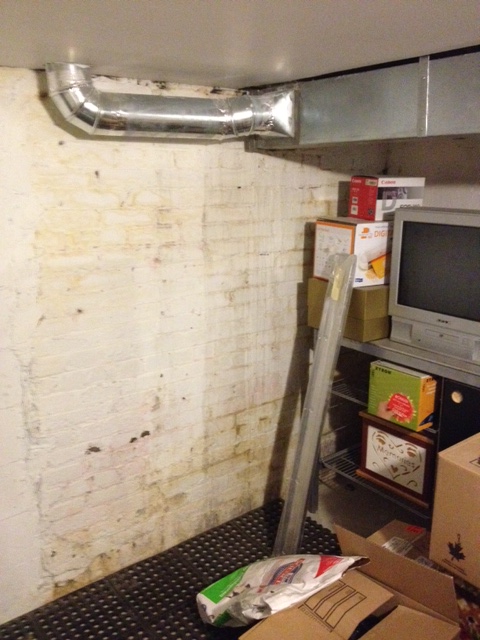
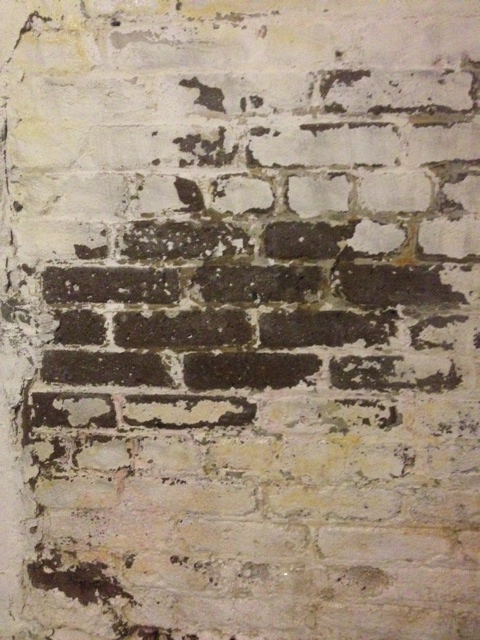
This is the view when you walk down the stairs into my basement.
Category: Paint
Basement Step 1
We finally got started on our laundry room project, but before a paintbrush was lifted, we did a lot of research and prep. Basements are notorious for having problems with water (especially ones that are over 100 years-old). As the ad for Dricore told me at Home Depot, 98% of homes have basement water issues.
Whether it’s a bit of condensation, dampness, or a basement floor that weeps when it rains, you probably have some sort of water hanging out in your basement. Before we could do anything with the basement we needed to get our water under control. We knew the water issue that occurred previously was from a blocked drain in the backyard. That has since been fixed, and the only water we’ve had in the basement since was a little puddle from the giant downpour we had this summer (remember the one with the flooded GO train and the abandoned Ferrari?) Even then the water puddled right beside the drain, and if our floor was sloped properly, it would have made it to the drain on it’s own. (We will be fixing the floor slope as well.)
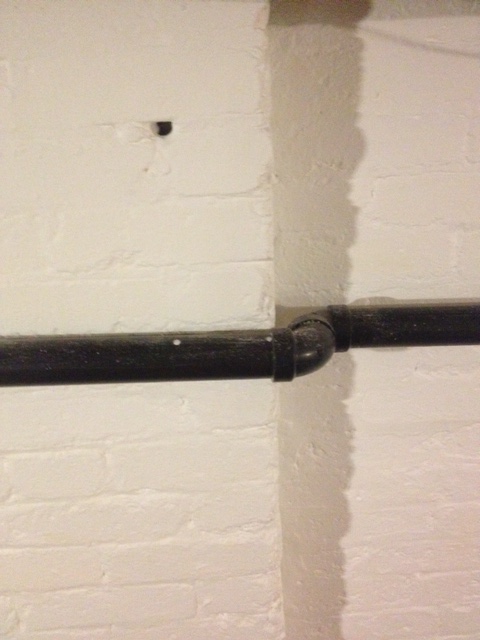
So our brick foundation is without active leaks, cracks and is generally in good repair. We have a working outdoor drain and two basement floor drains. We have a back flow valve that was installed in the basement floor, and all our broken clay pipes were replaced with PVC.
How else could water possibly get in? Dampness can come up through our cement floor, or in through our unsealed painted bricks.
So we needed to tackle both of these items. After much deliberation we opted to do a waterproofing paint on the walls and a Dricore subfloor on the floor.
Why did we opt to just waterproof paint the walls? Several reasons: we didn’t have active water, and the bricks had been painted in the past. To do an interior waterproofing system we would need to strip all the bricks (possibly causing damage) and then add an interior waterproofing membrane and French drain. Lots lots lots of work, and $.
So option B, waterproofing paint. There are several of these on the market, but only one that I could find which you could paint over existing (in good condition) paint; Behr Basement & Masonry Waterproofer. We are big fans of Behr paint (we’ve painted most of the house in it). So we feel confident in using the Behr product. While our work wouldn’t be warrantied (Behr only warranties it on unpainted brick). We felt confident that if we did proper prep and application we would be good to go!
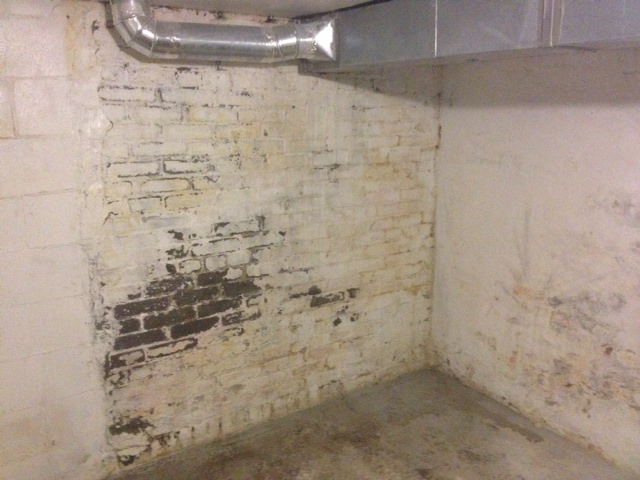
Now it was time to prep. A paint job (especially of the waterproofing variety) is only as good as your prep work. So we moved everything away from the walls and got to work. We wire brushed the walls from top to bottom, removing any loose paint, and checking the mortar and brick for any problem areas.
We were happy with the state of our foundation (no cracks, or problem areas! YAY!) So we moved on to cleaning the bricks. We mixed up a solution of TSP and scrubbed the walls with TSP and a scrub brush, then washed off with clean water, and left everything to dry overnight.
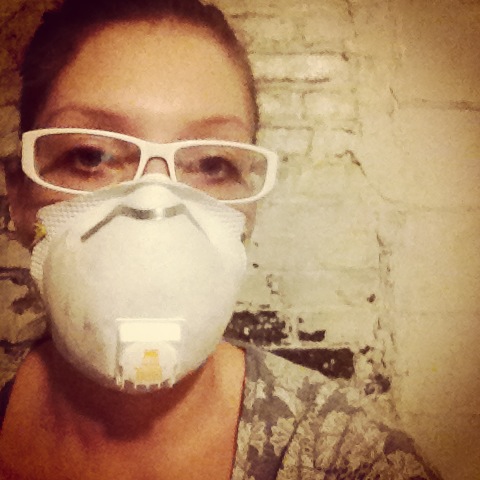
The next day we came back and started applying our Behr Basement & Masonry Waterproofer in un-tinted white . We opted to use a long bristle brush to apply. This would end up being tedious, but ensured that we got the paint into every nook and cranny. We went over all the brick, one brick at a time ensuring we got good coverage with our waterproofing paint.
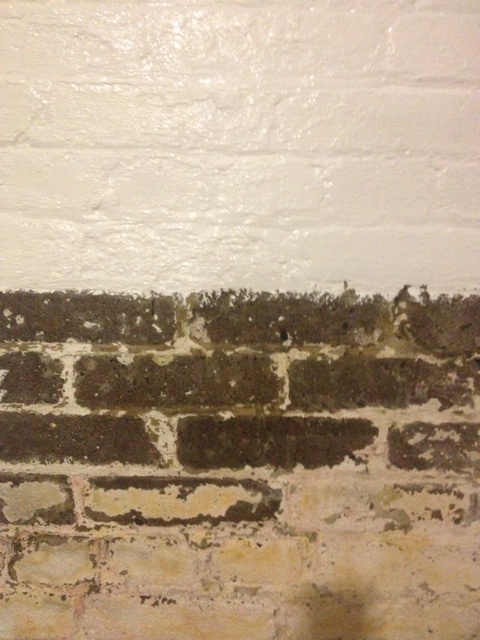
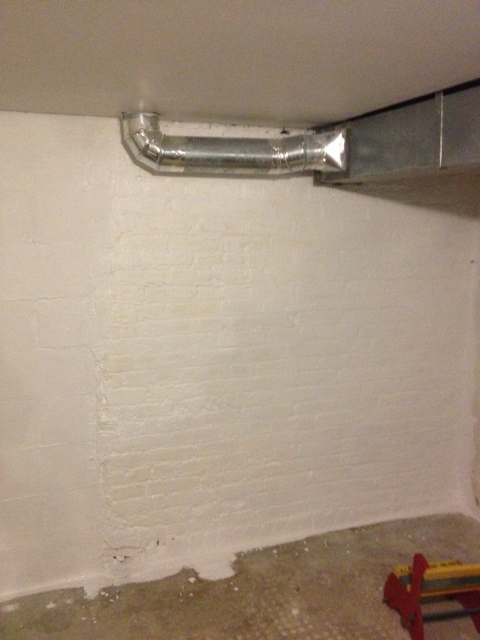
6 hours later and we completed one coat on about 3/4 of the walls in the laundry room. A lot of work, but the results are looking great so far!
I can’t wait to get back down there and finish painting. We have to move the washer & dryer to get to the rest of the basement. Hopefully we’ll have more progress to show you next week.