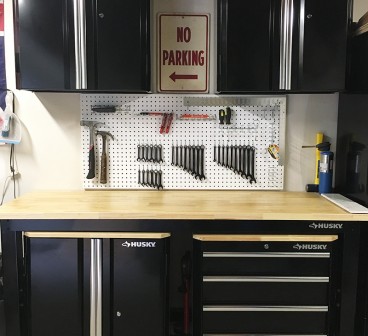
After hours of organizing, cleaning, dump runs, and squealing like a little girl when finding cobwebs and/or spiders in my hair, the garage is finally done! Continue reading “Garage Reveal”
Tag: woodworking
Herb Centerpiece – Merry Mag Sneak Peek
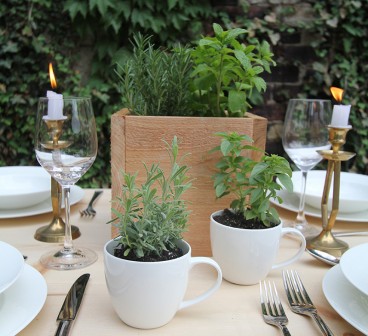
This is a sneak peek at a project you’ll see in the awesome summer edition of Merry Mag! Make sure you head over to MerryMag.com on June 8th for a huge helping of summer inspiration. Believe me, you wont want to miss out!
How to Change a Table Saw Blade
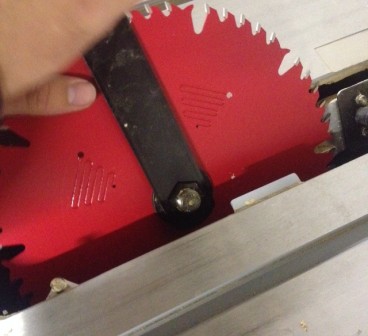
In this weeks inaugural What We’re Working On post, I touched on how we changed our table saw blade. I wanted to come back and give you a quick how to if you are looking to change yours as well. Continue reading “How to Change a Table Saw Blade”
What We’re Working On – Nov 12
I have a new weekly feature on the blog starting today! It’s going to be called “What We’re Working On”. As we often have a bunch of larger projects on the go, our updates and project reveals are a long time in the making. As such, you don’t really see what we’ve been up to, and what we’re working on. This will be a weekly update with a quick check-in and summary of what we’ve got on our plate.
So here goes!
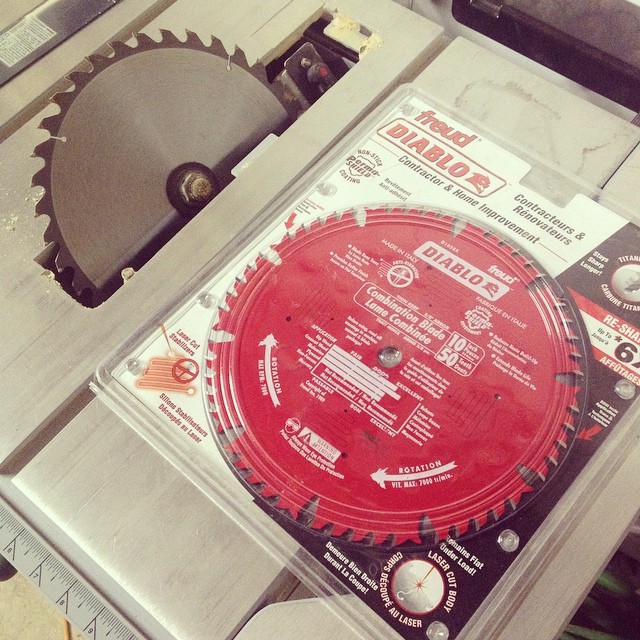
We are moving ahead well on the dining table & benches for Project Nelson. The table top is built, and this past weekend we got started on the legs after a quick stop to change the table saw blade. The new blade is an awesomesauce Freud blade. Once you switch to Freud blades, you will never go back.
With the new saw blade installed, we did all the kerf cuts for the table legs.
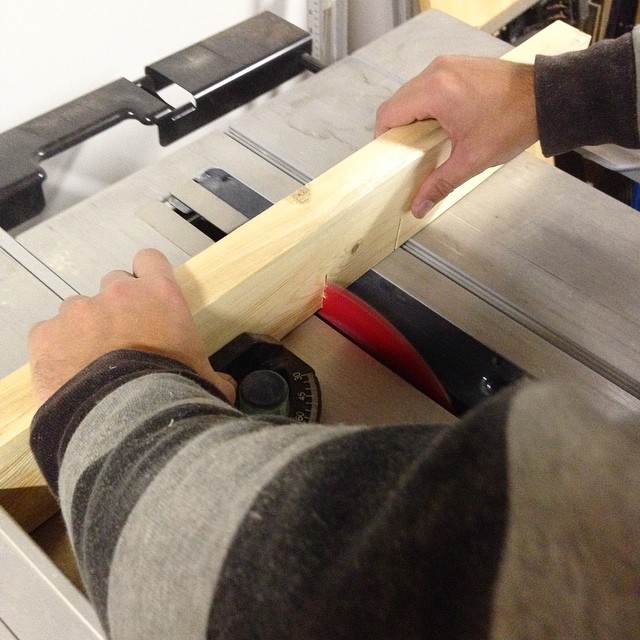
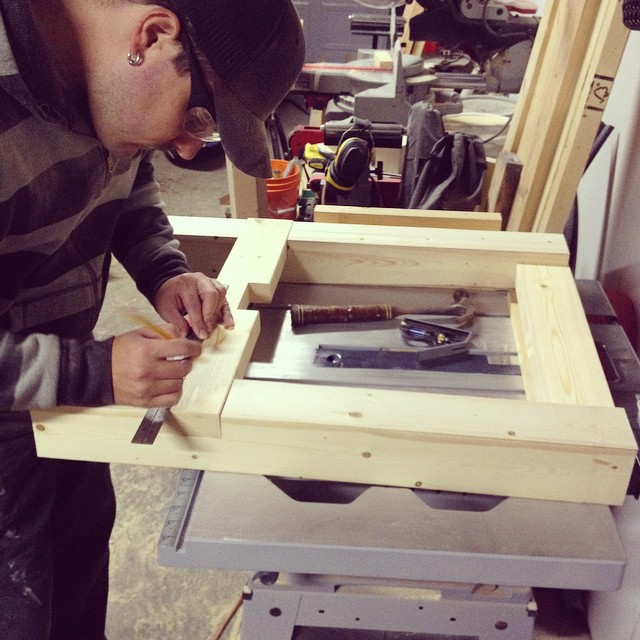
The legs are notched out for the stretcher support to fit in, as well as the stretcher support is notched for the stretcher. (lots of gibberish I know, but it will make sense when you see it.) El Granto kerfed away on the table saw, while I removed the kerfed slices of wood, and cleaned up the joints with a chisel and an orbital multi tool. (check out this post from a previous table build to see how kerfing/notching the legs is done.)
After everything was notched, it was all assembled.
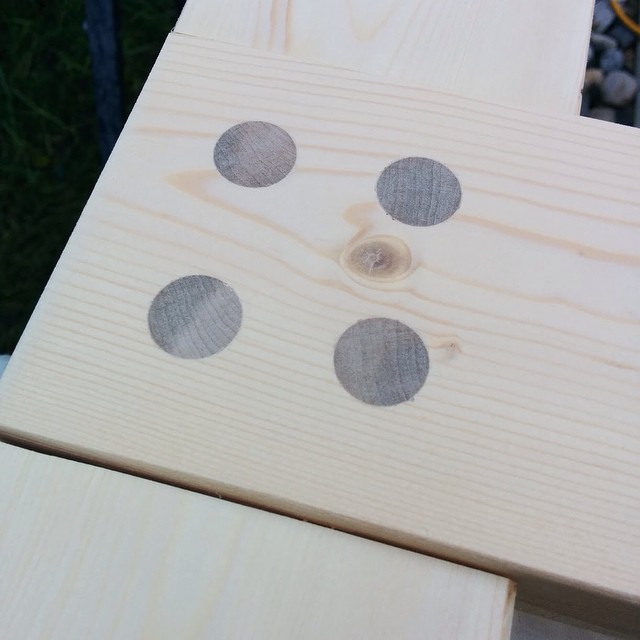
We made the dowels connecting the legs to the stretcher support visible for an interesting detail. El Granto then spent a morning sanding down the legs, and they are now ready for stain.
I am also slowing working away at the powder room. I got a print of a vintage 1930’s Toronto street barber, and set out to framing it. It’s not going so well. Love the print, but the framing situation is off the mark. The mat either needs to go, our the frame (or both!)

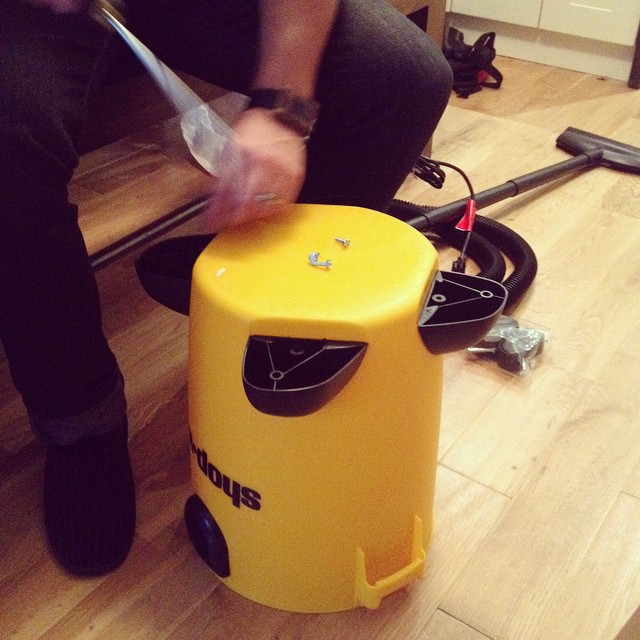
Last weekend we added a couple new things to the workshop. We picked up a small heater (this one). This will hopefully give us a bit more time to work in the garage. While picking up our heater, El Granto happened to stumble on Shop Vac’s on sale, so a new shop vac came home with us as well. This lil yellow fella will be a sawdust vacuum, and spend his life hooked up to various tools in the garage, in an effort to control the sawdust issues a bit.
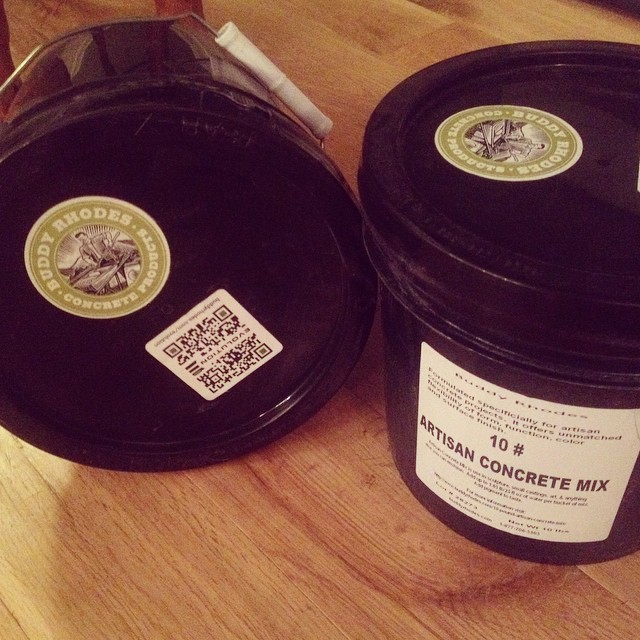
I arrived home to a super fun delivery last week. Jeremy from Buddy Rhodes sent me down some of their new 10lbs mix. Cant wait to try it out, and show you what projects I come up with.
So that’s what we’ve been working on this past week. What have you been up to?
Project Nelson
We have started a new project in the Storefront garage; Project Nelson. We are making a Modern Farmhouse table and matching benches for a gentleman named Nelson. The table will be pretty much exactly the same as Dan’s table. As such, I won’t be boring you all with another build how-to from start to finish. I will however be popping in to share a few tips and tricks with you guys along the way, and keeping you up to date on the progress.
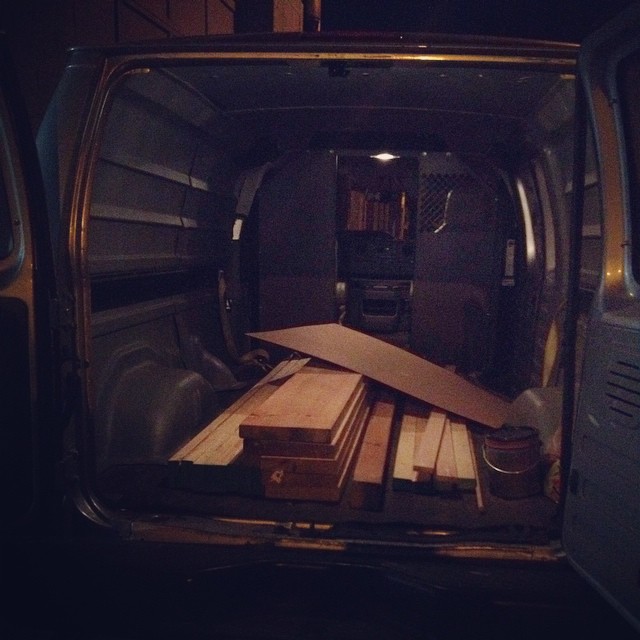
Progress got started this past weekend. A Zipvan was rented. Can I mention again how fantastic this concept is? We can have access to a large fully loaded cargo van without having to well… store or pay for a large cargo van. Instead we can get one once a month when we absolutely need it, and pay $30 or so for an hour and a half. With said Zipvan, we headed to Downtown Lumber and picked up lumber. We are using Canadian kiln dried 2″ thick pine for this project. (Although for the record, Downtown Lumber also sells 2×12 oak at about $18/board foot.)
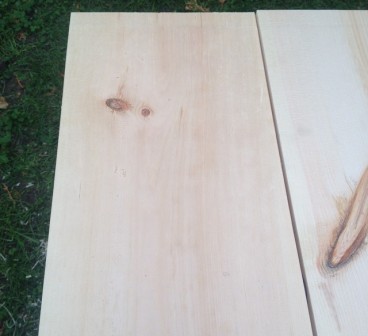
With lumber in the garage and a fine fall day, we planed all the lumber. My goodness, its amazing when you have the right tool for the job.
Turning this:

Into this:
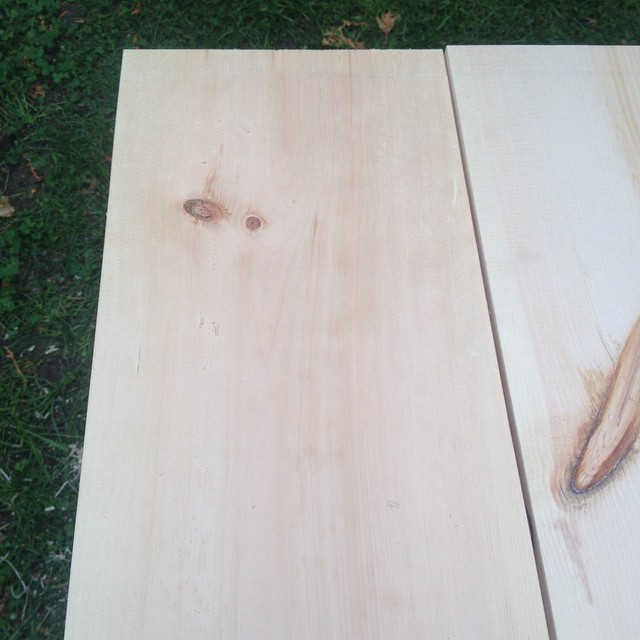
Will save me hours sanding!
With all that lovely smooth pine, we cut everything to length, giving our new Milwaukee 12″ sliding compound miter saw a workout.
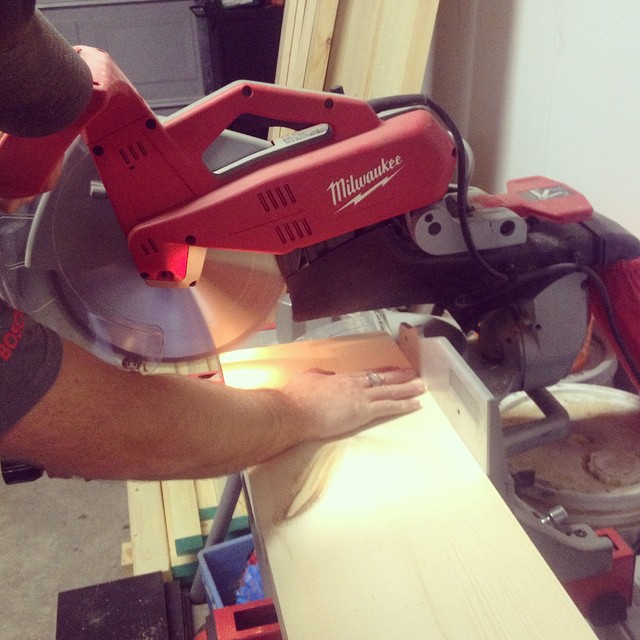
Maaaaan, the last table we built with our old Mastercraft saw. Comparing that saw to the Milwaukee is night and day. The beast Milwaukee cut through that pine like butter, not burning, sticking or generally seeming like it had to try very hard at all. AND it is accurate. Our old saw liked to waiver. Slowly creeping out of true and making us perpetually need to square it up, and never being happy with the results. We did a test cut with the Milwaukee, checked it with a square, and BAM it was perfect. That makes my life ever so much easier.
With everything cut to length. We glued up the table top, added some back supports, and filled a few knots with epoxy. Is anyone interested in how to epoxy knot holes? If so, let me know, and I will give a how to. While the epoxy & glue were drying, we cut down the legs, and got started on stain samples for Nelson. A good days progress. We hope to have Nelsons table finished and ready for delivery in a month.
We also got a bit of work done on the powder room, and will have a progress update for you later in the week.
DIY Housewarming Candle Holder
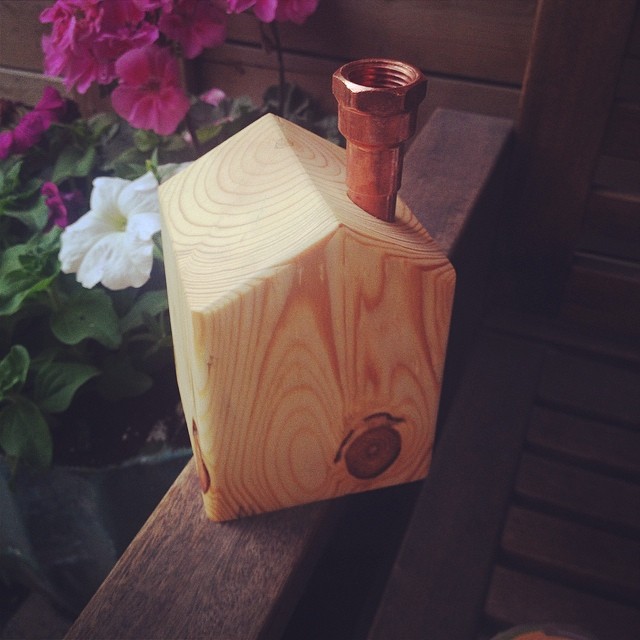
Nothing says housewarming like lighting things on fire… right? It is called houseWARMING after all.
No no, this post isn’t about burning your friends house down, but I will show you how to warm it with a small (controlled) flame.
Meet my adorable housewarming gift idea; the DIY Housewarming Candle Holder.
Chevron Cheese Board
As the Holidays are fast approaching, I am rapidly trying to knock a few items off the big old To-Do list, including making a few handmade gifts. This year has been a tough one to produce a lot of homemade gifts. Both El Granto and I have been working long hours at our day jobs, and by the time we get home we’d rather snuggle up on the sofa together than go back out to the garage and get to work.
This past weekend with nothing planned on the calendar, we decided to take a trip to the lumber yard, and start making some cutting boards for holiday host/hostess gifts.
After we had cut up all our wood, I noticed a few spare pieces too small to make into another cutting board, but rather than just toss them into the scrap bin pile, I opted to make a little side project.
Here’s what I did:
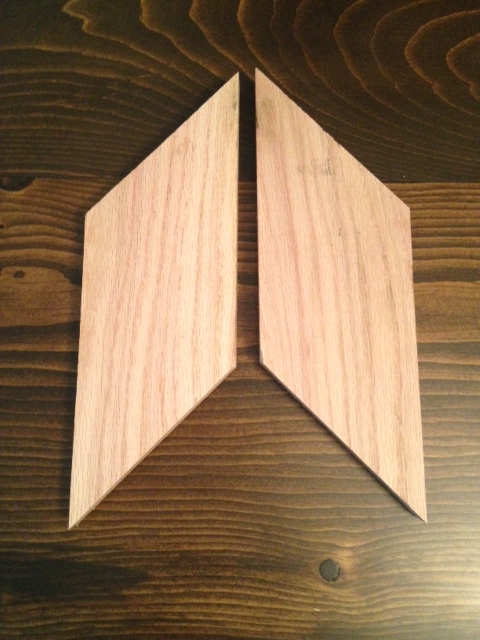
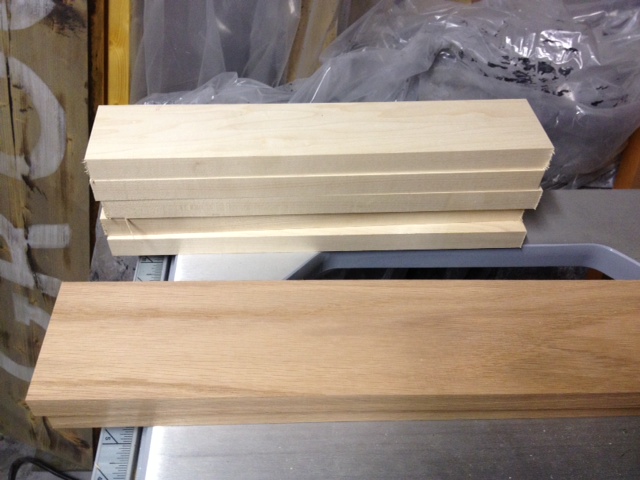
Set the miter saw to a 45. Took two scrap pieces of oak, stacked them on top of each other and cut a 45 through both of them at the same time. I then cut the same 45 at the other end of the pieces, again cutting through both boards at the same time.
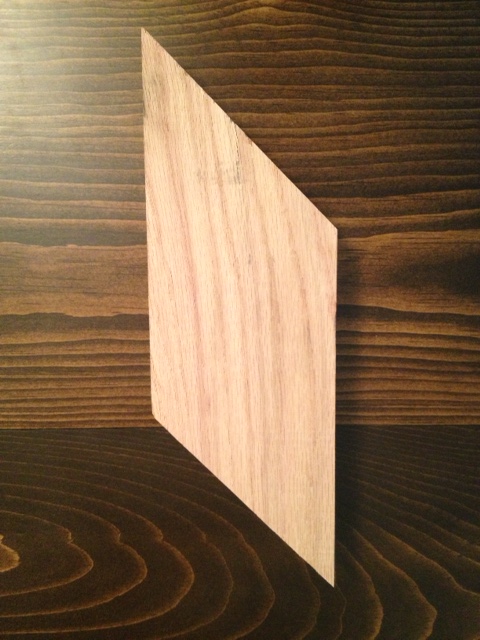
This made two pieces of wood about 9″ long that were EXACTLY the same. (the exactly the same is important.)
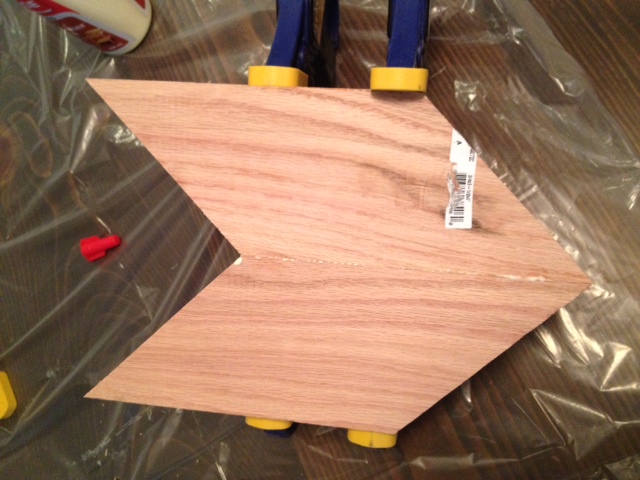
I then took those two boards, added glue, and clamped them together.
Once they were dry, I sanded, got the wood wet, let it dry, then sanded again. Why get the wood wet? It raises the grain, so you can sand it down again. If you don’t do this, then the first time the board is washed, the grain will raise and the wood will become rough again. It still may raise in the future, but at least you’ve sanded off the worst of it.
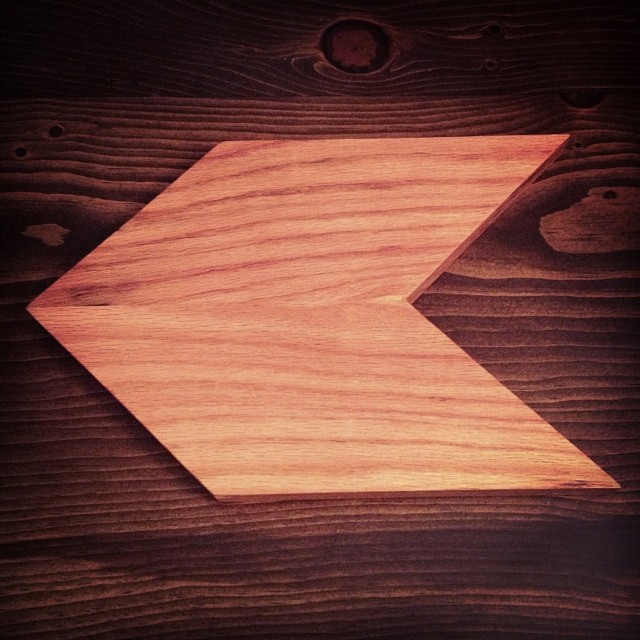
After everything is nice and sanded, I gave it a few coats of mineral oil, then followed up with some cutting board oil/wax.
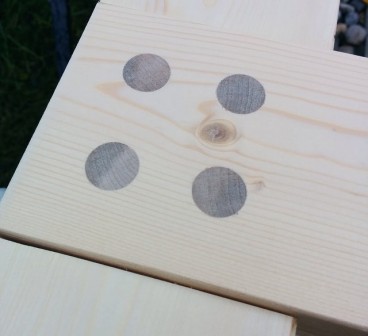
Ta da: Hipster Chevron Cheese Board
El Granto had the brilliant idea that we should make a few of these, then we can slide them together at parties to make larger boards. I see another trip to the lumber yard, and more parallelograms in my future.
DIY Cutting Boards
As the kitchen is starting to become functional again, we are starting to think about decor and other kitchen accessories. One of the biggest changes in the kitchen will be our new DIY concrete countertops. As concrete is rather hard and unforgiving, we will need to use cutting boards for all our chopping. I love a good cutting board, but they can be expensive, and often are not the size you need for your space.
We did a bit of research, and set out to make some easy & inexpensive cutting boards for our kitchen.
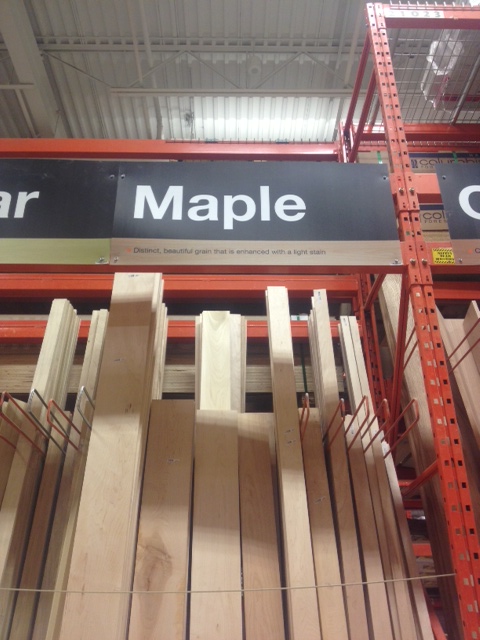
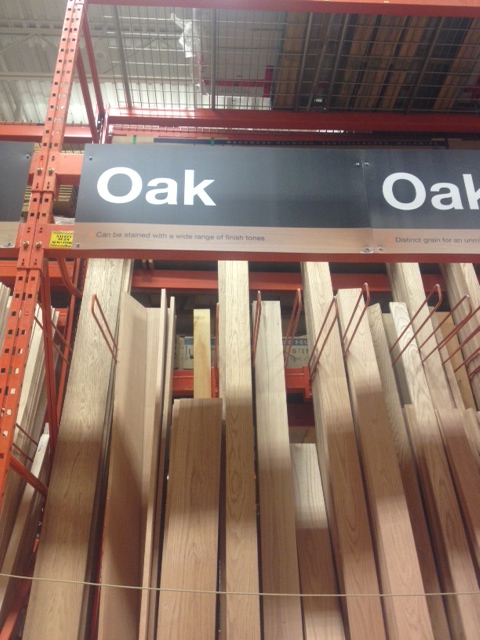
Selecting Material: Hardwood is preferred for a cutting board. Maple or Ash is the perfect material, as it has a nice tight grain. Oak is also usable, but not ideal as it is more of an open pore wood.
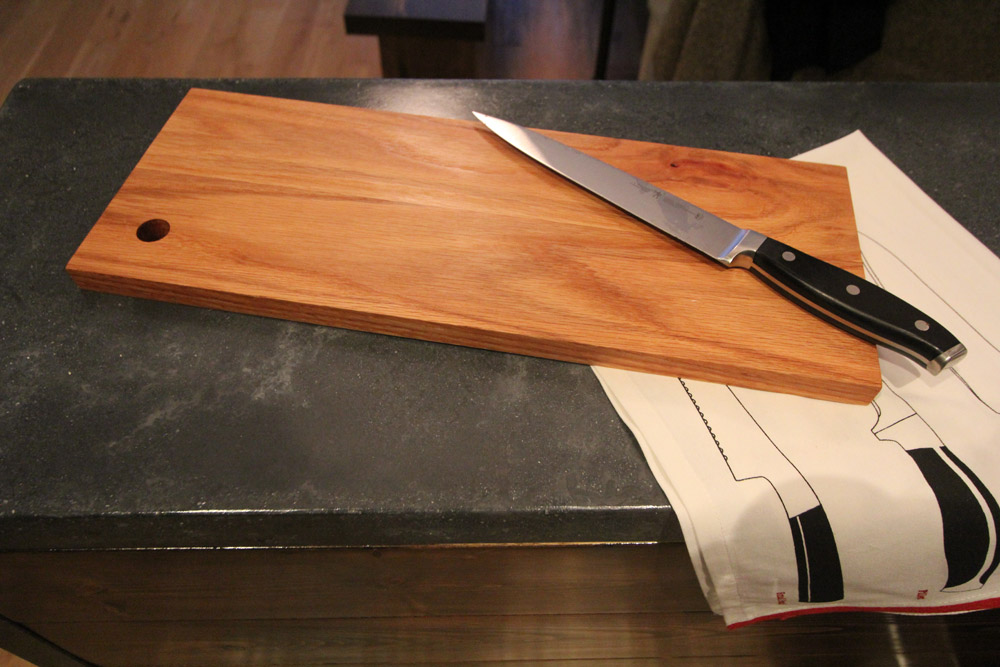
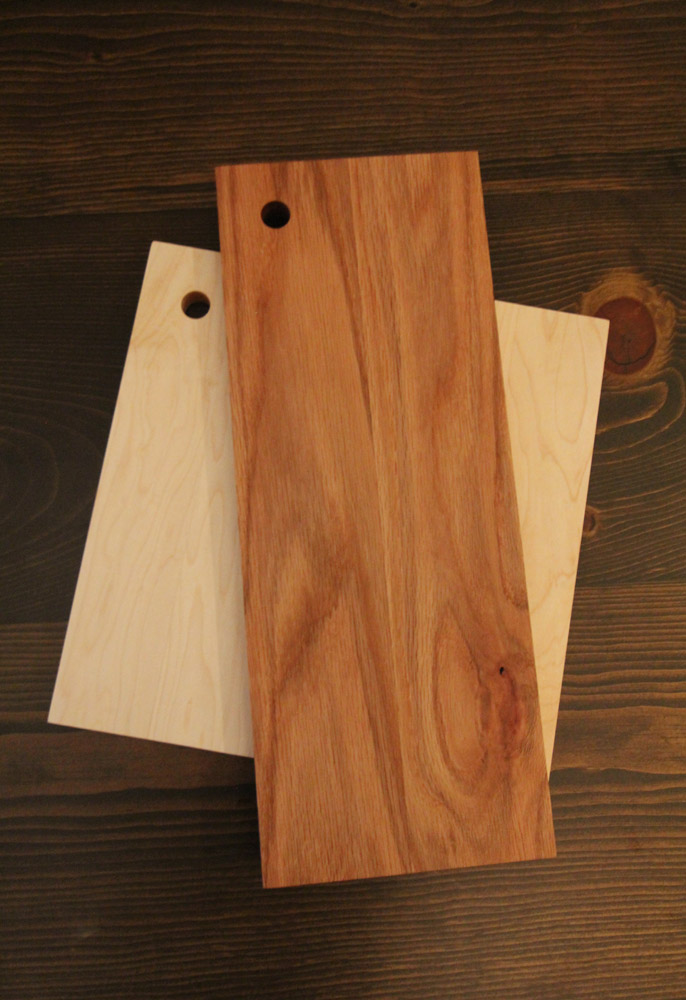
We decided to make one maple cutting board for everyday use as well as a red oak board more suitable for serving & veggie cutting (we wont be cutting raw meat on the oak).
We headed to the Hardware Store for some simple materials.
Here is what you need:
- 1 – 1×3 piece of Maple (6′ long)
- 1 – 1×4 piece of Oak (6′ long)
- Saw – Table saw preferred, but a Miter or circular saw will work
- Drill bit – We used a 3/4″ spade drill bit
- Drill – Cordless or in our case we used a drill press (but that’s not necessary)
- 3M™ Safety Products – Digital WorkTunes™ Hearing Protector, Holmes Workwear™ Premium Safety Eyewear & 3M tekk Paint Sanding Valved Respirator
- Bar Clamps (optional, but really worth the purchase)
- Measuring Tape & Square
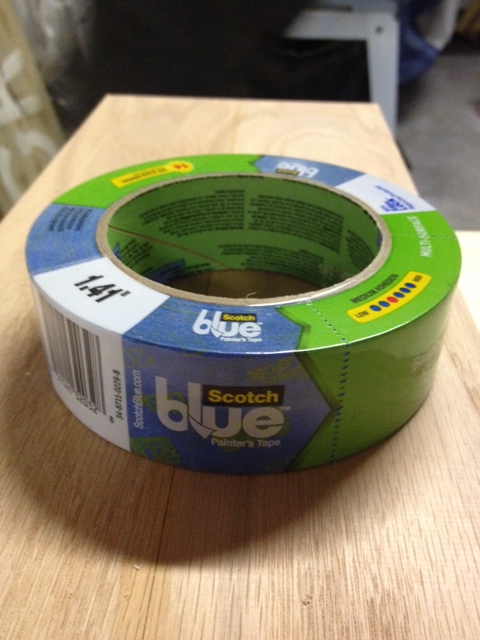
- ScotchBlue™ Painter’s Tape
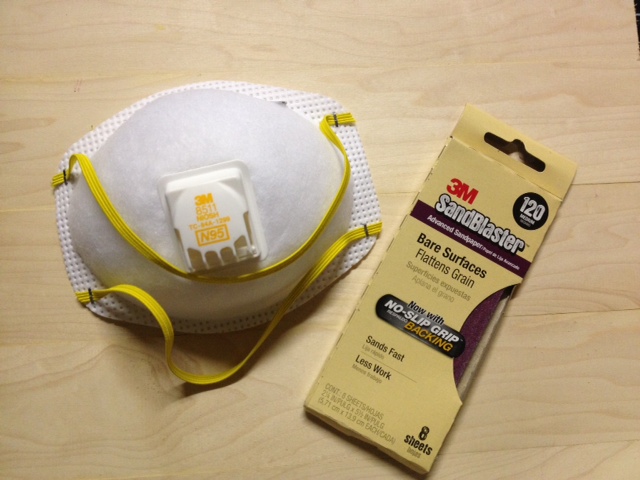
- 3M Advanced Abrasives sandpaper in 80, 120 & 220 grits (palm or orbital sander optional)
- Wood Glue
- Mineral Oil
 Digital WorkTunes™ Hearing Protector, Holmes Workwear™ Premium Safety Eyewear & 3M tekk Paint Sanding Valved Respirator
 sandpaper in 80, 120 & 220 grits (palm or orbital sander optional)
We headed to our local lumber store and picked up a piece of 3″ wide Maple, and 4″ wide red Oak.
I also made a stop at my local drug store for some Mineral Oil. Mineral oil is used to protect your cutting board. You can find Mineral Oil at Kitchen Supply stores, Ikea, and your drug store. Mineral Oil is (apparently) used as a laxative, and can be found in the digestive aid section of your drug store. Yep, it’s true!
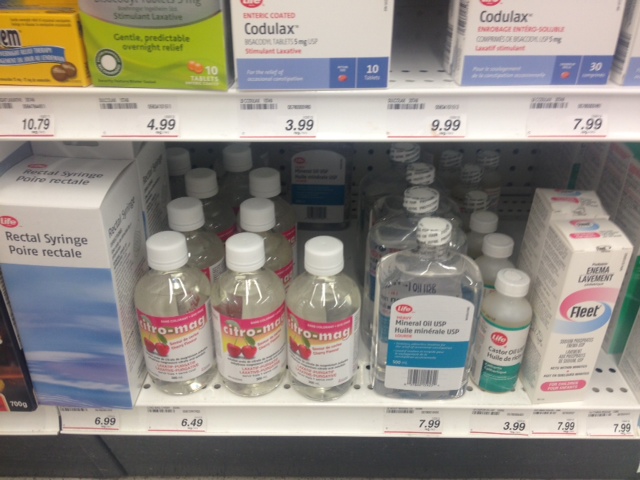
Ignore the strange look the cashier gives you when you purchase your mineral oil while carrying two pieces of lumber.
*It is important to use Mineral Oil or an oil specifically marked as a cutting board/butcher block oil. Do NOT use olive or vegetable oil, as those will go rancid. Mineral Oil is food safe and will not spoil.
Now its time to make some cutting boards!
Cut your maple into 5, 13″ long strips (does not need to be exact)
Cut your oak into 2, 20″ long strips (again doesn’t have to be perfect, we will be trimming the boards later.)
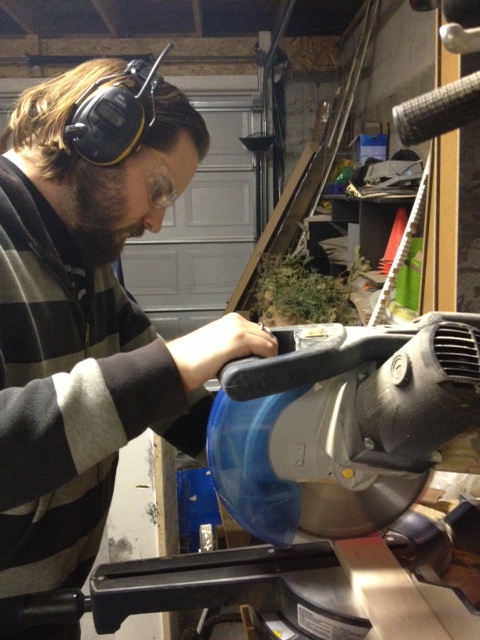
Make sure to use safety equipment! Eye & ear protection are a must. Cutting hardwood can get very loud.


Once all your wood is cut, sand off any imperfections and get ready for gluing.
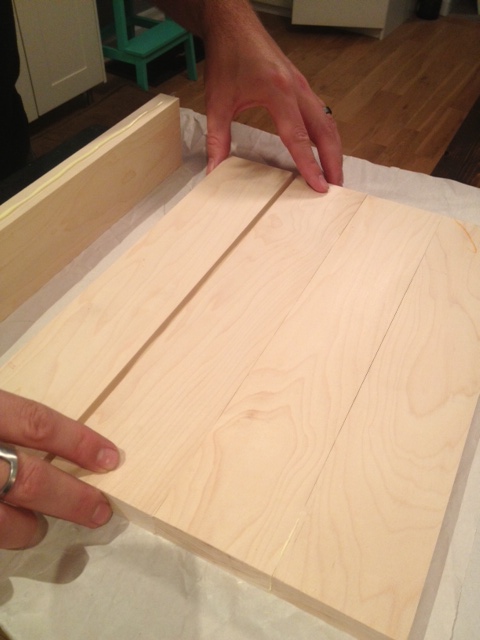
Make sure you have a nice flat surface to glue your boards together. We went inside and laid all our boards out deciding how we wanted them to look. Grain is important in the outcome of your piece. Make sure you take it in to account and lay out your boards to maximize the visual appeal of the grain markings in your wood.
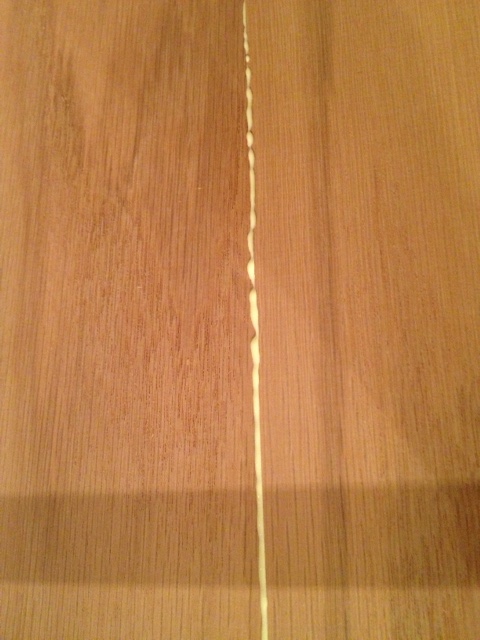
Next up, run a bead of wood glue on the edges of your boards (one board at a time) and glue them all together. When you’re pressing your boards together wiggle them lengthwise to spread the glue and work out any air bubbles.
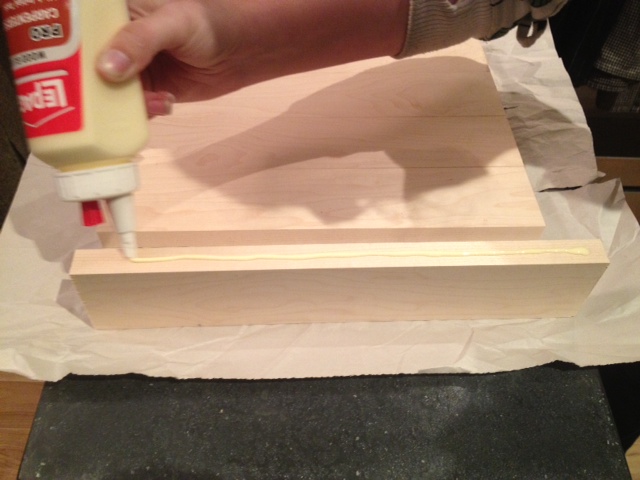
Once all your boards are glued together, clamp them, and wipe off any excess glue.
After your boards are clamped, leave them to dry overnight.
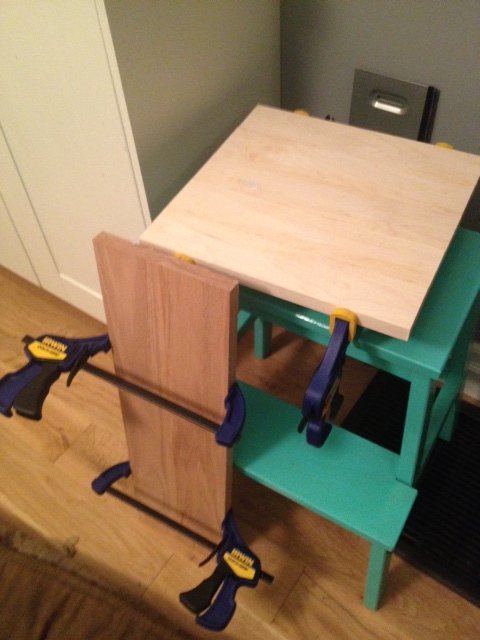
The next day, un-clamp your boards, and it’s time to drill & sand!
I like my cutting boards to have a handle or a hole to hold onto. It makes it easier to grip and to store (they can be hung up.)
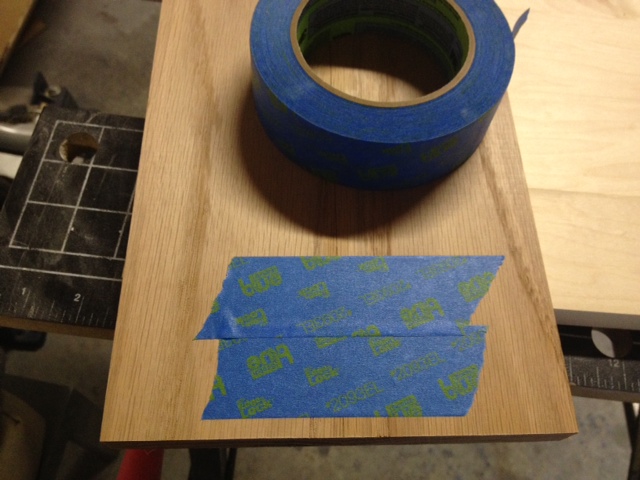
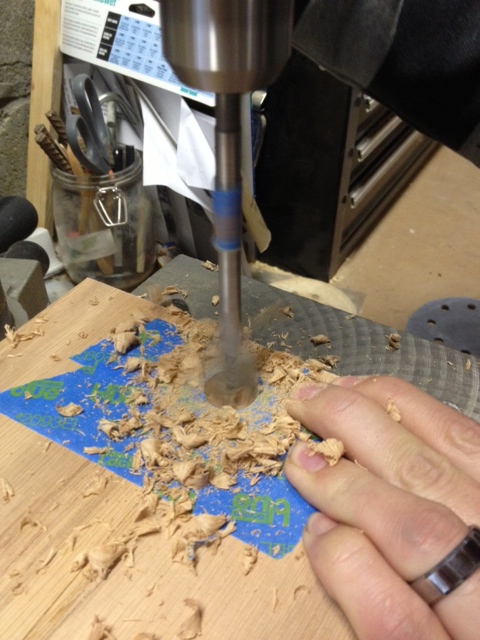
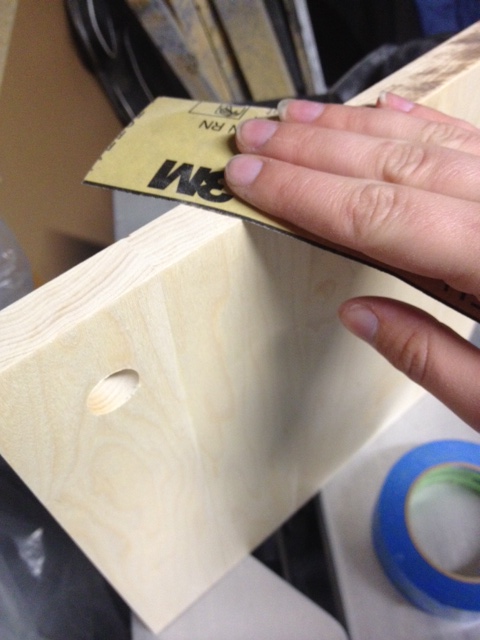
We added a 3/4″ hole to the corner of each board. To do this we taped off both sides of the board using ScotchBlue Painter’s tape. Applying tape before drilling reduces the amount of tear out (when the wood chips and splinters). Applying the tape also makes a great surface to mark your drilling location. We measured in a 1 1/2″ from either side for our holes.
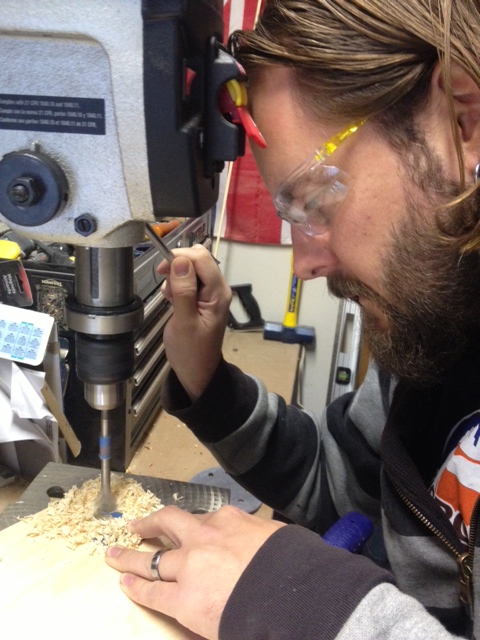
Next up, ready your drill with a 3/4″ bit, and drill your hole. We have a drill press, so we used that for an even more precise hole, but you can use your cordless drill. Just take the time to ensure you’re drilling straight. Place a piece of scrap wood under your cutting board so you don’t drill into your table! (It also makes the cut cleaner.)
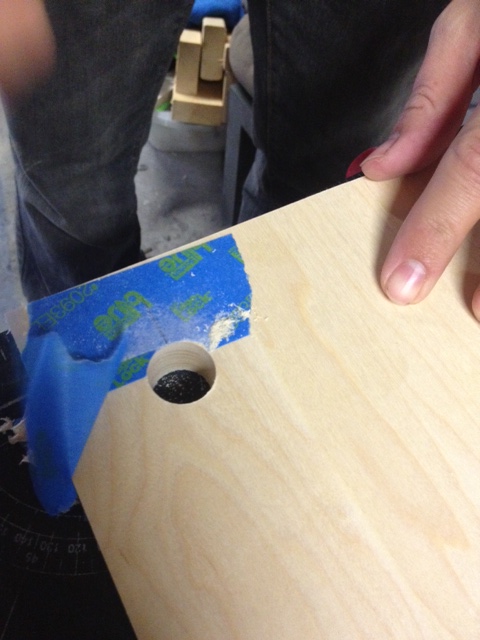
After your holes are drilled, remove the tape and check out your perfect hole!
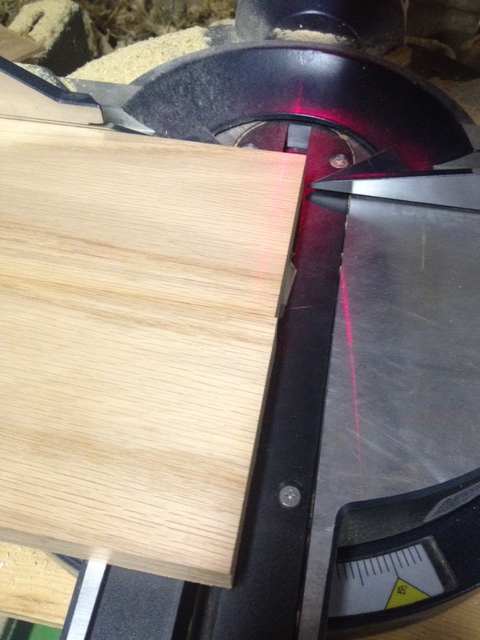
You may notice that the ends of your cutting board are not perfectly straight. You could spend hours trying to sand them, or the easy way is to head over to your sliding miter saw and trim up the ends. A couple quick cuts and your boards are nice and square and true. (If you don’t have a sliding miter saw, you can use your circular saw.)
Now its time to sand. Using a palm sander or an orbital sander will make this process a lot quicker, but you can do it by hand.
Starting with 80 grit sandpaper, sand off any imperfections, and make sure your board is nice and flat. Once you are happy with how flat everything is, step up to 120 grit and sand the whole piece making everything smooth.
Lastly, take a pass with the 220 grit to make everything perfectly smooth and buttery soft.
Sand the edges by hand, and gently round the corners ever so slightly so that they are not sharp.
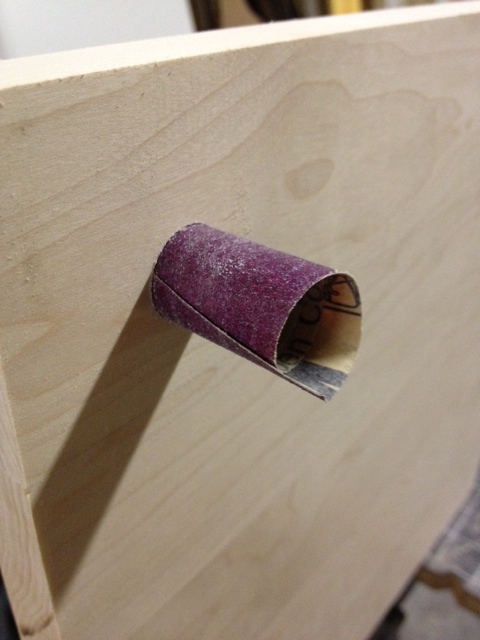
Roll your sandpaper into a tube shape, and insert it into the hole. Rotate it around sanding the inside of the hole.
Once everything is sanded, wipe your boards off with a dry cloth.
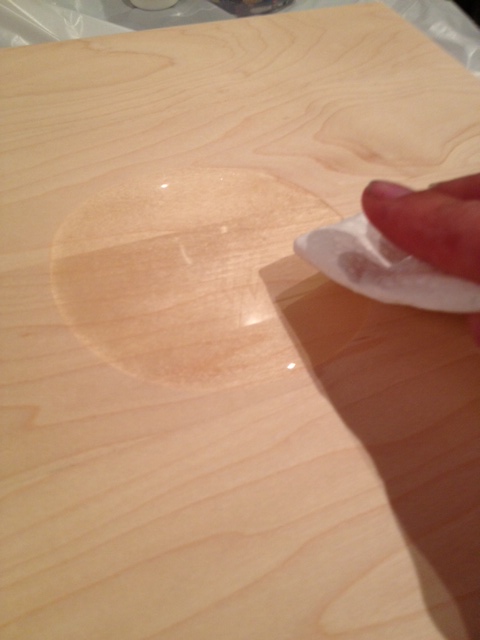
Now the next part may sound counter intuitive, but take a damp cloth and wet your cutting board (don’t saturate it, but get the whole surface damp.) Let it dry, and rub your hand along the wood. You will notice that it feels rough again. The water has raised the grain (better now then after you wash it for the first time!) Take your sandpaper and knock down the grain until it is smooth again, wipe your board again and get ready to oil!
Using a lint free rag or paper towel, apply a generous amount of mineral oil to your cutting boards. Rub it in, and let it sit for an hour or so. Come back and wipe off any excess. Repeat this 2-3 times until you notice your board stops absorbing oil. Let dry.
AND YOU’RE DONE! Enjoy your gorgeous new cutting boards!

Make sure to re-oil your boards when you notice them looking a bit dry. Never put boards in a dishwasher, or let them sit in water. You can also use a mixture of 5 parts mineral oil to one part all natural beeswax, heated over low on the stove, then rubbed into your board for added protection.
***UPDATE: Check out our post on Wood Oil/Wax here***
What do you think? Wouldn’t these make perfect holiday gifts?
SOURCE LIST:
Materials & Cut List:
Lumber – See Above
ScotchBlue Painter’s Tape
3M Advanced Abrasives sandpaper
Mineral Oil
Wood Glue
Tools Used:
Miter Saw
Sander
Drill
Clamps
Difficulty Level (on a scale of 1-5):
one out of five
Total Cost: $30


This post is a collaboration with 3M DIY. To keep up-to-date on projects, products and sampling visit 3MDIY.com.
Check out 3M DIY on social media!
3M Pinterest, 3M Facebook, 3M Twitter
Note: I have been compensated by 3M for this post, but all opinions are my own!
Yet Another Bench
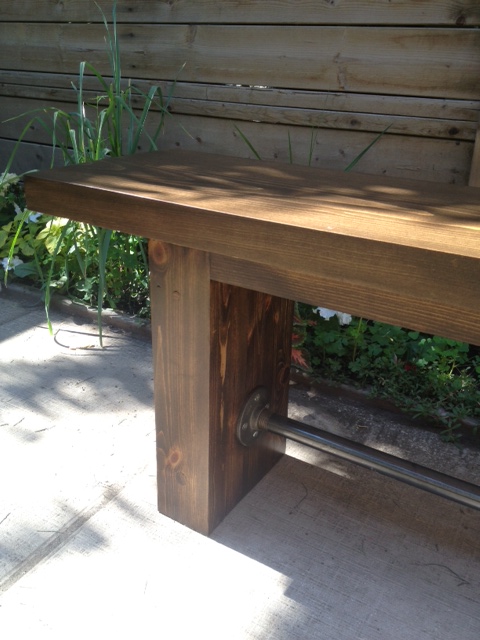
I know, I know, ANOTHER BENCH?! REALLY? Here’s the deal. We replaced the top of our pipe leg dining table, and our old bench was looking sad in comparison. It’s unfair to give one kid a present, and then stiff the other one. So Mr. Bench got an upgrade.
If you remember correctly, this is what the old bench (& table) looked like:
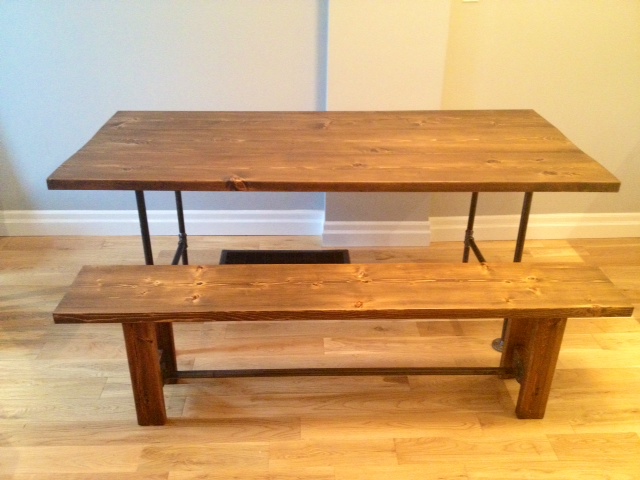
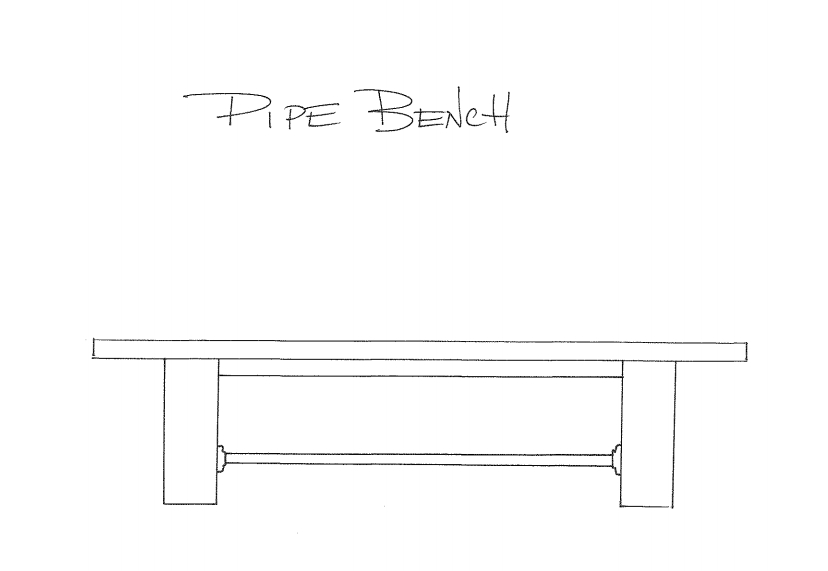
We salvaged the pipe stretcher from the old bench, and got to work making new legs & a top. We wanted something a bit more industrial looking. The old bench was fine, but a bit traditional. So we searched for inspiration and found this on Pinterest:
I loved the chunky legs and thought it had the perfect shape. So we set to building our own version with a pipe stretcher.
Buy List:
1 – 2×12 x 6′ piece of kiln dried pine (same as our table)
2 – pine 2×2’s @ 8′ for aprons
2 – pine 2×4’s @ 8′ for the legs (make sure these are square edged 2×4’s, not rounded ones like you use for framing)
3/4″ dowel
Wood Glue
4′ pre-cut piece of 3/4″ gas line pipe (threaded on both ends)
2 – 3/4″ pipe floor flanges
2 1/2″ pocket screws
Cut List:
1 – 2×12 at 68″ (bench top)
2 – 2×2 at 48 5/8″ (aprons)
10 – 2×4 at 16 1/2″ (legs) if you can, set yourself a jig on your saw to make sure all the pieces are cut exactly the same size
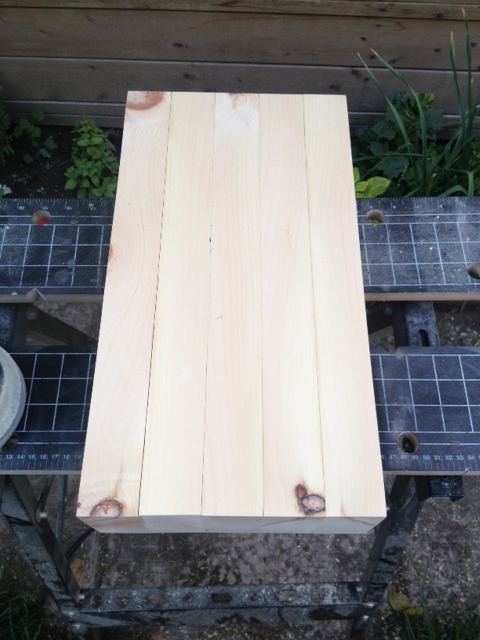
First up, glue 5 2×4’s together with wood glue and clamps making one great big 4×10, repeat with the other 5 2×4’s (if you don’t have enough clamps, do one leg, then let it dry for a day, unclamp and do the other leg.)
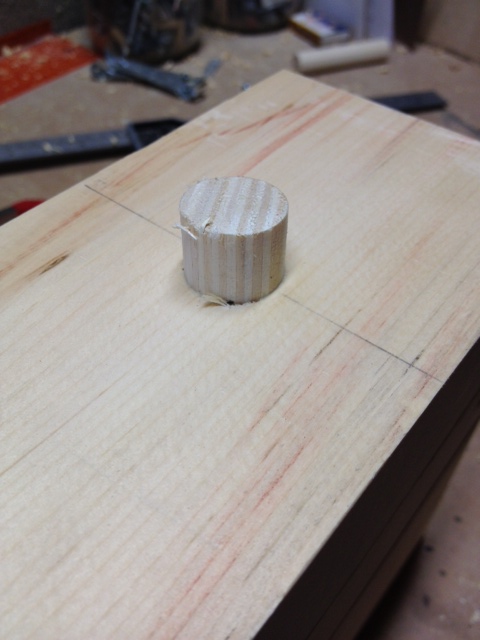
To make sure those legs aren’t gonna move, we also strengthened them with dowels (and a few screws). We liked the way the exposed dowels looked on Daniel & Adelle’s table, so we opted for that route. After the legs have dried, mark 3″ up from the bottom of the leg on one end and mark the center of the board. Then drill a 3/4″ hole with a spade bit about half way through your leg. Ideally it would go all the way through, but to do that nicely (without any tear out) and straight you really need a drill press (which we dont have!). So we opted to do a dowel from each end.
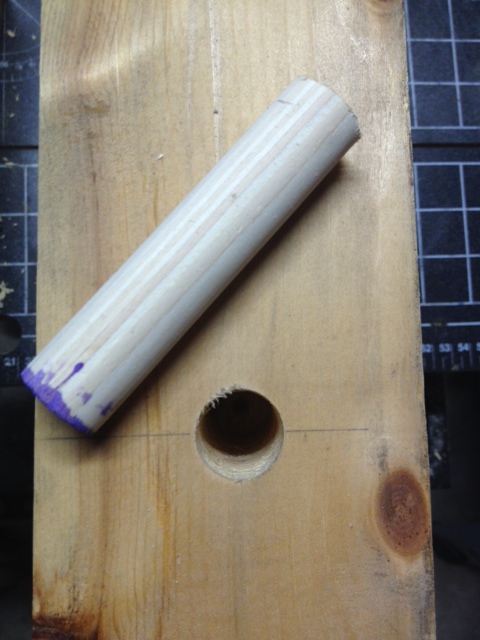
After your hole is drilled, cut a piece of dowel a bit longer than your hole, glue & tap in place. Repeat for all the other sides of both legs and let dry.
To strengthen the top of the legs we used a 3″ counter sunk screw from either end. We pre-drilled the holes with a 3/8″ drill bit, inserted the screws, then filled the hole with a wood plug & some glue. If you must use screws on a project, using wood plugs will make them a lot less glaringly obvious.
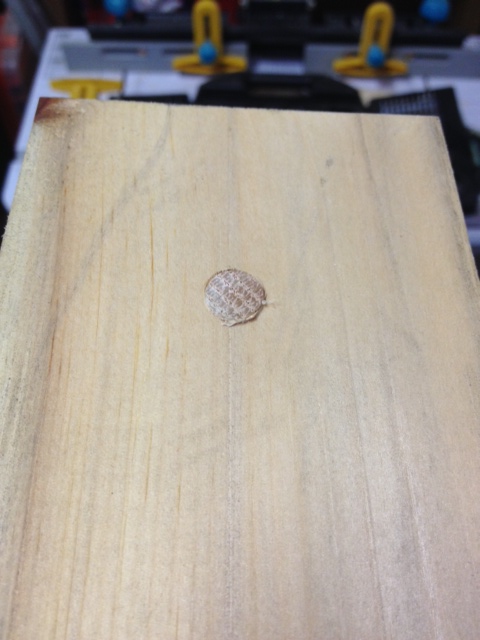
Once all the glue has dried (another day) you can cut the dowels close to flush using a coping saw, chisel, hand saw, Dremel, or oscillating multi-tool.
Now it is time to make a few pocket holes for attaching the legs to the top. We put three holes in each leg (kreg pocket hole jig set to 1 1/2″ thick material).
Time to sand. I always find that it is MUCH easier to sand pieces like legs before installing them. As we needed to sand down the exposed dowels, we started sanding with 80 grit until the dowels were flush, then switched to 100, then 150 and finally 220 grit.
The apron pieces got 2 pocket holes drilled in each end (to attach to the legs) and a good sand as well.
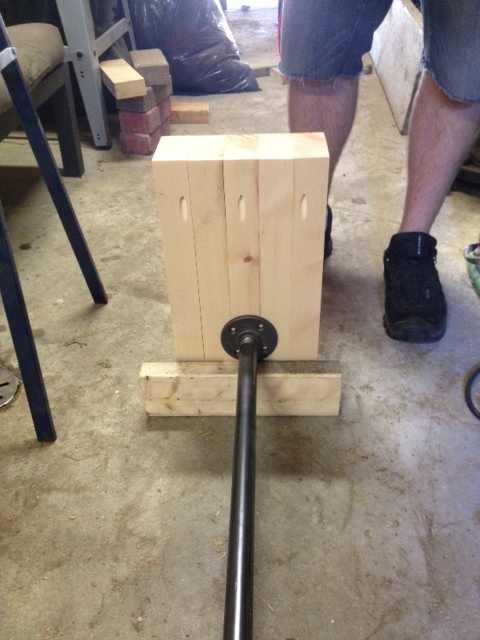
Next up, attach the flanges to either end of the pipe and attach the pipe stretcher to the legs with screws. We used a scrap 2×4 to set the flanges up from the bottom of the legs.
Next up, attaching the legs to the table and the aprons. Flip the bench top upside down and use it as a work table to attach the aprons. The aprons will give the bench even more strength, and stop it from wanting to shift sideways. Once the aprons are attached to the legs, center the legs on the bench top, and attach the legs with the pocket holes you drilled earlier.

Put in a few 2 1/2″ screws through the aprons into the top, and fill the Kreg holes with pocket hole wood plugs and glue.
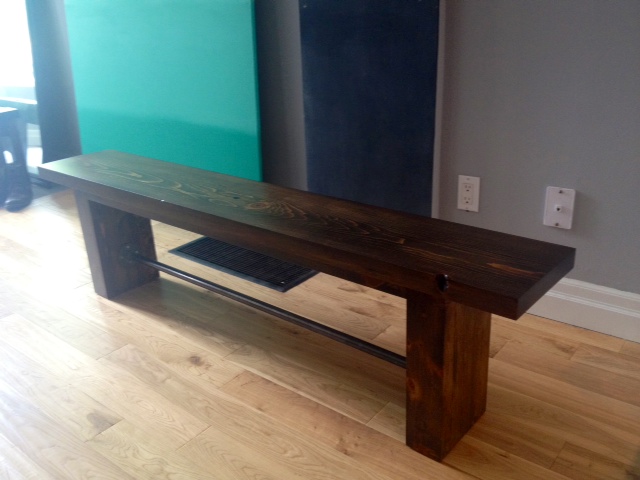
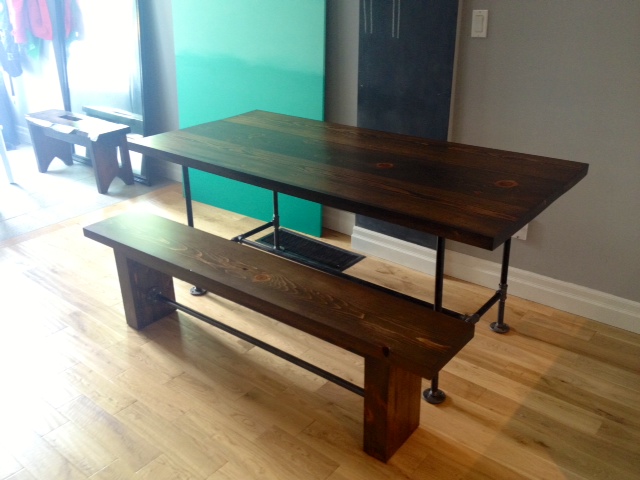
Time to head back outside, give the top a sand, and an overall finish sand to the rest of the bench.
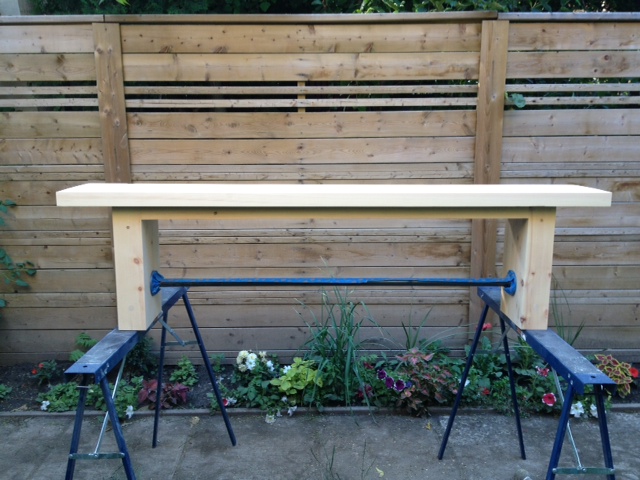

A coat of wood conditioner, two coats of Varathane Chocolate stain, and three coats of polyurethane later and this is what we’ve got. (check out my post on finishing wood here.)

SOURCE LIST:
Materials & Cut List:
(see above) – Wood from Downtown Lumber
Stain – Varathane Chocolate
Polyurethane – Minwax Oil Modified in Satin
Tools Used:
Miter saw
Drill
Kreg Jig
Orbital sander
Measuring Tape
Finishing Supplies
Difficulty Level (on a scale of 1-5):
two out of five
Total Cost: $60 (for the new wood, we already owned the pipe, stain & poly)
Quick & Dirty Outdoor Table
We got home from a week vacation in Vegas to find that our house hadn’t floated away in the Toronto Floods, and that our garden had doubled in size because of said rain. Win win. We also came home to a heat wave. You’d think I would be prepared for the heat after staying a week in the desert. No siree. Vegas heat = dry and wonderful, Toronto heat = humid and sweaty. Needless to say on our first day back we didn’t do much. We played and cuddled with Odin (who we missed desperately) and had a few cocktails on the deck.
Our deck layout is small (big surprise), and features a bench and two chairs with a small folding table. This works well for the person sitting beside the table, but everyone else must hold on to their drinks, snacks, hats etc. Fed up with holding onto my wine glass, (yes yes I know, first world problems) I sprang into action and built a quick and dirty (literally) outdoor side table.
Last time I was up at the cottage, I stole borrowed an old battered 2×12 that was sitting under the bunkie. My Dad had used it for the concrete forms for the cottage foundation, and the old board was just hanging out under the bunkie left for a life of firewood/scrap. I saw the beauty in its weathered aged goodness and brought the board home with me. It has since sat littering the garage floor (much to El Granto’s chagrin) waiting for a project.
In my fit of DIY, I did up a quick drawing, decided on a design & size, and made a few cuts of the weathered wood (see cut list below.)
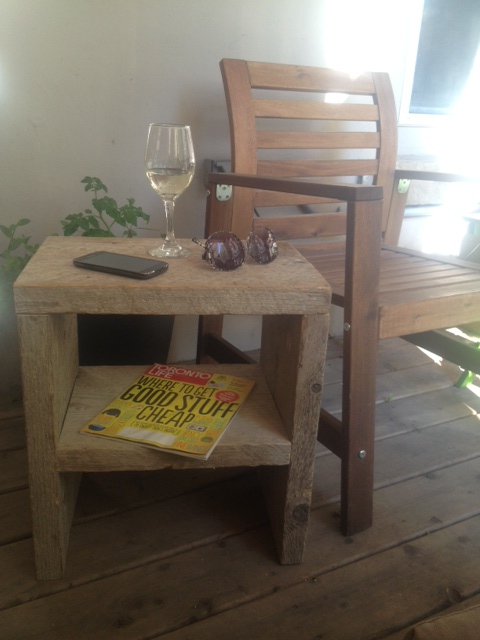
Outdoor Side Table
(19″ tall, 17″ wide and 11 5/8″ deep )
Note: My sketch is in no way to scale, or in correct proportions, or even straight. That’s just how awesome I am at drawing…
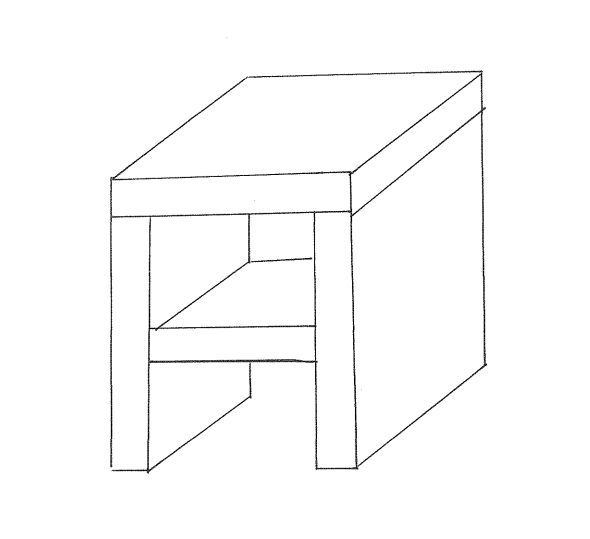
I drilled a few pocket holes (four in one end of each of the side boards, and two on each end of the shelf), and screwed in a few outdoor Kreg screws, and 15 minutes later we had a weathered side table. Perfect for holding a glass of wine, sunglasses & a magazine. I made the shelf big enough to hold our Bose sound dock. Cause no deck time is complete without some Robin Thicke.


SOURCE LIST:
Buy List:
1 – 2×12 @ 8′ (Under the Bunkie)
12 – 2 1/2″ outdoor pocket hole screws (Lee Valley)
Cut List:
1 – 2×12 @ 17″ (top)
1 – 2×12 @ 13 1/4″ (shelf)
2 – 2×12 @ 17 3/8″ (sides)
Tools Used:
Miter saw
Drill
Kreg Jig
Measuring Tape
Difficulty Level (on a scale of 1-5):
one out of five
Total Cost: $0 (booyakasha)