As the kitchen is starting to become functional again, we are starting to think about decor and other kitchen accessories. One of the biggest changes in the kitchen will be our new DIY concrete countertops. As concrete is rather hard and unforgiving, we will need to use cutting boards for all our chopping. I love a good cutting board, but they can be expensive, and often are not the size you need for your space.
We did a bit of research, and set out to make some easy & inexpensive cutting boards for our kitchen.
Selecting Material: Hardwood is preferred for a cutting board. Maple or Ash is the perfect material, as it has a nice tight grain. Oak is also usable, but not ideal as it is more of an open pore wood.
We decided to make one maple cutting board for everyday use as well as a red oak board more suitable for serving & veggie cutting (we wont be cutting raw meat on the oak).
We headed to the Hardware Store for some simple materials.
Here is what you need:
- 1 – 1×3 piece of Maple (6′ long)
- 1 – 1×4 piece of Oak (6′ long)
- Saw – Table saw preferred, but a Miter or circular saw will work
- Drill bit – We used a 3/4″ spade drill bit
- Drill – Cordless or in our case we used a drill press (but that’s not necessary)
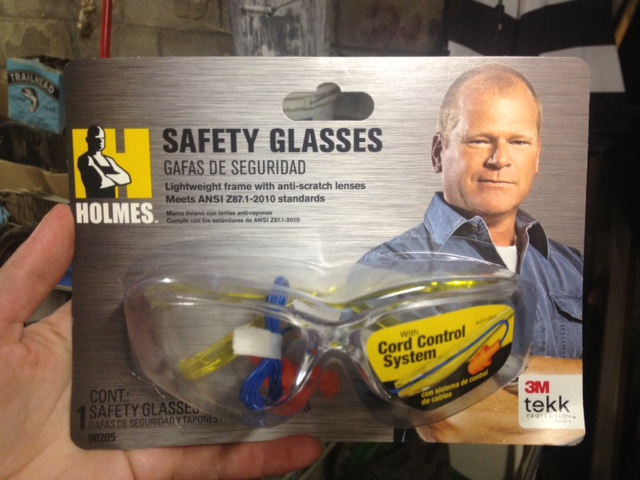
- 3M™ Safety Products – Digital WorkTunes™ Hearing Protector, Holmes Workwear™ Premium Safety Eyewear & 3M tekk Paint Sanding Valved Respirator
- Bar Clamps (optional, but really worth the purchase)
- Measuring Tape & Square
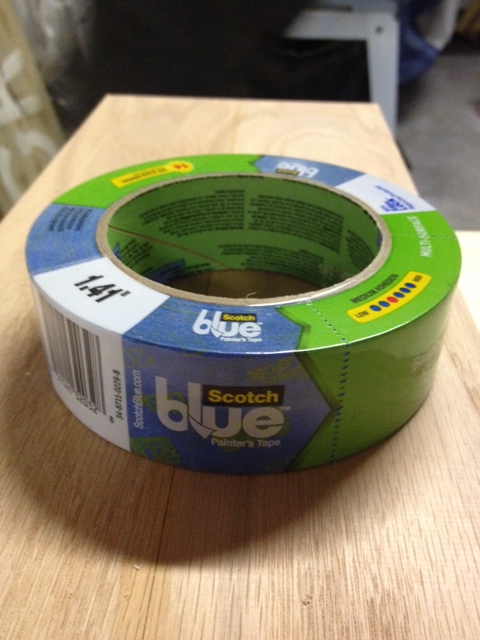
- ScotchBlue™ Painter’s Tape
- 3M Advanced Abrasives sandpaper in 80, 120 & 220 grits (palm or orbital sander optional)
- Wood Glue
- Mineral Oil
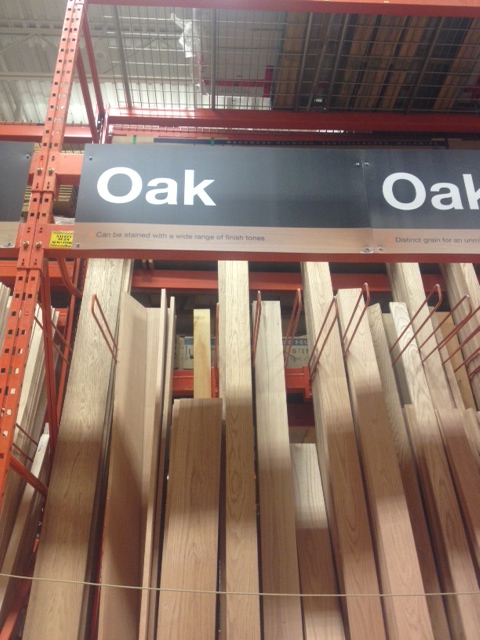
We headed to our local lumber store and picked up a piece of 3″ wide Maple, and 4″ wide red Oak.

I also made a stop at my local drug store for some Mineral Oil. Mineral oil is used to protect your cutting board. You can find Mineral Oil at Kitchen Supply stores, Ikea, and your drug store. Mineral Oil is (apparently) used as a laxative, and can be found in the digestive aid section of your drug store. Yep, it’s true!
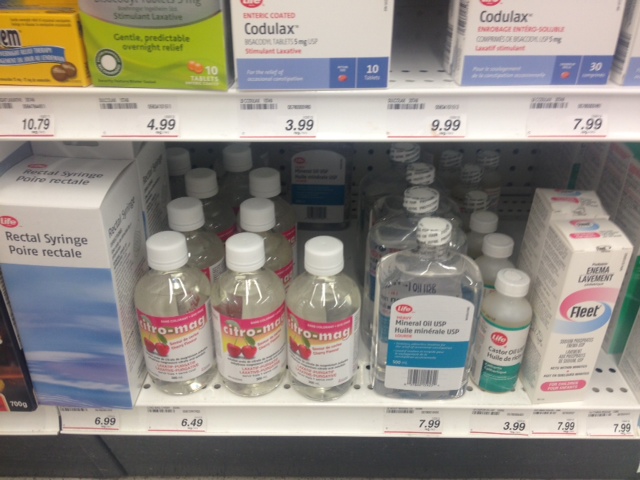
Ignore the strange look the cashier gives you when you purchase your mineral oil while carrying two pieces of lumber.
*It is important to use Mineral Oil or an oil specifically marked as a cutting board/butcher block oil. Do NOT use olive or vegetable oil, as those will go rancid. Mineral Oil is food safe and will not spoil.
Now its time to make some cutting boards!

Cut your maple into 5, 13″ long strips (does not need to be exact)
Cut your oak into 2, 20″ long strips (again doesn’t have to be perfect, we will be trimming the boards later.)
Make sure to use safety equipment! Eye & ear protection are a must. Cutting hardwood can get very loud.

Once all your wood is cut, sand off any imperfections and get ready for gluing.
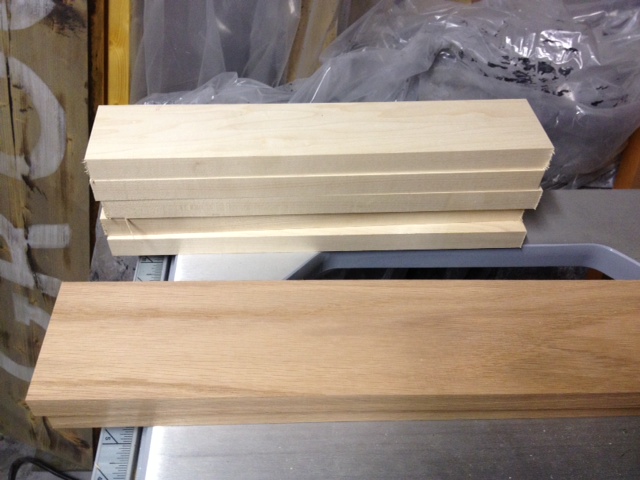
Make sure you have a nice flat surface to glue your boards together. We went inside and laid all our boards out deciding how we wanted them to look. Grain is important in the outcome of your piece. Make sure you take it in to account and lay out your boards to maximize the visual appeal of the grain markings in your wood.
Next up, run a bead of wood glue on the edges of your boards (one board at a time) and glue them all together. When you’re pressing your boards together wiggle them lengthwise to spread the glue and work out any air bubbles.
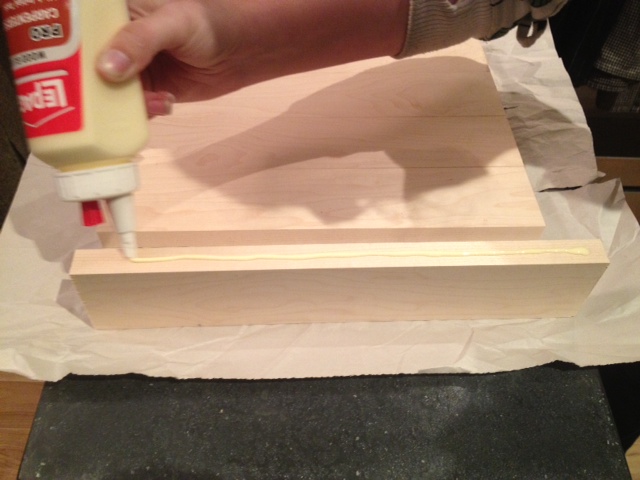
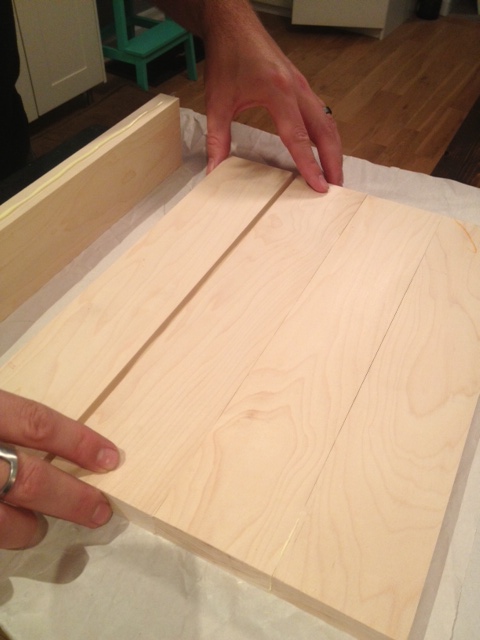
Once all your boards are glued together, clamp them, and wipe off any excess glue.
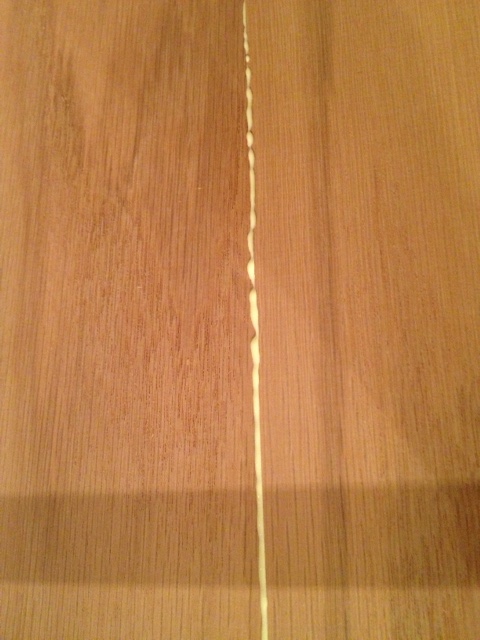
After your boards are clamped, leave them to dry overnight.
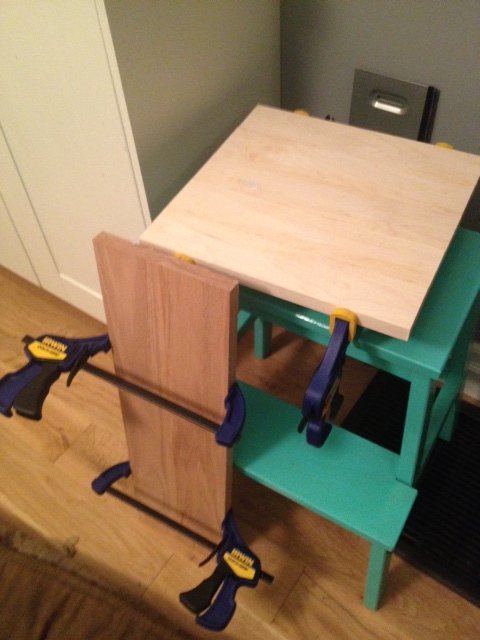
The next day, un-clamp your boards, and it’s time to drill & sand!
I like my cutting boards to have a handle or a hole to hold onto. It makes it easier to grip and to store (they can be hung up.)
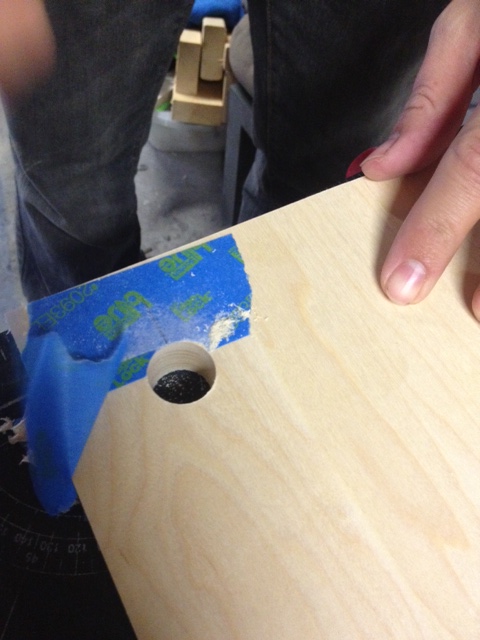
We added a 3/4″ hole to the corner of each board. To do this we taped off both sides of the board using ScotchBlue Painter’s tape. Applying tape before drilling reduces the amount of tear out (when the wood chips and splinters). Applying the tape also makes a great surface to mark your drilling location. We measured in a 1 1/2″ from either side for our holes.
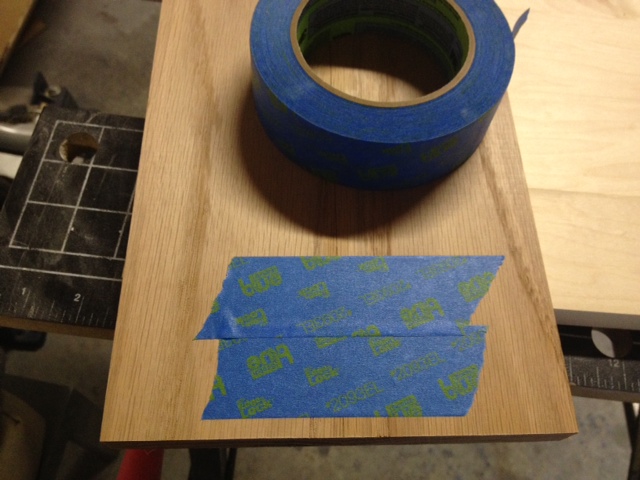
Next up, ready your drill with a 3/4″ bit, and drill your hole. We have a drill press, so we used that for an even more precise hole, but you can use your cordless drill. Just take the time to ensure you’re drilling straight. Place a piece of scrap wood under your cutting board so you don’t drill into your table! (It also makes the cut cleaner.)
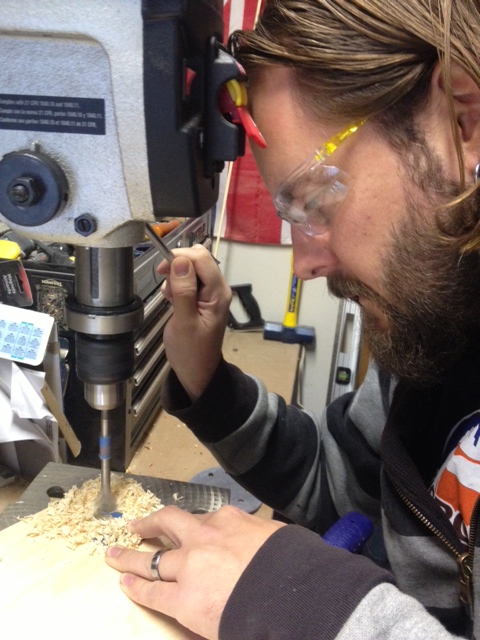
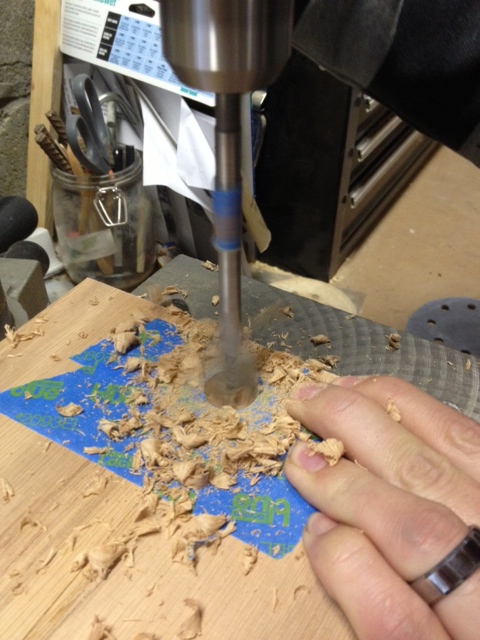
After your holes are drilled, remove the tape and check out your perfect hole!
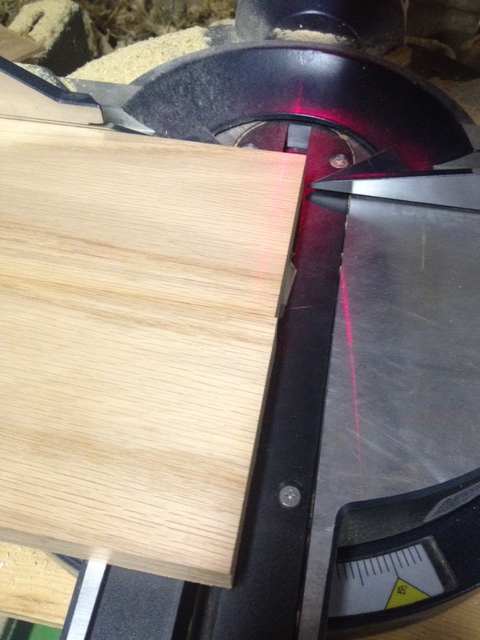
You may notice that the ends of your cutting board are not perfectly straight. You could spend hours trying to sand them, or the easy way is to head over to your sliding miter saw and trim up the ends. A couple quick cuts and your boards are nice and square and true. (If you don’t have a sliding miter saw, you can use your circular saw.)
Now its time to sand. Using a palm sander or an orbital sander will make this process a lot quicker, but you can do it by hand.
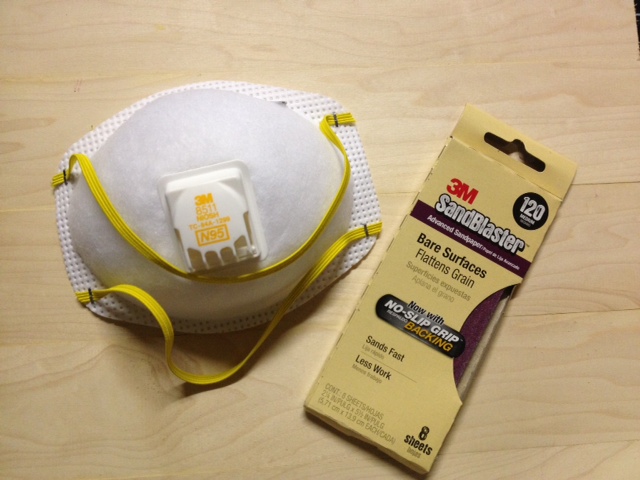
Starting with 80 grit sandpaper, sand off any imperfections, and make sure your board is nice and flat. Once you are happy with how flat everything is, step up to 120 grit and sand the whole piece making everything smooth.
Lastly, take a pass with the 220 grit to make everything perfectly smooth and buttery soft.
Sand the edges by hand, and gently round the corners ever so slightly so that they are not sharp.
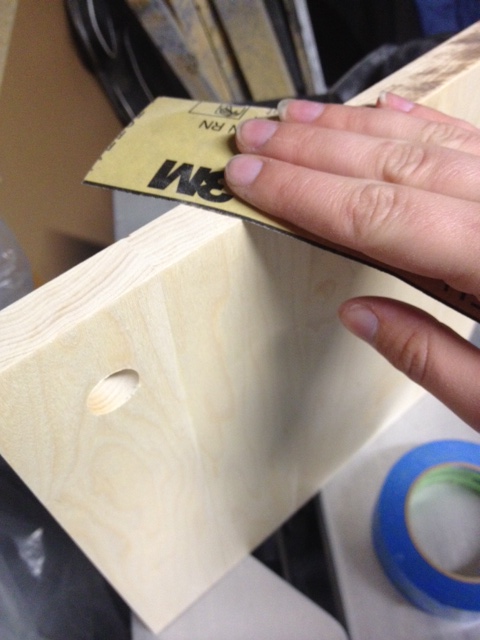
Roll your sandpaper into a tube shape, and insert it into the hole. Rotate it around sanding the inside of the hole.

Once everything is sanded, wipe your boards off with a dry cloth.
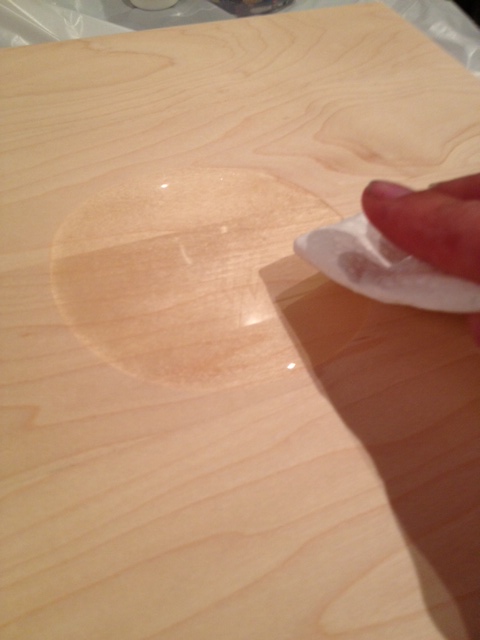
Now the next part may sound counter intuitive, but take a damp cloth and wet your cutting board (don’t saturate it, but get the whole surface damp.) Let it dry, and rub your hand along the wood. You will notice that it feels rough again. The water has raised the grain (better now then after you wash it for the first time!) Take your sandpaper and knock down the grain until it is smooth again, wipe your board again and get ready to oil!
Using a lint free rag or paper towel, apply a generous amount of mineral oil to your cutting boards. Rub it in, and let it sit for an hour or so. Come back and wipe off any excess. Repeat this 2-3 times until you notice your board stops absorbing oil. Let dry.
AND YOU’RE DONE! Enjoy your gorgeous new cutting boards!
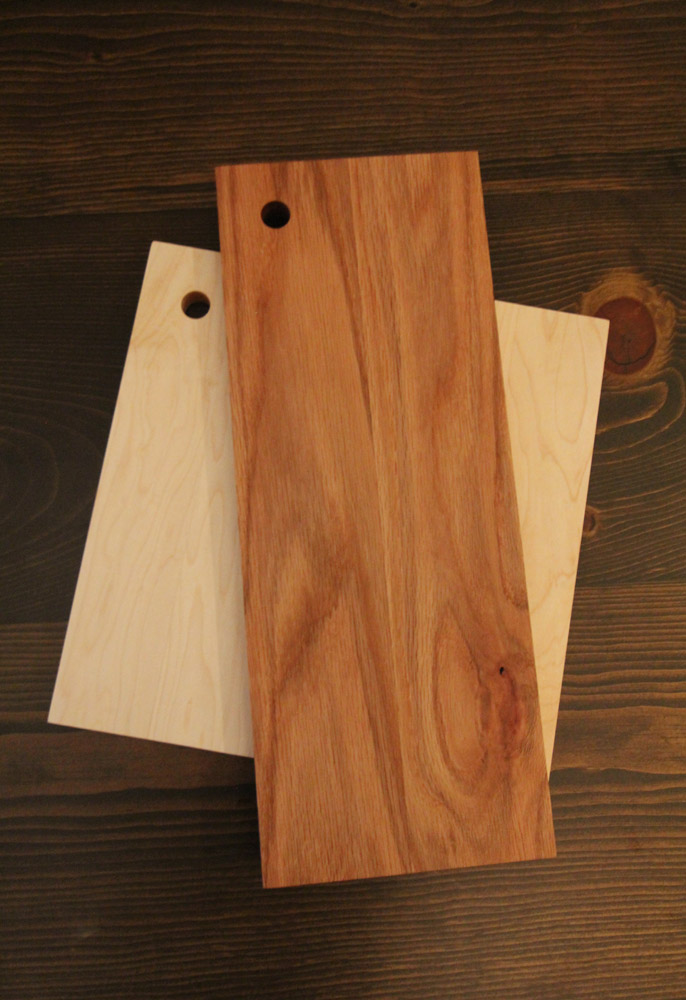
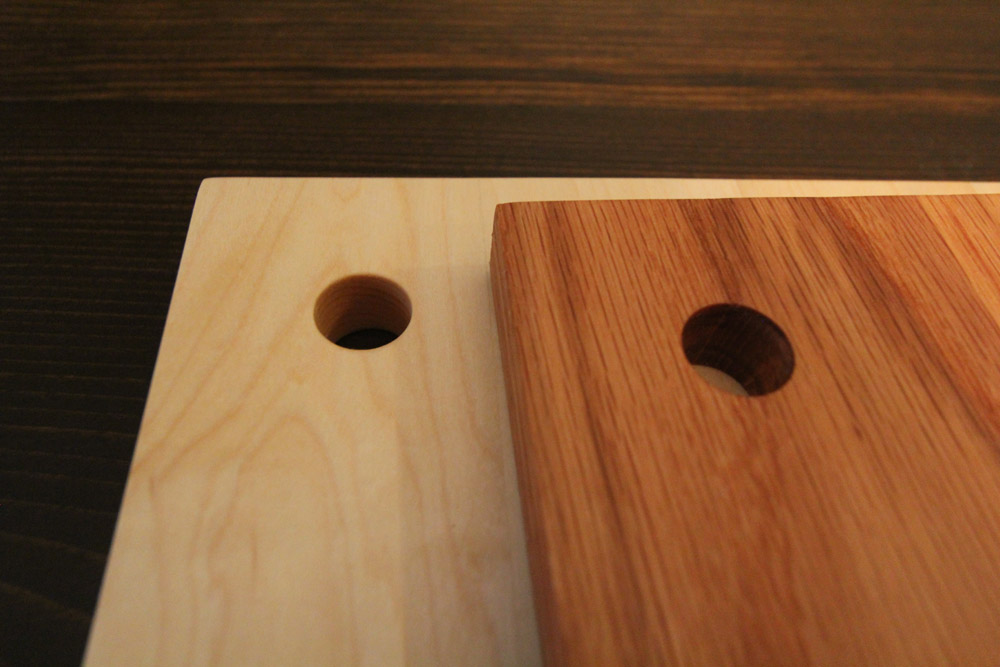
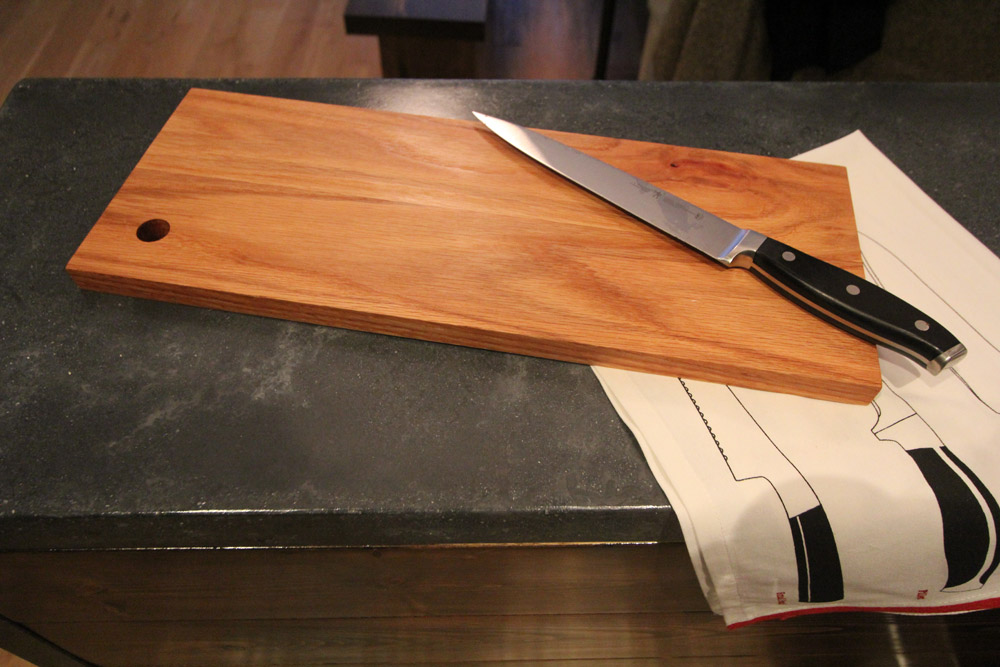
Make sure to re-oil your boards when you notice them looking a bit dry. Never put boards in a dishwasher, or let them sit in water. You can also use a mixture of 5 parts mineral oil to one part all natural beeswax, heated over low on the stove, then rubbed into your board for added protection.
***UPDATE: Check out our post on Wood Oil/Wax here***
What do you think? Wouldn’t these make perfect holiday gifts?
SOURCE LIST:
Materials & Cut List:
Lumber – See Above
ScotchBlue Painter’s Tape
3M Advanced Abrasives sandpaper
Mineral Oil
Wood Glue
Tools Used:
Miter Saw
Sander
Drill
Clamps
Difficulty Level (on a scale of 1-5):
Total Cost: $30
This post is a collaboration with 3M DIY. To keep up-to-date on projects, products and sampling visit 3MDIY.com.
Check out 3M DIY on social media!
3M Pinterest, 3M Facebook, 3M Twitter
Note: I have been compensated by 3M for this post, but all opinions are my own!
 Digital WorkTunes™ Hearing Protector, Holmes Workwear™ Premium Safety Eyewear & 3M tekk Paint Sanding Valved Respirator
 sandpaper in 80, 120 & 220 grits (palm or orbital sander optional)
