We have a nickname for the baby. It’s not your normal baby nickname of bean, or peanut, or little one etc. Nope… it’s Pixel. Yeah, I know. Totally a weird name. Why does the baby have such a strange nickname? Here’s how it came about:
We had a bunch of reason to worry about the baby when I was only a few weeks pregnant. Emergency ultrasound ensued, and when the ultrasound tech found the tiny, itty baby on the screen, it was nothing more than a tiny blob, with one, singular blinking pixel in the middle. The ultrasound tech, turned to tell us that not only was the baby okay, but that single pixel was in fact it’s heartbeat.
From there on out, it’s nickname would be Pixel. Our strong, steady, blinking Pixel.
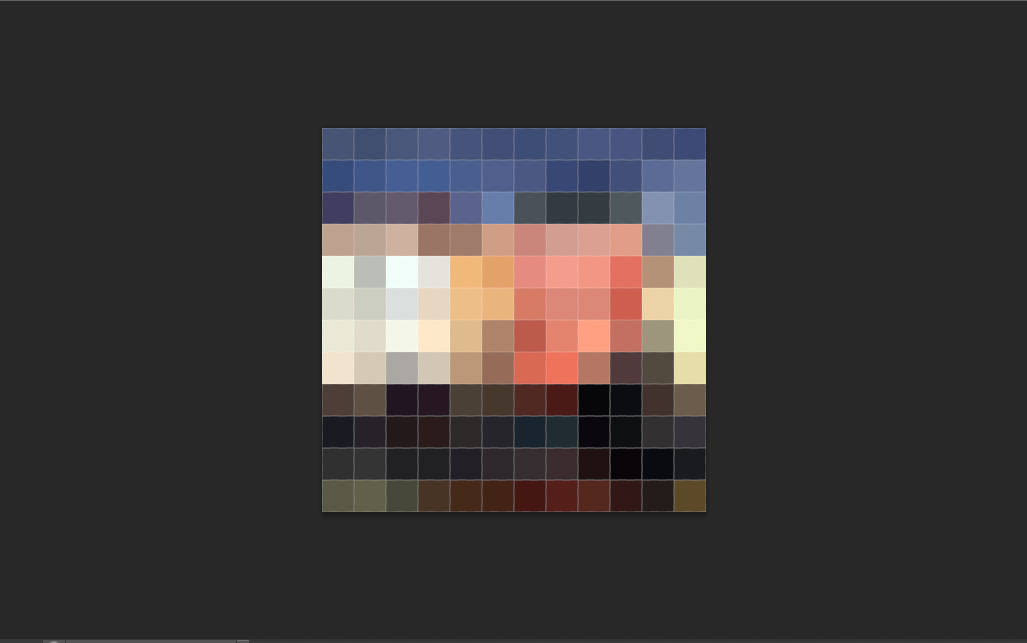
So when it came time for some art for the nursery, I instantly went brainstorming for something pixel related. I stumbled onto this post from Wit & Whistle, and knew it was the perfect idea. The concept is taking a photograph, reducing the resolution (like really reducing it down to 10-20 pixels), and turning a photograph to instant pixel art. The second part (which is absolutely brilliant) is replicating the individual pixels at a lager scale with watercolor paint.
The tutorial is great. I didn’t change much, except for the option to use watercolor pencils instead of paint. That way I could draw the whole piece, then wash it with water for the desired effect.
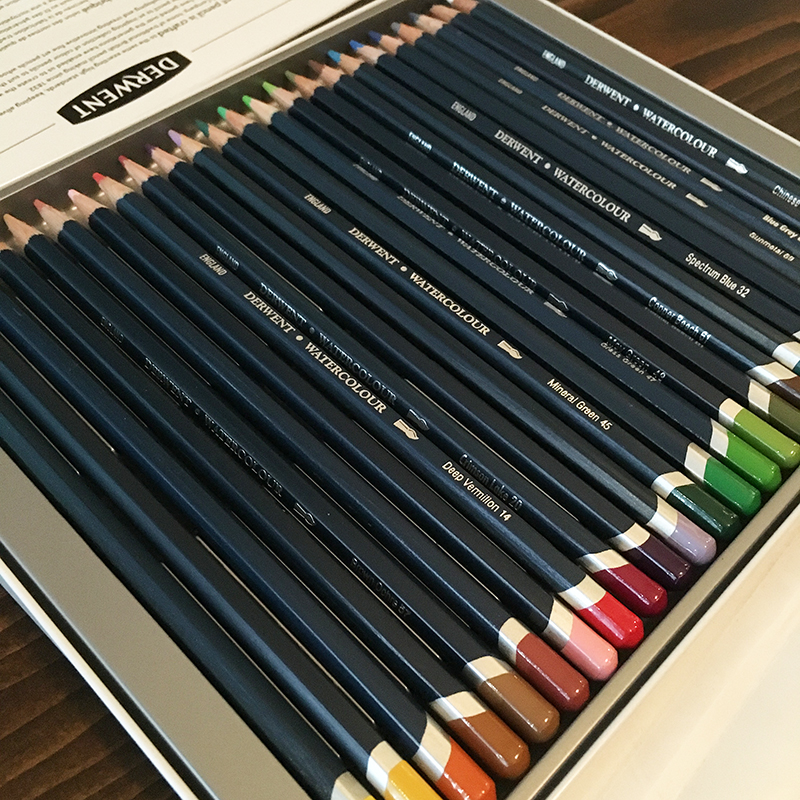
I set out to buy some materials: Watercolor paper, watercolor pencils, IKEA Ribba frame, and a yard stick later, and I was ready to go. However…I got cold feet. The thought of spending hours coloring a very large piece, then possibly ruining it with water, made me second guess myself. I opted instead to start with a test piece to get out all the bugs.
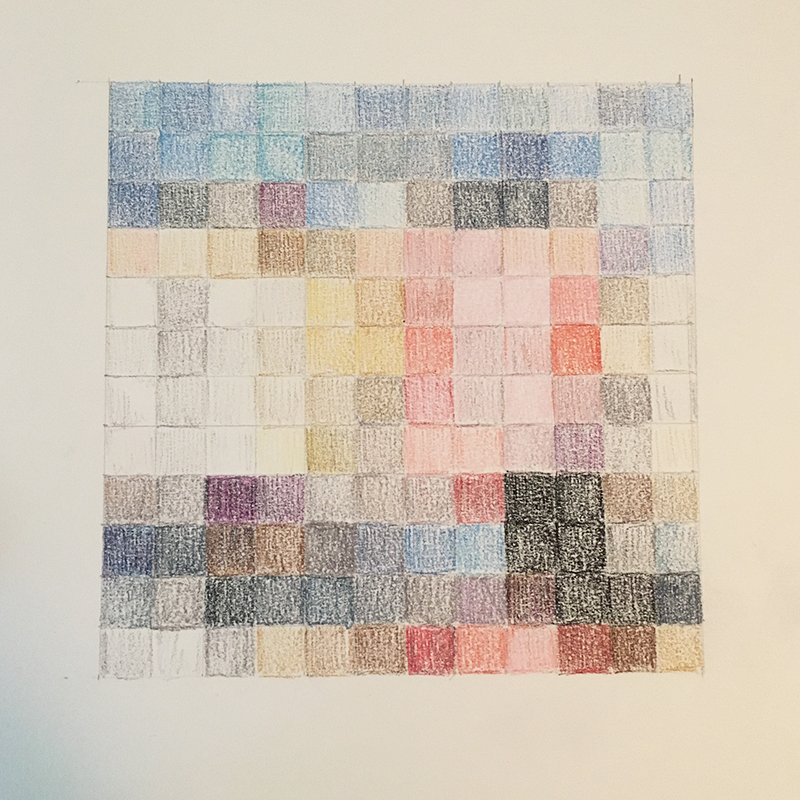
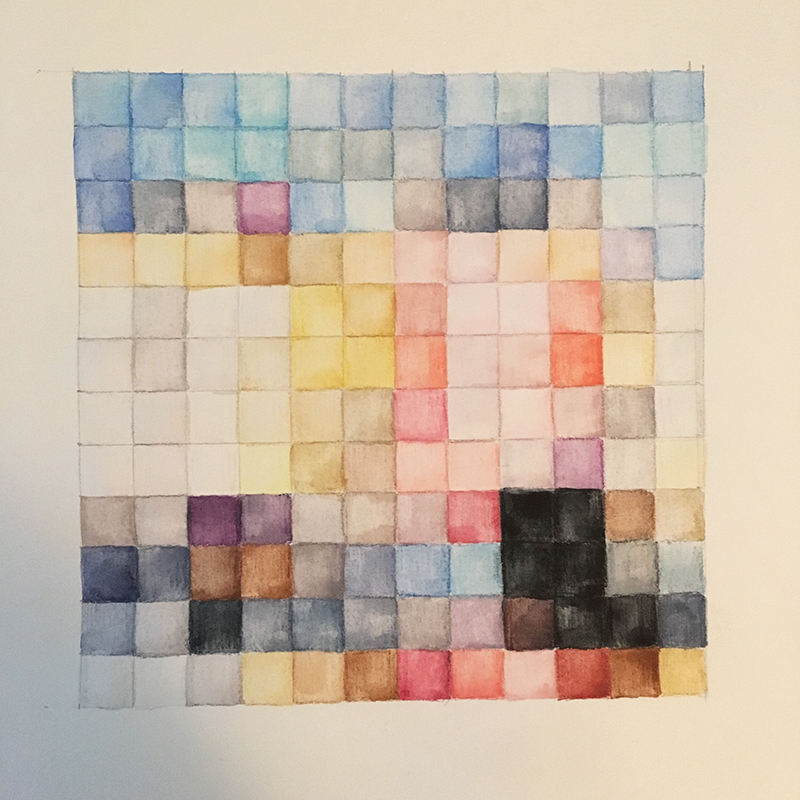
I chose a photo of Nyhavn in Copenhagen, from our vacation in the fall, and replicated it at 6″ wide, 12×12 pixels (1/2″ for each pixel) and started colouring away.

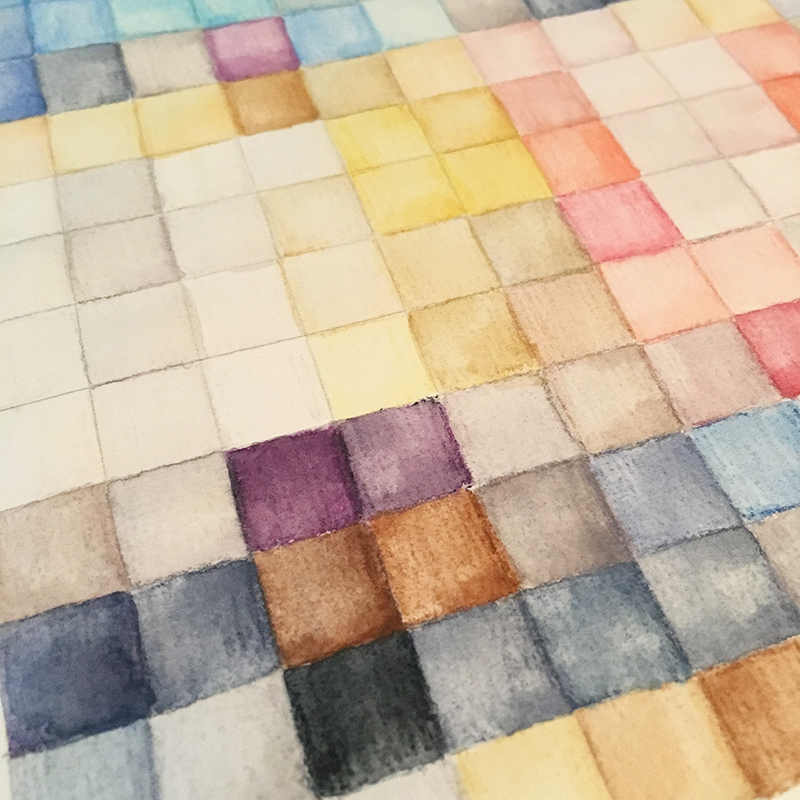
Mixing more than one color when I needed to, or shading very lightly when I needed a lighter version. About 2 hours later and I had colored my whole piece.
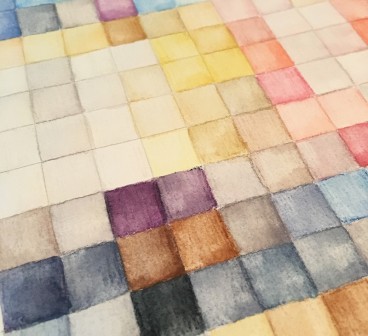
Time to make it look less like six year old’s coloring contest, and more like a painting. I used a flat angled watercolor brush, and started to lightly wash each square. Alternating every other one to let it dry. About 30 minutes later and it was complete! It took a bit longer than I expected, especially for a test case, but I actually had an end result that looked pretty cool.
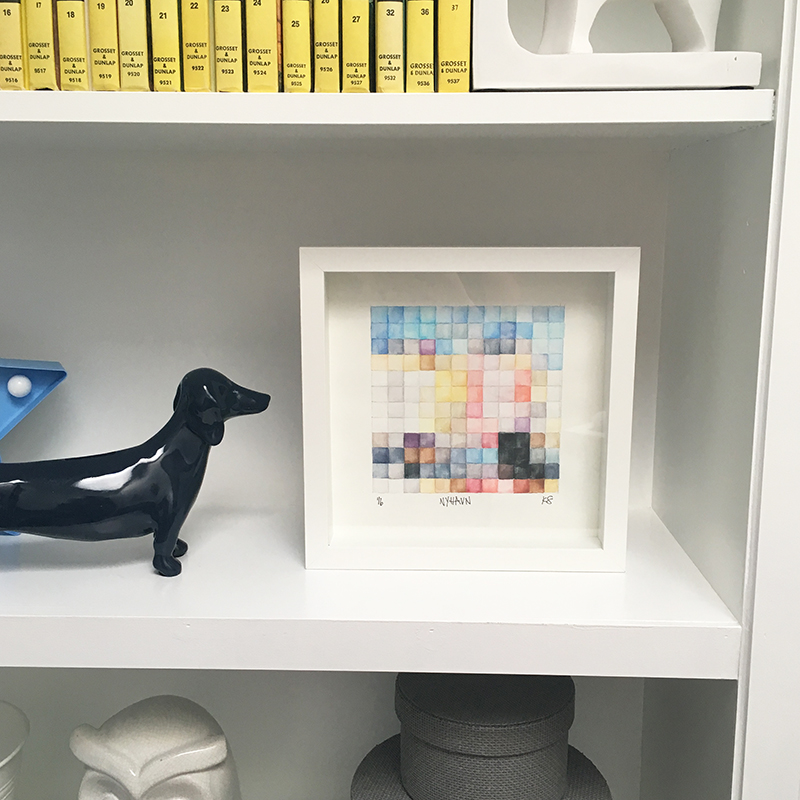
Instead of tossing it out as a first draft, I instead picked up a small square shadowbox frame from IKEA, cut my art to size, and popped it in. This will now be a nice little shelf filler for the nursery bookcases, and has given me the confidence to go big for Pixel’s next piece.

What do you think? Have any photos that would look cool as pixel art? Or do you just have Minecraft on the brain, and need to go just and build things?
Next post will hopefully find me getting started on the big piece of art, and deciding on what else will grace the rooms walls.
So glad to have found your site, Kristen. We’re in the middle of following your tutorial for the billy bookcases in your office/nursery- it’s making the whole thing so much easier! By the way, do you still have Odin? Our two dogs are also very curious about the reno process, especially when there’s paint involved.