Holy cow, December is upon us, and I am slacking in the Holiday department. I better get off my tush and start making my handmade gifts for this year. If I am this far behind in my holiday gifting, I thought you may need a hand. I have rounded up a few of my favorite DIY gift projects that we have made in the last few years. Happy crafting!
Kristen’s Awesome List of Handmade Gifts
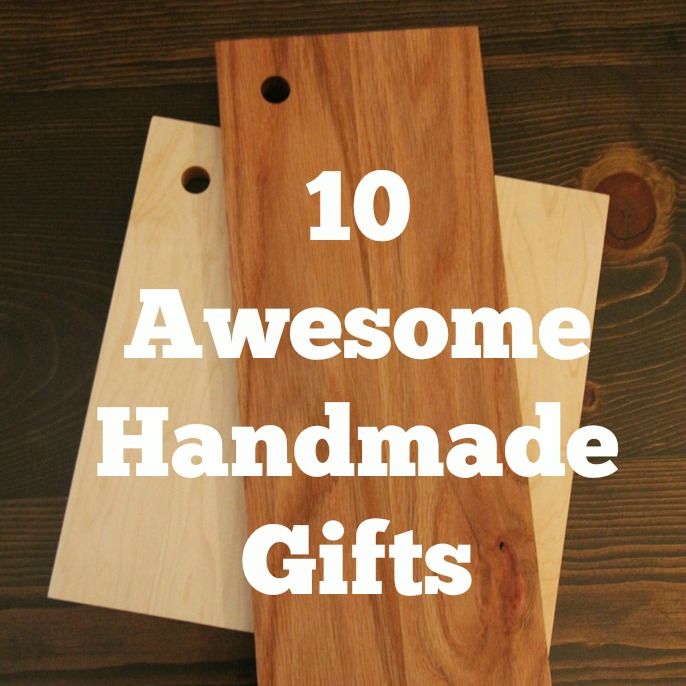
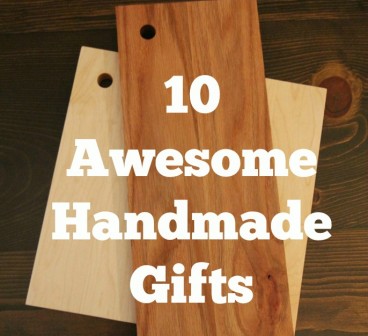
Maple and Oak Cutting Boards
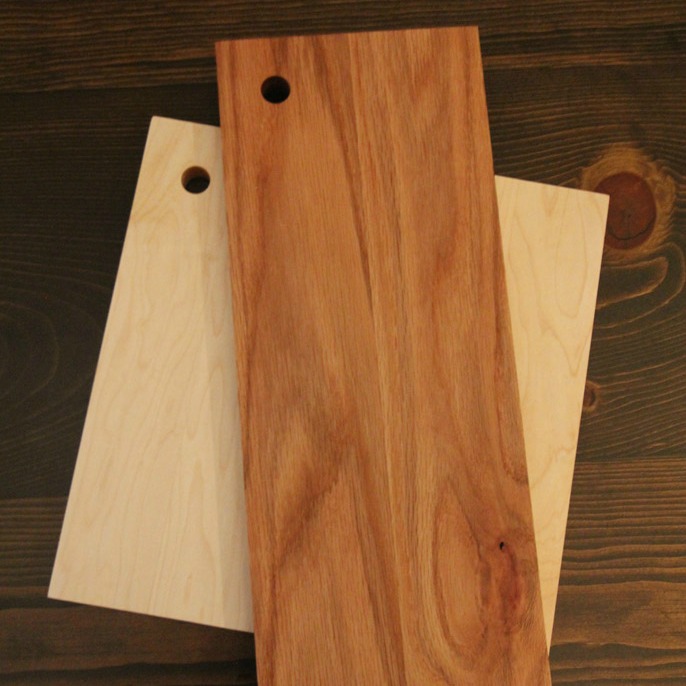
These boards are a fab gift for the foodie or the entertainer. You can make them a traditional shape, or simple & modern. This gift also goes beyond the holidays, and is great for a house warming. Check out the how to here.
Cutting Board Oil/Wax
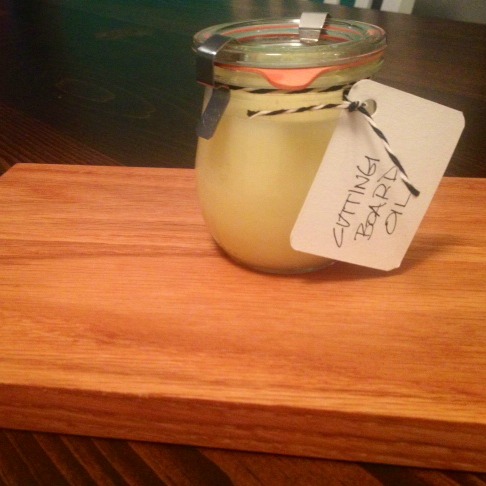
While you’re making your cutting board, make up a batch of Cutting Board Oil/Wax and a pretty tag, and give it along with the cutting board. This oil/wax is the perfect wood conditioner for all your wooden items. From Grandmas vintage salad bowl, to your every day wooden spoons. See the how to here.
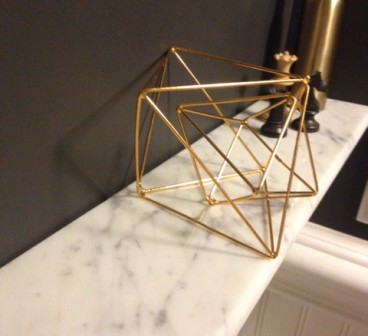
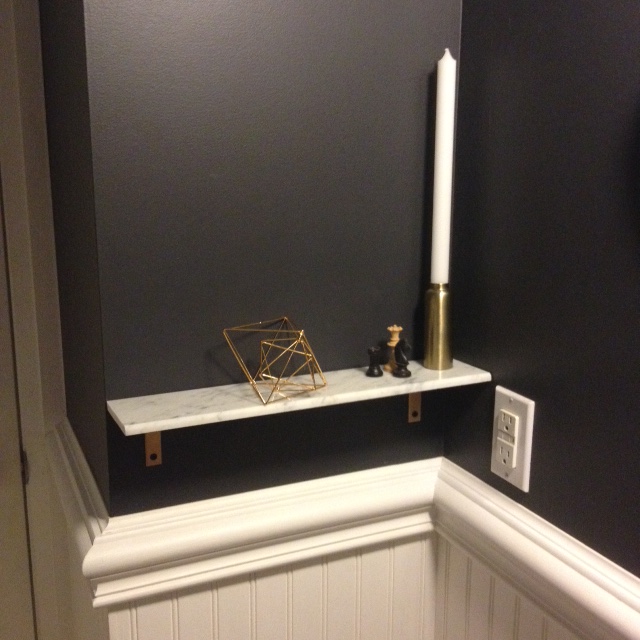
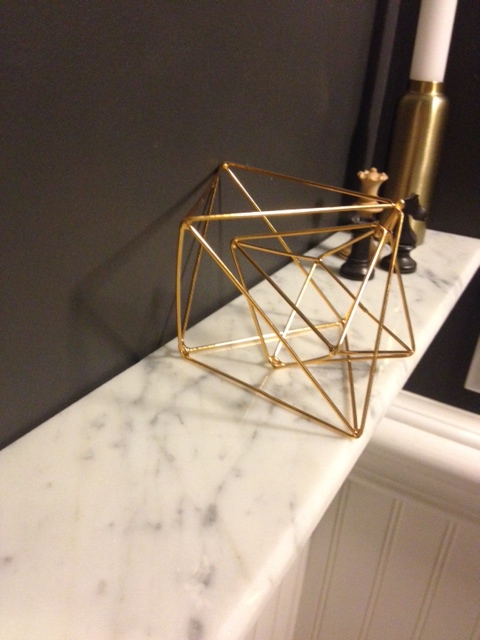
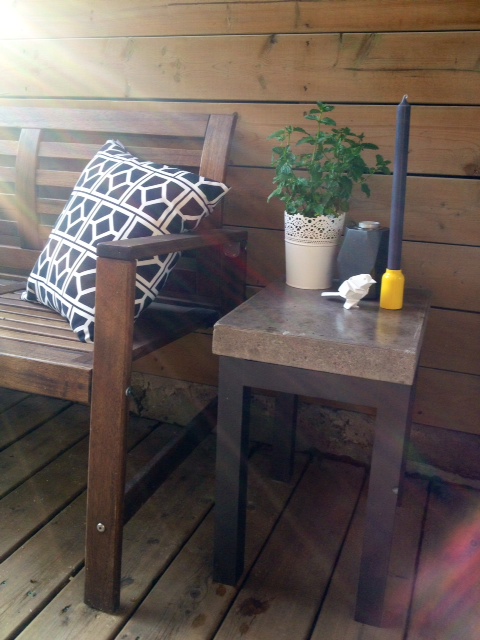
House Shaped Candle Holder
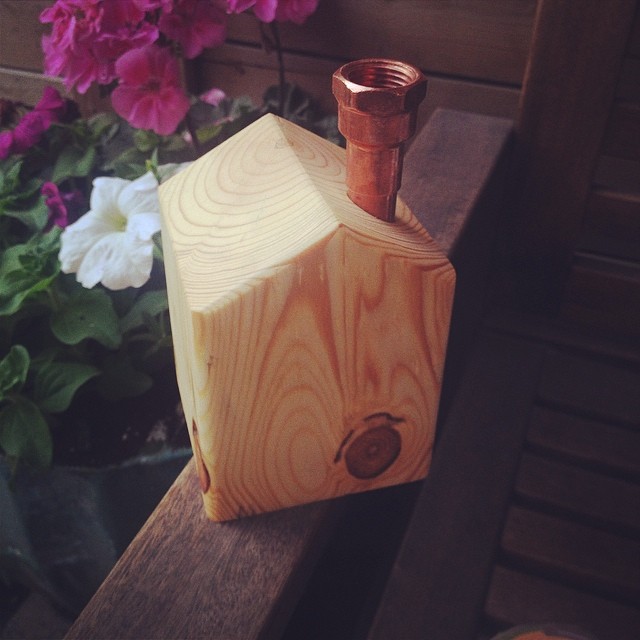
This makes for a perfect housewarming or hostess gift. Its a small gift that you can give in addition to a bottle of wine, or just a little something for a teacher or coworker. Check out the how to here.
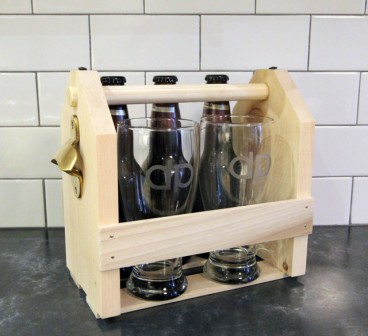
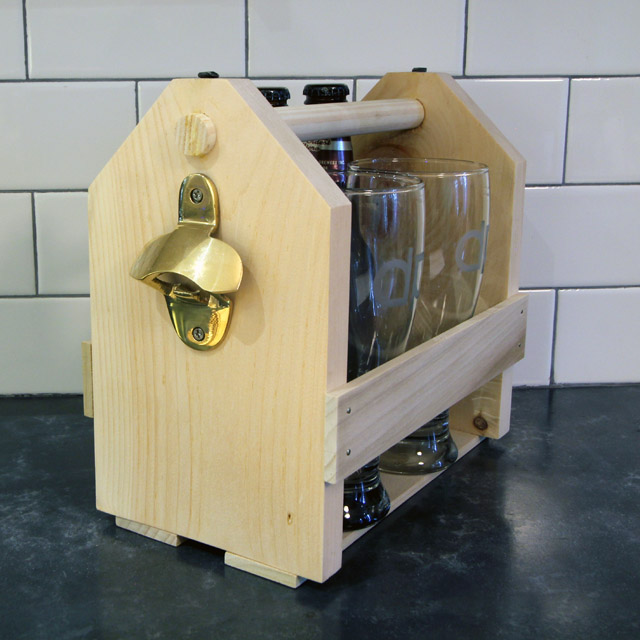
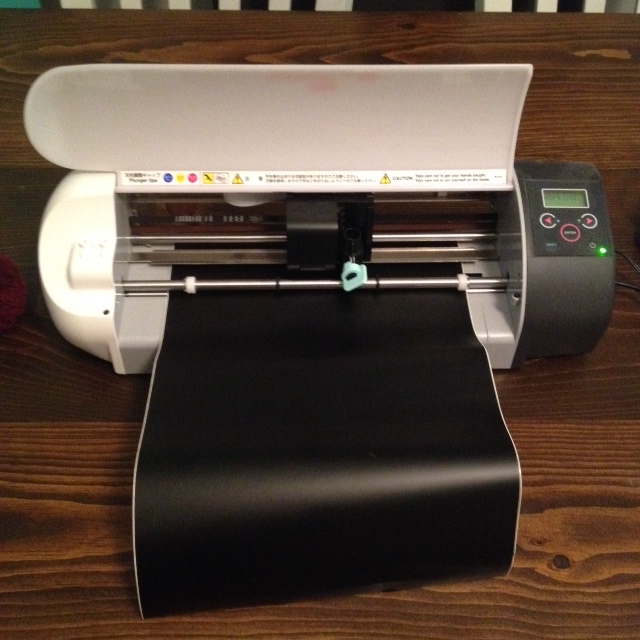
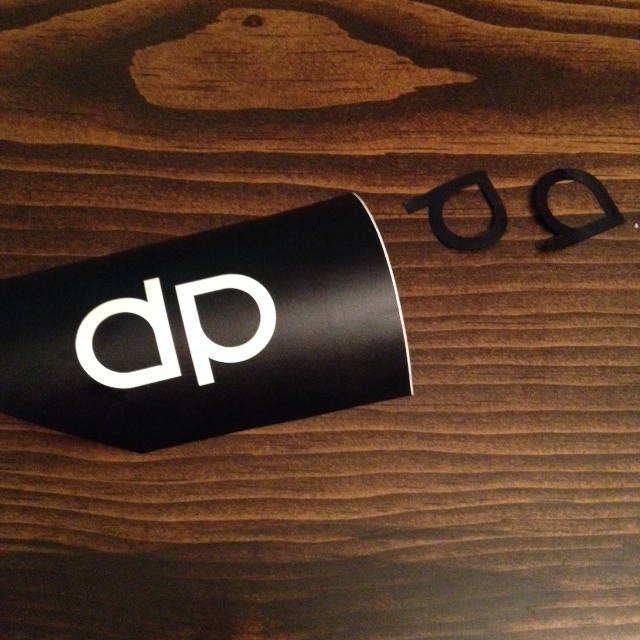
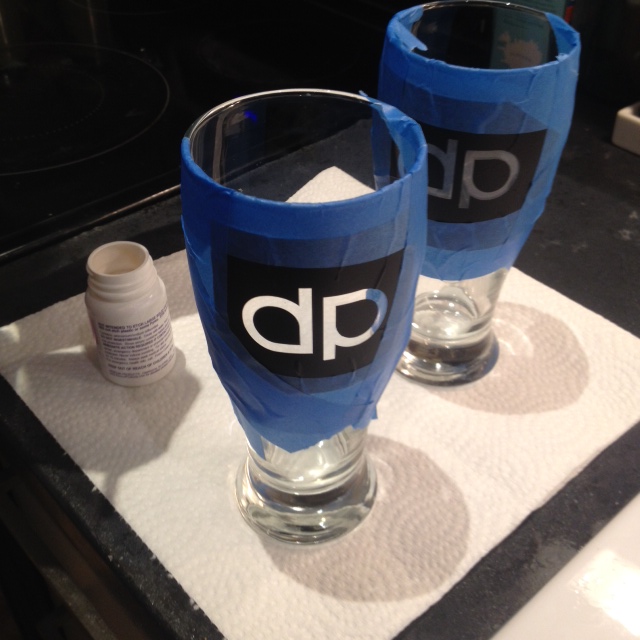
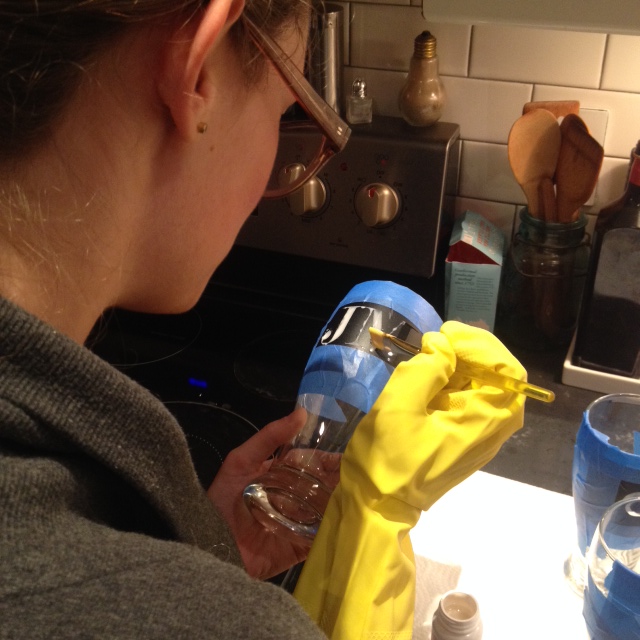
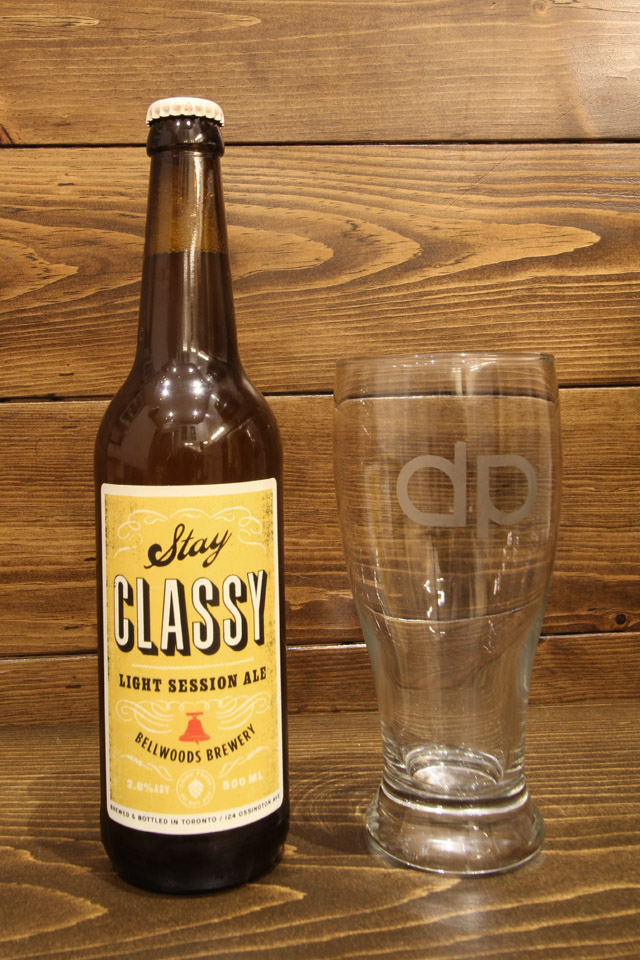
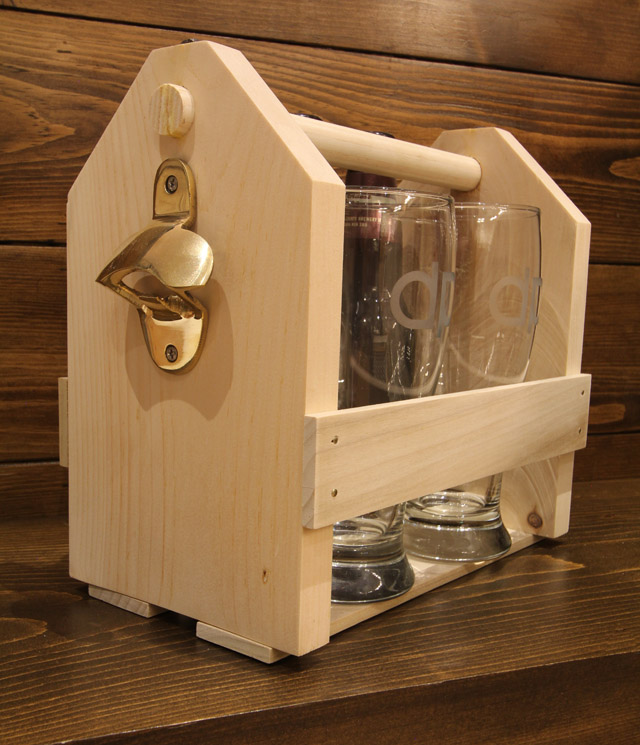
Beer Can Carrier & Custom Pint Glasses
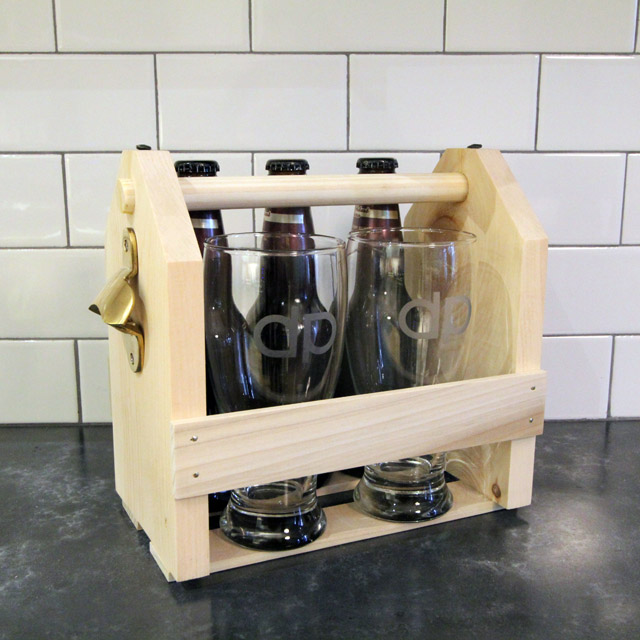
This is the gift for the beer lover in your life. You know you have one. Pair it with their fave beer, or better yet some new microbrews. Check out the how to here.
Wood & Nail Bottle Opener
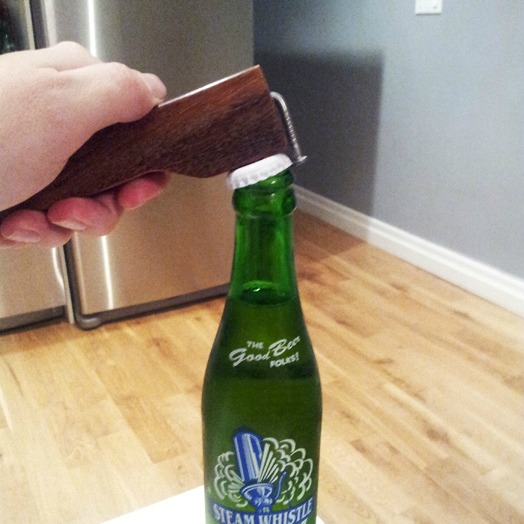
This is another good man gift. Its also a small enough that it can slip easily in a stocking, or pairs well with a six pack at a holiday party. Check out the how to here.
Chevron Cheese Board
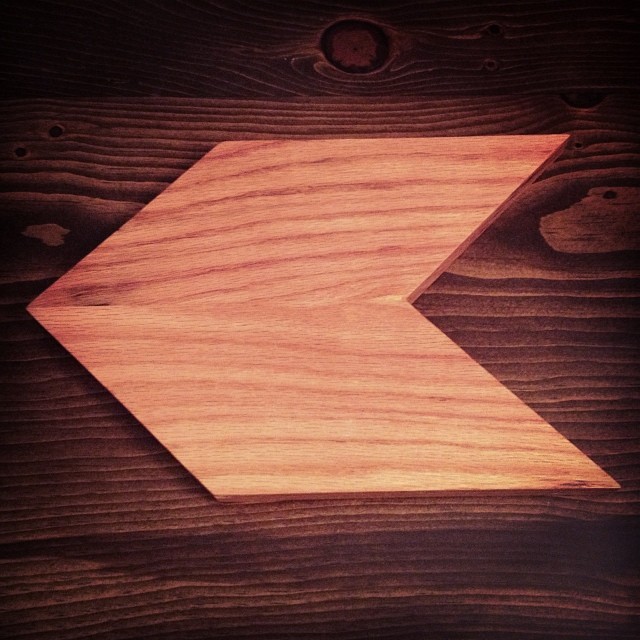
Another awesome board, but this time just for cheese. This chevron cheese board is perfect for setting up a cheese tray. You can arrange one or multiple boards along the center of a table and let your inner foodie out. This is the perfect gift for the entertainer in your life. Pair with a nice cheese knife, and a bottle of wine, and expect to be invited over for the next party. View the how to here.
Custom Door Mat
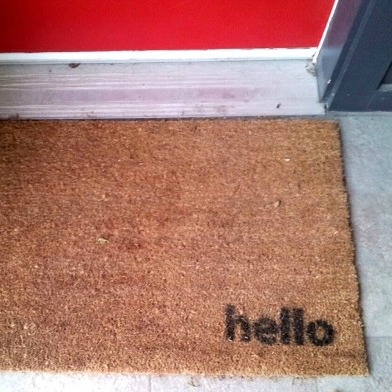
A custom door mat is a great for the newlyweds, or a first time homeowner. Heck, its even a great gift for the in-laws. For a classic look, use a monogram, or for the hipster in your life consider a cheeky saying. Check out the tutorial here.
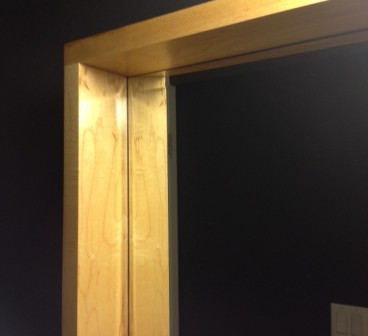
Custom Mailbox
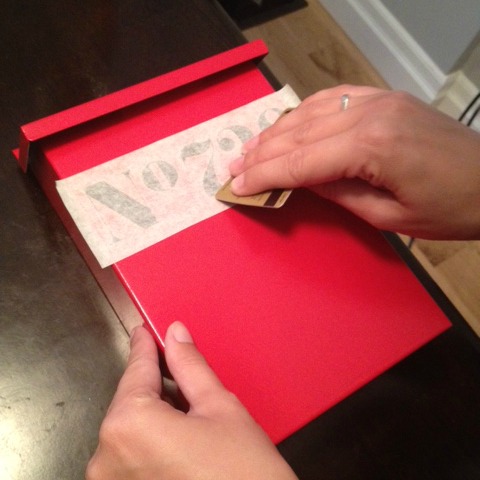
A custom mailbox is another great home owner gift. You can personalize it with their address, or their family name. See the how to here.
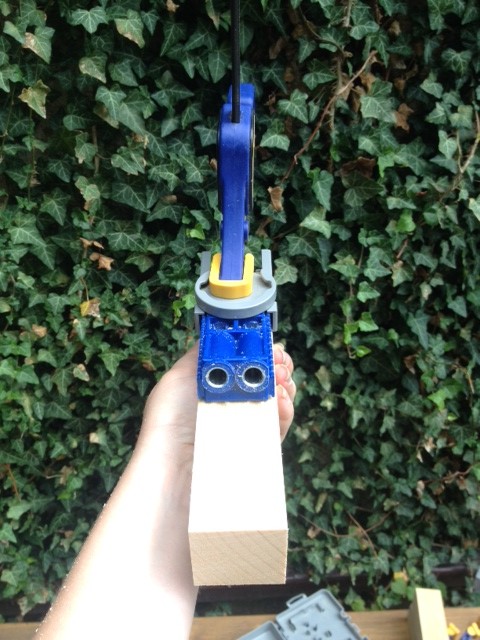
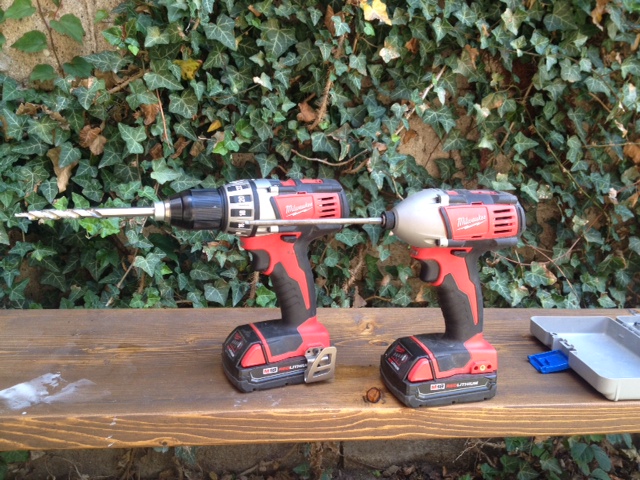
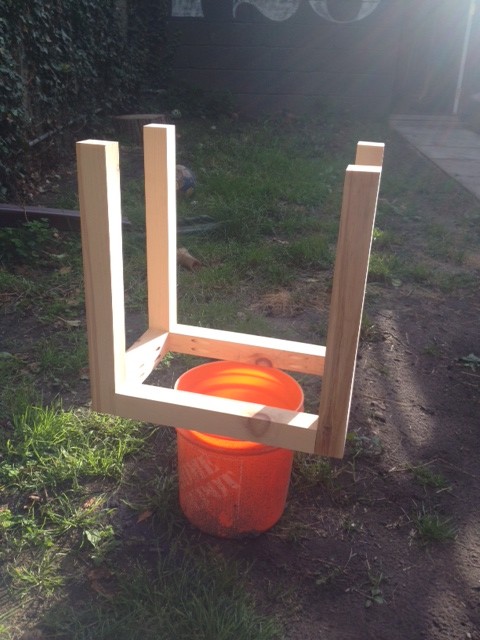
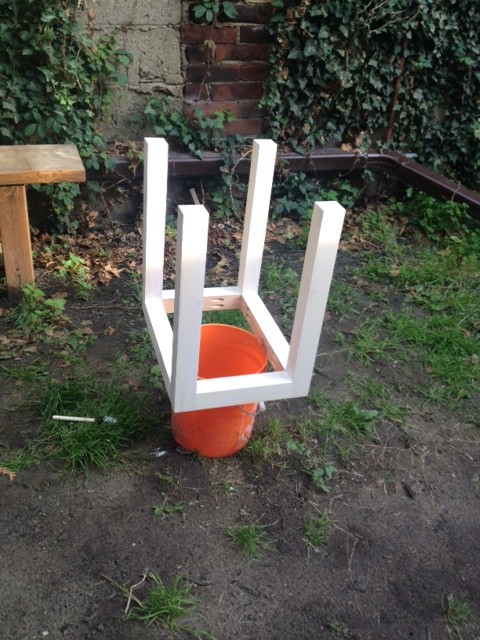
Wooden Bath Table
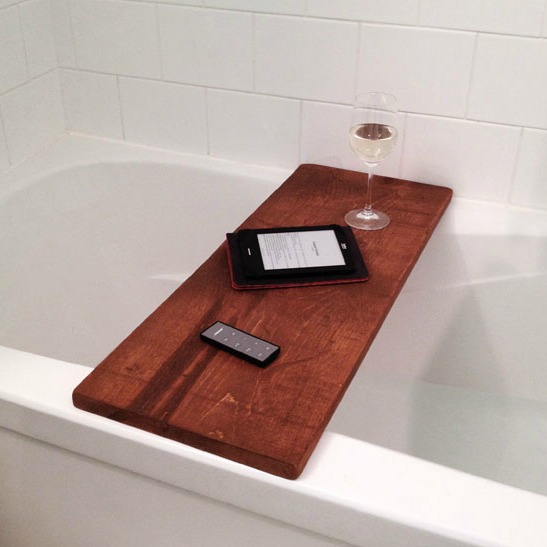
This is a gift perfect for the overworked, stressed out people in your life. Bathtime (when you’re over the age of 8) is a time for relaxation, and a moment of peace and quiet. Pair the bath table with some swanky bath products or a fluffy robe and a bottle of time, and the Moms, sisters, or athletes in your life will love you forever. Bonus points if you offer to take the kids/dog/whining husband out of the house so they can really enjoy their bath. Check out the super simple instructions here.
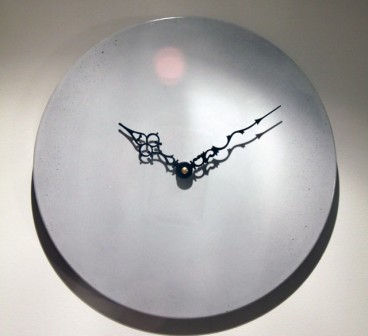
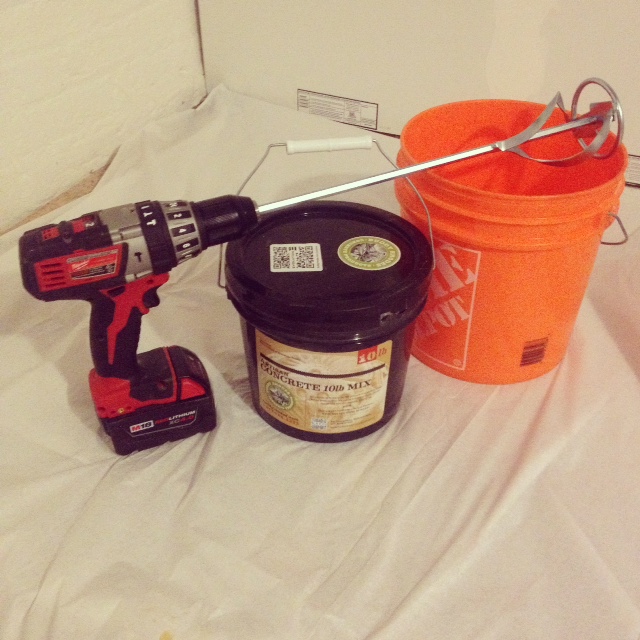
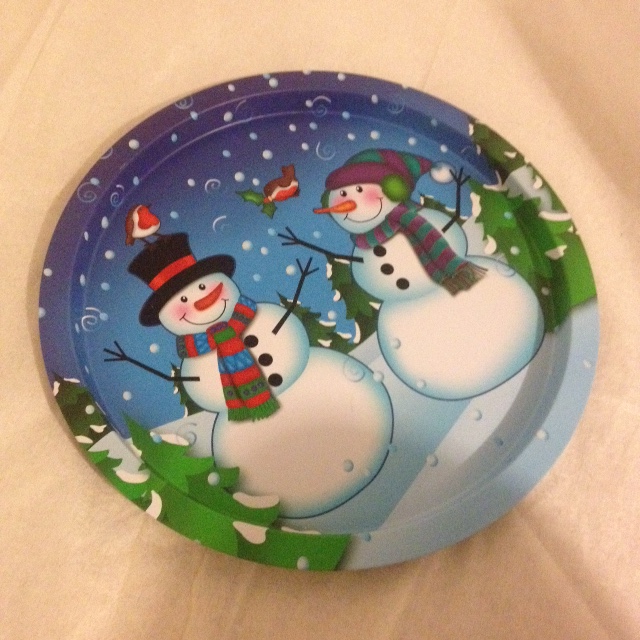
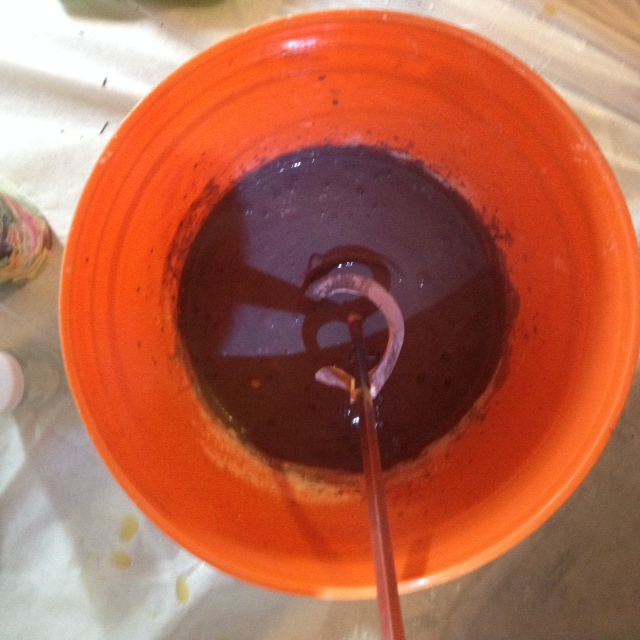
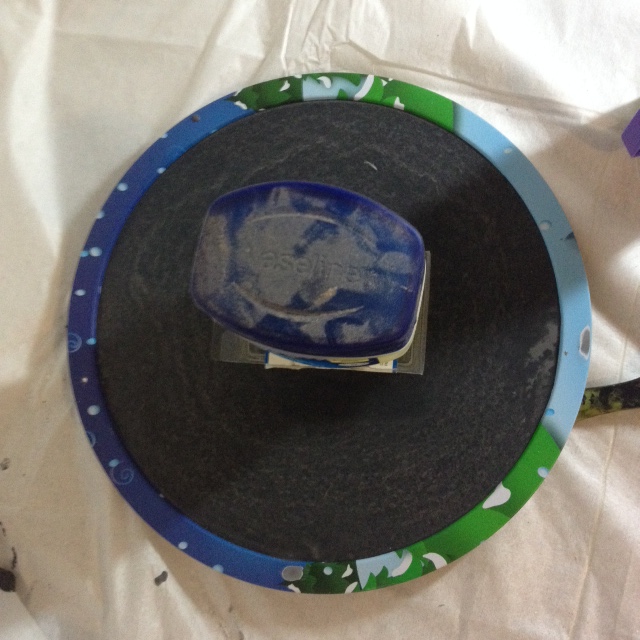
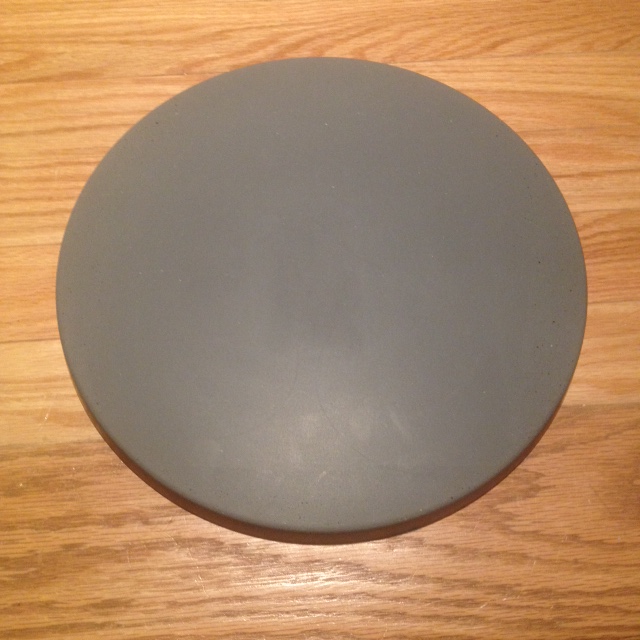
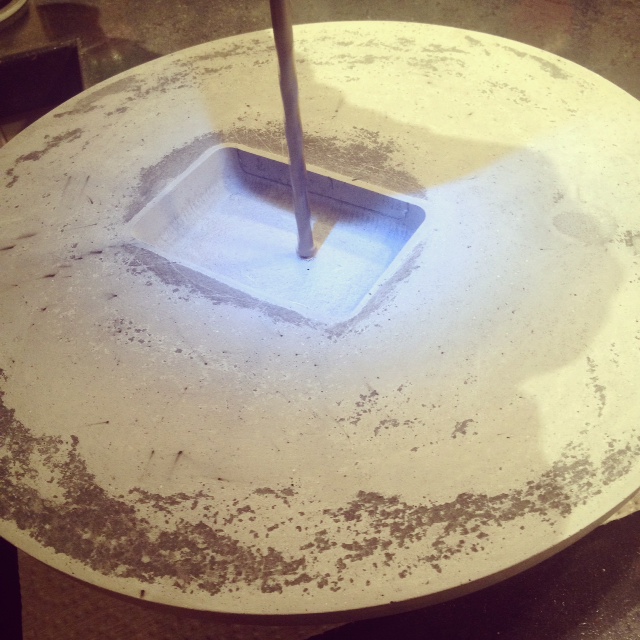
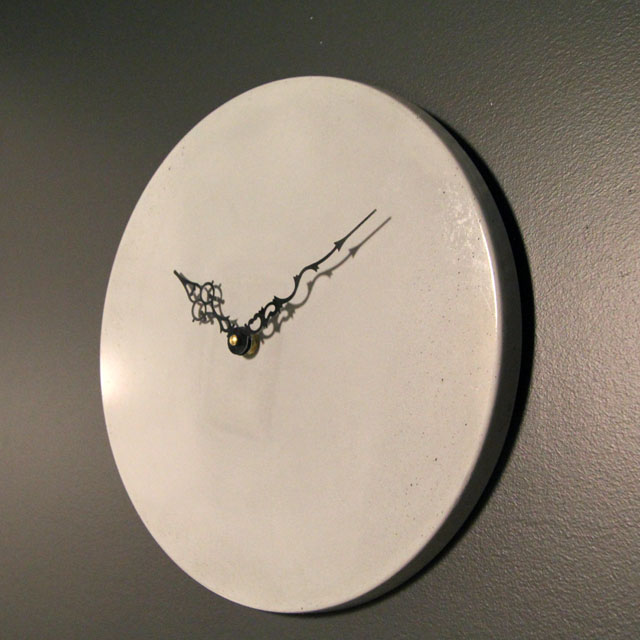
Concrete Clock
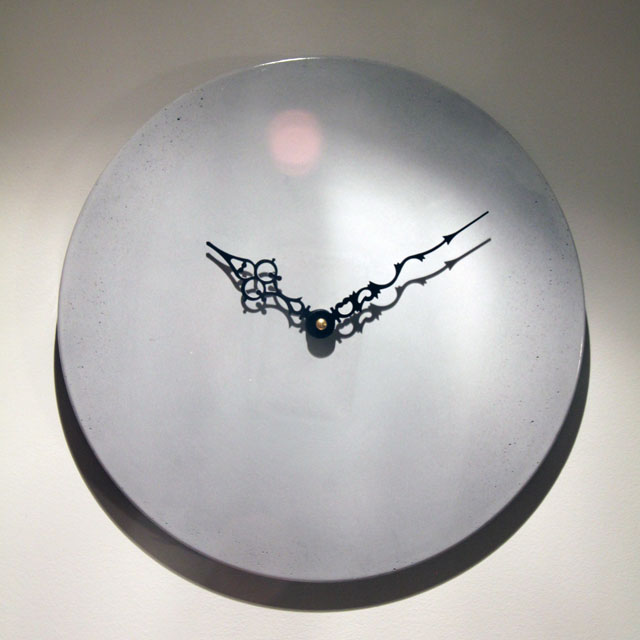
Last but not least is the awesome concrete clock project we showed you earlier this week. It would be a great gift for your secret santa, your city dwelling brother, or surprise your spouse with it for their office. See the full tutorial here.
I hope these ideas help you out with your handmade gift ideas! Happy gifting!