Handmade Holiday – Custom Beer Glasses & Carrier

Handmade gifts are one of my most cherished things. When someone spends time creating me the perfect gift, it means more to me than if they were to have bought me the most expensive gift around (except maybe an Audi R8, I’d jump in front of a bus for one of those.) Creating the perfect gift is rewarding both for the giver and the givee. Nothing is more awesome than the look on someones face when you give them the most badass gift around. To give you a helping hand on your quest for the epic gift, today a group of Canadian bloggers are showing you their best handmade holiday gifts for under $25. Check out #CDNHandmadeHoliday on social media to find some great gift ideas. Want to see what we made?

Custom Monogram Pint Glasses & Beer Carrier.


Wood Beer Carrier & Monogrammed Pint Glasses

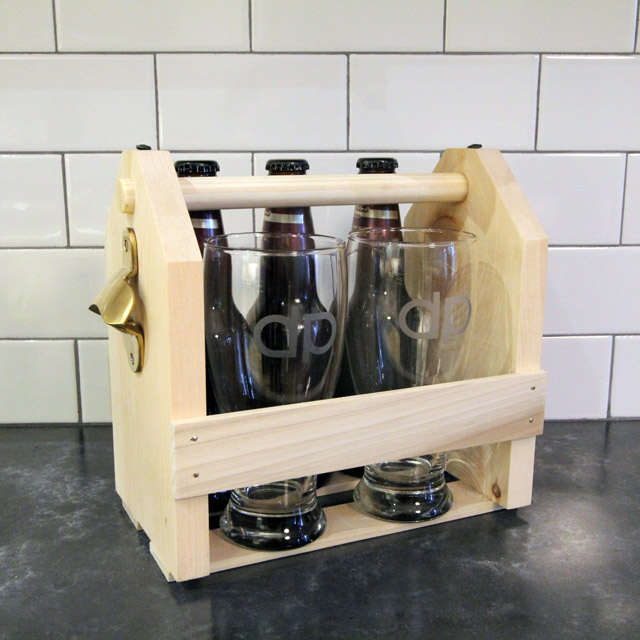
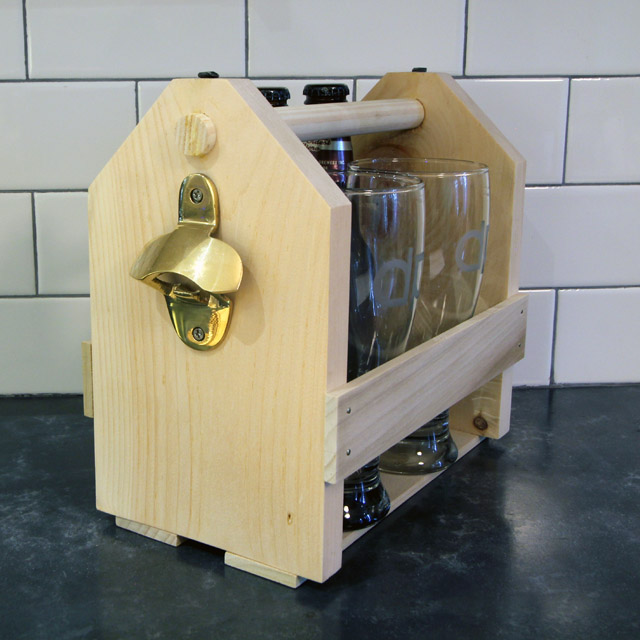
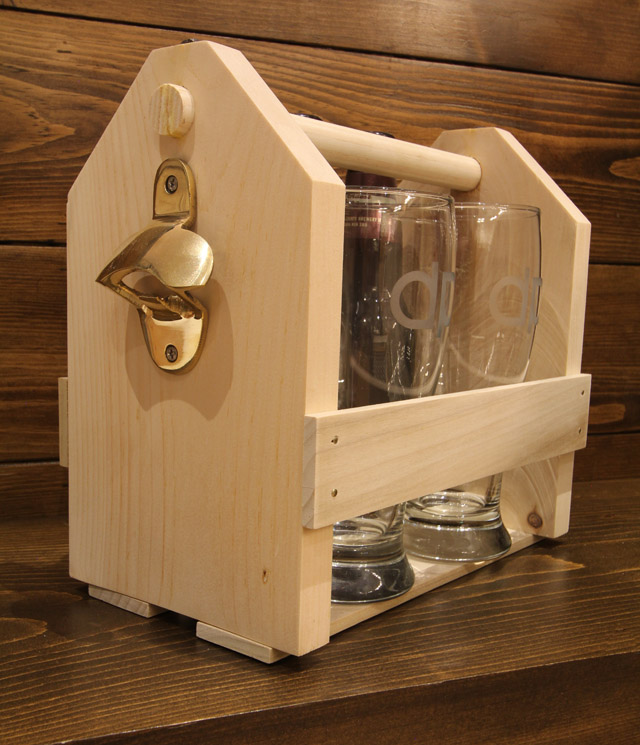
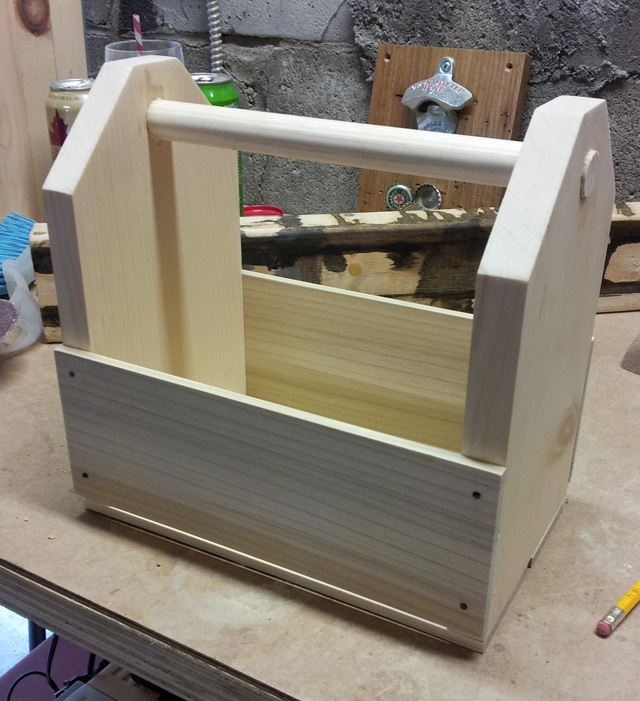
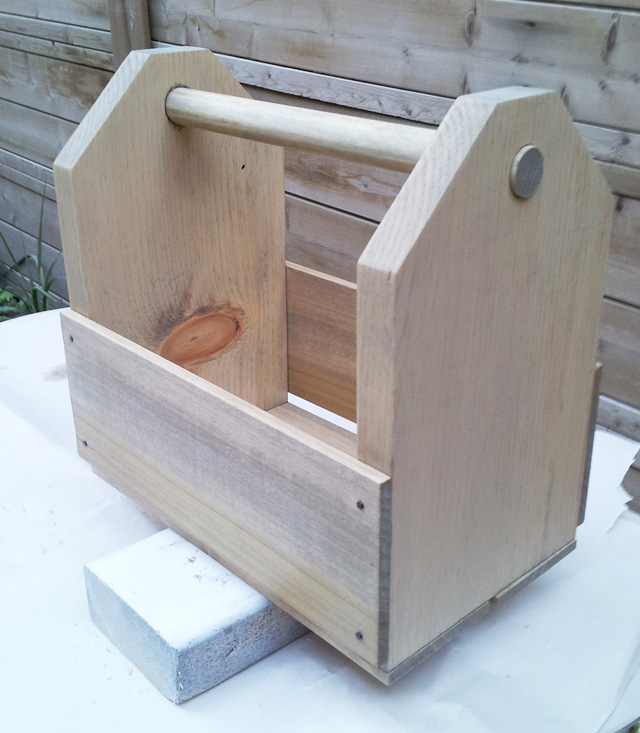
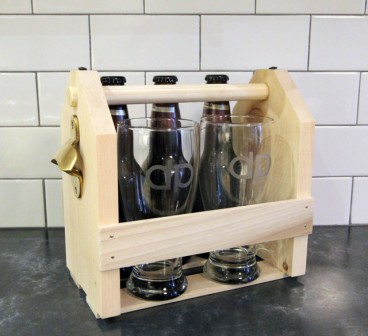
This gift is a remake of an old classic. Starting with our simple beer carrier plans, we made a pine carrier with brass nails, and added a brass bottle opener.

Wood Beer Carrier

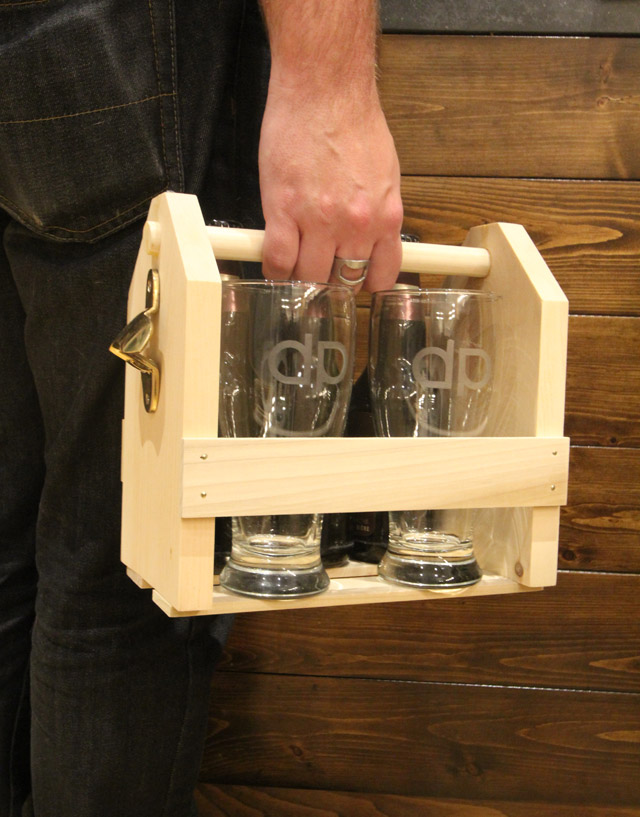
The holder will hold six short or tall cans, six bottles, or three bottles or cans and two pint glasses.

beercarrier3WEB

Next we created some custom monogrammed etched glasses. Using our Silhouette SD and a piece of adhesive vinyl, we cut out vinyl stencils.

Cutting Vinyl with Silhouette Stencil made with adhesive vinyl

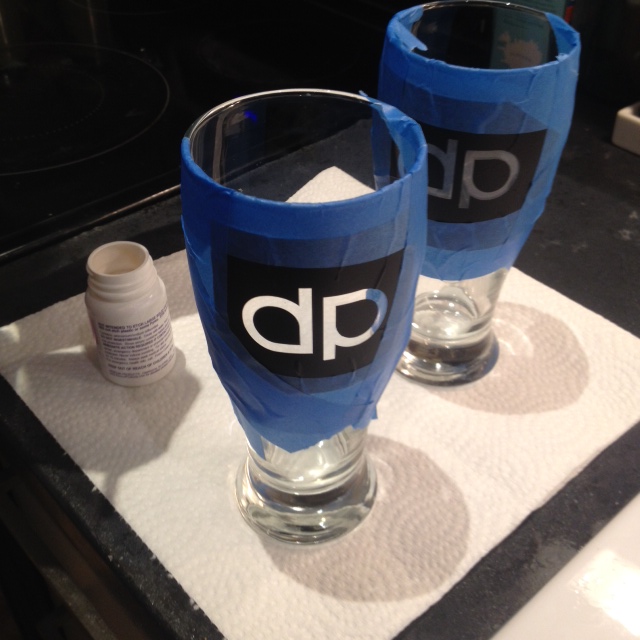
The stencils were applied to the pint glasses, and firmly burnished in place. Masking tape was applied around the stencil to make sure no errant etching cream got on the glass.

glasses ready for etching

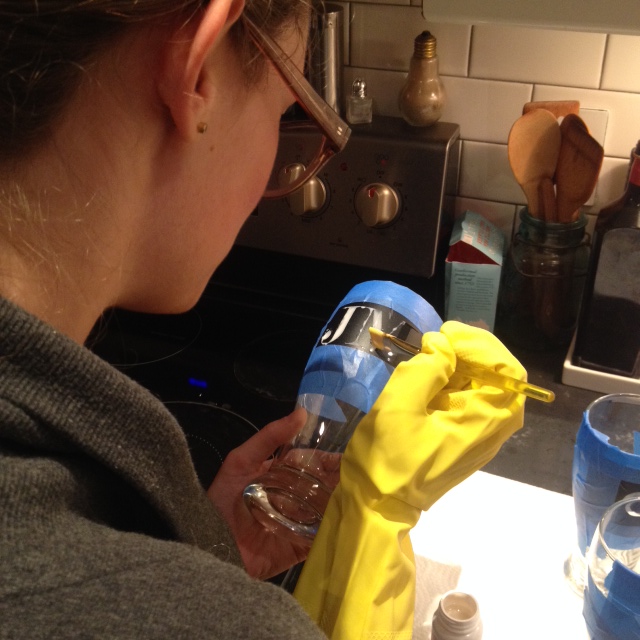
The etching cream was applied with a paint brush while wearing gloves, and left on for ten minutes.

Applying etching cream to glass

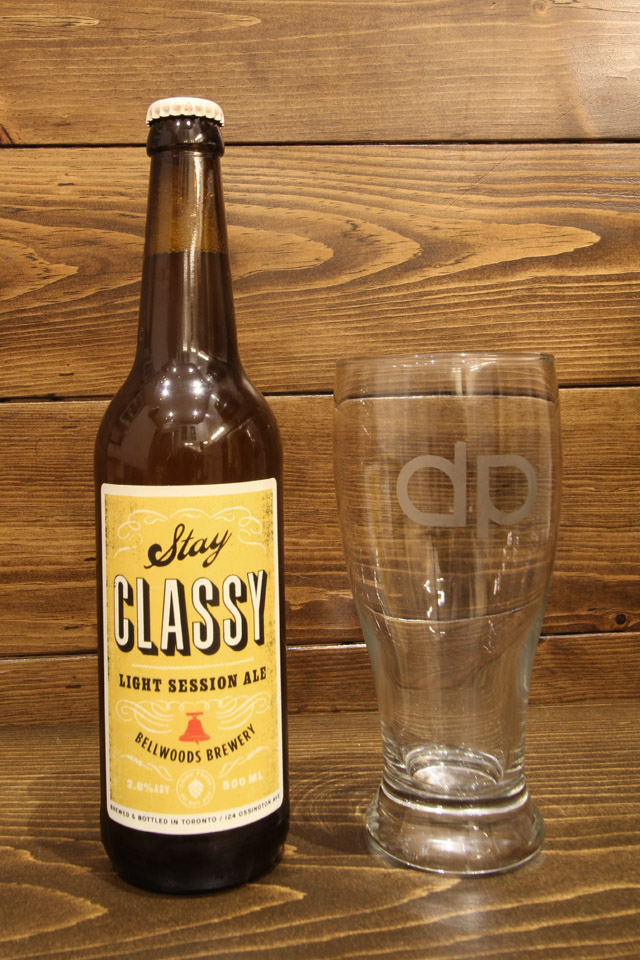
Then it was washed away and glasses dried. The simple yet classic monogram is the perfect addition to the classic pint glass.

Custom Monogrammed Beer Glass

The carrier & the glasses were all made for under $25! Just fill with your friends fave beer, and show up to your Holiday party like a boss.

SOURCE LIST:

Beer Carrier:

Materials:
Pine (1×6 x 2′) $3
Poplar (1/4″) $2
Dowel (3/4″) $2
Brass Finishing Nails $1
Bottle Opener – Target $5

Cut List:
2 – 9″x5 3/4″  – 1″ thick Pine
2 – 2″x 9 1/2″ – 1/4″ thick poplar (sides)
2 – 2 5/8″ x 9 1/2″ – 1/4″ thick poplar (bottom)
1 – 9 1/2″ dowel (handle)

Tools Used:
Miter saw – Milwaukee 12″
Combination Square
Drill – Milwaukee M18
3/4″ Spade Drill Bit
Orbital sander – Milwaukee
Measuring Tape


Etched Custom Beer Glasses:

Materials:
2 – Pint Glasses – The Bay $4
Etching Cream – Lee Valley -3oz $8

Tools Used:
Vinyl stencil – Silhouette SD
Paint brush
Gloves


Difficulty Level (on a scale of 1-5):

two out of five


Total Cost: $25

Wood Beer Carrier

What do you think? Would you like to find this gift under your tree?


Check out the #CDNHandmadeHoliday projects from other awesome Canadian bloggers:

Mason Jar Leather Lantern – NorthStory

Fabric Handmade Gifts – Rambling Renovators

Needle Felted Wool Socks – Fynes Designs

DIY Winterberry Branches – Vin’yet Etc

Homemade Sweater Mittens – Life is a Party

Pottery Barn Inspired Advent Calendar – New House New Home

Mr. & Mrs. Rudolph Towels – SewCreative

Mini Yarn Wreath Christmas Tree Ornaments – A Pretty Life in the Suburbs

Santa’s Sleigh Gingerbread Cookie Garland – Kitchen Counter Chronicles

DIY Anchor Fridge Magnets – Swell Conditions

Cranberry Pear Relish – Time with Thea

Burlap Photo Frame Display – Joy in Our Home

DIY Felted Bowls – Bear & Lion

DIY Beaded Star Ornament – lifeovereasy
Handmade Clipboard Photo Book – Personally Andrea

Handmade Holiday Decor – Brooklyn Berry Designs

Quick no Plan Project: Beer Can Carrier

Last weekend while Kristen was sanding a new project and I had little to do. Sure I could have helped. But why not whip together a quick project while she did all the boring work?

I have seen many beer/can carriers on the internet and decided to give it a try myself.

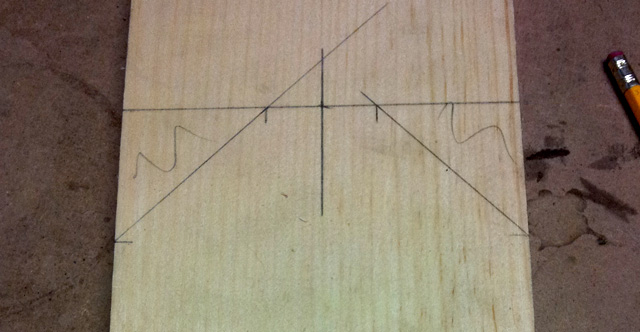
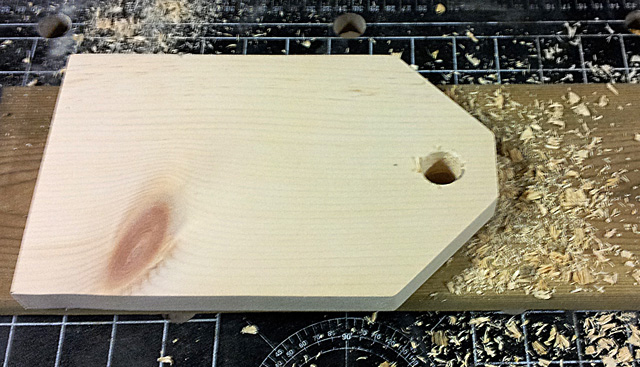
I started by measuring a can and adding some inches to the height to give some room for a handle (9 inches tall) and measured two cans beside each other for the width (giving a little breathing room for easy removal of frosty brews it came to 5 1/2 inches). Then I used a combination square to add 45 degree corners to the template (the flat top section is 1 3/8 inches).

IMG_20130629_161250
Scribble on pieces you know will be scrap as a reminder.

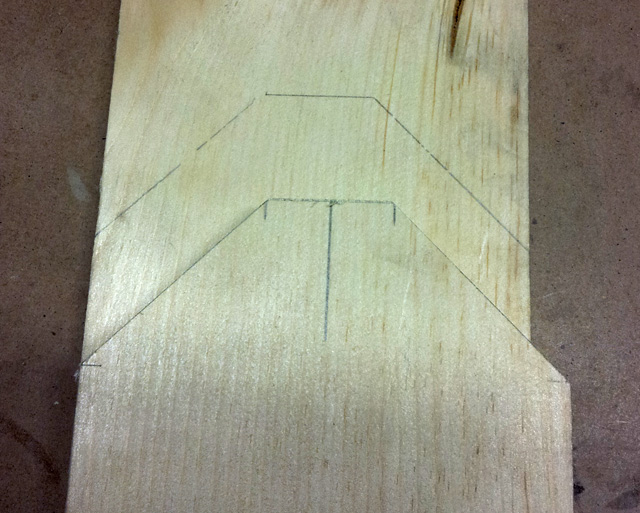
After cutting out the first side of the carrier with the miter saw I decided I was happy with the size and traced the outline to the 2nd side.

IMG_20130629_161706
Using the first side as a template for the second side
IMG_20130629_162045
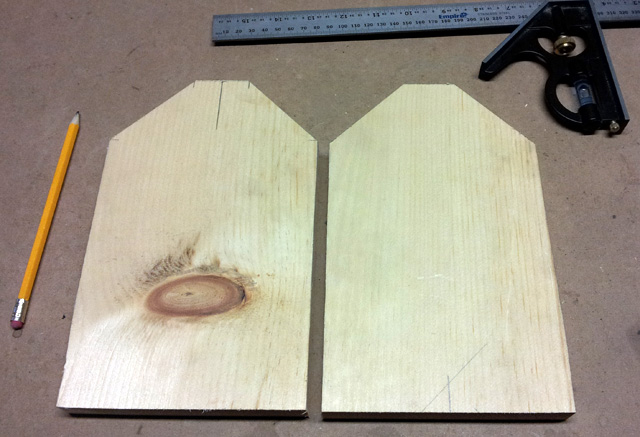
Both sides cut and ready to go

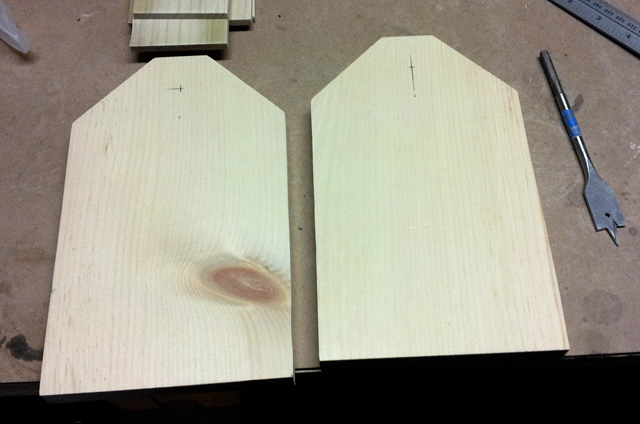
I measured and drilled a 3/4 inch hole in each side for the handle to pass though.

IMG_20130629_165941
Tiny markings to show me where to drill.

DIY Tip: place a scrap board beneath your piece to stop tearout when drilling holes that will be seen or are large

IMG_20130629_170311

I then lined up three cans and and measured their width and found that with a little breathing room 9 1/2 inches suited three cans quite well.

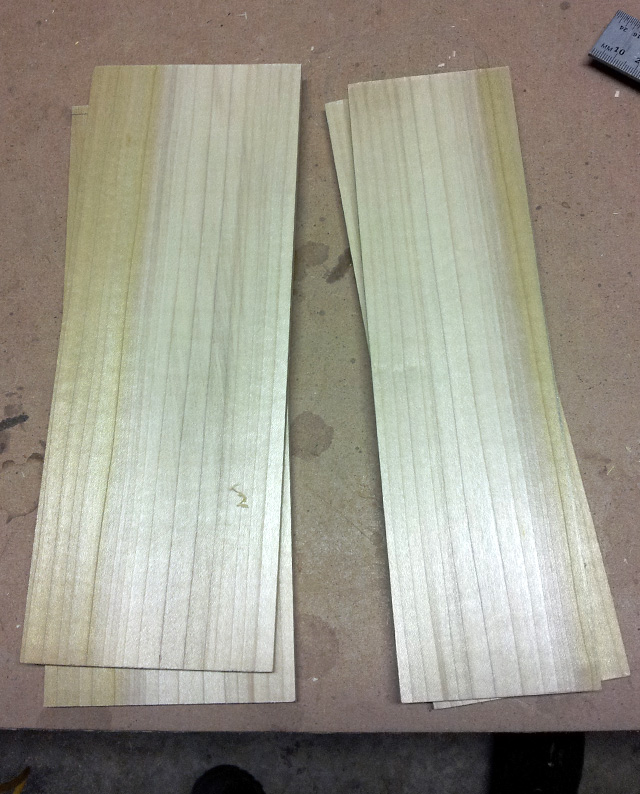
I found some poplar that was laying around the garage and cut 4 strips to 9 1/2 inches long and ripped two of them down to 2 5/8 inches to make the bottom of the carrier with a little gap on either side for the escape of any condensation that may build up and drip down the sides of my nectar vessels during transport.

IMG_20130629_164616
Side pieces (left) and bottom pieces (right)

After all the pieces were cut they were sanded down to 220 grit and I attached them all together using some black finishing nails that were left over from ages ago when we made the Liquor Cabinet. Leaving a gap between the sides and the bottom (more condensation relief).

I then cut the handle (some 3/4 inch dowel left over from a project you’ll see in the future) to size leaving a little room for it to poke out just for looks and inserted it in to one side of the carrier. I then coated the inside end and the outside end of the handle with glue and slid the entire thing in to place so that no glue got where it shouldn’t be. (Wiping up any excess that squidged out.)

IMG_20130629_175251
Can Carrier Assembled

I picked a random jar of stain (Minwax Weathered Oak) and set to staining. Then I hated the stain.

IMG_20130629_201024
YUCKY!

So I restained it darker using Minwax Jacobean.

IMG_20130630_182017
Niiiiiiiiiiiiiice!

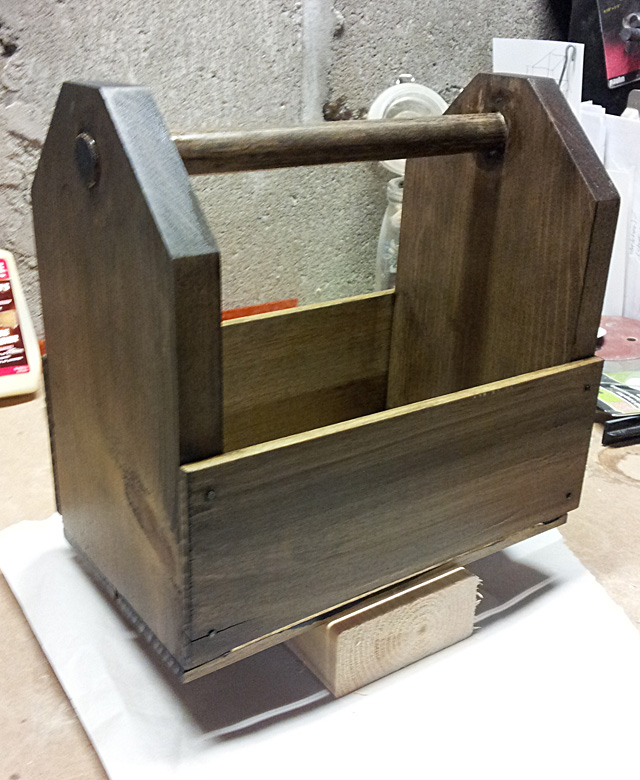
Happy with the stain I set to four coats of Varathane Oil Modified Polyurethane in Satin finish. Using the process outlined in the finishing post.

IMG_20130701_182813
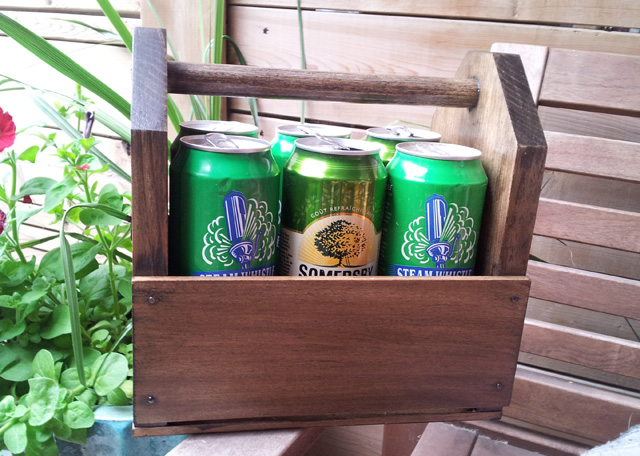
Ta Da!

In all I think this probably took about an hour and a half including stain and finishing. The entire build only took about 45 minutes and was a great way to get me out of sanding other projects. AND now we have a great way to carry our Friday Libations out to the patio (or the park shhhhh).


SOURCE LIST: 

Materials:
Scrap Pine (1×6 x 2′)
Scrap Poplar (1/4″)
Scrap Dowel (3/4″)
Scrap Finishing Nails

Cut List:
2 – 9″x5 3/4″  – 1″ thick Pine
2 – 4″x 9 1/2″ – 1/4″ thick poplar (sides)
2 – 2 5/8″ x 9 1/2″ – 1/4″ thick poplar (bottom)
1 – 9 1/2″ dowel (handle)

Tools Used:
Miter saw
Combination Square
Drill
3/4″ Spade Drill Bit
Orbital sander
Measuring Tape

Difficulty Level (on a scale of 1-5):

one out of five

Total Cost: $0!!!

Toronto Beer Quest

I’m exhausted! Yesterday we participated in Toronto Beer Quest 3, which was awesome. It just involved more athletic ability and less beer drinking ability than I expected… I actually RAN…lots. Running aside, it was a ton of fun.

We had 10 Prohibition beer related questions to figure out, leading us Amazing Race style to locations around the city. Once we found the locations, we needed to take a photo of our team in front of it to prove we’d been there.

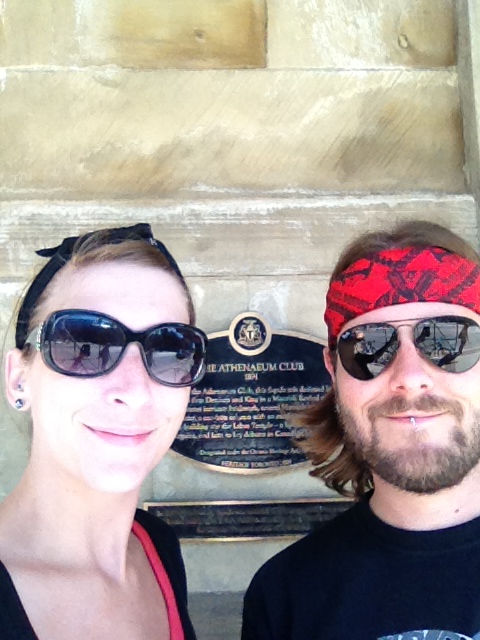
Posing in front of the building which once housed the Toronto Labor Temple

We were allowed to use our feet, and TTC as our modes of transportation. They did however make it good and tricky by placing the locations away from the subway, so you did have to get out there and run or get lucky with buses and streetcars. We were allowed to use our smartphones to help in figuring out the clues, and I don’t know what we would have done without them. I had done some research on prohibition and Toronto beer history figuring I’d get a leg ahead. It did me no good! The questions usually involved a twist, heading us to find a specific item at a location and taking our photo with that. It was an urban adventure race at its best. We had a blast, managed not to freak out on each other like Amazing Race participants oft seem to do. The best part was than when we returned to the Charlotte Room (the start and finish line for the competition) we were rewarded with Mill Street Tank House Ale and pizzas and nacho’s. Running is worth it if its rewarded with beer & nachos. We will definitely be participating again next year, and bringing along some friends to join us. Now to check out more events for Toronto Beer Week!