Last weekend while Kristen was sanding a new project and I had little to do. Sure I could have helped. But why not whip together a quick project while she did all the boring work?
I have seen many beer/can carriers on the internet and decided to give it a try myself.
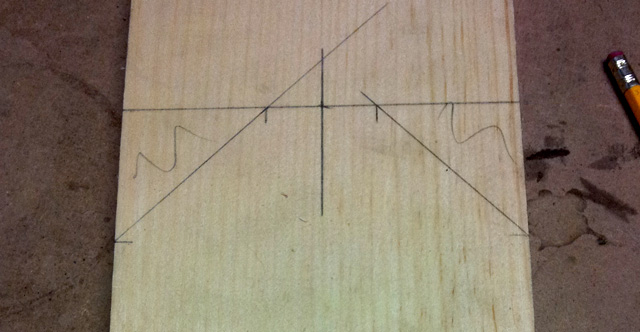
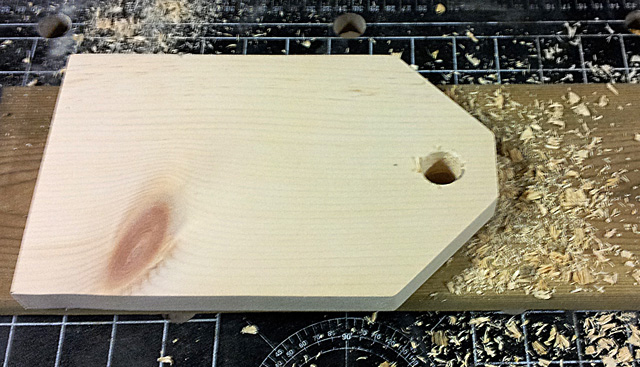
I started by measuring a can and adding some inches to the height to give some room for a handle (9 inches tall) and measured two cans beside each other for the width (giving a little breathing room for easy removal of frosty brews it came to 5 1/2 inches). Then I used a combination square to add 45 degree corners to the template (the flat top section is 1 3/8 inches).
After cutting out the first side of the carrier with the miter saw I decided I was happy with the size and traced the outline to the 2nd side.
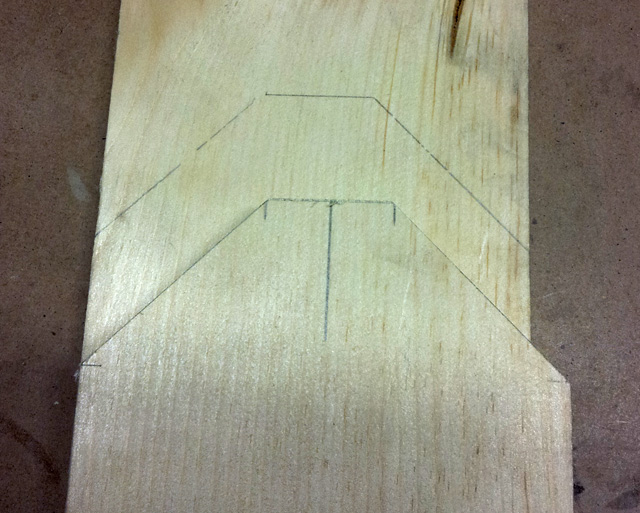
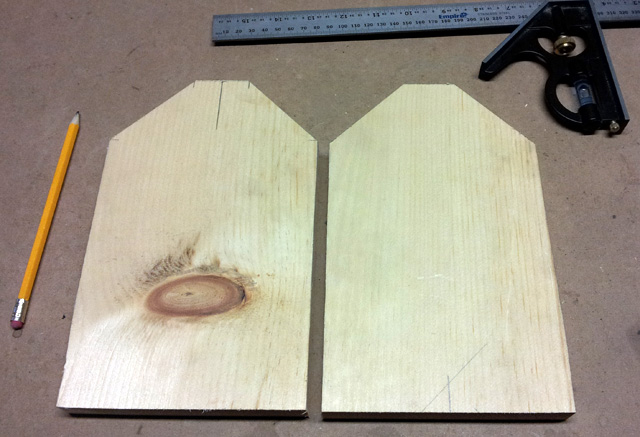
I measured and drilled a 3/4 inch hole in each side for the handle to pass though.
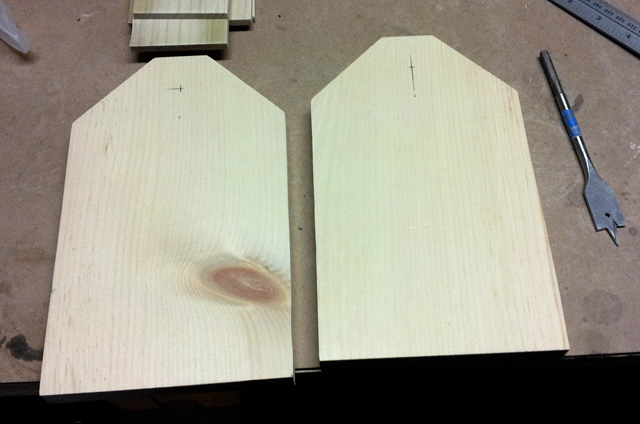
DIY Tip: place a scrap board beneath your piece to stop tearout when drilling holes that will be seen or are large
I then lined up three cans and and measured their width and found that with a little breathing room 9 1/2 inches suited three cans quite well.
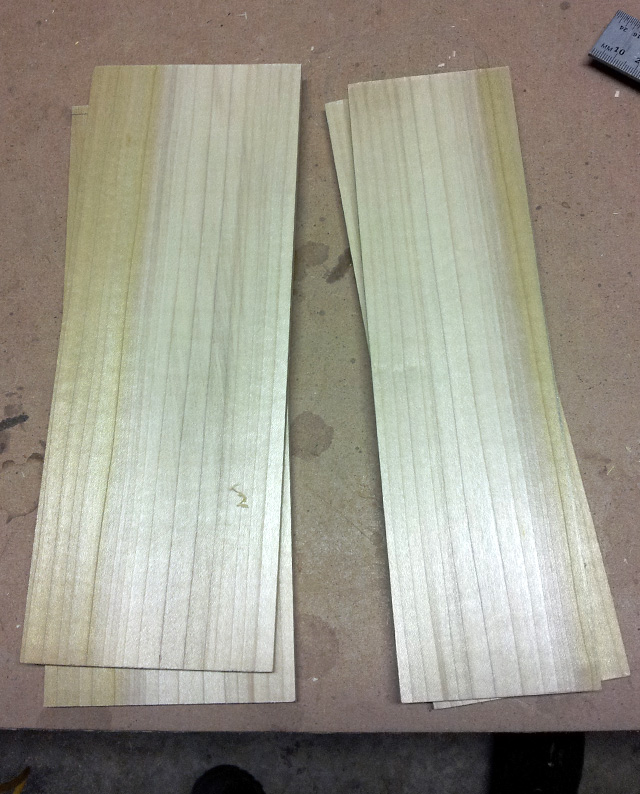
I found some poplar that was laying around the garage and cut 4 strips to 9 1/2 inches long and ripped two of them down to 2 5/8 inches to make the bottom of the carrier with a little gap on either side for the escape of any condensation that may build up and drip down the sides of my nectar vessels during transport.
After all the pieces were cut they were sanded down to 220 grit and I attached them all together using some black finishing nails that were left over from ages ago when we made the Liquor Cabinet. Leaving a gap between the sides and the bottom (more condensation relief).
I then cut the handle (some 3/4 inch dowel left over from a project you’ll see in the future) to size leaving a little room for it to poke out just for looks and inserted it in to one side of the carrier. I then coated the inside end and the outside end of the handle with glue and slid the entire thing in to place so that no glue got where it shouldn’t be. (Wiping up any excess that squidged out.)
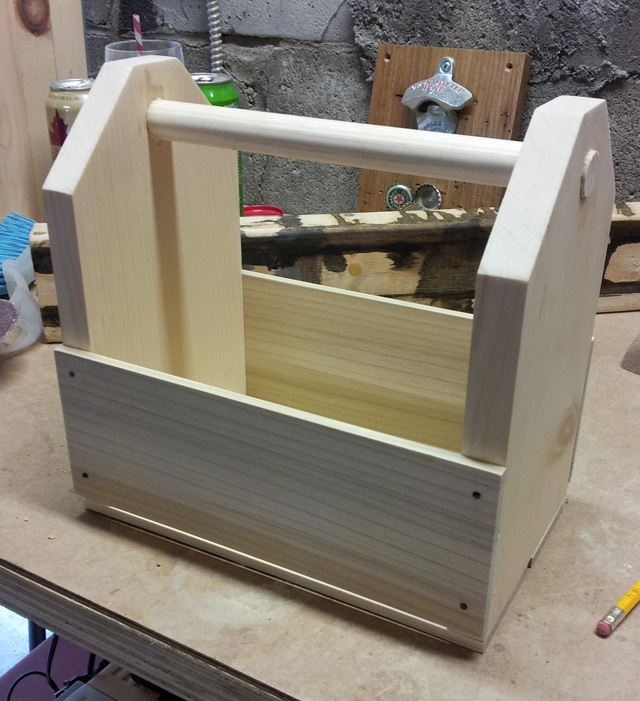
I picked a random jar of stain (Minwax Weathered Oak) and set to staining. Then I hated the stain.
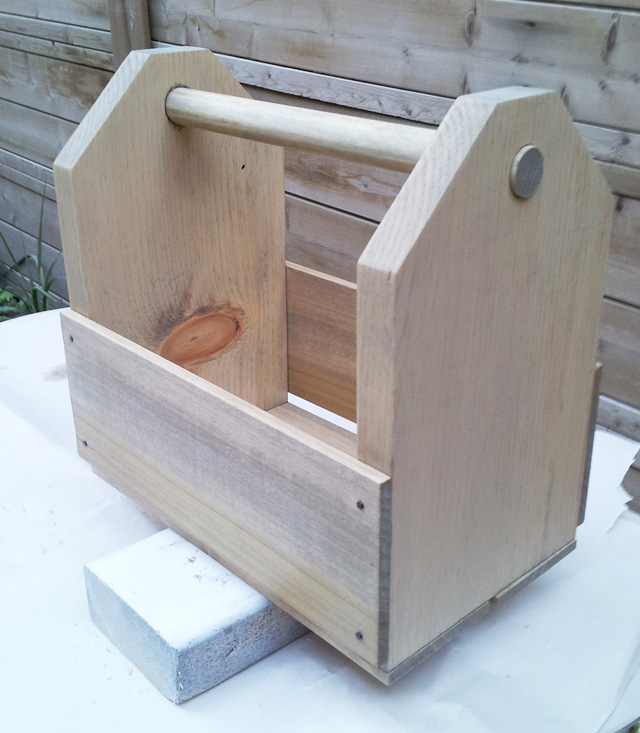
So I restained it darker using Minwax Jacobean.
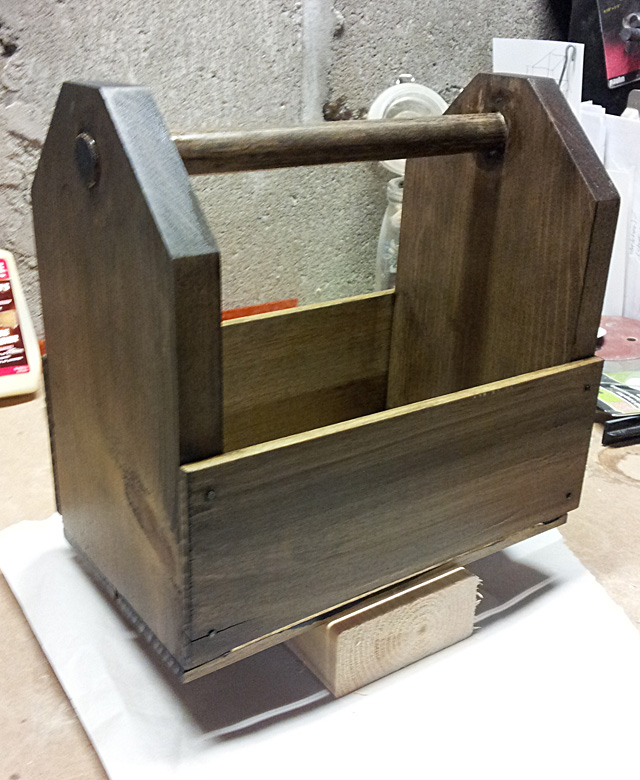
Happy with the stain I set to four coats of Varathane Oil Modified Polyurethane in Satin finish. Using the process outlined in the finishing post.
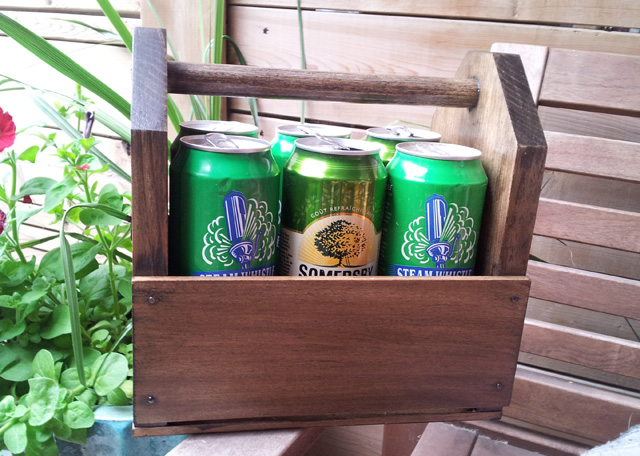
In all I think this probably took about an hour and a half including stain and finishing. The entire build only took about 45 minutes and was a great way to get me out of sanding other projects. AND now we have a great way to carry our Friday Libations out to the patio (or the park shhhhh).
SOURCE LIST:
Materials:
Scrap Pine (1×6 x 2′)
Scrap Poplar (1/4″)
Scrap Dowel (3/4″)
Scrap Finishing Nails
Cut List:
2 – 9″x5 3/4″ – 1″ thick Pine
2 – 4″x 9 1/2″ – 1/4″ thick poplar (sides)
2 – 2 5/8″ x 9 1/2″ – 1/4″ thick poplar (bottom)
1 – 9 1/2″ dowel (handle)
Tools Used:
Miter saw
Combination Square
Drill
3/4″ Spade Drill Bit
Orbital sander
Measuring Tape
Difficulty Level (on a scale of 1-5):
Total Cost: $0!!!