Making your zapper zap through walls

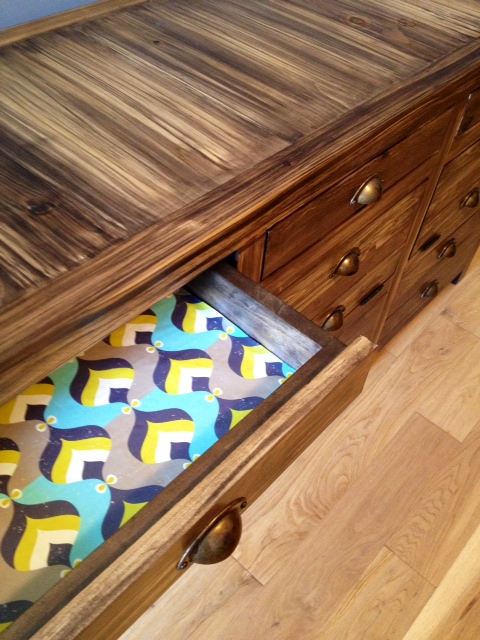
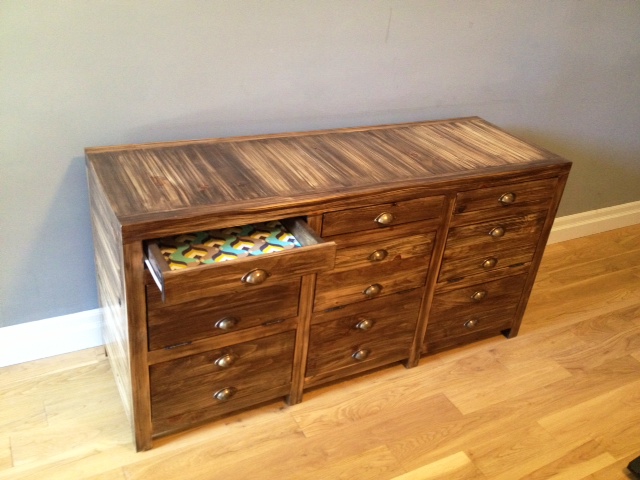
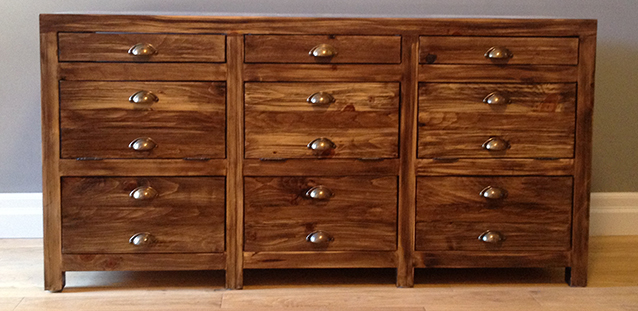
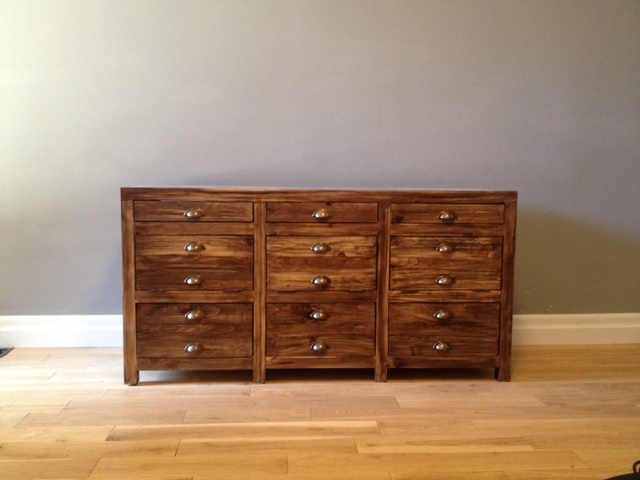
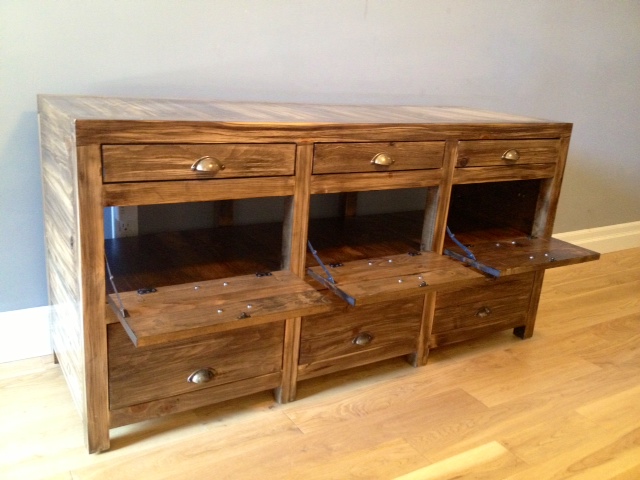
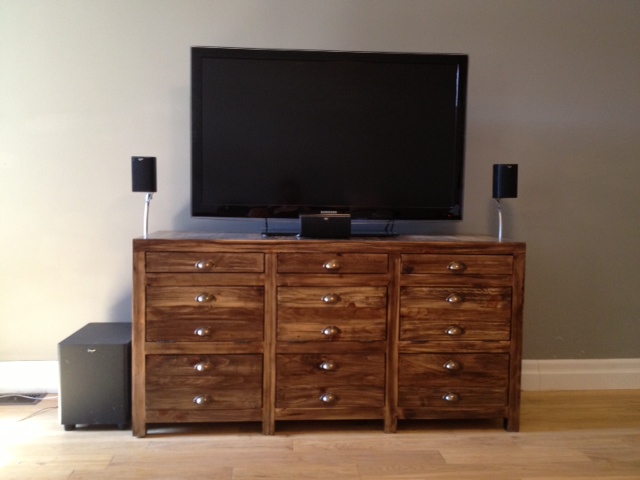
You may know of our Printmakers media cabinet build. We love our cabinet. But there was one major design flaw (well not so much a flaw, more of a drawback). If we wanted to watch TV or control the volume on anything in the cabinet we needed to have at least one door open so that the remotes could reach the components.

I looked around for a solution and couldn’t come up with much. Until one day I was listening to a podcast and off topic one host started talking about an IR repeater and how he put all his components in to a closet. DING!

I headed over to Amazon and promptly purchased the Cables To Go Impact Acoustics 40430 Infrared (IR) Remote Control Repeater Kit. Long name. Tiny thing. Great product.

An IR repeater takes the infrared signal from your remote and “blasts” it out out of little stick on modules. It’s super simple to hook up and took no time at all to get working.

Step 1:
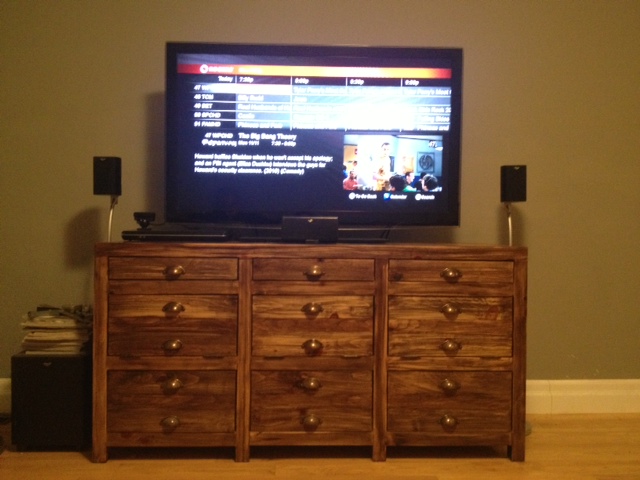
Position the IR receiver:

photo 1(1)

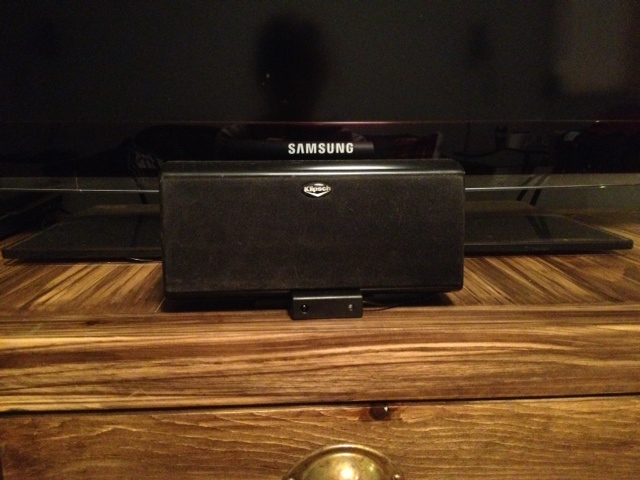
I chose just under the center speaker. Even with our bluetooth remote out of habit we always point it at the TV. This can sometimes be a problem when your components are a foot below the tv. This takes all the guesswork out of changing channels.

Step 2:
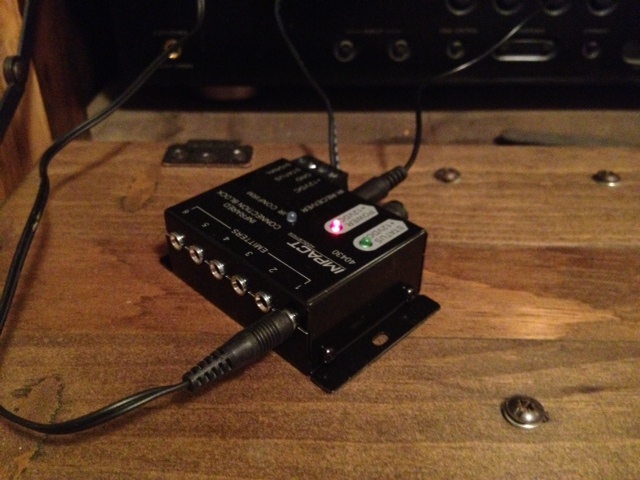
Plug the IR receiver in to the base unit.

Step 3:
Plug your IR Blasters in to the base unit (while you’re at it plug in the power cable too).

photo 4

Step 4:
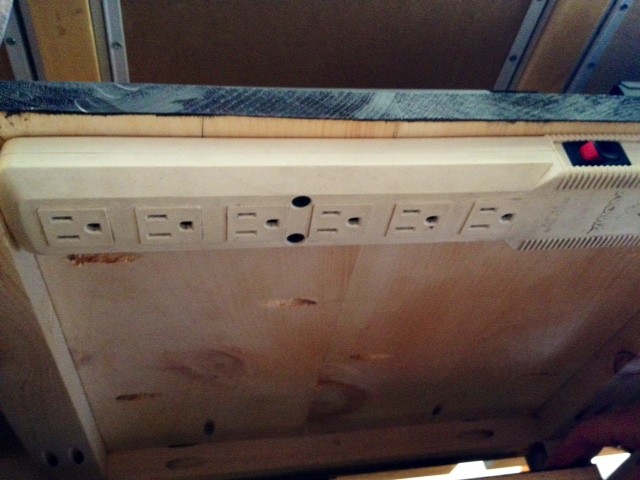
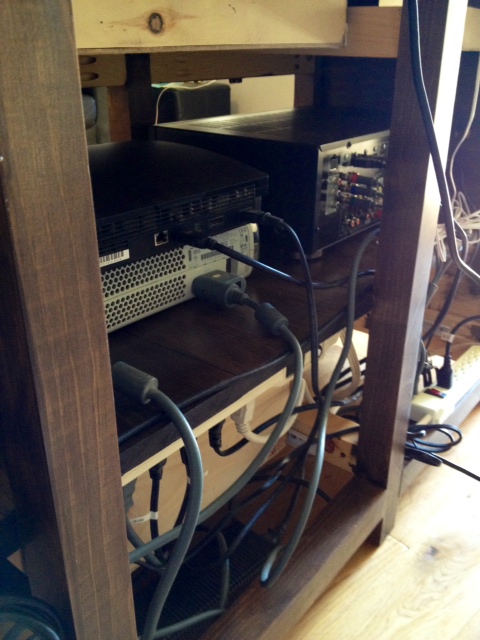
Position your base unit somewhere hidden. Mine is actually sitting right on top of our audio visual receiver.

Step 5:
Position your IR blasters over the IR sensors on your equipment.

photo 2(1)

You can figure out where your IR sensors are by shining a flashlight on to the front of your components at a 45 degree angle. You’ll see a circle under the translucent plastic (usually about the size of a nickel). Peel off the sticky back of the blaster and stick it on.

The kit I purchased came with two double blaster cables. We only have two IR controlled components in our cabinet so I only needed to use one cable.

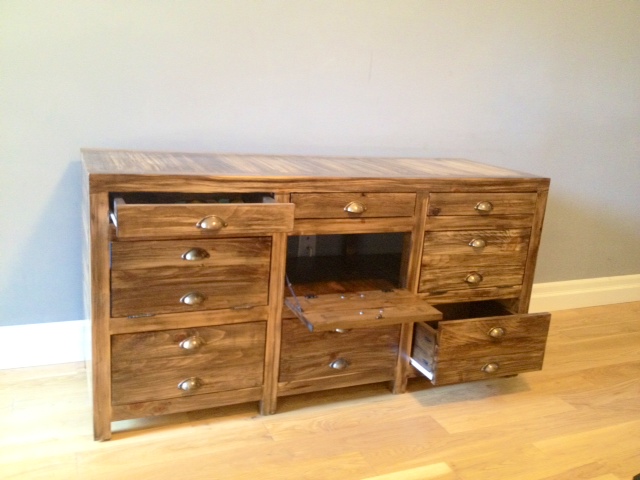
The IR repeater will now take any signal it gets and blast it out to all the components and you can leave your cabinet doors closed!

photo(1)

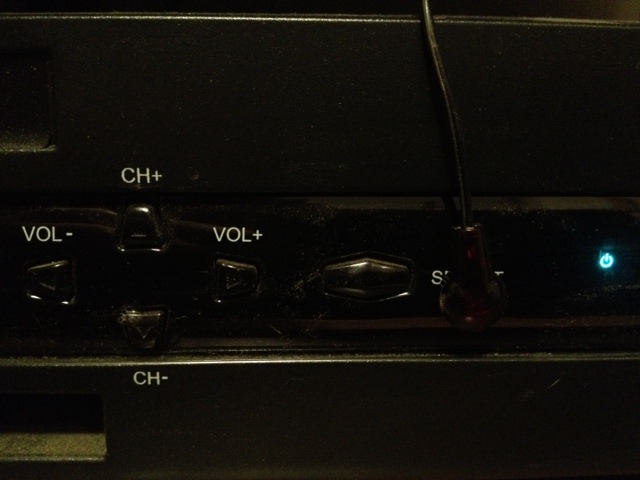
Two unforeseen advantages came along with installing the IR repeater too! One, the dog is no longer tall enough to get in the way of the remote signals and two, there’s a little blue LED on the IR receiver so you know 100% when  you’re sending a signal.

I’m 100% so happy happy happy that this little guy came in to our entertainment world. No more unsightly audio visual components hanging out in open doors. No more dog smashing in to them while playing and no more getting up (after forgetting they’re closed) to open the door when you’ve finally sat down after a long day at work! That last bit happened WAY too often.

Fancy Pants Drawer Liners

The bottoms of the drawers for our media cabinet were a bit, well…not living up to their potential. We used hardboard & chipboard as the drawer bottoms and compared to the stained wood on the rest of the piece, they look a bit shabby and out of place.

drawer bottom
The poor shabby little drawer bottom, covered in stain and looking sad.

I knew all along that my anal retentive personality wouldn’t let the drawer bottoms live in such a state. Not only were they not up to par, but they were an excuse to add a bit of fun to an unexpected place. I love adding colour/drama where you least expect it (like my purple wallpapered closet doors.)

For the drawer bottoms, I narrowed it down to either paint or paper. While paint could be fun in a nice bright colour, I decided on paper in the end to add a bit of a graphic punch.

There is a newly opened store in my neighbourhood called TOWN that I knew would have some lovely papers. (They also have the best selection in cute cards!). The selection at TOWN did not disappoint, and we spent several minutes trying to decide on just one pattern (would have bought them all!) We took our sheets of heavy weight wrapping paper home, cut out squares to fit the drawer bottoms, and got to gluing. I used Elmer’s extra strong spray adhesive (the same spray adhesive I use to attach foam for upholstery projects). A few quick sprays of adhesive, and careful application onto the drawer bottom, and we had a much nicer looking drawer.

drawer
Drawer bottom lined with paper
Media Cabinet Drawer
A little pop of sunshine every time you open one of the drawers
Drawer
Ahhh, isn’t that much nicer?

I bet you’re wondering how much use we get out of those skinny little drawers. LOTS, they hold remotes, video game controllers and all sorts of little things that you don’t want out all the time, but would get lost in the big drawers. I am LOVING not having the XBOX and PlayStation controllers hanging out on my end table!

Controllers
Yay! Controllers and USB keys are happily hidden away.

The drawers are lined, now I can sleep again. (Isn’t everyone kept up at night by the thought of an unsightly drawer bottom. Wait, that’s not normal?)

SOURCE LIST:

Materials:

Wrapping Paper (3 sheets) – TOWN the Store
Elmer’s Spray Adhesive

Tools Used:

Ruler
Pencil
Scissors

Difficulty Level (on a scale of 1-5):

one out of five

Total Cost: $16

Printmakers Media Cabinet – The Reveal

Its been six weekends of hard work, but we finally reached the final stretch of the printmakers media cabinet project.

This is where we left off. The cabinet was built and sanded and ready for finishing. If you missed it, check out part one, two, three, four, and five of the project.)

Cabinet built
Cabinet built and ready for stain & hardware

Next up we took all the drawers outside, and set up a staining station, and gave everything a coat of wood conditioner.

Wood Conditioner
The drawers & doors ready for wood conditioner
DIY Tip: Put your cabinet on scrap wood to make it easier to stain the bottoms of the legs

After letting the wood conditioner sit for half an hour, we set out to staining. We had done many a test on stain, and came across a cool technique we wanted to try on the cabinet. It involved wetting the wood, then putting on oil based stain on top of the water, then quickly wiping away. It left an almost zebra like effect. We knew it was going to be a risk, but decided to give it a try none the less. It involved several hours staining, many a swear word, lots of teamwork, and a whole lot of second guessing.

Cabinet stained
Cabinet stained

We took two days to stain everything, the first day we did the cabinet and all the drawer & door fronts. The next day we stained the interior of the cabinet and the drawer boxes. For the interior, we didn’t bother doing our stain technique, and instead just used the stain traditionally.

After the stain dried, we applied several coats of polyurethane, sanding with a 320 grit sandpaper in between coats. We put a total of 5 coats on the top of the cabinet, and three everywhere else.

We use Oil-Modified Polyurethane with a foam brush
Drawers & doors mid-polyurthaning
Drawers & Doors mid-poly

Once the poly had dried, we set to installing hardware. The screws that came with our cup pulls were too short for the double thick drawers, and too long for the single thickness doors. So we headed to the hardware store and picked up longer screws for the drawers, and El Granto cut down the screws with the dremel for the doors.

Ready for Hinges
Pulls attached to door fronts, and ready for hinge installation

After the handles were installed, we set to installing the hinges, stays and clasps for the doors.

Installing hinges on the doors

This involved a whole load of finikity work, lots of tiny screws, and stubby little screw drivers to fit into the cabinet.

Attaching hinges to the cabinet
Attaching claps to keep the doors closed

Next up, we needed to add the lid stays to make sure the doors dont open too far. We wanted them to stop at 90 degrees.

Installing lid stays

We used a square to hold the door at 90 degrees and attached the stays with small screws.

Now we could set to putting all our electronics into the cabinet. To keep things neat, we installed power bars to underneith the back of the shelves. This keeps the cords off the ground, and makes it so that the cabinet can sit flush with the wall.

The view of underneath the shelf in the cabinet showing the power bar.

We routed all the cables and electronics as best we could through the cabinet, and its so much more organized than our old media center!

The electronics all tucked into the cabinet

Enough with the technical stuff, are you ready to see what it looks like all finished?

DRUMROLL PLEASE

photo 3(6)

photo 5(2)

Drawer

photo 1(4)

photo 2(3)

photo 5(4)

Now a little comparison between our cabinet and our inspiration: the Restoration Hardware Printmakers Media Cabinet. (ours on top, the RH cabinet below)

image

What do you think?!

SOURCE LIST:

Plans:
DIY Plans for an RH Inspired Printmakers Media Console – Design Confidential *(a BIG Thanks to Rayan @ Design Confidential! Her plans are awesome!)

Materials:

Hardware: ($130)
15 cup pulls – Lee Valley
6 inset hinges – Lee Valley
6 sets drawer slides – Lee Valley
3 lid stays – Lee Valley
3 cabinet clips – Lee Valley
8 1 1/2″ felt furniture pads – Dollarama

Lumber: ($100)
8 – 2x2x8 – Downtown Lumber
2 – 1x6x8 – Downtown Lumber
5 – 1x10x6 pine shelves – Home Depot
3 – 1x2x8 Downtown Lumber
6 – 1x4x8 – Downtown Lumber

Finishing/Misc: ($50)
Wood conditioner (already owned)
Stain – Varathane “Kona” – Home Depot
Polyurethane – Minwax Oil Modified in Satin
Minwax Stainable wood filler – Home Depot
Kreg Screws – Lee Valley & Home Depot
Foam brushes – Dollarama
Shop rags
Sand paper

Tools Used:
Kreg Jig
Drill
Mitre saw
Table saw
Palm sander
Square
Level
Wood clamps
Corner clamps
Short Kreg drill bit
Stubby screw drivers

Stats:

Trips to lumber yard -4
Trips to hardware stores -10+
Coats of polyurethane – 5 on the top, 3 everywhere else
Stain samples made before deciding on one – 11
Time involved – 6 weekends, 70-80 hours total
Number of electronics in the cabinet – 11
Number of screw-ups – 3
Number of arguments – 2
Total pieces of wood – 119
Screws – about 300
Injuries – 0!
Swear words – more than I’m proud of

Difficulty Level (on a scale of 1-5):

five out of five

Total Cost: $280