*If you missed the first part of our closet makeover, check it out here*
When we moved into our house it had just been renovated. Great! That means brand new everything! However it’s not until you actually move in that you realize you have no curtains or curtain rods, no shower curtain rod or bathtub stop (so no way to bathe) no towel racks or toilet paper holders, and no closet rods. In fact, there was nothing at all in any of the closets. So we moved in, made a trip to the hardware store, and spent over $500 in blinds, curtain rods, towel bars and other crap that you don’t even think about! The closets got basic closet rods. This worked fine until our master closet had to be demo’d as part of the reno to fix our leaky house.
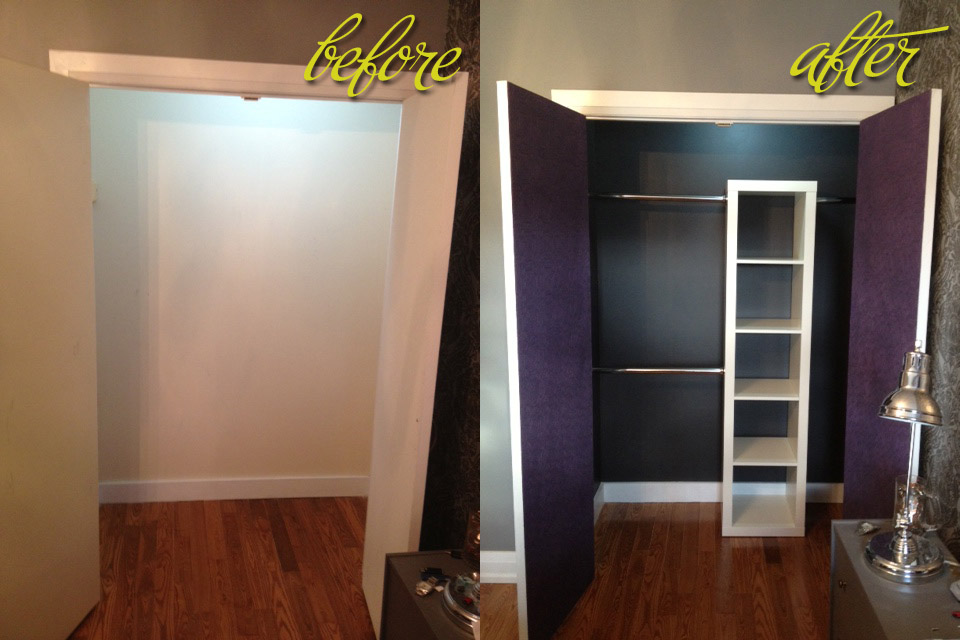
So when we moved back into the house after the reno, our closet was once again a (beige) empty shell. However this time I was determined to make my dream closet and make the storage work for me. (Too bad that it didn’t get knocked off my to-do list until we’d been back in the house a year! oops)
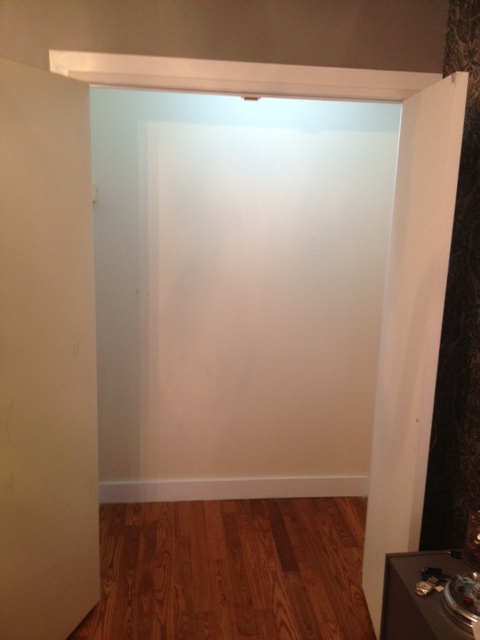
Here’s what I wanted to accomplish in the closet:
- Storage for full length dresses (including my wedding dress)
- Double rods for shorter items such as shirts and pants
- Shelving for sweaters and other bulky items
- Organized Shoe storage
- Boxes for less used items such as our snowboard gear & off season clothes
- Accessories storage for scarves & handbags
So I set pen to paper and designed a closet that looked like this:
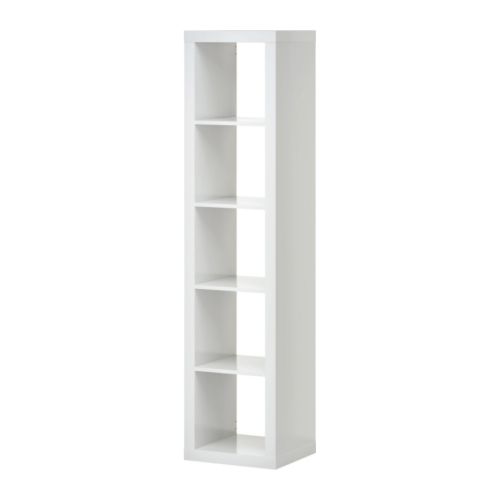
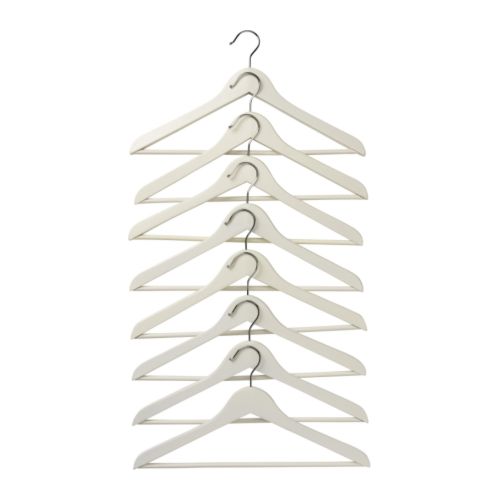
I then set out to find the pieces to my puzzle. I needed a vertical bookcase like structure, a shelf, three rods, some storage boxes, new hangers and some hooks for accessories.
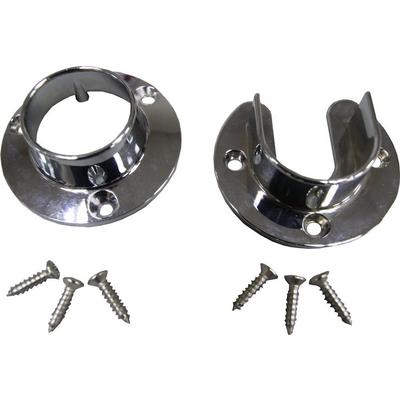
Here are my supplies:


Before I got started with my closet organization, I painted the closet dark grey as well as wallpapered & painted the insides of the closet doors to add some drama (and make all those white shelves & accessories pop!)

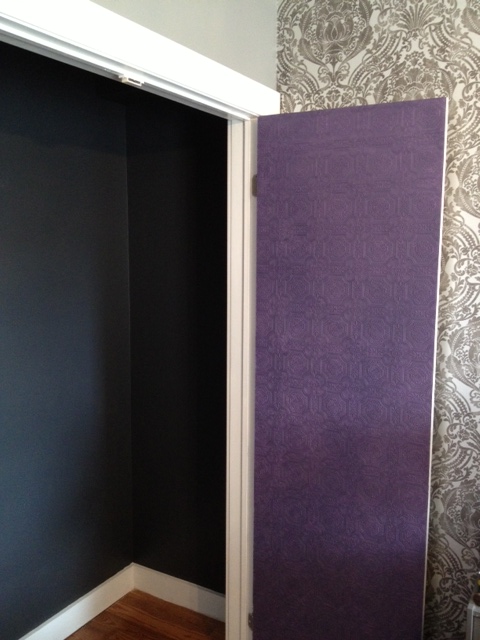
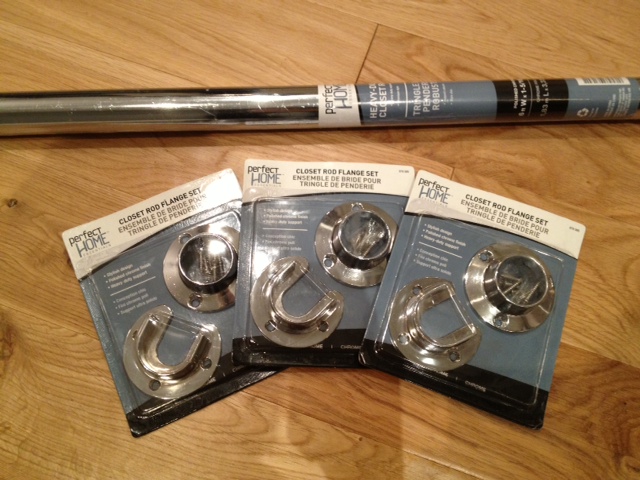
Then we gathered our supplies. Which involved a trip to Home Depot and Ikea.
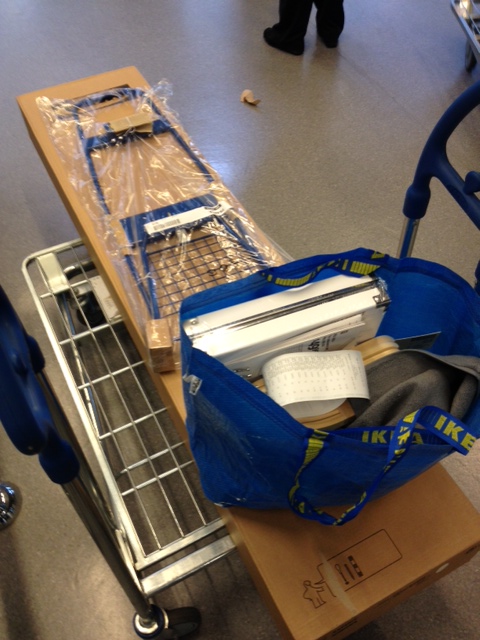
Ikea without a car means a train ride, then an Ikea short bus shuttle to the store. Then we have to try to get our 6 foot tall, 55lbs new Expedit bookcase on the shuttle, on the train, then home (thank you El Granto aka the muscles in this operation.)

Once we got home we unpacked our things (or should I say Odin ate the packaging.)
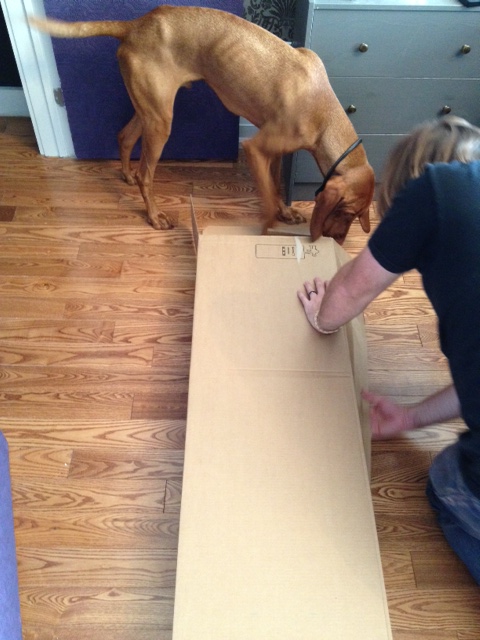
We assembled the Expedit and placed it in the closet.
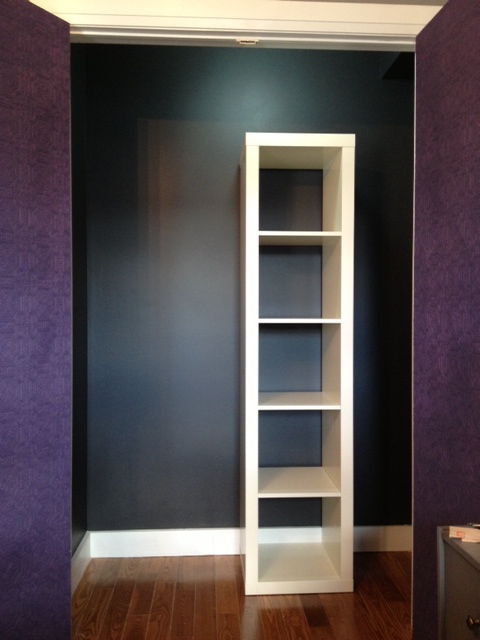
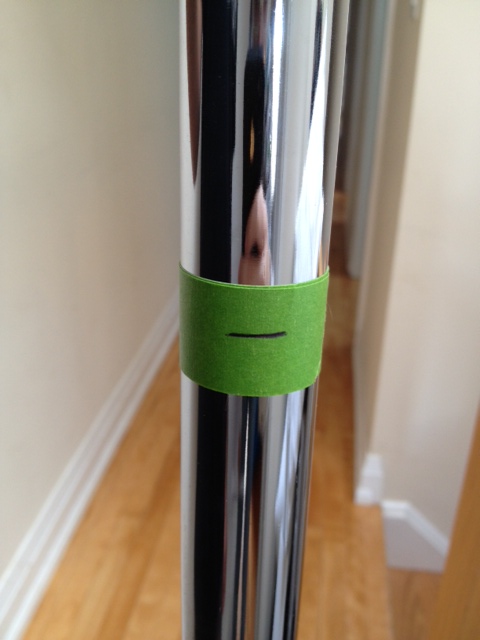
We spaced out where we wanted everything to go, and measured for our closet rods. We wanted two rods on the left, and one on the right for long dresses. To get the most bang for our buck I used my good friend math to optimize the 6′ closet rod in out 61″ closet. We cut the two longer rods to 28″ each and the shorter to 16″ using up the whole rod. We used masking tape to mark the rods for cutting and to protect them while we were wielding sharp blades around them.
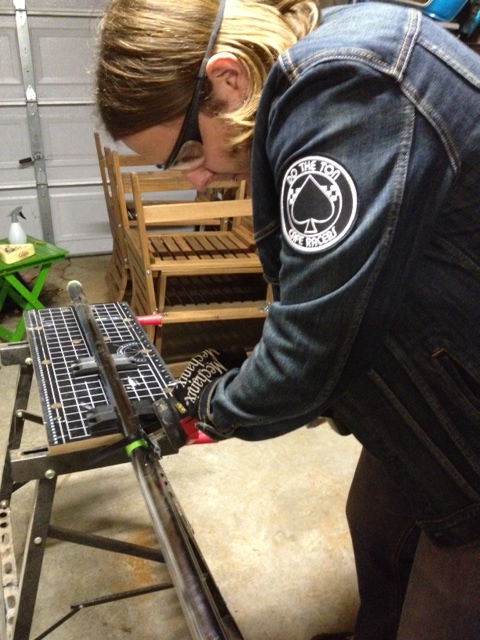
Then we headed out to the garage and cut the rods with a metal blade and our reciprocating saw (safety glasses and gloves are a must when cutting metal!)
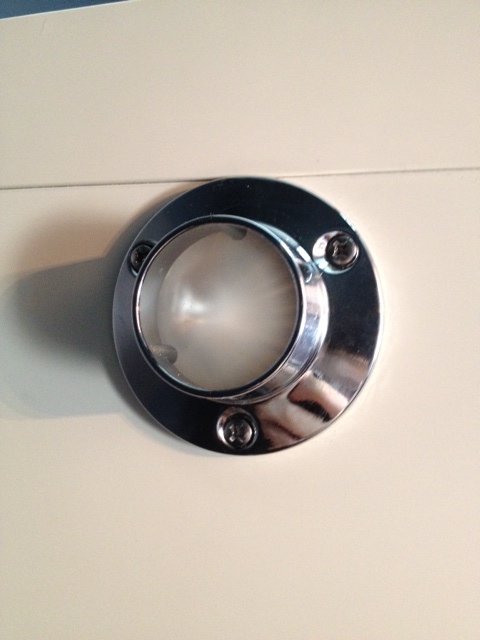
Then we headed back inside, and attached the rod flanges to the wall and the Expedit. (They got screwed into the Expedit with the provided screws, and they were put into the wall with EZ Ancors.
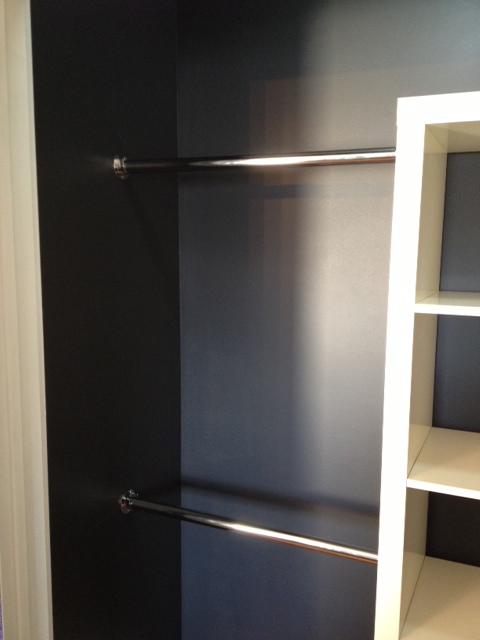
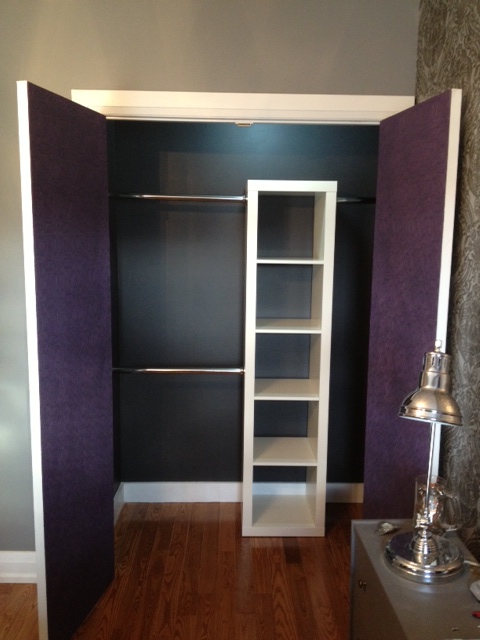
The shelf at the top should have been the next step, but I had trouble finding a shelf deep enough and long enough, so that project will have to wait another day. Now it was time to fill the closet.

SOURCE LIST:
Materials:
Expedit Shelving Unit – Ikea
Chrome Closet Rod – Home Depot
3 sets of Closet Flanges – Home Depot
E-Z Ancor’s – Home Depot
Martha Stewart Paintable Wallpaper in Pressed Tin – Canadian Tire
Behr Sample paint – Home Depot
Closet Wall Paint – Behr Premium Plus Ultra Eggshell in Cracked Pepper – Home Depot
Tools Used:
Level,
Drill
Wallpapering kit
Sharp Blade
Hammer & flat head screwdriver (for removing doors)
Paint Brushes & Trays
Difficulty Level (on a scale of 1-5):
Total Cost: $110 (Expedit $69, Door Makeover $20, Rods & Flanges $20)


OMG …let me tell you this is the best detailed tutorial I found :)thank you so much I was just confused with the closet rod part but now I am not .
Did you do anything special to attach the closet rods to the Expedit cabinet?
Nope! We just used the screws than came with the closet rod and screwed into the Expedit. It’s been a year and we have not had any problems with it!
oh my, thank you so much for the step-by-step instructions. Looks fantastic!
Looks sweet guys. Great job!
Thanks Natasha! It’s great to finally have an organized closet!