How was your Easter/Passover weekend? We enjoyed some well deserved good weather, which meant many a good dog walk as well as a lovely Easter dinner and ruckus Yahtzee game with the family.
We also used the long weekend to get a bit more work done on our media cabinet project.
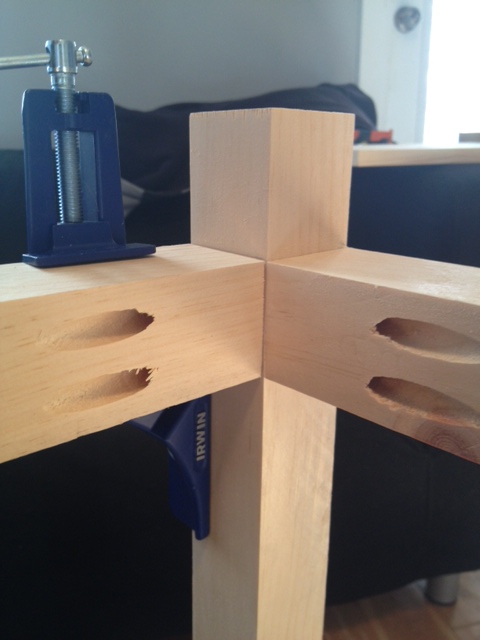
We started with the cabinet frame assembly, and quickly discovered that it would be near impossible to hold everything straight and square while screwing it all together without more hands or some sort of corner clamps. (Of course El Granto said we needed the clamps from the onset, but eager me said we should try without them. Kristen fail.) The problem with pocket holes is that you have everything lined up, and start to screw everything together and at the last second it all goes to hell. The last bit of the screw tightening somehow pulls it all out of whack. Swearing ensues.
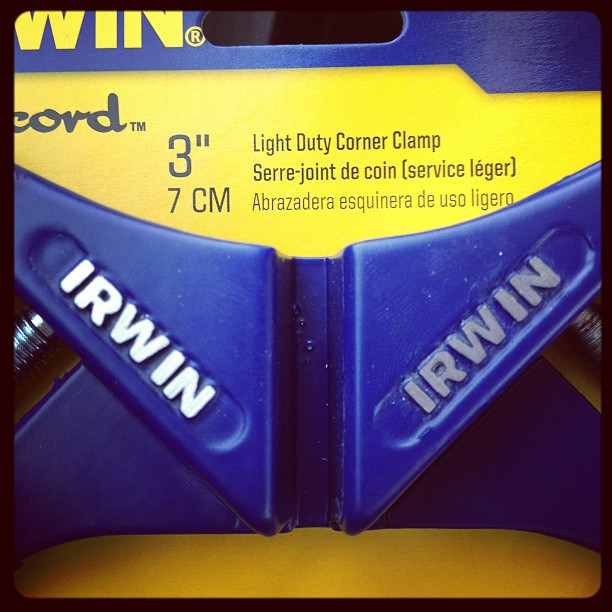
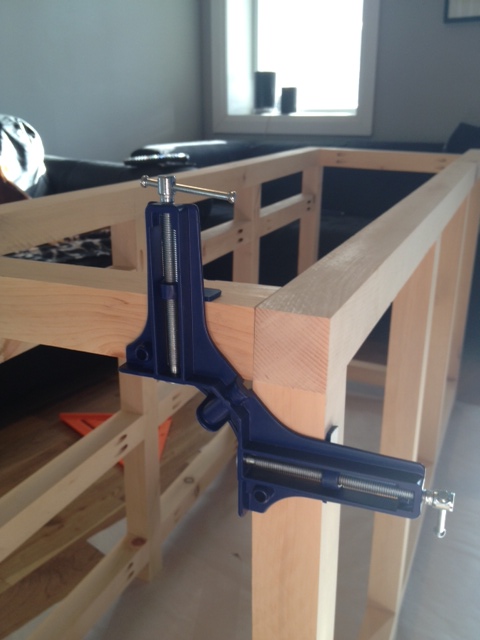
So we headed to the hardware store, and picked up two Irwin corner clamps. Best $25 spent, ever.
We then were able to pretty quickly assemble the rest of the cabinet frame. We were a little assembly machine, clamping, gluing and screwing.

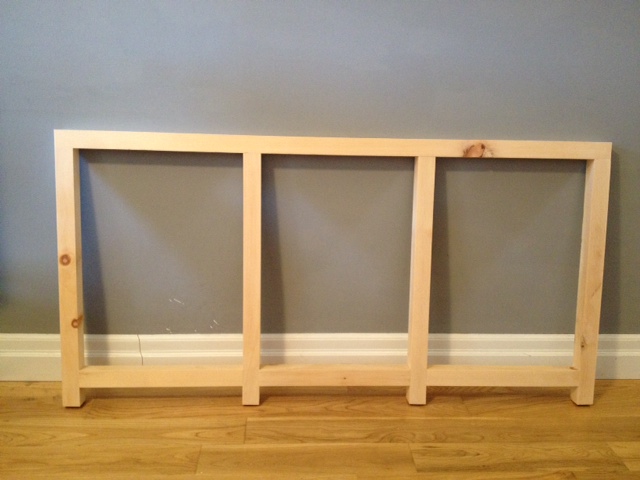
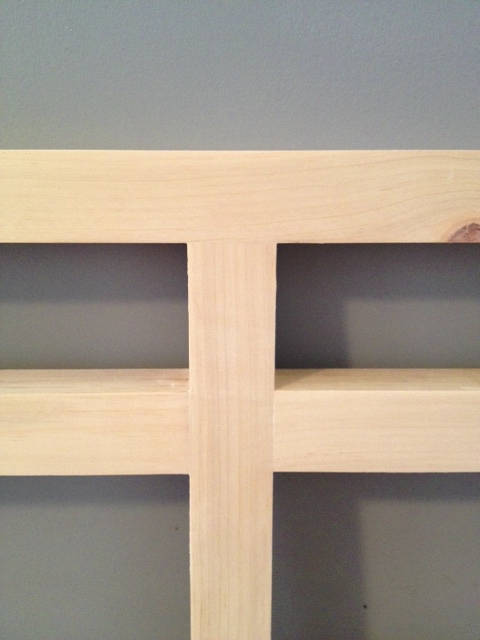
After a couple hours work we had the front and back frame built. (The front is more complicated as there is the whole exposed framework for the drawers and doors.)
The next day we set to attaching the front to the back of the frame. According to the directions, we should have attached the sides before attaching everything, but of course we didn’t have the wood for the sides and impatient Kristen wanted to go ahead anyways. (It’s OK, it turned out fine!)
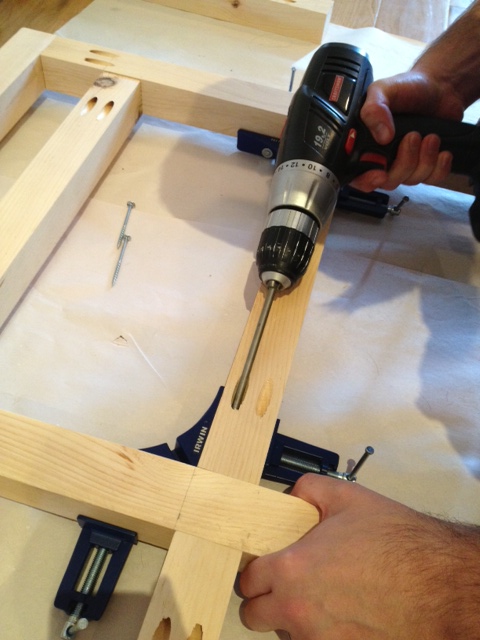
We used the corner clamps again to make sure everything stayed where it was supposed to be, then we screwed everything together from inside.
*TIP* The Kreg jig comes with an extra long drill driver. It normally works perfectly, however when we were trying to assemble the cabinet it was too long, and made it so the drill was not able to fit inside the cabinet. Oops. So we headed to the hardware store and picked up a mid sized #2 driver. This will come in super handy as the rest of the cabinet installation will be done from inside the cabinet!
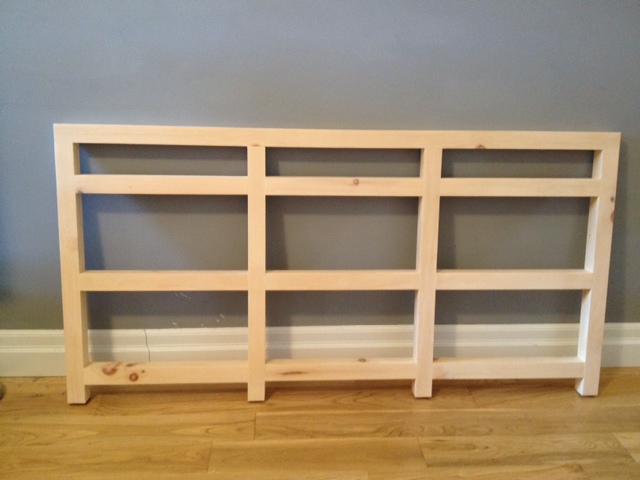
After almost 100 pocket holes and screws, this is our completed frame!
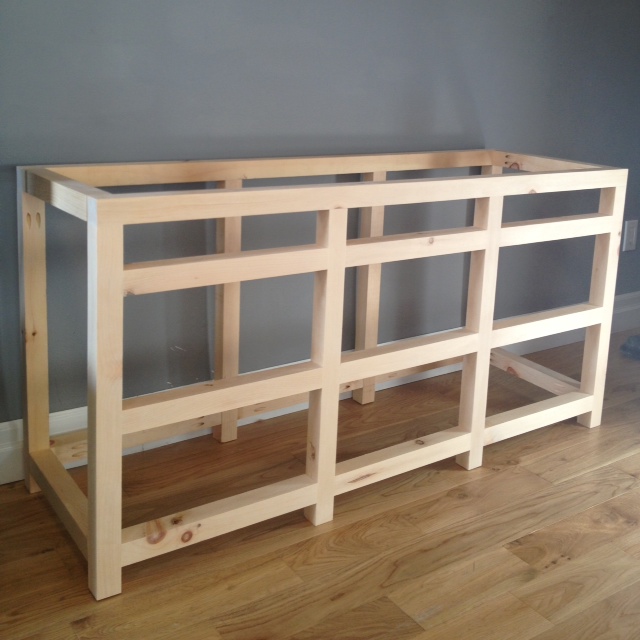
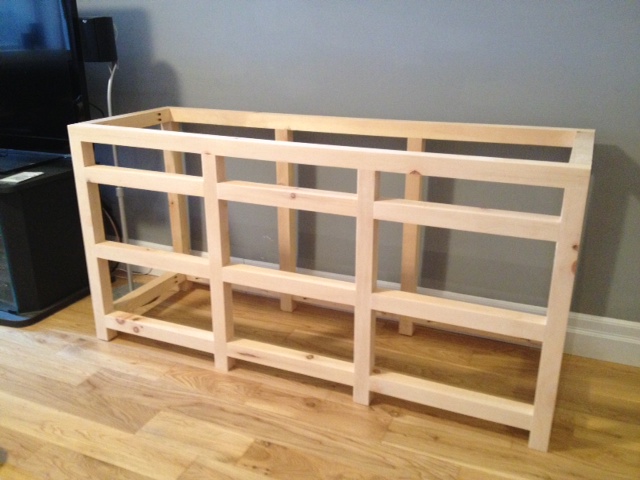
Starting to look like a cabinet now right? Remember this Restoration Hardware cabinet is our inspiration.
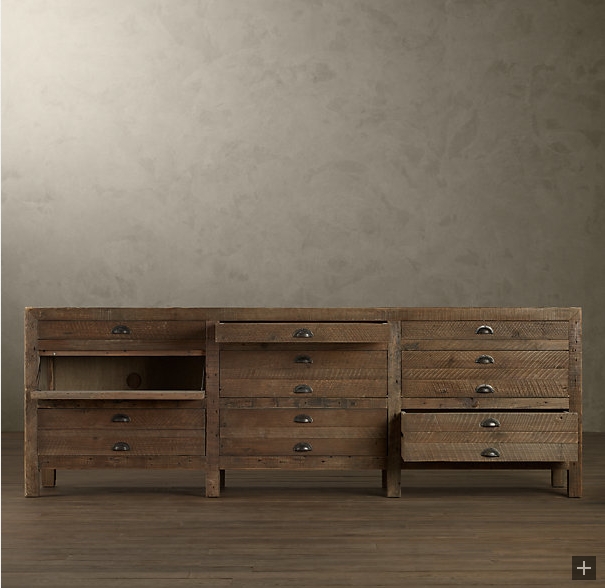
The frame that we built will actually be exposed (you can see it in the RH version).
The front still needs drawers and doors, and of course the top and sides, but we’re actually over half way done! Woot.
Are you working on any big projects? Ever built a cabinet?