I cant believe I totally got off my butt and got some work done on the coffee bar. I know, amazing, isn’t it. I am a chronic project half finisher. Oh look at that new shiny project over there… Its not all my fault, money plays big into things, as do accessibility to materials.
SO we knocked the filler panels off our to do list, and got to tackling the open area between the upper cabinets.
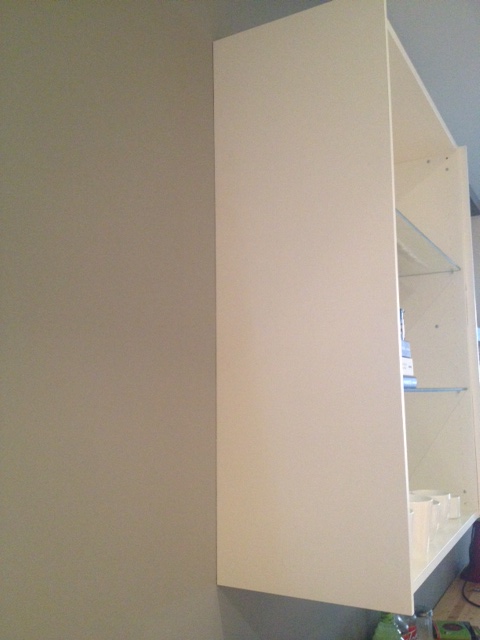
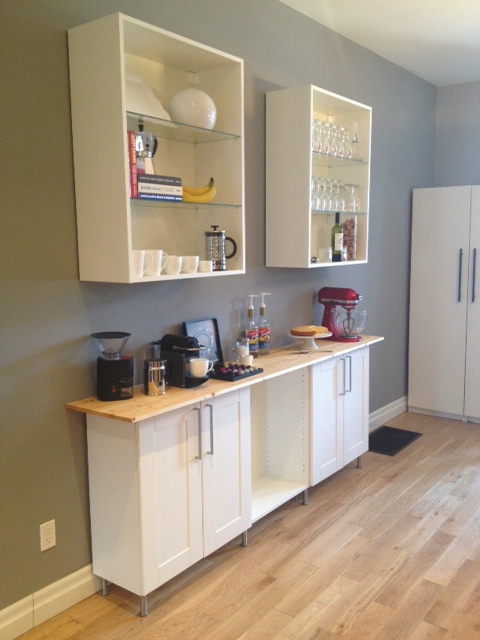
When designing the coffee bar, we left an open space between the upper cabinets for some open shelving. We thought it was a good place to mix things up a bit, and add a different colour/material.
We set out to finally add some shelves. They are short shelves, just under 2 feet wide. When deciding on materials we could have matched the cabinets, but the whole kitchen was feeling a bit matchy matchy. So we took a cue from our new dining table and bench, and went wood. We also wanted it to look a bit more modern, so we decided to forgo shelf brackets, and suspend the shelves between the upper cabinets.
Off we went to the happiest place on earth (AKA the lumber yard.)
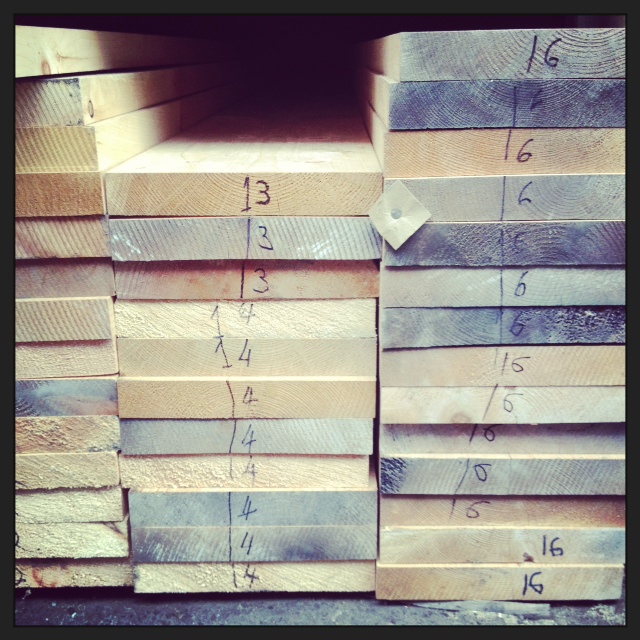
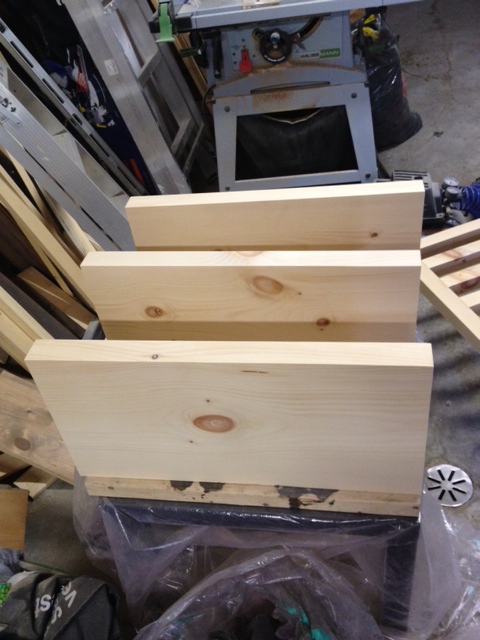
We picked up a 6′ length of 2×12 kiln dried pine from Downtown Lumber, carried it home and cut it into three shelves.
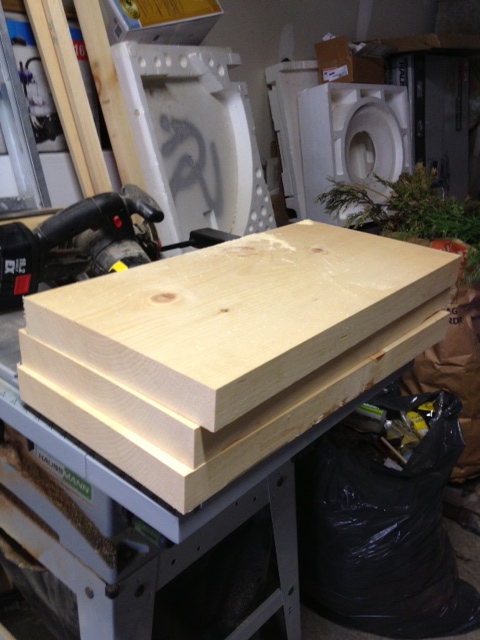
Then we sanded, and sanded and sanded some more (as always). If I could outsource sanding, I would. The only saving grace with sanding is blasting some rocking music that gets you working faster (ever listened to Andrew WK while sanding? It’s like you are compelled to work FASTER!)
After I was happy with the sanding, I cleaned everything off, and set up the shelves on blocks and gave it a coat of wood conditioner (followed by two coats of stain to match the table, and 4 coats of polyurethane.) I took photos of this step, then deleted them. Cause I’m awesome like that. So close your eyes and visualize it, k? Good.
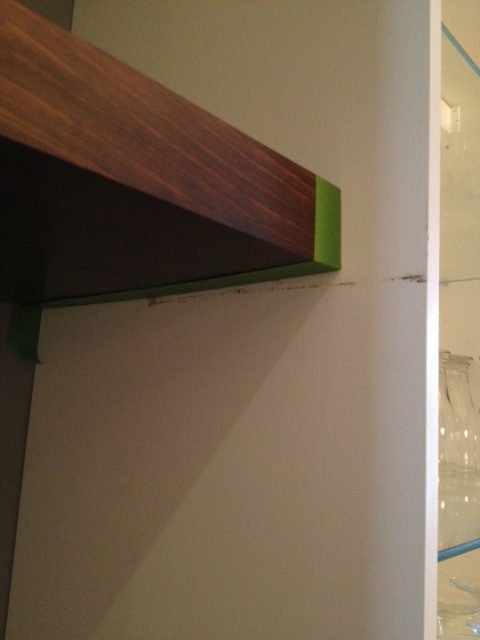
After everything was dried and purdy, we went inside to install. This went surprisingly well. A couple ladders, swear words, some screws and leveling, and the shelves were screwed through the cabinet into the shelf.
The only problem occurred was that I was TOO good at measuring, and the shelves were such a tight fit, that they left a few marks on the filler panels when we were shimmying them in place. No harm done, a bit of masking tape, and some touch up paint were all that was needed.
And ta-da, the shelves are done!
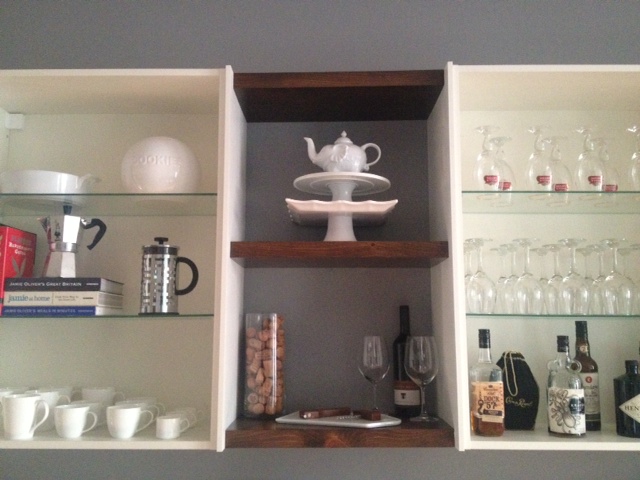
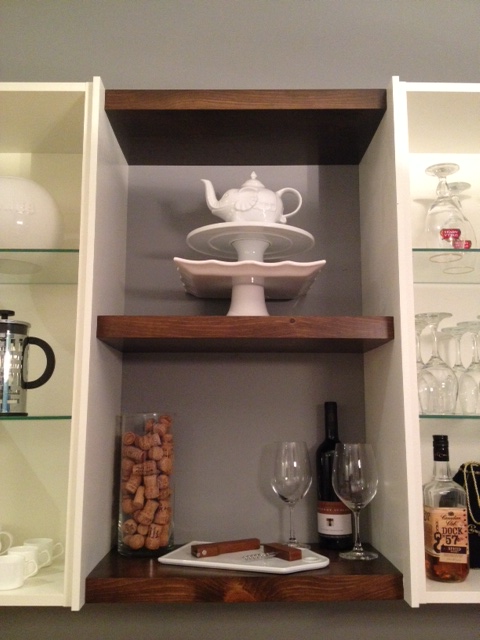
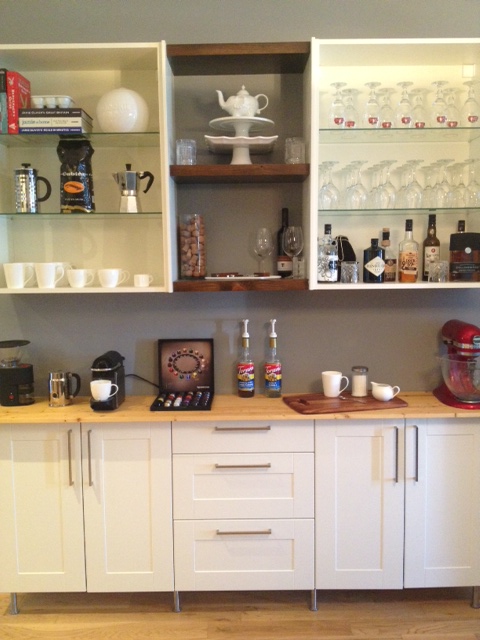
My only problem is that I am HORRIBLE at styling shelves. Anyone wanna come to my house and style my shelves for me? That and I never seem to have any accessories of the right scale. Too big, too small, too weird. Check. So this kids is what it looks like when I throw together some shelving. Maybe I can get some of my photo stylist friends drunk and convince them to style my house for me.
SOURCE LIST:
Materials:
2×12 kiln dried pine @ 6′ – Downtown Lumber
Stain – Varathane Chocolate
Polyurethane – Minwax Oil Modified in Satin
Tools Used:
Miter saw
Orbital sander
Measuring Tape
Finishing Supplies
Difficulty Level (on a scale of 1-5):
Total Cost: $30 (for the new wood, we already owned the stain & poly)