Our weekend pergola build is finished! AND it only took us a month.
Well technically it took us two afternoons, they just happened to be a month apart. Why did a weekend project turn into a month long ordeal? Life. Weather. Summer. Family. Motorcycles. Friends. Birthdays. Fun. Oh and new tools. Life took over as a priority, and work came to a standstill on the backyard. But this weekend, we were back in action.This is how it went down. In the first stage we built up the existing corner posts (they needed to be extended a few feet taller). The ones beside the house needed to be notched to fit over the rim board on the house, and everything was attached with brackets and deck screws. Then up went the outside beams of the pergola.

That went well-ish, but after the last beam (the big front one) went up, it pulled the rest slightly out of square. Ugh. So we started off yesterday making everything as square and level as possible considering the unsquare and unlevel deck we were building off. I just want to point out, we did not build the deck. It was here when we bought the house. Building a nice square and level pergola off a crooked deck is an exercise in patience.
Knowing this, we took a bit of a U turn in on how we were going to do the cross beams. I wanted to notch out the beams so that they all fit together in a basket weave. That would involve pretty accurate measurements and cuts, and if we were a hair off, nothing would fit. El Granto sat me down and had a little talk about biting off more than I could chew, the inability to get more lumber should I wreck it all, and how were we going to raise the beams up and install it. All very valid and reasonable points.
But… I didn’t want to use ugly joist hangers, and I needed the joints to be strong. (I am not to confidant with toe nailing, it never seems to tighten up the joint enough for me.) We brainstormed a bit, and broke out the Kreg jig. That thing tightens up butt joints like nobody’s business. (El Granto’s note: hee hee tight butts)

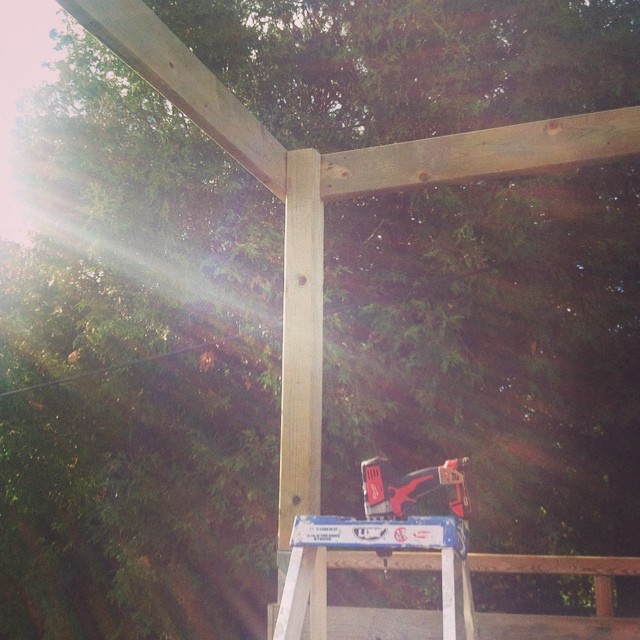
Yes, it took a bit longer, but those butt joints are nice and strong. Did you spy one of our new tools in the pic? Yeah dude, we upped our drill game a bit. At Christmas El Granto bought me a
Milwaukee Drill and an Impact Driver. We loved them so much, that this summer we added a few new Milwaukee tools to the arsenal. That’s our badass new
hammer drill in the photo above. We had all three drills going for pergola install. The hammer drill was on pocket hole duty (yes a bit overboard, but he made short work of the holes) the drill and impact driver were stationed on the ladders so we could each drive in the screws on our ends of the joists. Can I just say how amazing it is not to have to change from a drill bit to a driver for… Every. Damn. Piece?
After all the joists were cut and pocket holed, up on the ladders we went and installed. No pics of this part, cause well, we were both up on ladders holding beams over our heads, but here is what it looked like when all was said and done.


We also added a few more boards to our privacy screen. It was a bit low, and meant that if you looked over from our neighbours house you could see right into our bedroom. Frankly I think they were sick and tired of being blinded by my nakedness, so we upped the height of the screen. It also did double duty of covering up the brackets on the posts. We added another board to the opposite side of the deck to make things look a little more polished as well.


So whats next? Sewing! We laid out and measured for the Sunbrella fabric shade canopy, and I can get started sewing it this week. I am also thinking of taking down the twinkle lights in the backyard (it looks a bit too busy now, those solar lanterns also have to go.)

Already the shade structure is making the upstairs deck seem more cozy. Cant wait for the shade canopy! What do you think about the backyard twinkle lights, should they go?


