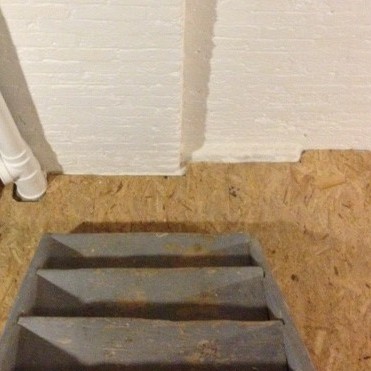
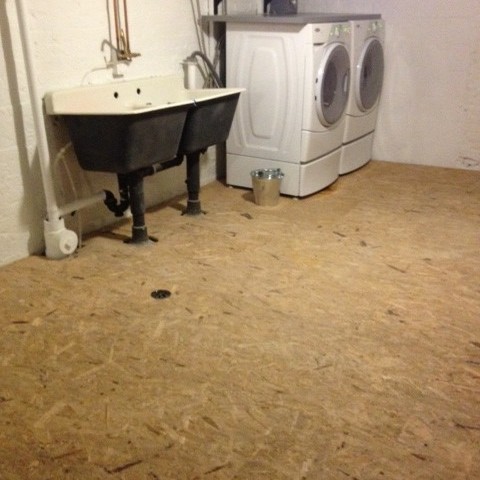
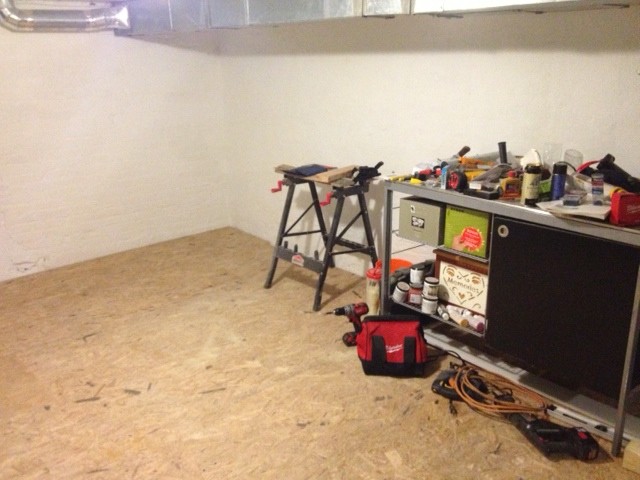
We have a basement subfloor!
Before I get to the install, I wanna take you back to what the basement looked like before:
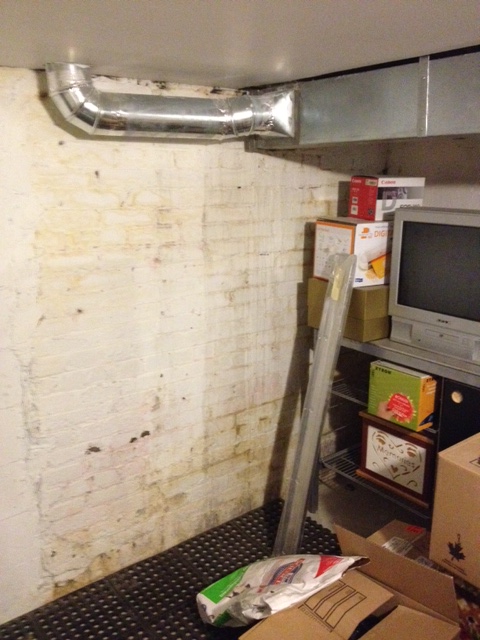
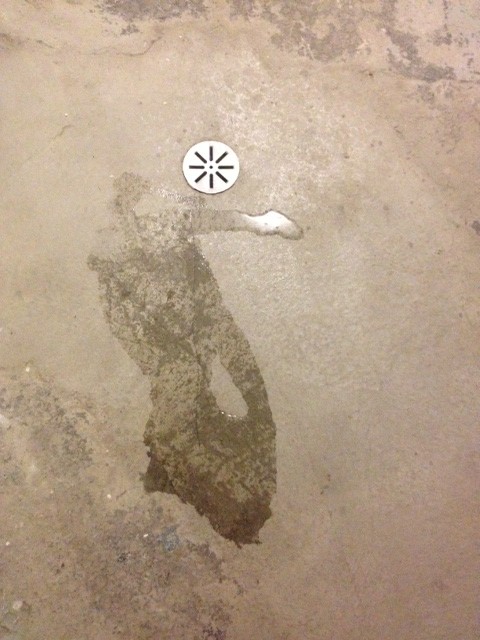
Eeeep. Scary. The floor was bare concrete covered in rubber floor tiles (with holes in them) which meant it was hard to clean, and still had the damp cold feeling of a 100 year old basement.
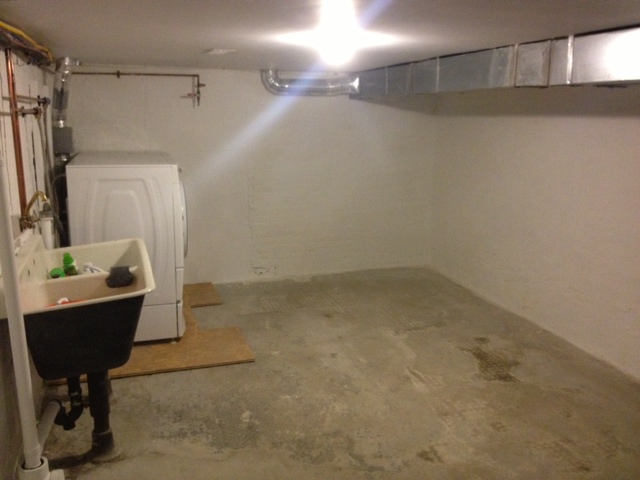
Now here’s how we left it off a week ago. A few pieces of DRIcore subfloor installed under the washer & dryer and the rest of the floor naked concrete.
DRIcore Subfloor Install:
First up, we measured our room and did a bit of math. Our room is 11 feet wide by 20 feet long. To calculate our total square footage we multiplied 11×22 to get 220 square feet.
Now we need to calculate how many DRIcore Subfloor panels we need. Like all floor installs, there is going to be some cuts & waste. So you will want to give yourself an extra 10-15% contingency. It really sucks to run out of materials before the job is done, get that extra and save yourself the headache. Add an extra 10-15% to your square foot measurement. So let’s round ours up to 250 square feet. Now we divide our square footage by 4 (as each DRIcore panel is 4 square feet) 250sqft divided by 4 equals 62.5. Now we know to get 63 panels.
As carless urbanites, we opted to have our DRIcore delivered. You can arrange this through your local hardware store. Once we had all the DRIcore delivered and ready to go, it was time to get started. We know our room is just over 11 feet wide, so we needed approximately 5 1/2 pieces of DRIcore Subfloor for each row. To make sure that we wouldn’t end up with little slivers of cut pieces, we dry fitted a whole row to see what size our cut piece would be. You don’t want cut pieces to be any smaller than 3″ (or they wont be big enough to support much). Luckily our cut piece ended up being 15″. Good to go!
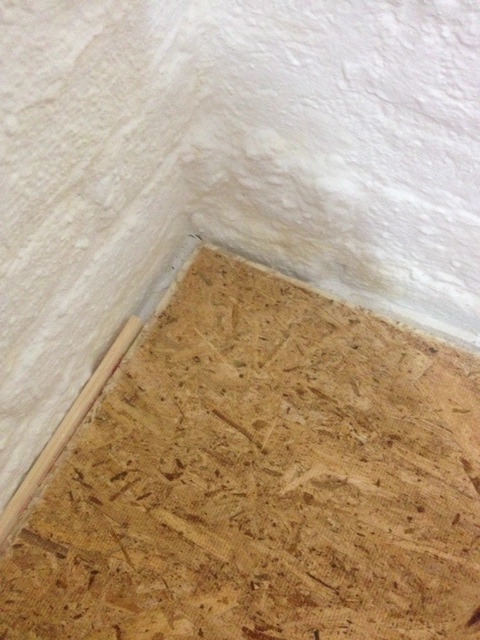
We cleaned the floor making sure to remove any debris and checking for any loose concrete or any bulges and bumps that might mess with our Subfloor. Once everything was nice and clean, we placed 1/4″ spacers (we used some scrap wood) along the perimeter of the wall so that our Subfloor would have an expansion gap. After that we started laying the DRIcore. The first piece gets set into a corner, and the tongue faces up and to the left.
Next we added a piece to the right, inserting the new pieces tongue into the first pieces groove. It’s like a subfloor mating ritual. Bow chicca bow bow.
The fit will be tight and we needed to use a scrap piece of wood as a tapping block and gently hammering into place. Once the second piece was nice and tight, we added a third and subsequently another until we got to the end of the row.
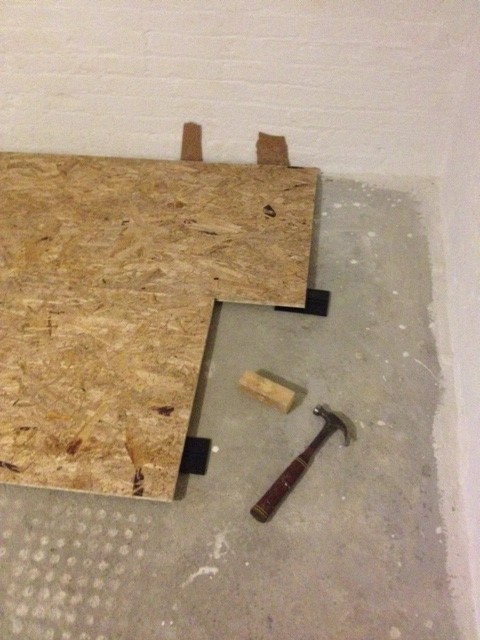
We now needed to cut a piece to finish off our row. We measured, taking into account the 1/4″ space we needed to leave against the wall, and then headed out to the table saw to cut down the piece. The DRIcore was really easy to cut and could have been done with a circular saw or even a jig saw. We set the fence on the saw and got to cutting. After the piece was cut we brought it inside and installed. As it’s the last piece you don’t have room to tap it in from the side, so we used a mini crow bar to leverage it in. With a 15″ piece cut to finish off our row, we also cut another 15″ piece to start the second row. Installing a subfloor is just like installing hardwood flooring or drywall. You don’t want your seams to line up. So we needed to stagger the joints. The easiest way to do this is starting with a piece the same size as your cut piece so that your row will end in a full piece. So we started out our new row with our cut piece and tapped it in place. When we got to the end of the row, BAZINGA! A full piece.
Every time we installed a piece we checked to make sure it was nice and level. If one piece was a bit low or not sitting flat, we used shims from our DRIcore leveling kit to shim it up. The plastic shims can be stacked 4 high and tucked under the Subfloor panels to make everything nice and flat and level. As our basement slightly slopes to the drain, we ended up using more leveling shims at one side of the basement. Our old basement floor ended up needing more leveling shims that most normal, flat nice basements would. Considering our old floor and all it’s patches, we didn’t do too bad.
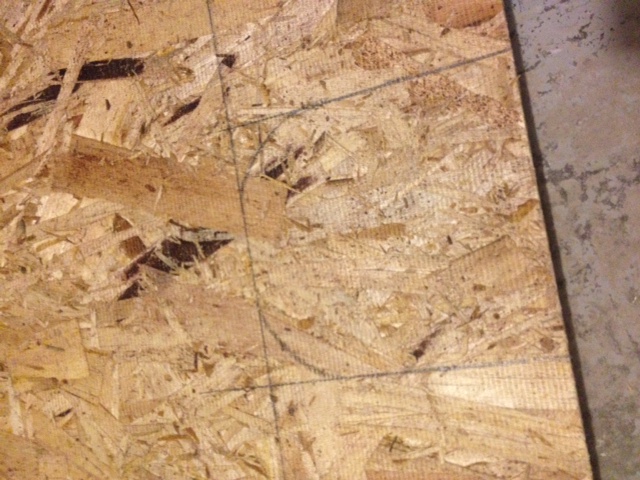
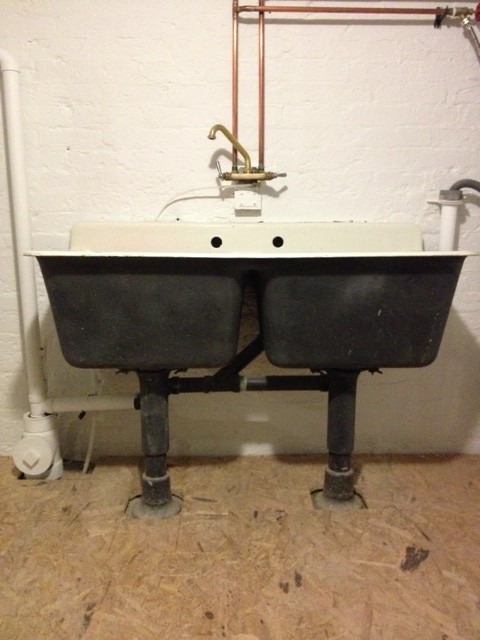
The first three rows went great, then we ran into our farmhouse laundry sink, the first of our basement obstacles. We needed to cut around each and every pipe, drain, vent etc. Out came the pencil and we marked where the cuts needed to be.

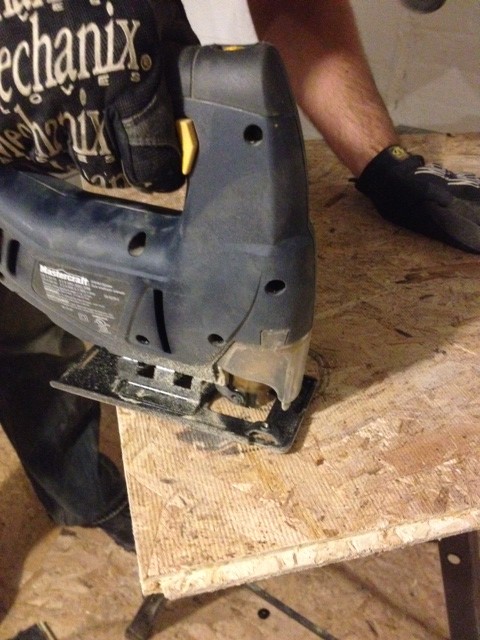
We transferred the cut markings onto the subfloor panel then El Granto cut them out with the jig saw.
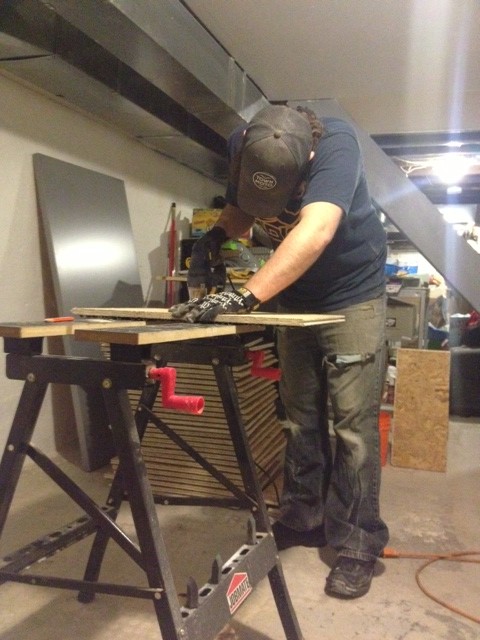
Why did he do all cutting? Cause I SUCK with a jigsaw. I cannot make a straight vertical cut if my life depended on it. My cuts are always drunk. Go home cut, you’re drunk.
With the cuts done, we were able to insert the piece of Subfloor around the sink base and pipes and carry on.
Then we got to the floor drain. We wanted to ensure that if any water did get in, it would flow under the DRIcore Subfloor and make it to the drain. There was one caveat to this plan however. The floor isn’t sloped to the drain. It’s sloped to about a foot and a half beside the drain. Yep, that’s a problem. We used a glass of water to find out where the low spot on the floor was, and marked it.
Next up El Granto broke out the grinder and a concrete wheel and set to making a nice little trough from the low spot to the drain. Much dust ensued, but when all was said and done we had a nice little pathway for the water to get from the low spot to the drain.
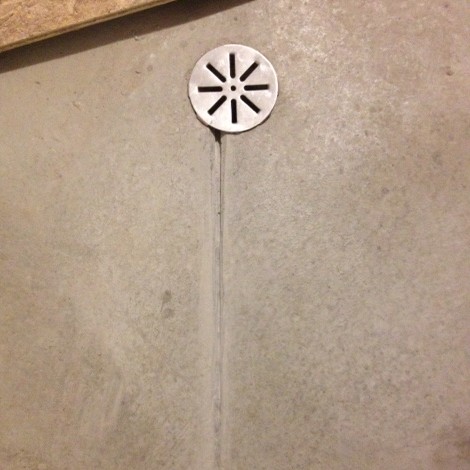
We tested it out with a few more cups of water, and were satisfied that if any water was to be a jerk and trespass into our lovely laundry room workshop, the little intruder would make it to the drain and not wreck our stuff. Now we could DRIcore over the drain, and feel safe.
Now I know what you’re thinking; what if the source of the water is on top of the DRIcore? For instance the washer overflows or the sink backs up. Well we thought of that too. So above the floor drain we measured and cut out a hole in the DRIcore Subfloor for a drain on top the subfloor as well. Now any bleepin’ water will make its way to the drain and outta da house!
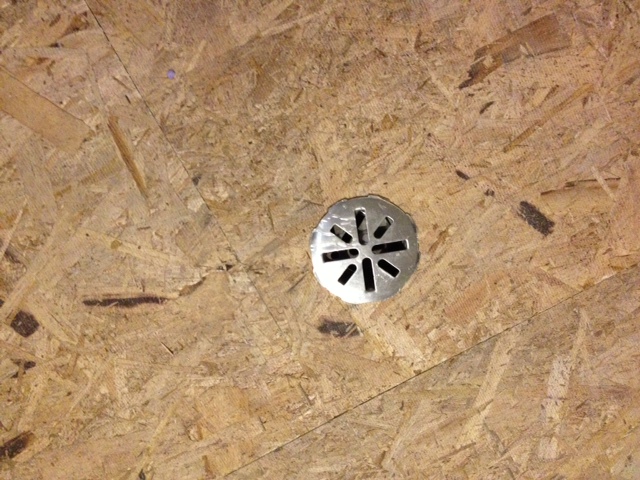
To cut out the hole for the drain. El Granto drilled a pilot hole, then used his friend the jigsaw to cut the hole.
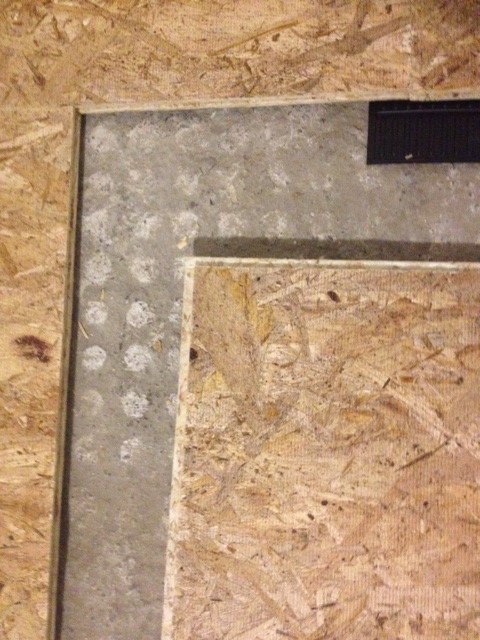
It was back to smooth sailing until we hit a part in the wall where the brick jutted out. No problem, we easily notched the DRIcore Subfloor to go around our home’s drunken bricklayers work, and carried on. Next the wall jogged in a few more inches (again, no idea what Mr. Bricklayer was up to.) More notching ensued. A few more rows later, and we were done!
The process went so quickly. The only time consuming bits was stopping to measure and make cuts. That and moving things out of the way. I have a big work island that takes up a lot of space and ended up getting moved around a lot. If you had a nice, square empty basement without pipes and bananas it would go even quicker!
The basement is really taking shape! Up next some wall installation, then flooring, paint and we can finally start decorating!
SOURCE LIST:
Materials:
DRIcore Subfloor (63 Panels)
DRIcore Subfloor Leveling Kits (5)
Tools Used:
Table Saw, Jig Saw, Hammer, Tapping Block, Pencil, Level, Grinder, Crow Bar.
Difficulty Level (on a scale of 1-5):
Total Cost: $375
Disclosure: This post is sponsored by DRIcore and through that sponsorship products used in this post were provided by DRIcore, however all opinions are my own.
Just curious if you’re still happy with the Dricore floor and was the leveling difficult?
I love this, Kristen! It’s inspiring for a gal like me who is about to tackle a basement reno! Can’t wait to see it as it progresses!
Awesome job guys! And the trough from the low point to the drain is just S-M-R-T! 🙂 Excited to see the next step in your progress.
Wow what a difference the subfloor makes! What a great idea! Our basement could really use this.