This past weekend was the Blog Podium blogging conference in Toronto. It was my first blogging conference, and to say it was a whirlwind is a grave understatement. I met so many awesome people, got to put real faces to twitter profile pics, and learn one hell of a lot about blogging.
The conference was a mix of keynote speakers, workshops, sessions and round tables. There were celebrity sightings (Bryan Baeumler at the DRIcore booth, and Scott McGillivray as a speaker). Copious amounts of coffee consumed, so much talking and learning, and then at the end of the event this happened: Continue reading “That Time I Won a Dyson”
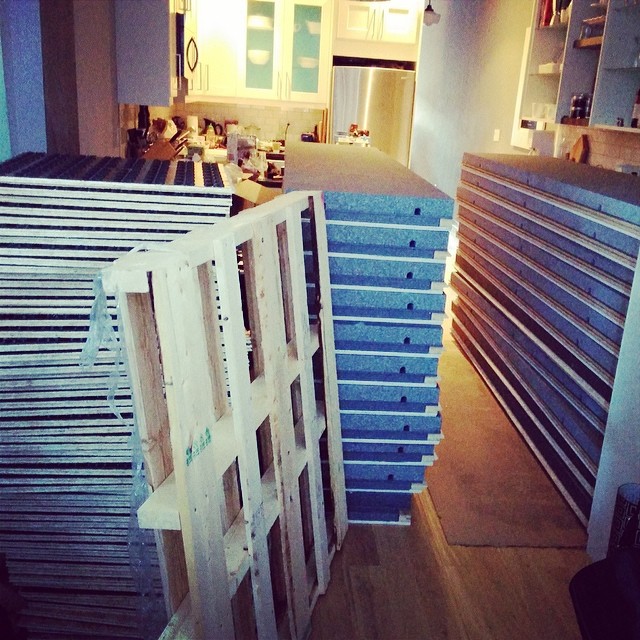
I was really hoping to have a completed DRIcore subfloor to show you guys today, but alas we ran out of leveling shims and left off about 80% done. We are pretty proud of how much we got done though! We got our DRIcore delivery on Friday and El Granto unloaded all the subfloor & SMARTWALL panels into our dining room. Thank goodness for big tough husband muscles. I would have broken down and cried just looking at all that stuff to unload!
DRIcore subfloor and SMARTWALL unloaded into our dining room.
We did knock a few other things off the list since we last spoke (pretend we’re old friends having a lovely chat over tea and scones).
I tried some more wiring scenarios with the basement hall light, and have still come up short. I can only manage to get either the staircase OR the rest of the basement lights to work, not both. Womp womp.
I can only manage to have either the staircase light work OR the basement lights. Not both.
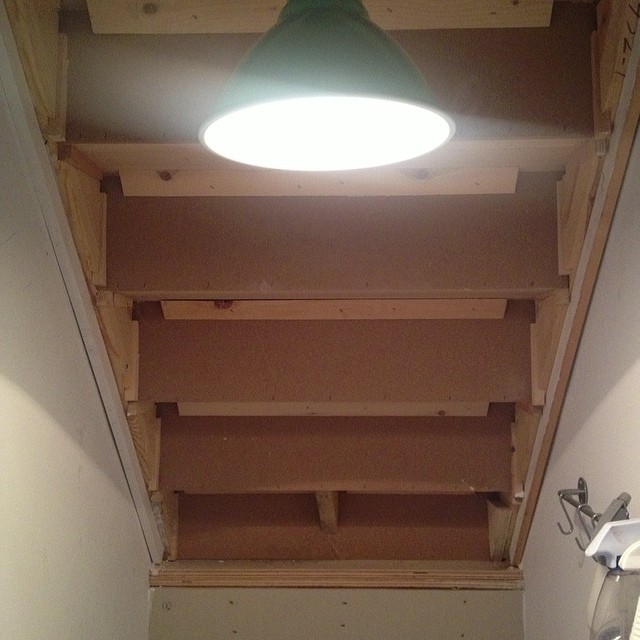
Not to be deterred, I switched gears and set up some DIY scaffolding, which consisted of a leaning ladder and a 2×12.
Kristen’s DIY “Scaffolding”
El Granto didn’t approve, but it actually felt quite sturdy to me! With the “scaffolding” in place I was able to reach most of the basement staircase ceiling (which happens to be the underside of the 2nd floor staircase). Now that we had access I could apply strapping to the staircase ceiling and prep for a new ceiling cladding.
After the strapping was up I could cut my V groove boards that I primed last week. A few cuts and out came the compressor and brad nailer. Most of the time my brad nailer and compressor do the job just fine, but when you’re standing 8 feet over the staircase putting up boards over your head and wrestling with the air cord, I really wish I’d splurged on a cordless brad nailer. This was especially so when my nailer kept misfiring and leaving nail-less holes in my board. Note to Santa, please bring Kristen a cordless brad nailer for Christmas, it will cut down on her volume of profanities exponentially. xox
Up went the first 8 boards and I was incredibly exited to see the transformation. The rest of the boards will have to hold off until I can fix the (insert string of expletives here) new staircase light. Then they need to be caulked, holes filled and painted.
Basement ceiling cladding going up
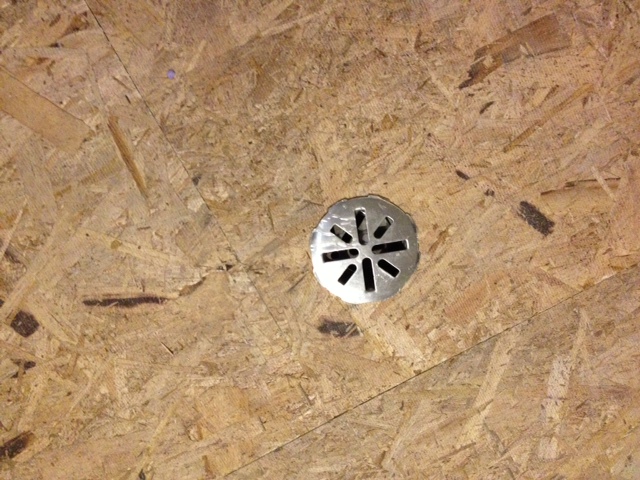
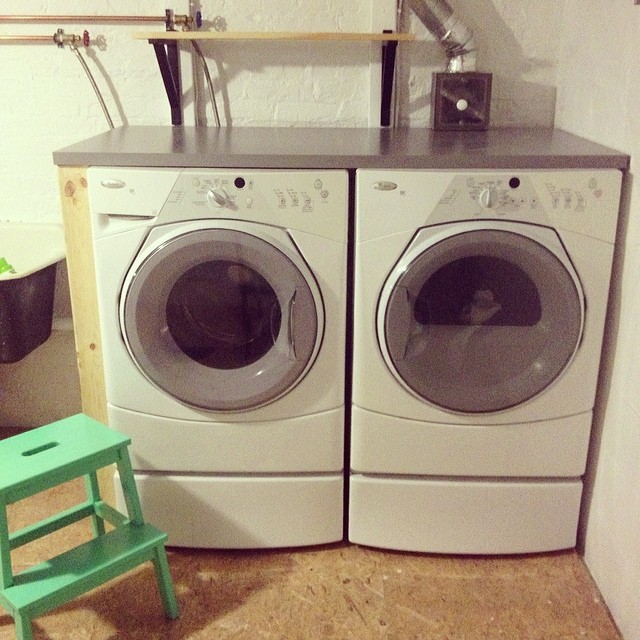
Next up was tackling another one of my problem areas from last weekend: the new washer & dryer countertop. It was too tall to fit under the wall mounted lint trap. So out came the washer & dryer (again!) and we lowered the leveling feet, re-leveled them and re-taped the dryer vent and voila! The counter now fits. To get the counter to slide all the way back to the wall we broke out the jig saw and cut a notch for the dryer vent. The counter slid in perfectly, and we will now have no lost socks behind the dryer! Can I get a woot woot?
Next up on the task list was installing a little shelf over the washer & dryer to hold laundry detergent etc. Two Ikea black shelf bracket and a scrap piece of pine later as we had ourselves a shelf.
Washer & Dryer countertop and new shelf installed
This week we would like to tackle painting the basement stairs, and this weekend finish off the DRIcore subfloor and start tackling the walls!
What project were you working on this weekend? How did it go?
About a week and a half ago we unhooked our washer and dryer and moved them to the middle of the room so we could waterproof paint behind them. We also wanted to attach the laundry pedestals we have had in the boxes for (cough cough) two years.
We accomplished that last week, but we couldn’t put the laundry pair back until we installed the DRIcore subfloor below it. However, our DRIcore delivery isn’t scheduled until later this week. Aaaand the dirty laundry was starting to pile up.
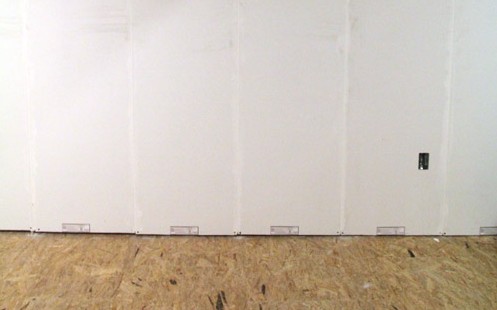
With the subfloor project at least a week away we decided we needed to remedy the laundry situation. We picked up 6 DRIcore subfloor panels and some foil tape, and set to reinstalling the laundry.
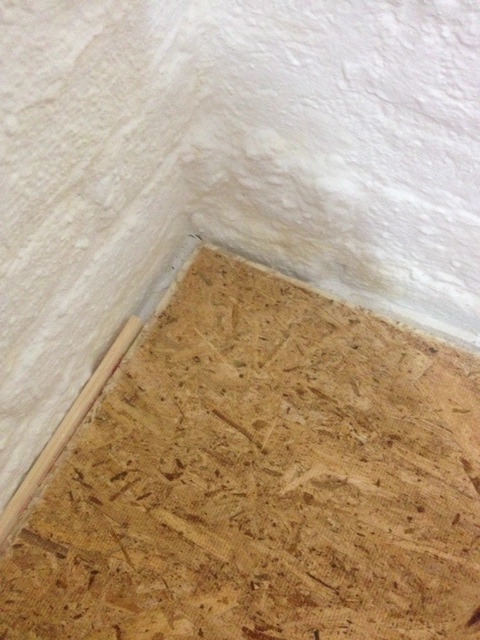
We measured our room and planned our DRIcore subfloor layout (more on this in another post), and installed 6 pieces under the laundry pair.
Installing the first piece of DRIcore Subfloor
This isn’t ideal (we should really lay the whole floor at once) but this gal wanted some clean clothes to wear to the office that weren’t track paints and paint covered high school basketball T-shirts.
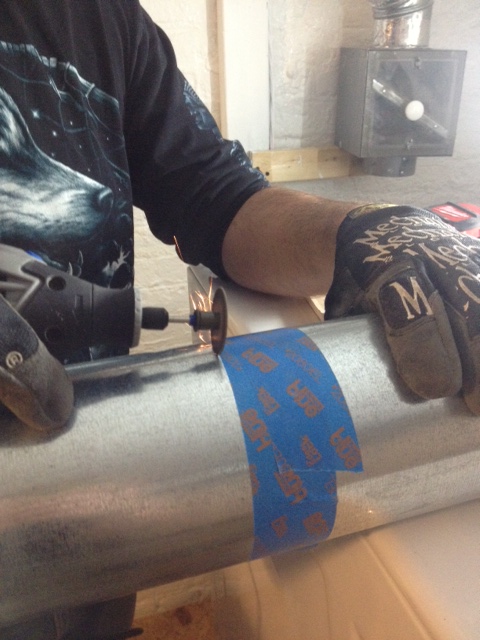
After the DRIcore was laid, we measured for our hard duct line for the dryer. As we had added laundry pedestals and the DRIcore subfloor, the vent line needed to be over a foot shorter. So out came the Dremel and a metal cutting wheel and El Granto cut down the dryer vent line.
El Granto cutting the dryer vent
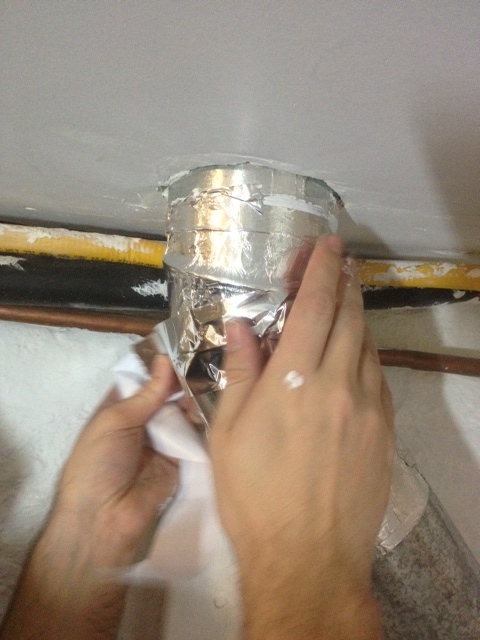
We reinstalled and taped the seams with new foil tape. (or should I say I cut El Granto some pieces of tape, and he reinstalled).
Taping seams in the dryer duct-work with foil tape.
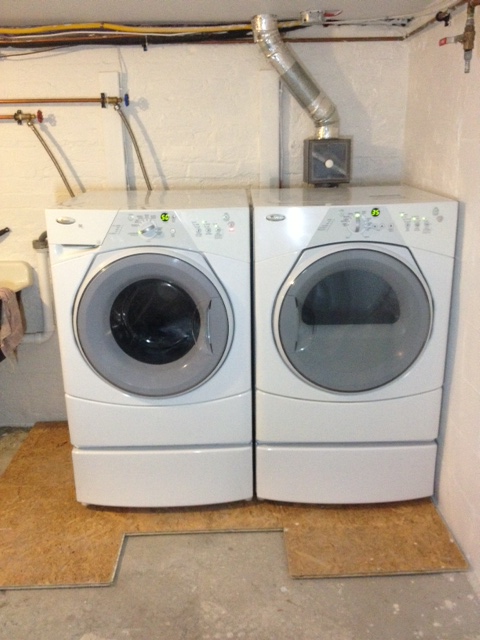
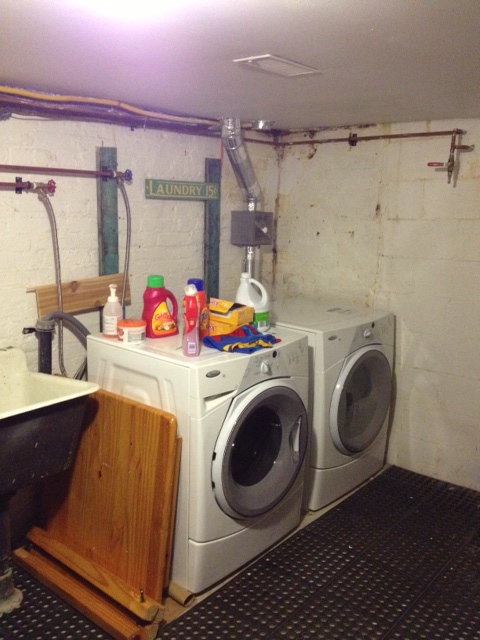
Now we could level the dryer using the adjustable feet in the laundry pedestals. A few turns of the wrench and everything was nice and level. Next we replaced the washer, hooked it up and leveled it as well. We then matched the heights of the washer an dryer and placed them side by side.
Washer & Dryer re-installed
I am kicking myself for not installing the laundry pedestals sooner. It is so much nicer not to bend over to switch the laundry!
The room is also starting to come together. With the washer & dryer back in place, you can really start to see the contrast of what it used to look like.
Remember this?
Laundry room before
I cant wait to get the rest of the DRIcore subfloor in and get started on the walls!