When we last left the basement, we had laid the DRIcore subfloor and installed the SMARTWALL wall finishing system. Then we ran into spring, and had to move our work outside. So what was left on our basement list? Get some paint on the walls, and some flooring on the floors. Then we could move to the pretty finishing touches!
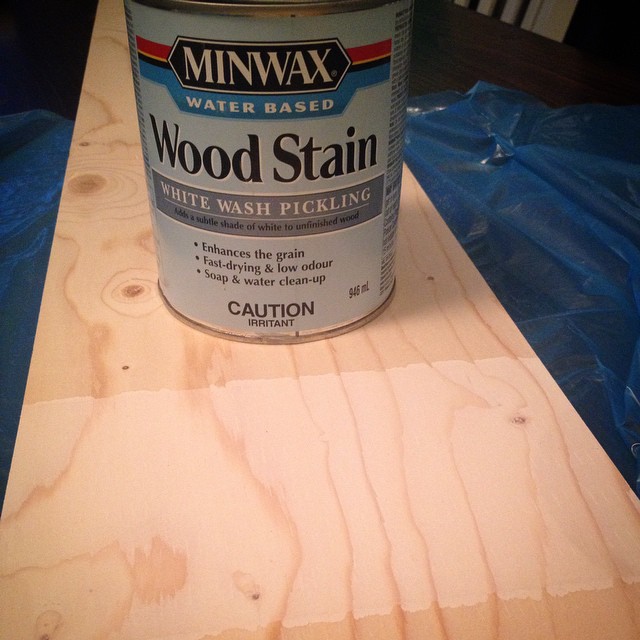
So let’s talk basement flooring. I was inspired by white soaped floors while in Denmark. I even wrote a post on them.
So how do I plan on getting it?
A few weeks ago I sanded and sanded and sanded a piece of the plywood, and applied some test stains. I tried Weathered Oak, Grey, and White Wash Pickling Stain. There was one clear winner. The Minwax White Wash Picking stain.
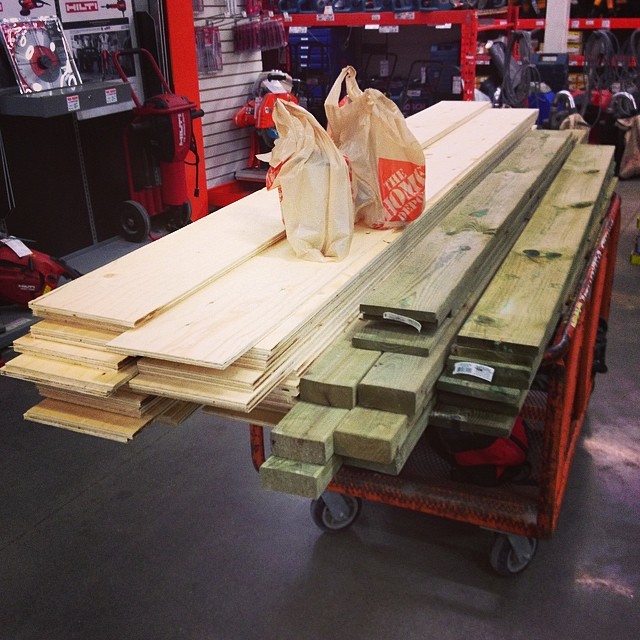
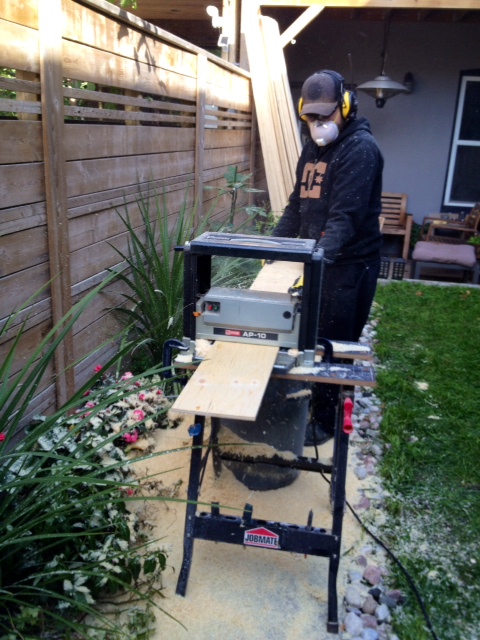
Now to deal with the sanding issue. We could lay the whole floor, then rent a floor sander and go at the whole thing. Problem is, we could easily sand through the first layer of plywood with the big sander thus ruining the floor. Next idea… use a belt sander and orbital to sand each board before laying. Okay idea, but still very very time consuming. Third idea: rent, beg, borrow or steal a planer and gently shave off a tiny bit of the boards.
While a planer may be on my Christmas list (please Santa please!) Such an expensive tool could not be justified for this project. Enter the begging and borrowing. When we got our new Milwaukee sliding compound miter saw, we gave our old 10″ slider to my Dad. He was building a deck, and his saw wouldn’t handle 6″ wide boards. So I causally mentioned the gifted saw, smiled a sheepish good daughter smile, and asked to borrow his planer. He said yes! His beast of a planer (this thing is solid metal and must weigh 100lbs) came home with us at Thanksgiving. Thanks Dad!
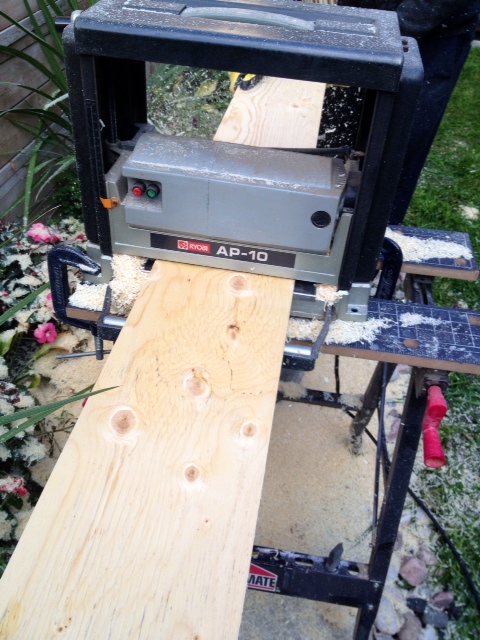
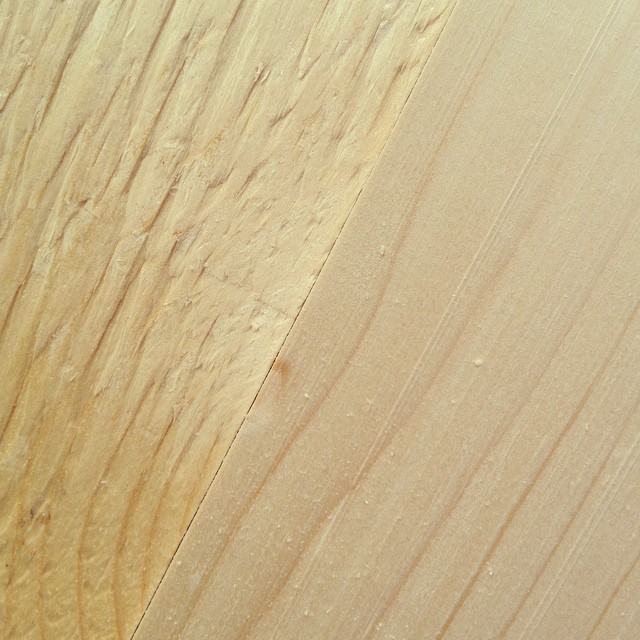
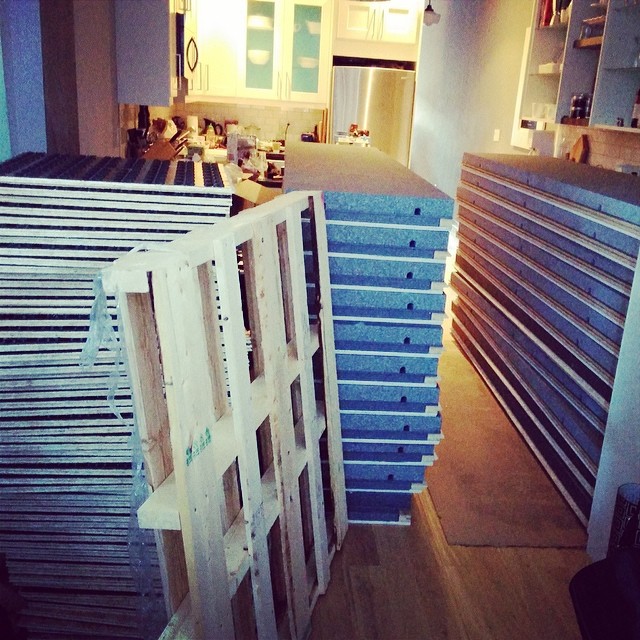
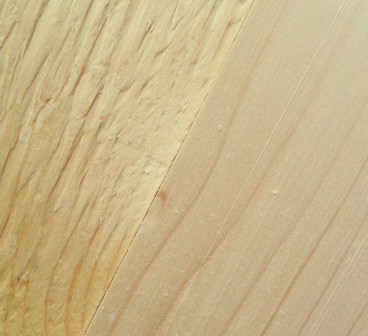
Right: after planing
We did run into a few issues with the knots tearing out in the planer. We will strategically cut out the bad parts when we lay the floor, and then wood fill and sand the others before staining.
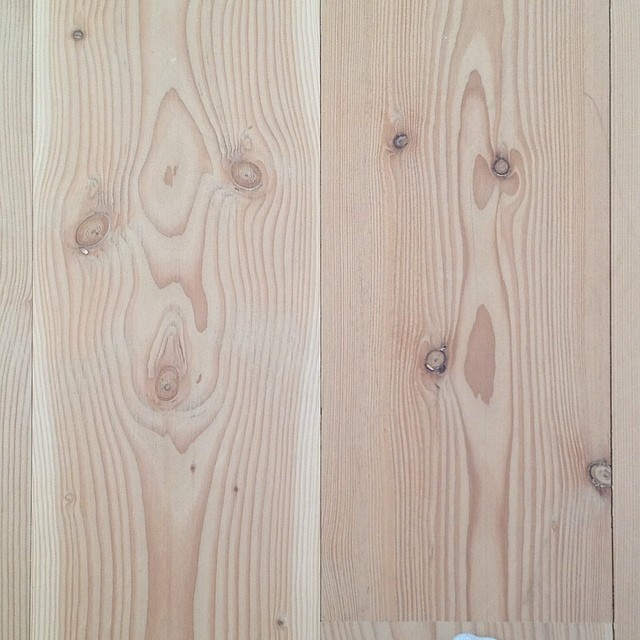
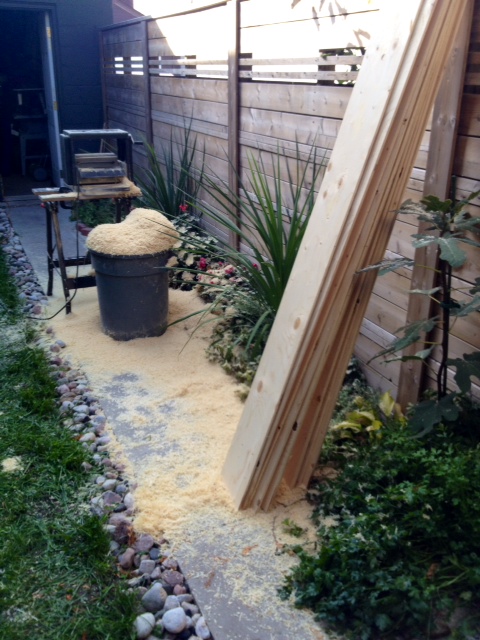
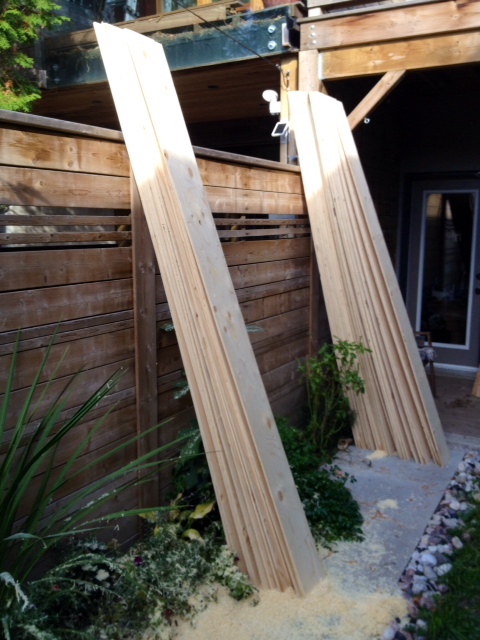
We got all the flooring planed, and it is stacked back in the basement ready to be laid. I would like to get the basement wall painted before laying the floor. Is it wishful thinking that I could paint it after work one day this week? Hahaha yeah.