I had epic plans for a kitchen makeover this year. You can see my wish list here, and my “timeline” here. HA HA! Why do I make lists?
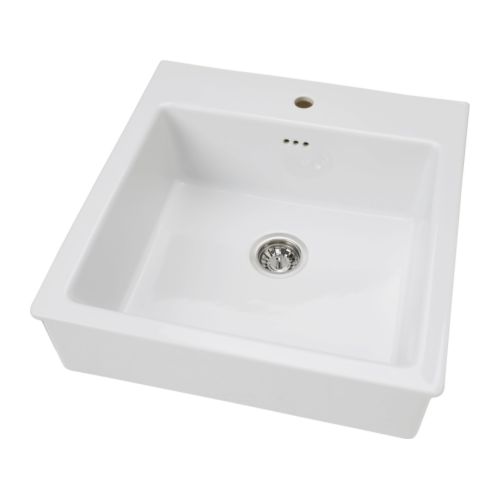
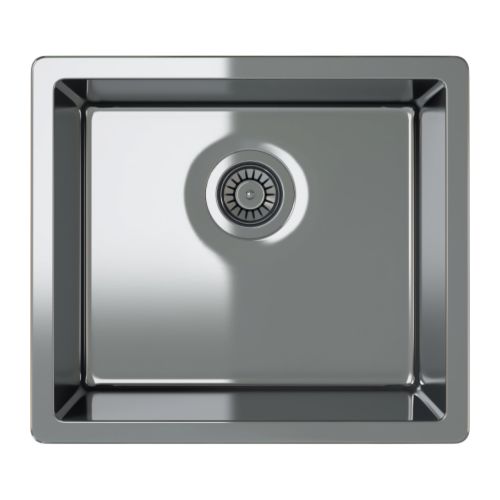
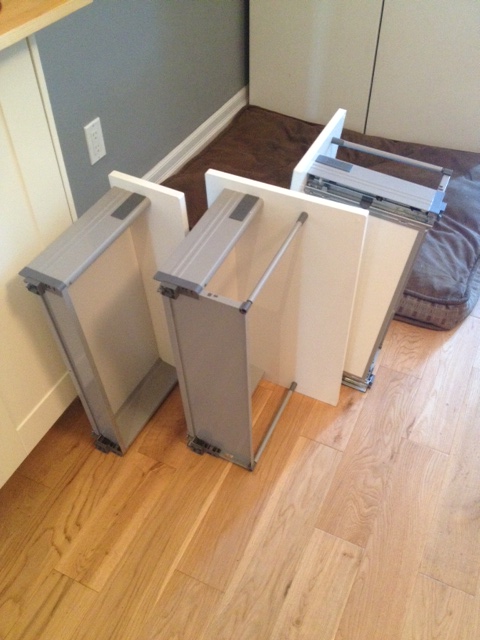
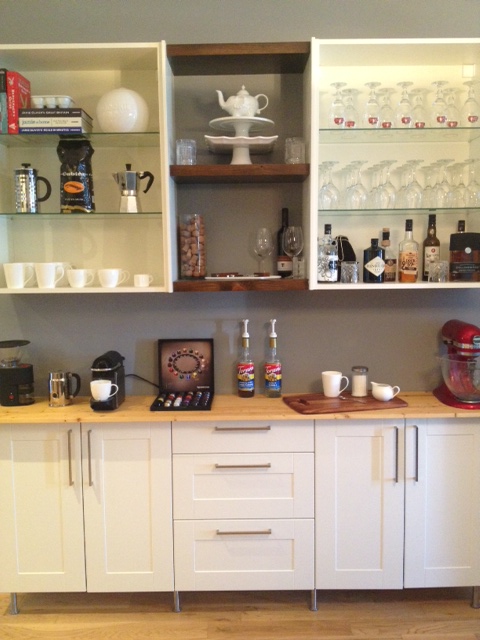
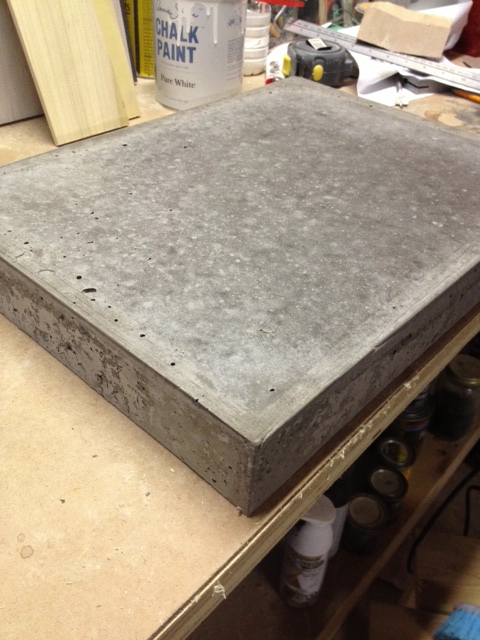
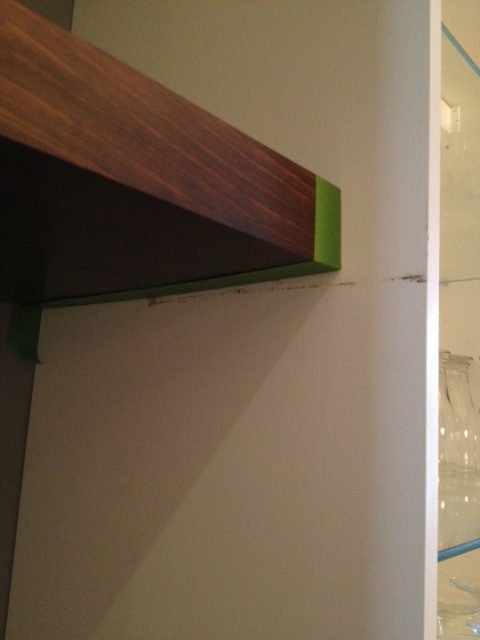
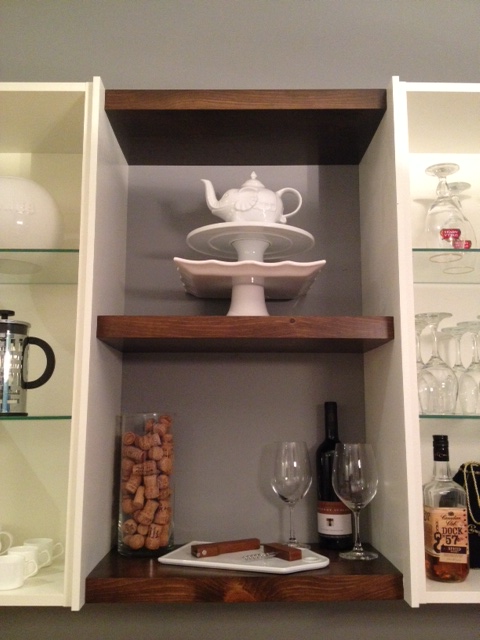
Well we have been getting some things done in the kitchen/dining room. The coffee bar got drawers, we made a new dining table and bench, bought a sink, and I have finally made some progress in my plans for a DIY concrete countertops.

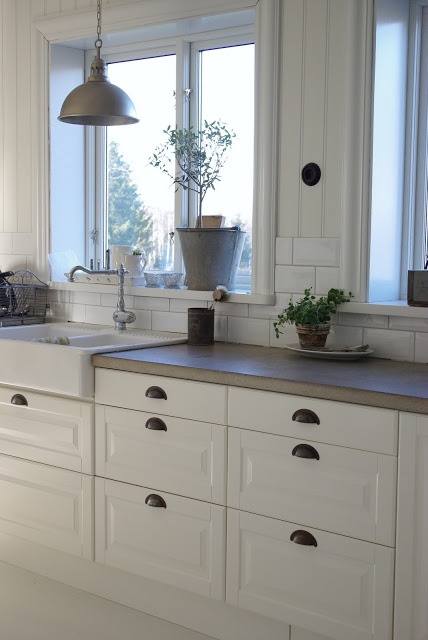
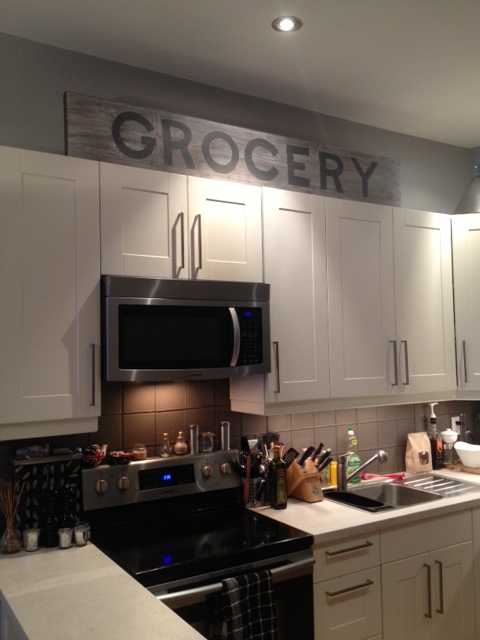
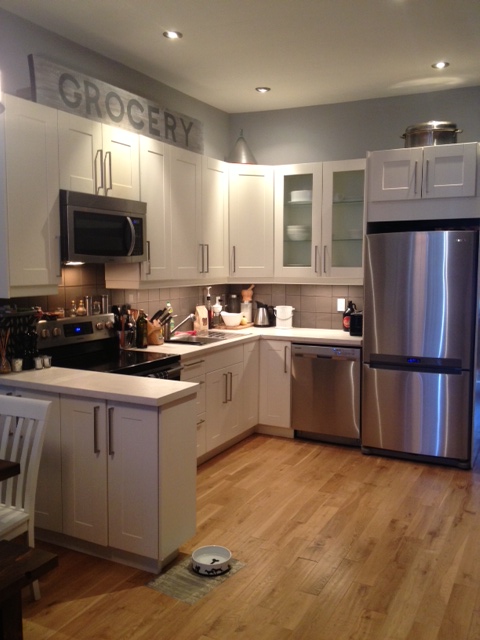
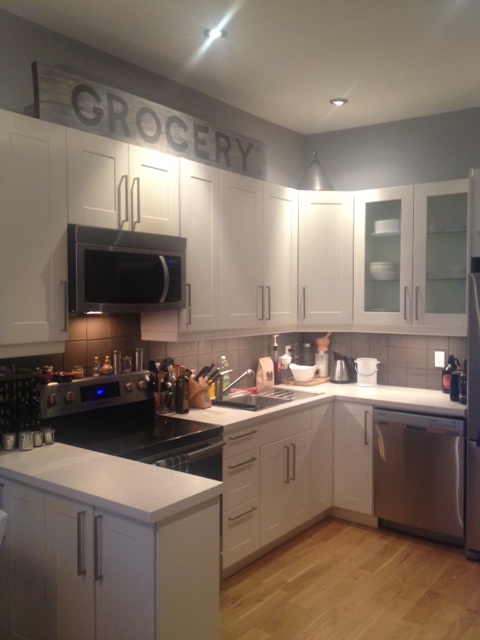
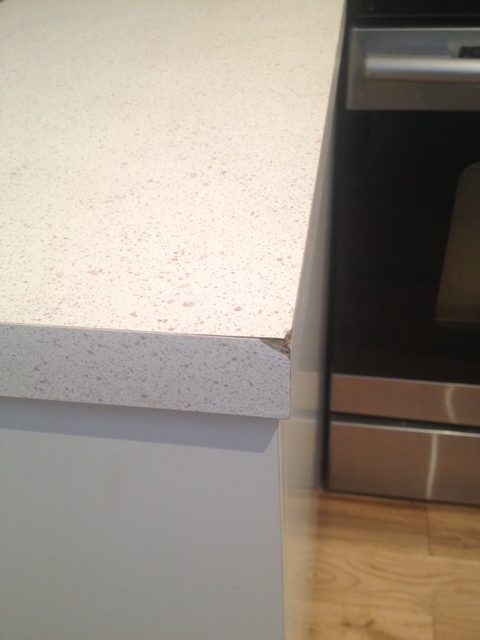
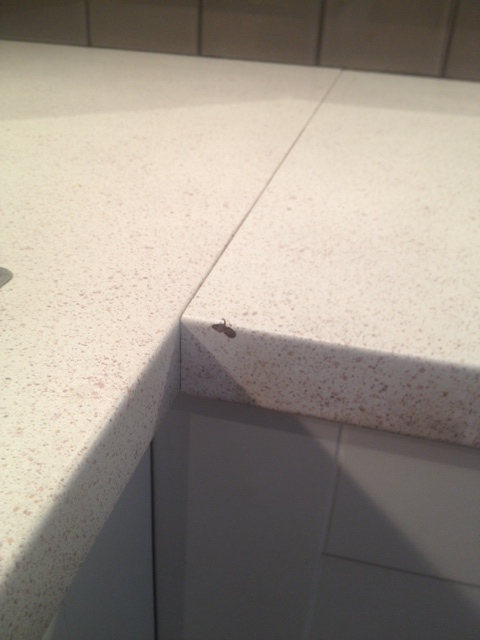
As you can see from the photo above we have laminate counters. They look okay in the pic right? White-ish and nondescript? Yeah except they’re this flecked beige design (bleh), and during the move & renos they got two bashes in them, as well as the laminate started to peel up after I ran the self cleaning cycle on my oven. There’s also a seam that I’m not the biggest fan of.
Awesome, right?
So DIY concrete countertops are high on my want list. Now you may also know that I am a planner. I’m not just gonna head to the hardware store, fill up a rental van with bags of concrete and start making things. I have to research, and plan. Cause if you don’t, projects go astray, money gets wasted, things take way longer than they should, and you may end up with some really heavy junk.
So it was time to research, plan and make some lists.
Project Concrete Countertops TO DO LIST:
- Research concrete countertop mixes, techniques, colors and sealers
- Calculate materials & required tools
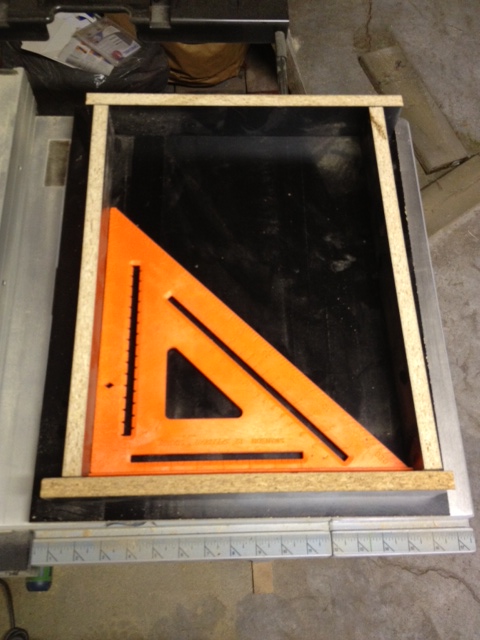
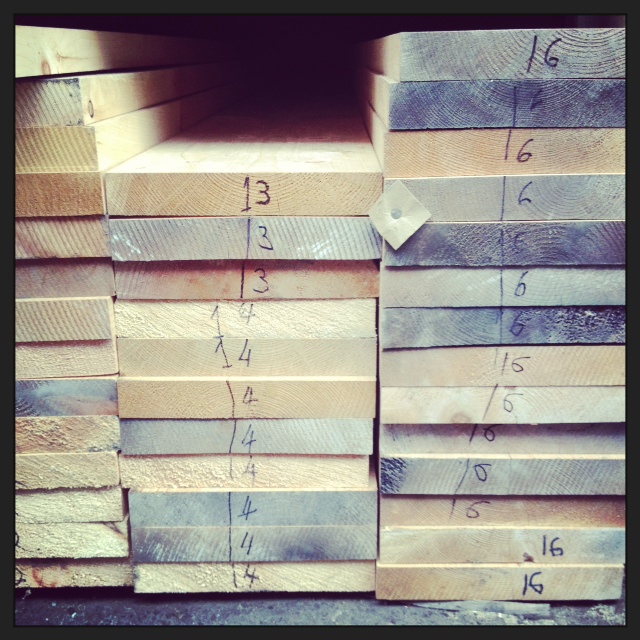
- Plan, measure & make templates
- Demo current countertops, sink & backsplash
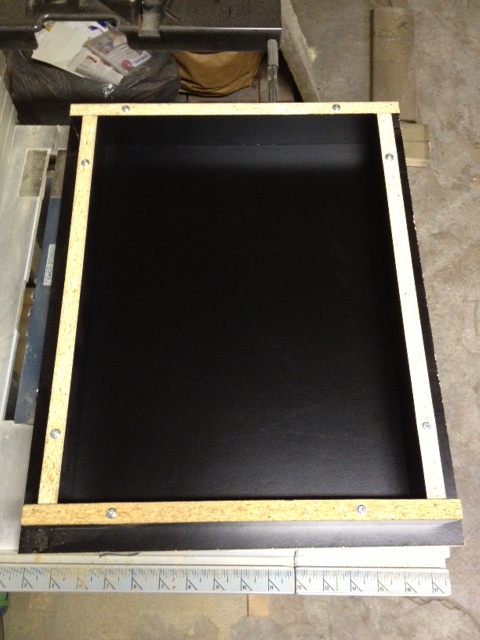
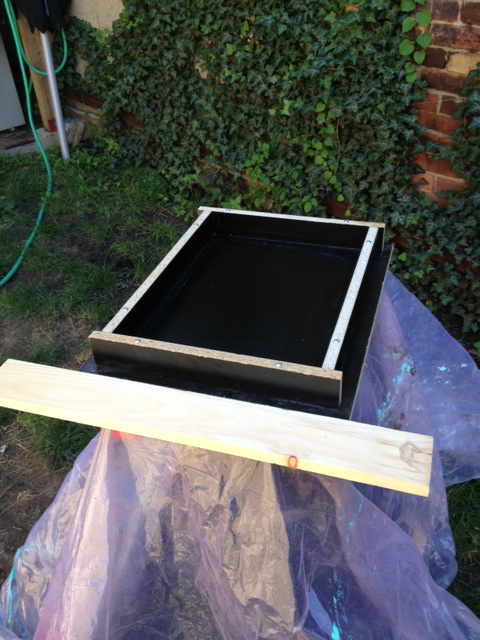
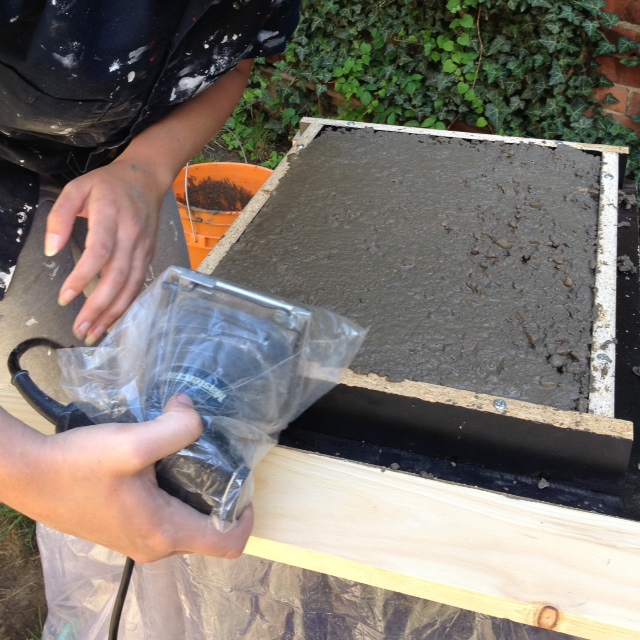
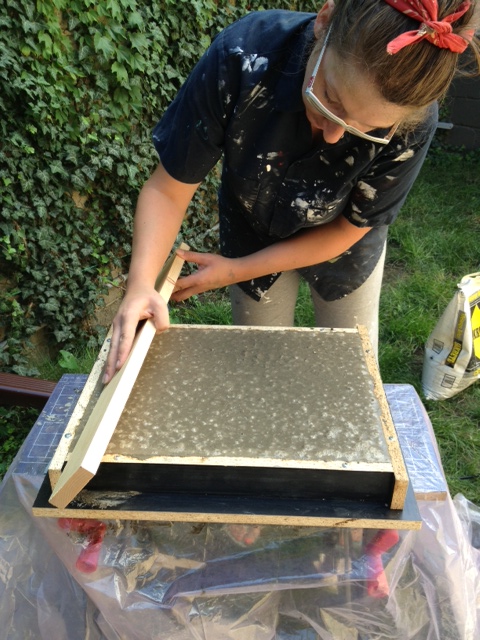
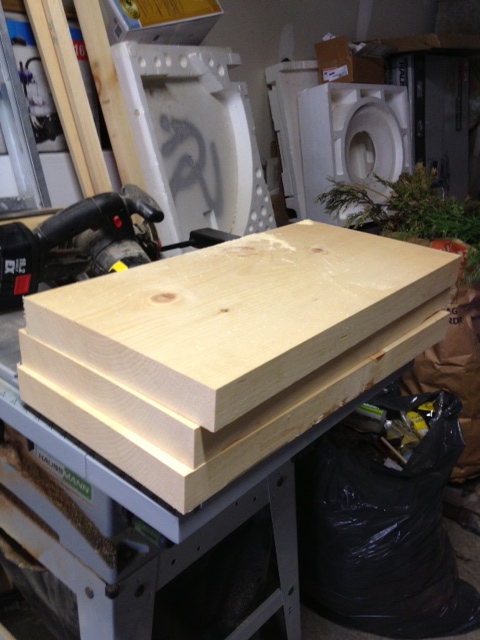
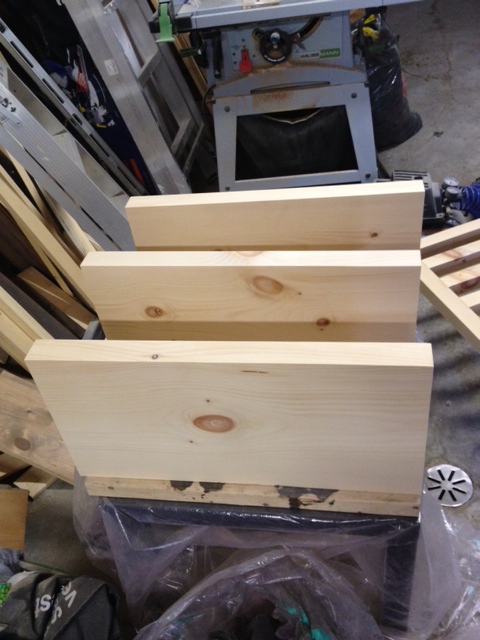
- Build forms
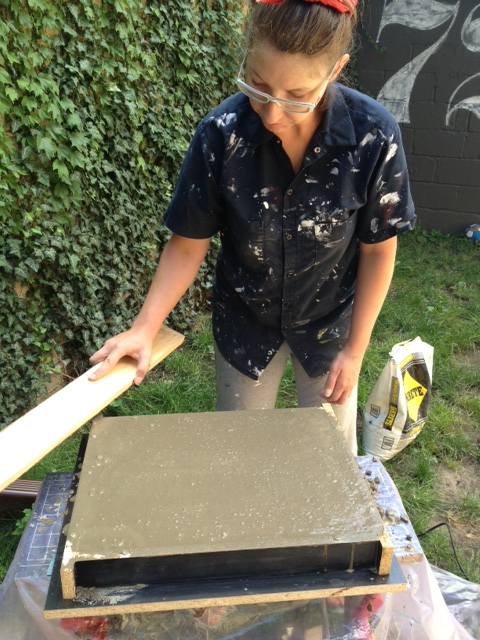
- Mix & pour
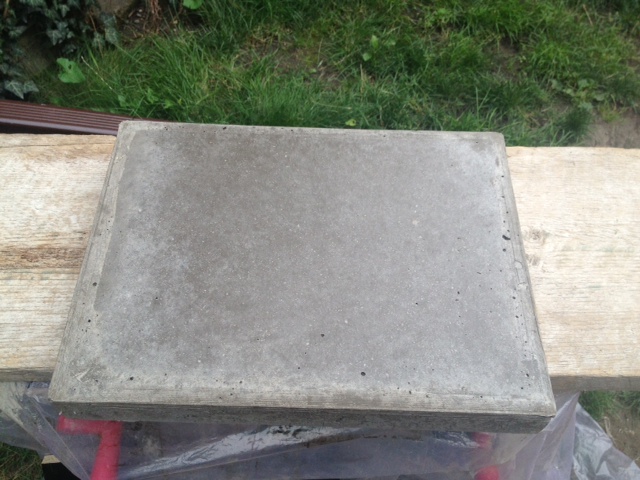
- Unmold, fill, sand & polish
- Install & seal
- New tile backsplash
We have started to prep and calculate, and get our proverbial sh$t together, and THIS WEEKEND is the big pour. I am excited and scared all at the same time. My kitchen is about to get a whole lot less cracked and busted, and a whole lot more grown up!
Don’t worry, we will do the whole process from start to finish with you including a planning guide, all the prep and template making, the mold fabrication, mixing and “pouring”, finishing, installing and sealing. I know its a complex project, so I think we’ll break out some video to help you re-create your own project at home.
In the meantime, make sure to check in on our progress on our Facebook and my Instagram, we will be posting some status update shots and outtakes until we have enough time to post everything here in detail.