Thanks guys for all the kind comments on last weeks concrete countertops reveal! Also a big thanks to Apartment Therapy for sharing our project, and welcome to new readers from AP!
We’ve got a bit more housekeeping to do on the countertops before we’re done. After we brought them into the house, they needed to be installed, sealed & caulked.
This may sound like the boring parts, but they are the most important (seriously). If you don’t seal the countertops properly, they will stain and mark and you’ll be peeved. I think most people that give concrete countertops a bad rap, have skipped this important step, or didn’t use the right sealer.
Okay, lets get sealing! Now, you do not want to go out and buy a concrete patio sealer from the hardware store. A.) You won’t know how it will turn out, B.) it could wreck your protect and C.) It’s probably not foodsafe. So just buy actual concrete counter sealer, m’kay?
We used Buddy Rhodes Satin Sealer cause its super easy to apply and works well.

After our counters dried a few more days (leave it a week if you can). We applied about 7 or 8 coats of sealer with a soft (clean) microfiber cloth.
I made a video of myself applying said sealer, then viewed it, and realized I maybe should have, oh I dunno, washed my hair, or changed out of my work clothes so that I didn’t look like a complete mess. So instead I give you a much better video of Buddy himself applying the sealer.
How do you know when to stop applying the sealer? Essentially when the surface of the concrete looks uniformly coated. Then do a test to see if it repels water (if the water beads up). If the water soaks in, you need more sealer (just wait for it to dry out first).
Our counters were a bit too wet when we first sealed them (and the sealer couldn’t soak in as much as it could have), so we ended up putting a few more coats of sealer on a week or so after when we noticed the counters were starting to absorb water.
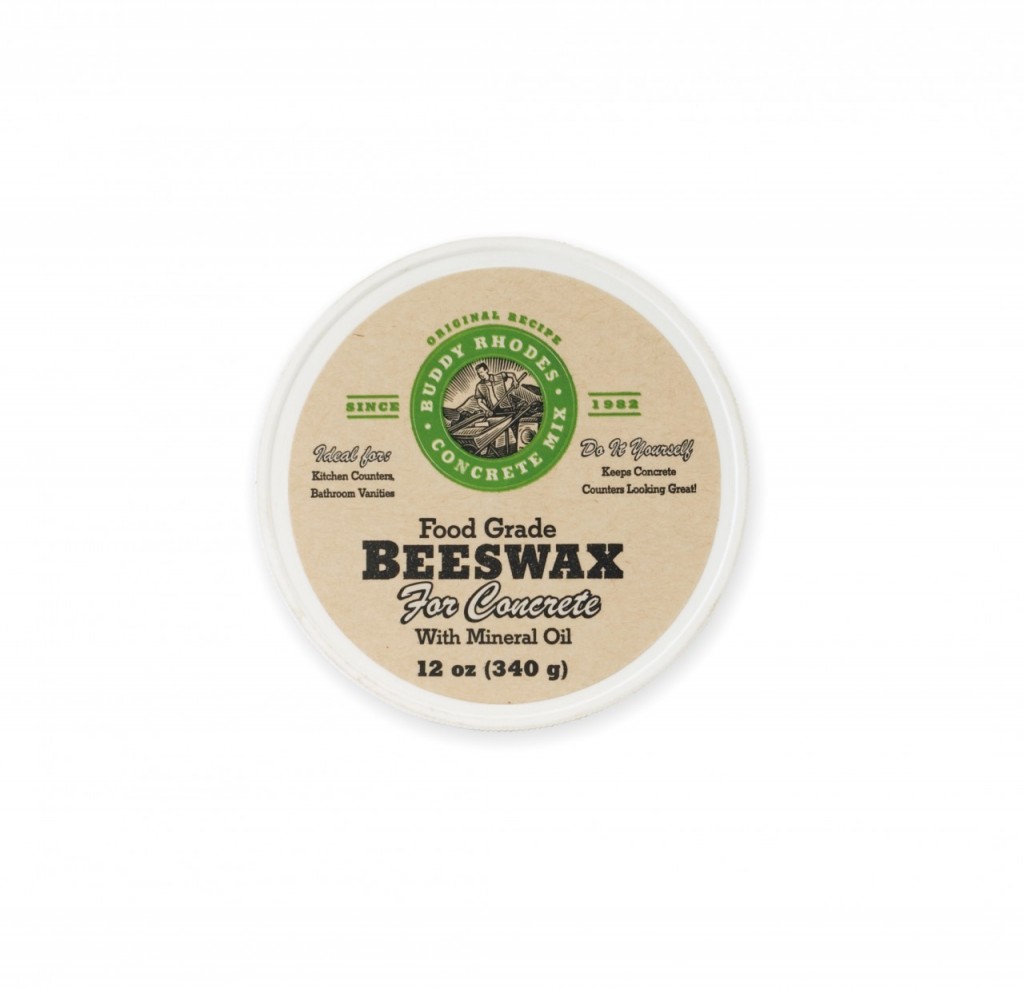
You can also finish with a beeswax to add even more protection (only after your counters are super sealed).
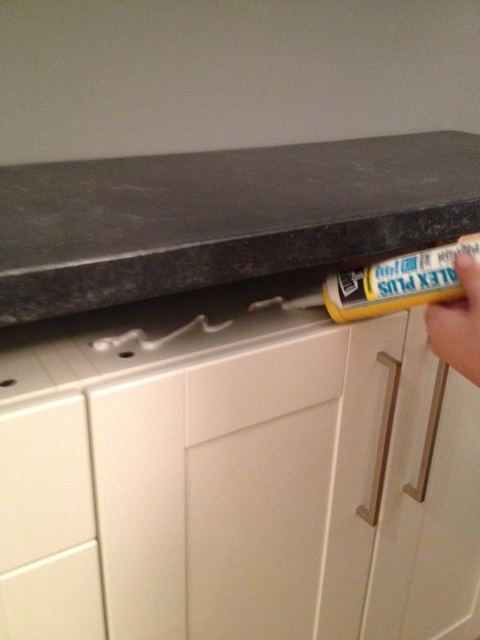
After they were sealed and we were happy as clams, we attached the counters to the cabinets using some latex caulking w/ silicone. We lifted the countertops, squirted in some caulking (we used about a tube for the whole kitchen) and put the countertops in place and let everything dry.
Then we caulked the countertop edges where they met the wall and cabinets.
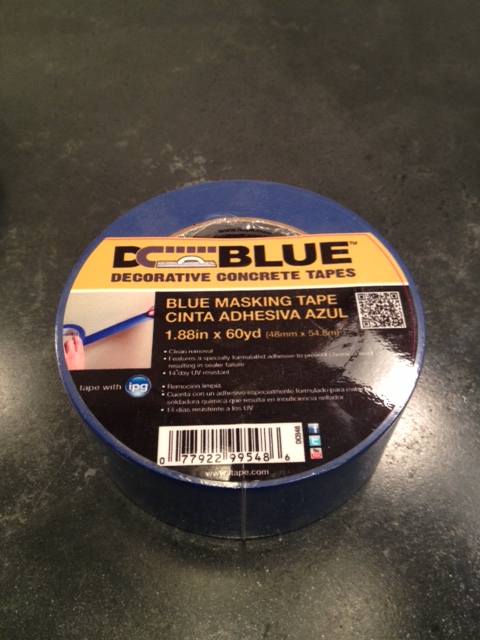
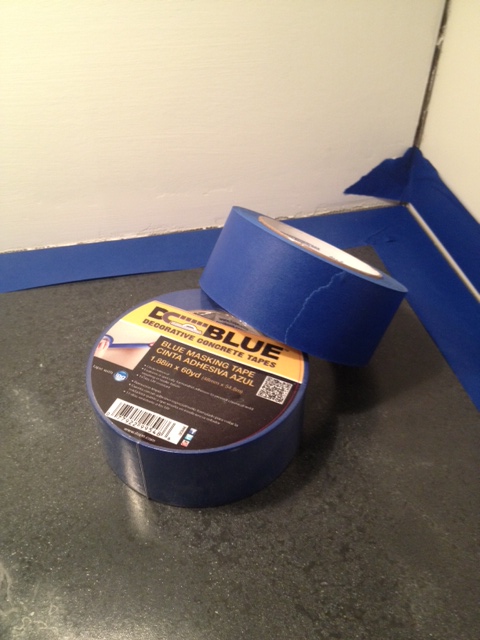
Do NOT put regular masking tape on your countertops while caulking. Regular masking tape can react with your sealer and cause huge problems (aka chemical weld). You NEED to use a concrete sealer safe tape. This one is well priced, works great and easy to find at your local big box hardware store:
Why is this so important:
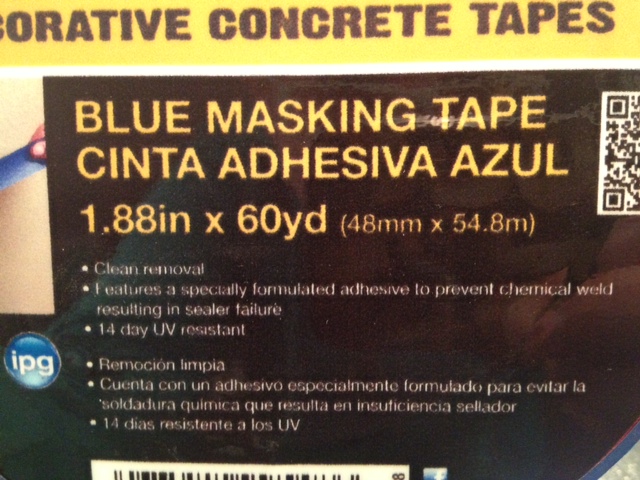
“Features a specially formulated adhesive to prevent chemical weld resulting in sealer failure”
So yeah, don’t mess up your concrete by being a cheap-o and using regular tape.
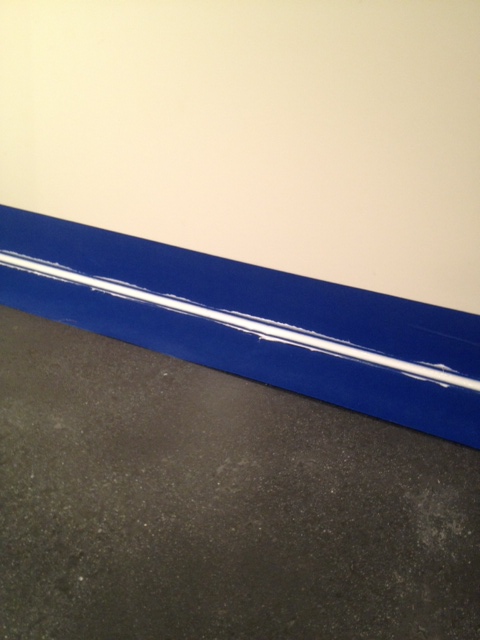
Tape off your countertop & cabinets/sink with the concrete tape, and tape off your walls with regular masking tape, and apply your caulking.
Smooth the caulking out, remove excess caulk, and then remove the tape & let dry.
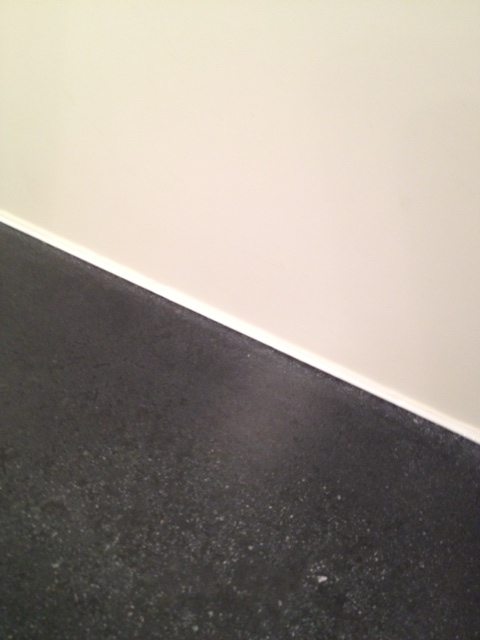
At this point in time I actually started letting people touch the countertops, and even look at them!
The concrete is not indestructible. You still need to take care of it, and try to prevent stains. Aka don’t go cutting lemons on the countertop, and clean up oil after it splatters or spills. Oils & acids are the nemesis of almost all natural stone, and concrete is not exempt from that. Clean up spills, and don’t leave things hanging about, and your countertops will do just fine.
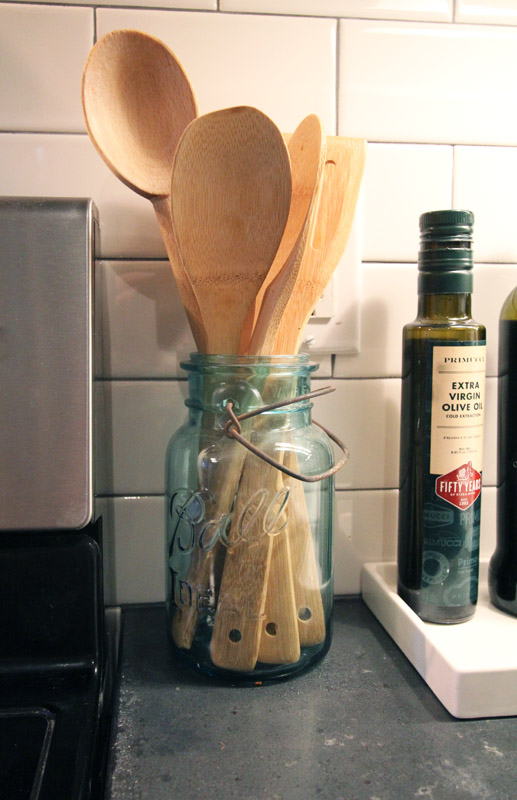
I am an avid cook, and usually have olive oil & balsamic close at hand. I used a small ceramic tray to hold my oft used bottles, to prevent possible rings forming on the countertops over time. (I can never manage NOT to drip oil down the side of a bottle!).
This project is part of Project Concrete Countertops. Make sure you check out the rest of the series starting with Concrete Countertops – The Mix, The Templates, The Forms, The Pour, Fill & Sand & The Reveal.
*We were gifted some (awesome) Buddy Rhodes Concrete Products, but all opinions are our own!
Kristen – first, awesome. Your new kitchen looks amazing. Second, I was wondering if you had an update 3 years in. How are they holding up? Would you do anything different looking back? thanks!
Kristen, Your series is fantastic! I met Jeremy at Haven this year and will be pouring our own vanity counter this weekend. Thanks so much for sharing your details! Your tips were positively helpful Thanks again!
Countertops look awesome! I am about to build concrete countertops myself, but I am not going to use Buddy’s concrete (would love to but too spendy for now), but i am going to use his sealer. But the question is, did you just use the Satin sealer, or did you also use his penetrating sealer? the website states the penetrating sealer is part 1 of a 3 part system, with satin being the second, and his wax being the 3rd. Did the pro, Jeremy, suggest skipping the penetrating?
Hey Bradly,
I’m not sure the in’s & outs of the sealer and what is best. Try asking the experts at ask.buddyrhodes.com (those guys know waaaay more than me!) Good luck with your project!
Fantastic job! You are in good hands with Jeremy, that wise guy is a pro. I work very close with BUddy Rhodes with distribution and Tech Support if you or anyone ever needs help or pricing. Thanks all, and seriously awesome job!!!!
I’m a new reader from AT, and this series has given me so much hope! I dream of having concrete countertops in my kitchen. Just to clarify, are you saying that you dry-fit the countertops, sealed them in place, then attached them to the cabinets? Is there a reason you did it in this order, rather than permanently attaching them first?
Hi Stacy,
Thanks for visiting!
We sealed before permanently attaching so that we could seal the edges easier (especially around the apron front sink). It just seemed easier to be able to move the pieces around and away from the wall for better access. I’m sure you could do it either way!