You may remember on my kitchen wish list a few months ago, I was crushing hard on the butcher series of prints from a local shop Smash Gallery.

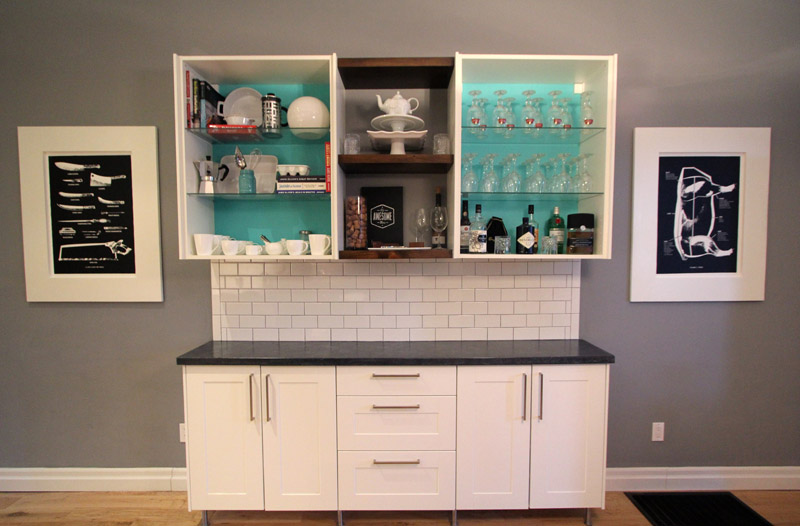
They make awesome prints, but I especially loved the butcher series, and have been dying to put them in our house somewhere. As the kitchen reno was drawing to a close I knew this was my perfect chance to grab a couple prints.
I purchased the Pork print and the Knives print. It was hard to decide between all of them, and truth be told I may have to go back and get the beef one as well.
So with both my new Pork & Knife print in hand, I set out to create some fun & inexpensive frames. I could go with a standard Ikea frame, but I wanted something larger for the kitchen. When most of my options came up too expensive, I decided to make a quick & easy frame for myself.

DIY Large Frame (amount/cuts are for one frame, double for two)
Supplies:
- 1 – 1×6 pine board @ 8′
- 1 – 1×6 pine board @ 6′
- 1 – 2×4′ handy panel of 1/8″ mdf or hardboard
- Kreg Jig
- 1 1/3″ pocket hole screws
- Wood Glue
- Finishing supplies (sanding supplies & paint or stain & poly)
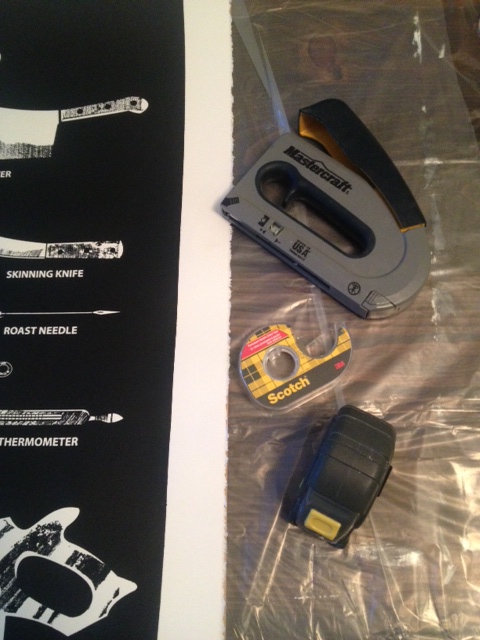
- Staple Gun & Staples
- Double Sided Tape
- Miter Saw (If you dont have a miter saw you can use a hand saw and miter box, or just do straight cuts and have the hardware store cut your wood for you)
How To:
- Measure your artwork (ours was 22″ x 30″) & decide on frame size (we opted to make the inside of our frame 21″ x 29″)
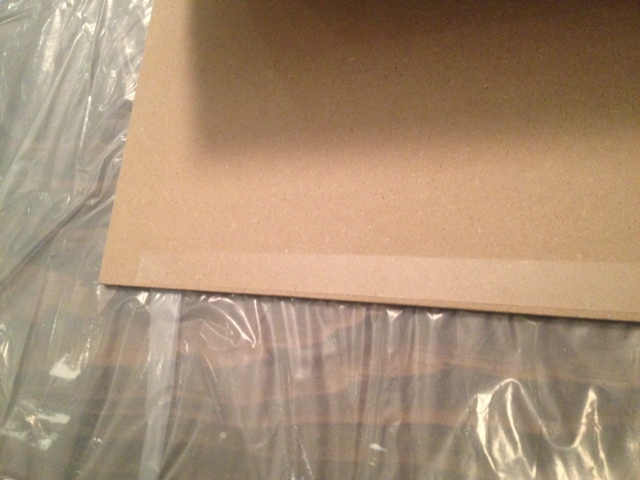
- Get hardware store to cut your mdf to size (ours was cut to the same size as the print, 22×30″)
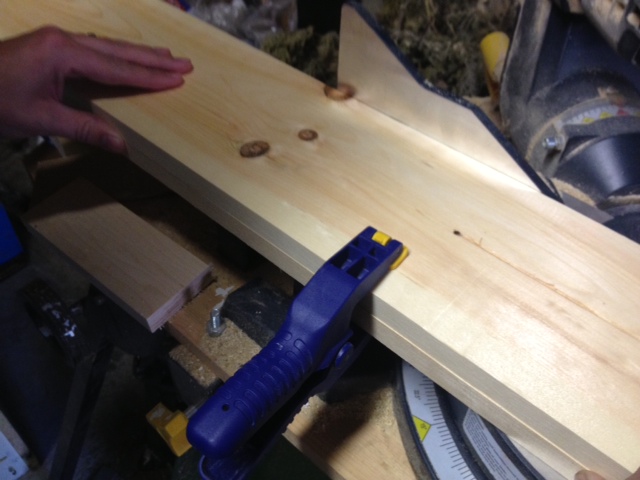
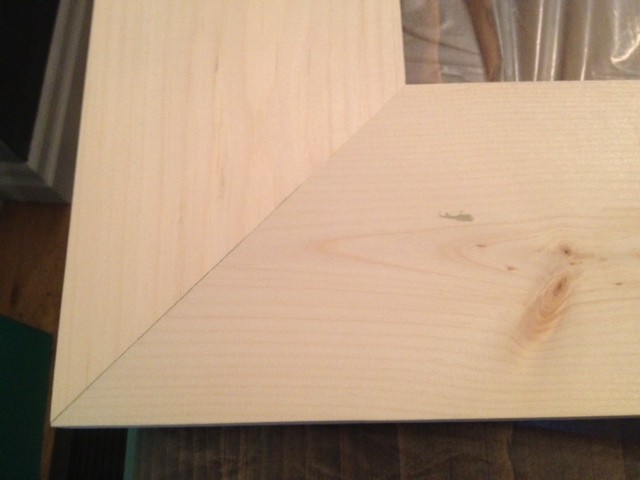
- Using a miter saw cut your frame pieces to length. To ensure your frame will be nice and square, cut both side pieces together. We clamped ours together with a few wood clamps. Cut one end to a 45degree, then flip your wood, measure & mark, and make your second cut. (in our case it was 29″ for the sides, and 21″ for the top & bottom) Repeat for the other pieces of your frame.
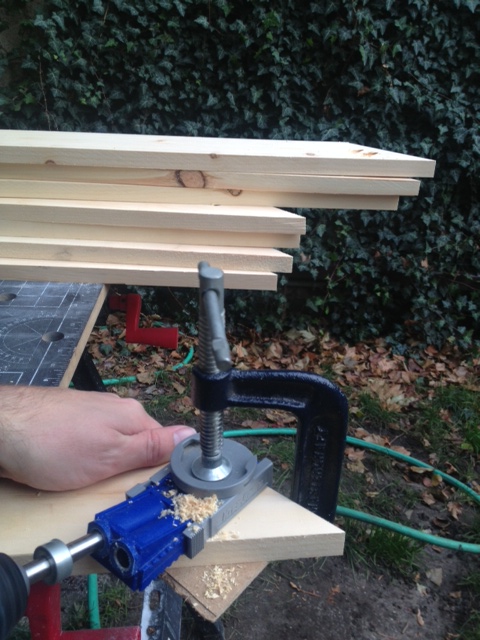
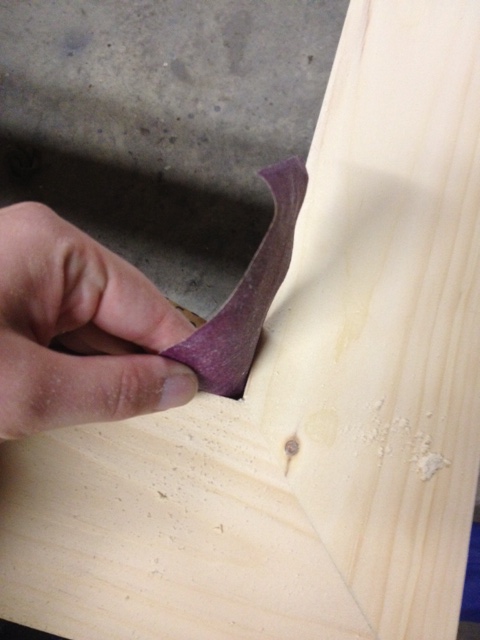
- Lightly sand off any of your imperfections on the edges, and drill two Kreg pocket holes in the angle of each of your side pieces.
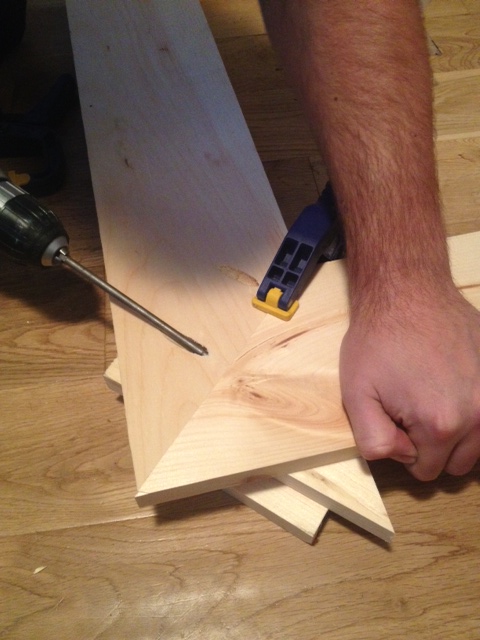
- Assemble your frame with Kreg screws.
- Fill any holes or gaps with wood filler, and sand your entire piece.
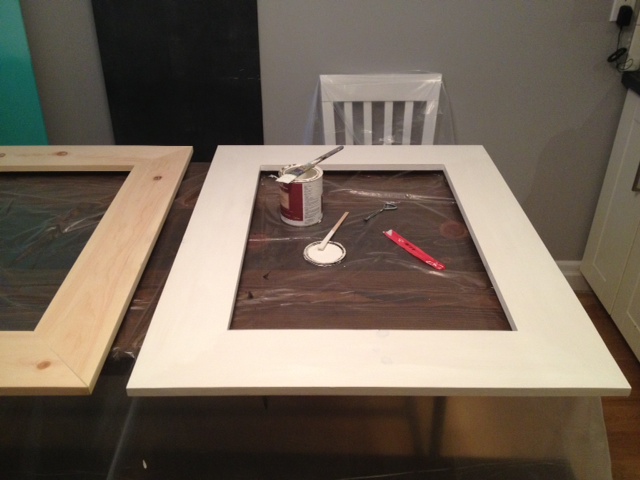
- Finish with paint or stain.

- Attach print to backer board with double sided tape.
- Staple backer board to back of the frame making sure your image is centered.

- Attach method of hanging. I like those little jagged hangie thingies (yes that’s the technical term.)
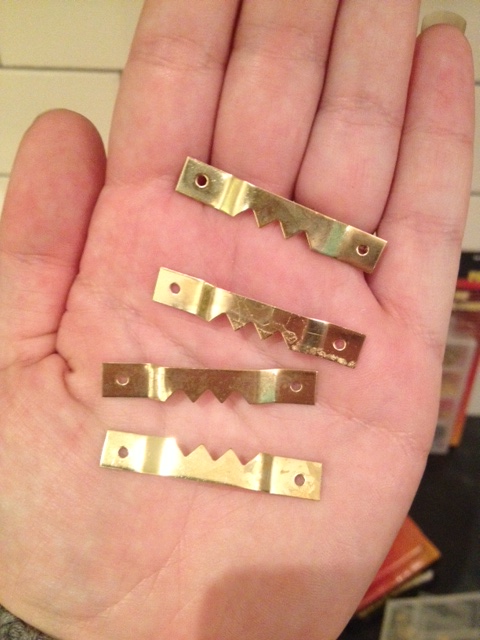
Hang & pat yourself on the back, cause your framing project looks super awesome.
SOURCE LIST:
Materials & Tools: (See Above)
Difficulty Level (on a scale of 1-5):
Total Cost: $55 ($40 for the print, and $15 for the frame)
I always buy my frames and I’m never totally satisfied with the ones I can afford. I’ve thought about buying frame stock and making my own but I haven’t made the commitment yet. You guys made it look easy. You’ve shamed me. 🙂