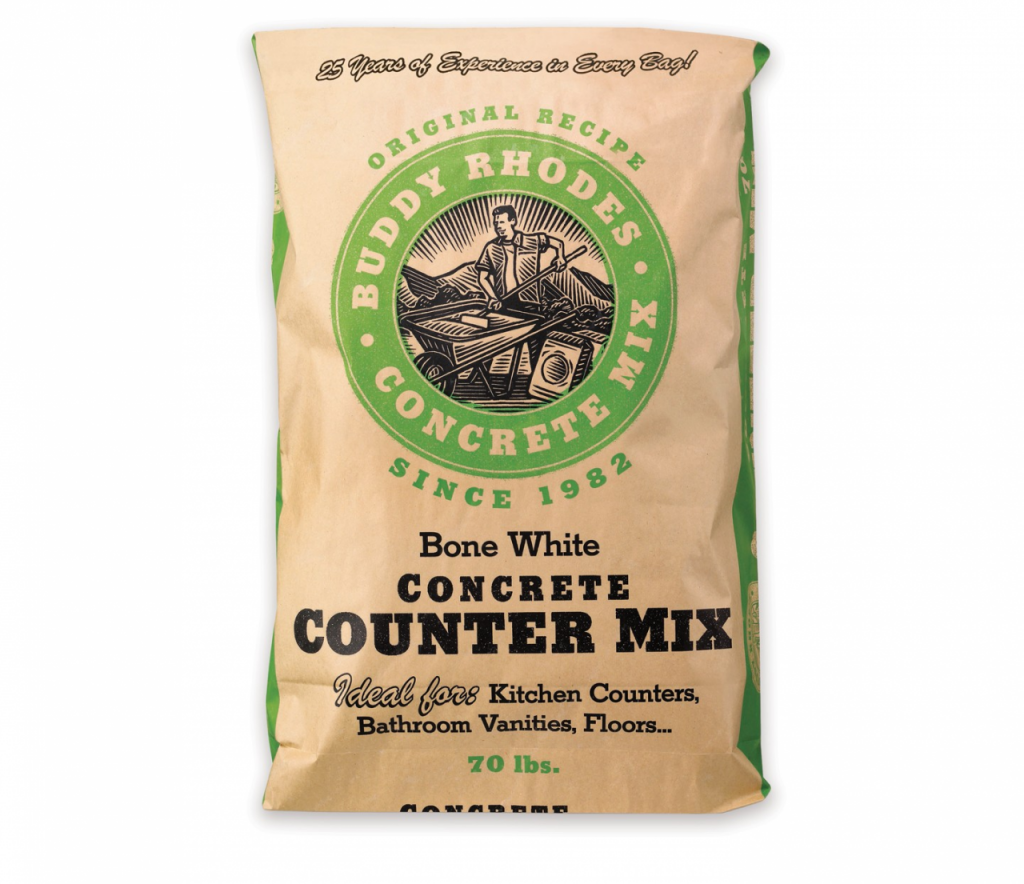
When planning for concrete countertops, the biggest thing we needed to decide on was the concrete mix.
Not all mixes are created equal, and for a countertop you need a high strength mix. Why? So your countertop doesn’t crack and fall to pieces. Simple enough.
Will the big box store mixes work? Maybe. But it’s a crap shoot. There are a LOT of variables that could send you into a tough place. First up, the big box store mixes aren’t meant for countertops (well except for the Quikrete countertop mix but more on that later).
A few weeks ago I made a test piece knowing that I wasn’t using the right mix, but I just wanted to TRY, see if my mold would work, see if the whole scenario was even plausible. Turns out it is, but I had a lot of room to improve.

So my test piece came out full of holes, and with a lot of aggregate visible on the sides, a blotchy colour, gouges from my caulking job it and it was HEAVY. It turns out that little test piece was a behemoth. Not only did it change my mind about doing 2″ thick surfaces (gonna stick with 1 1/2″) but it also had me looking at alternatives to traditional concrete mixes.
So I started calling concrete countertop mix manufacturers, and checking my local hardware stores. Not only was there only one mix option at the big box stores, but there were no sealing and finishing products to complete the project, nor where there any direction on how best to build the molds, pour, sand & finish. I am not really one for experimenting on 2000 lbs of concrete. I want a product that I can do myself, have confidence in, and get professional results.
That’s when fate interjected, and I received a comment on my countertop test project from Buddy Rhodes Concrete Products suggesting I check out their product line. After a quick look around their site, and a few YouTube videos later, I had to know more.
Buddy Rhodes has flipped concrete on it’s head. It’s hard to explain, but his product & hand pressed technique isn’t poured like traditional concrete. It’s a thicker product that’s more the consistency of clay, that you don’t pour into a mold, you pick up handfuls of it, and pack it into the mold. Really. Then you don’t vibrate it, or worry about bubbles, and screeding, or even filling the entire mold to the brim.
It’s reinforced not with clunky (and heavy) re-bar or chicken wire, but with glass fibers. It doesn’t require a concrete mixer or 45 of your closest friends to pour, in fact you could do it in a couple weekends with a friend or two. But get this, its JUST as strong (if not stronger) and it’s way easier (and lighter). You can replicate finishes, and get professional results, every single time. Its incredibly DIY friendly and versatile.
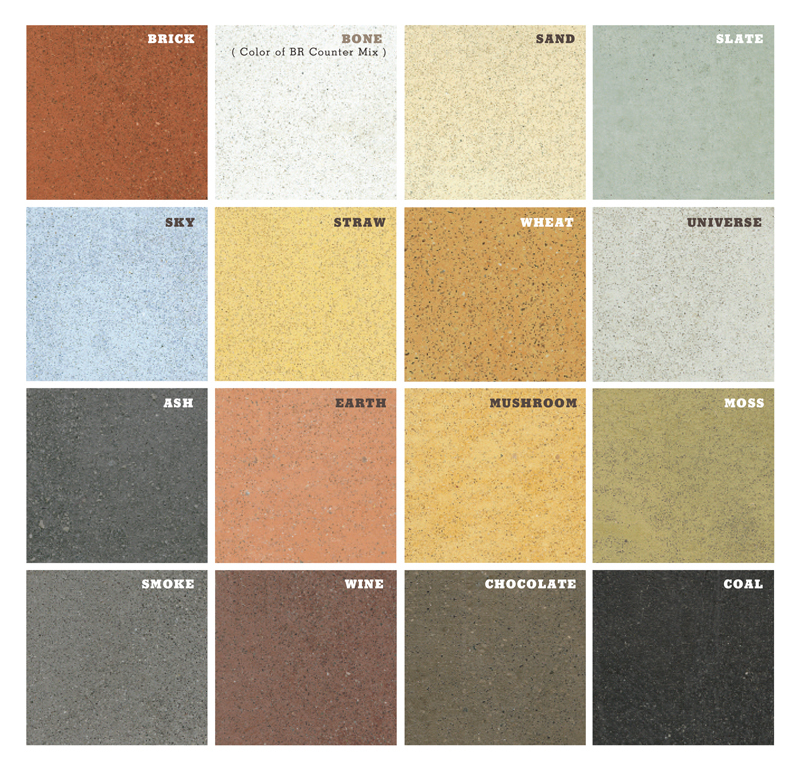
It’s base is a bone white color that looks amazing on its own, or you can choose one of their 15 colors.


They made concrete doable, and replicable, and almost idiot proof. Not only that, but their process makes concrete able to go vertical! Their product can be worked up a vertical surface. So my dream for a waterfall counter wasn’t going to be a feat of engineering and a two piece project. I could build a waterfall countertop in ONE PIECE. Mind blown.
I emailed the person at Buddy Rhodes who had commented on my post, and said I needed to know more! Where can I get this, will it work for my project?! They may have been shocked at my exuberance, or just too nice to say no to a crazy lady, but one of their artisan concrete experts Jeremy emailed me back in a few short hours asking about my project. A few emails later, and we were having a video conference call where Jeremy was convincing me we could pour my whole kitchen in four pieces when I had planned on doing it in 6, and not only that, but anything else I could dream up was essentially plausible.
Jeremy talked us through how their product differs from the big box bagged mix which was my only other option at this point. He pointed out the analogy of baking. You want to bake some bread. Do you just start out throwing things into a bowl and hope for the best, or do you use a tried and true recipe and high quality ingredients?
First off let’s get to know concrete a little more. There’s essentially two parts. Aggregate and cement. Think of a slab of concrete as a slice of raisin bread (gluten free of course). The cement is the bread and the aggregate is the raisins. Together they make toasted buttery goodness… Wait. I think I might be hungry… The bag mixes are short on cement. So they’re like a fruitcake. Lots of aggregate and not a lot holding it together. They are short on cement because it is the most expensive component it is also the reason for the strengths that concrete exhibits. But, it is also the glue that holds everything together, our mix is like proper raisin bread. Lots of cement and not too much aggregate.
The prebagged concrete countertop mix available at your local hardware store is essentially the same mix used in your backyard to set a post, mixed with more cement and less aggregate. Will it make you a concrete countertop? Probably. Will it be the perfect counter you were dreaming of? Umm..maybe. There are a lot of variables that could set things in a tail spin. It may be concrete, but it may not be the best option, especially for a DIY’er. Other possible pitfalls are that you can only make solid surfaces, its a very heavy and unwieldy product, and it has a long cure time. If poured or cured improperly it can crack, be brittle, has a limited color range, and is a mess to pour. It will also require some heavy duty forms, a lot of heavy mixing, some favors called into your buddies, and a lot of headache and hoping and you still haven’t figured out how to seal or protect it either.
I was a bit freaked out, as I’m sure you might be too right about now. Why would I risk a bunch of cash in materials, truck rentals, concrete mixer rentals and forms to possibly have a very large heap of junk that I would actually need to pay someone to take away if this didn’t go right?
So big box mix was out of the running, and Buddy Rhodes mix was the clear best choice.
Jeremy worked with us suggesting the best technique for us to use, how to build our molds, and make it as simple as possible to get a kick ass product. We were over the moon excited, and a lot more confident. I think some of my excitement rubbed off on Jeremy, as he surprised us with saying he might come to Canada to see us do our project. (That and for the maple syrup and poutine of course.)
Now, I assure you I warned this Southerner that fall in Canada isn’t quite the paradise he’s used to. But he booked a ticket, and gave us three weeks to get all our prep done, so he could see us “pour” when he got here. Talk about a deadline. But we did not want to fail our new concrete hero!
So we started measuring, and prepping, and calculating everything we needed and started checking things off our to-do list.
Next up, I will give you a detailed list of absolutely everything you need to buy, rent, procure, beg or borrow to make your project go (relatively) smoothly, and get a great result!
This project is part of Project Concrete Countertops. Make sure you check out the rest of the series starting with Concrete Countertops – The Mix, The Templates, The Forms, The Pour, Fill & Sand,The Reveal and Finishing Touches.
*We were gifted some (awesome) Buddy Rhodes Concrete Products, but all opinions are our own!


I’m really intrigued about this. Your kitchen turned out beautiful! But I’m worried whether this is affordable. How does Buddy Rhodes’ price compare with going the traditional concrete route?