We’re getting so close in finishing our concrete countertop project! I am so very very excited to show you the reveal, (next week!) but before the reveal we still have some work to do! When we left off we had “poured” the concrete into our forms, and left it covered, moist and warm.
Now it’s time to unmold the forms and see what we’re working with! We removed the blankets and plastic to reveal a nice moist concrete.
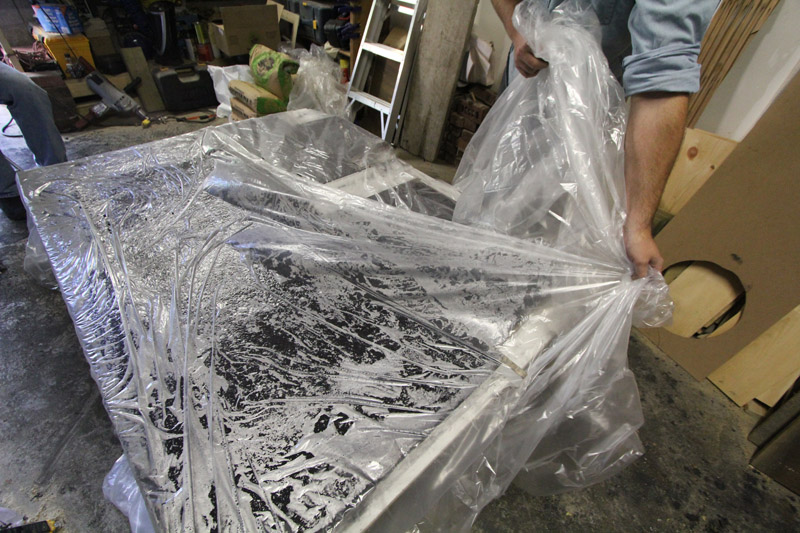
We then got started pulling away the forms. Using gentle pressure, and ensuring we were not prying against the (still pretty soft) concrete, we removed the form sides.
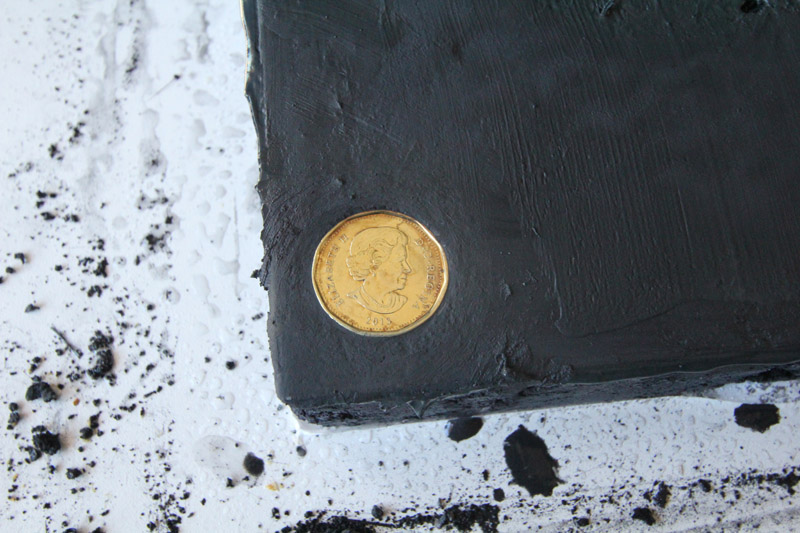
You will note a shiny gold object in the bottom of the coffee bar. We inserted a 2013 loonie into the form under one of the edges. I hope that if someone ever takes the coffee bar apart, or renos the kitchen in the future they will find the coin and know when we built it! It also never hurts to have the queen hanging out in your kitchen. She classes up the joint.
Before we could flip everything over and see what we were workin’ with (remember we poured our counters upside down) we needed to do a bit of house keeping.
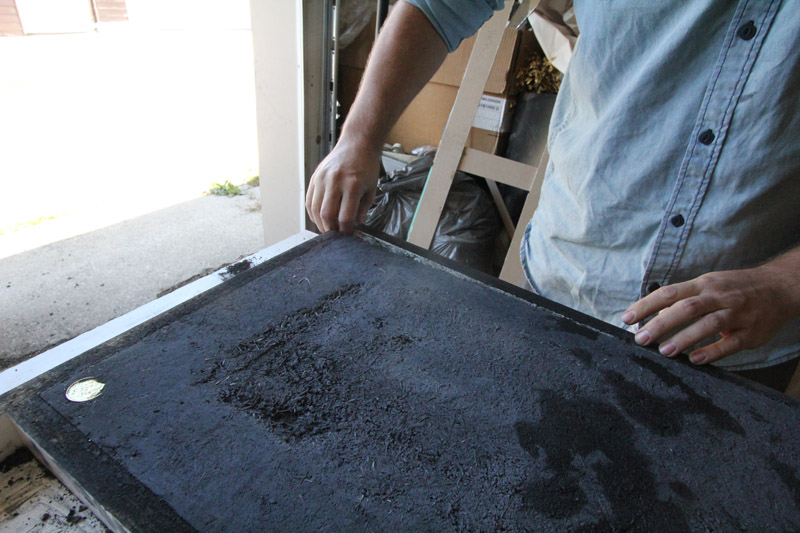
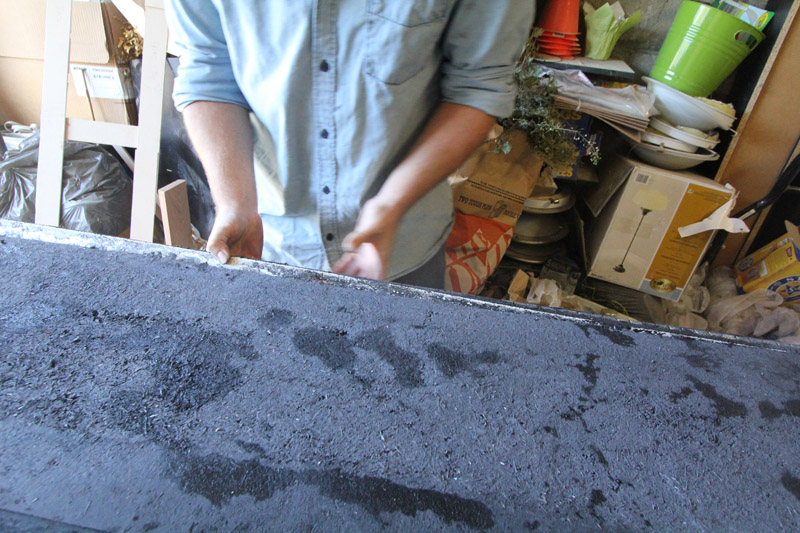
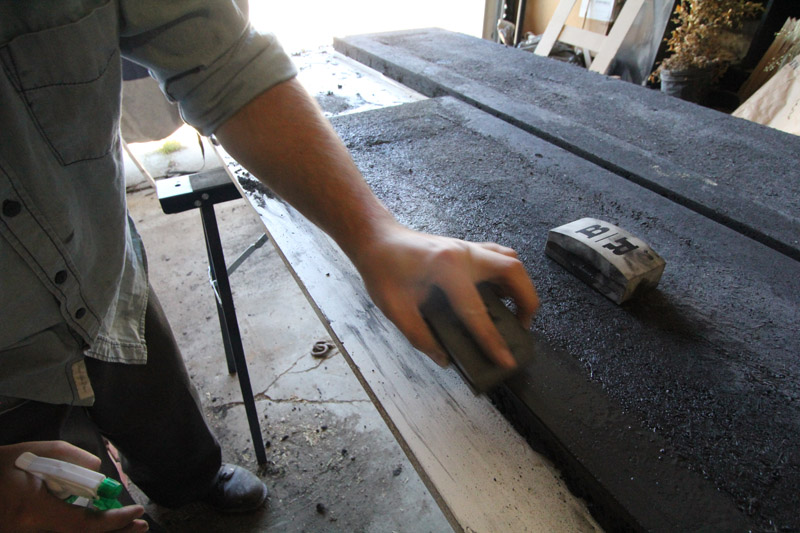
Our concrete mentor Jeremy made a very good point about how we interact with objects. When you go to touch and admire a countertop or a table, what so you do? You kind of grab the edge, placing your thumb on top and four fingers around the edge, touching the underside. If the underside of your table or counter is rough, everybody’s gonna know that you were a lazy sod who skimped on the finishing. Do you want to be the lazy sod? Exactly. So let’s sand the bottom edges of four counters so our friends don’t judge us.
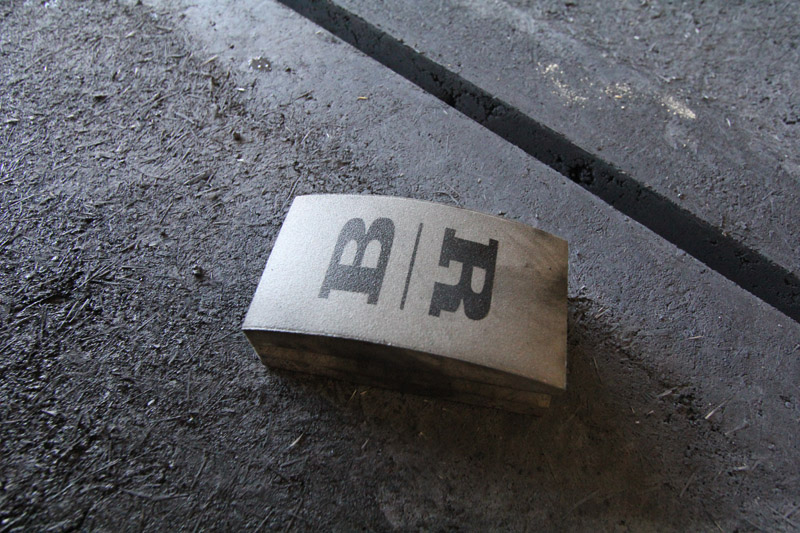
Using buddy Rhodes hand sanding pads, we wet sanded the bottom edges and used a chisel to remove any errant blobs of concrete. A few minutes work, that we will certainly appreciate later!
After an excruciating 20 minutes (I want to see my counters!) we were able to flip the countertops over.
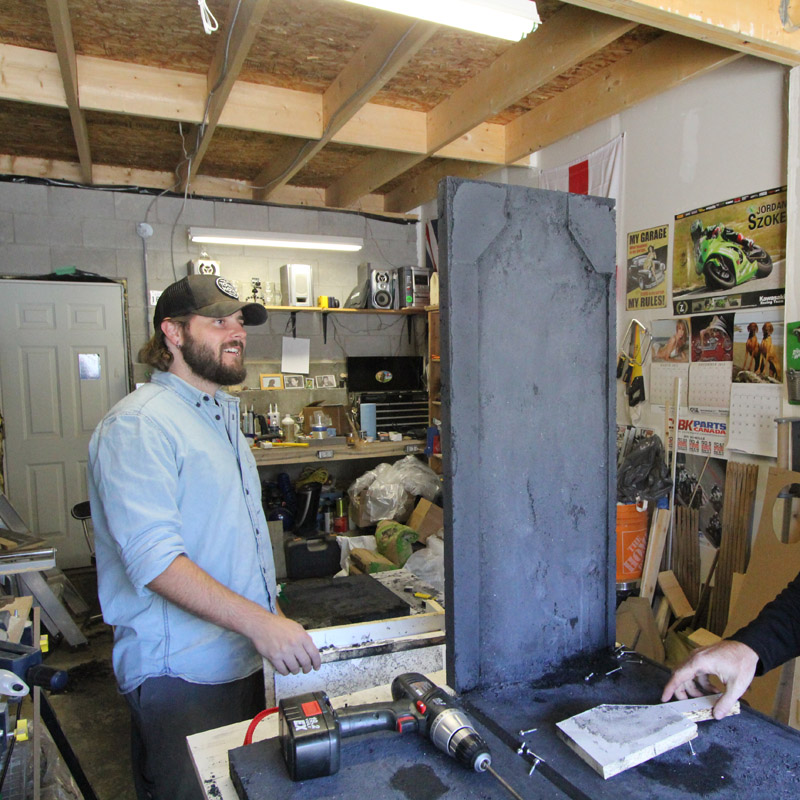
I really love that shot, as it is the first moment El Granto saw our waterfall countertop. I think this is the exact moment he realized how freaking awesome these counters were going to look!
Remember from our last post how we hand packed the concrete in, and purposefully left voids? This is what the result looked like:
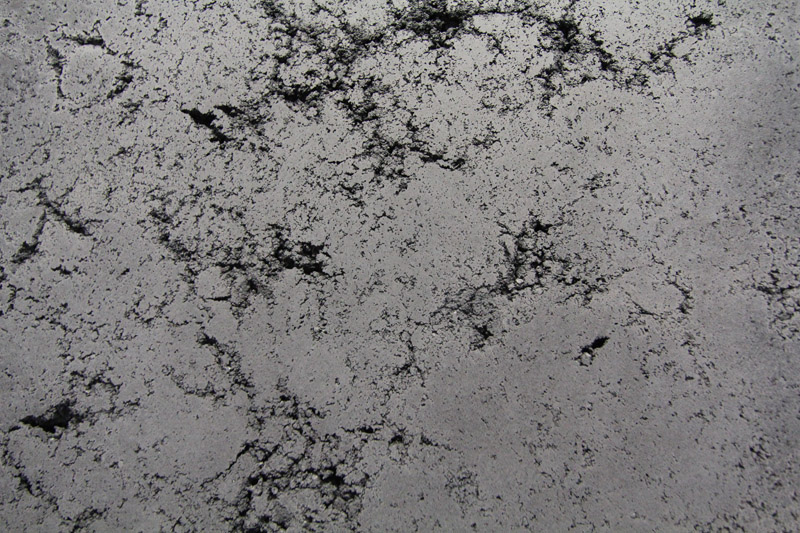
I think it looks amazing (and I will definitely have to do some sort of project soon that looks like that) but obviously for countertops, we need to make them smooth.
To do that, we mix up a slurry of bone paste (really fine concrete) and pigment and push it into the voids. It’s actually a lot like grouting tiles.
You can take this opportunity to add some colour, but in our case we wanted to stick with the same dark grey to keep with an industrial concrete look.
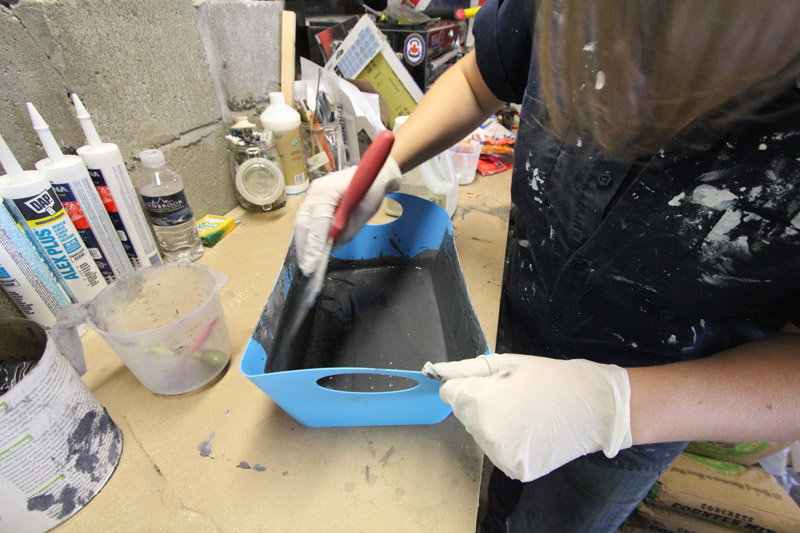
We mixed up a batch of slurry. (Two parts bone paste, one part acrylic additive & your color.)
Using a drywall mud knife & tray mix the slurry very well. Pressing out any clumps of pigment by pushing the knife against the tray. Now you will note that I’m not using a drywall mud tray. That’s because I forgot to buy one, and used some plastic bucket from the dollar store. Get a mud tray! We used a 5″ knife and it worked well.
Once your slurry is mixed, start pushing it into the holes in your counter. Using a combination of your putty knife and a grout float. The grout float worked very well and shoving that slurry into the holes. You will need to do three coats of slurry, so don’t try to fill the voids entirely. They will get filled, don’t you worry. Thin coats are better, just give it a pass, scrape off any excess and let it dry.
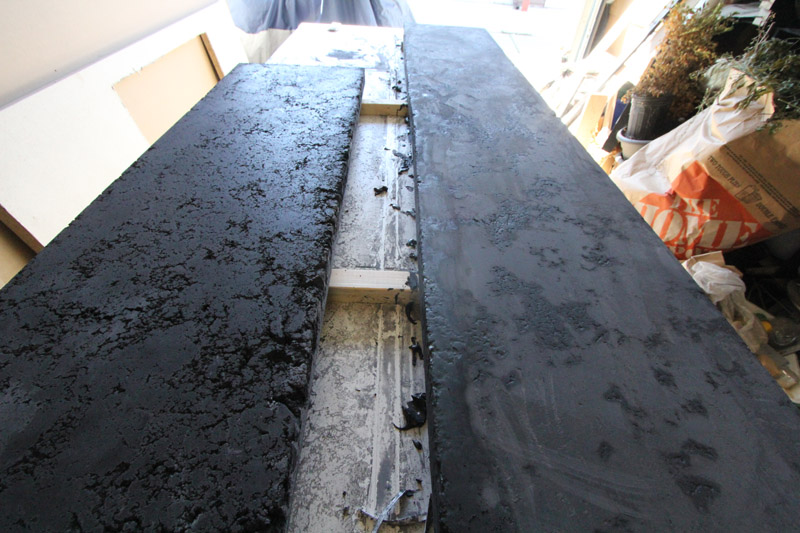
After our first coat was dry, we mixed up a slightly lighter version of our color, and did a second (light) coat with that. Our third coat was back to our original darker color. This will result in a bit of a lighter highlight in our cracks and crevices, giving a lot of texture to the concrete.
After three coats of slurry were applied, we left it to dry overnight (and ate some shawarmas.) Hey, hard work deserves delicious shawarmas, and maybe a samosa or two for good measure.
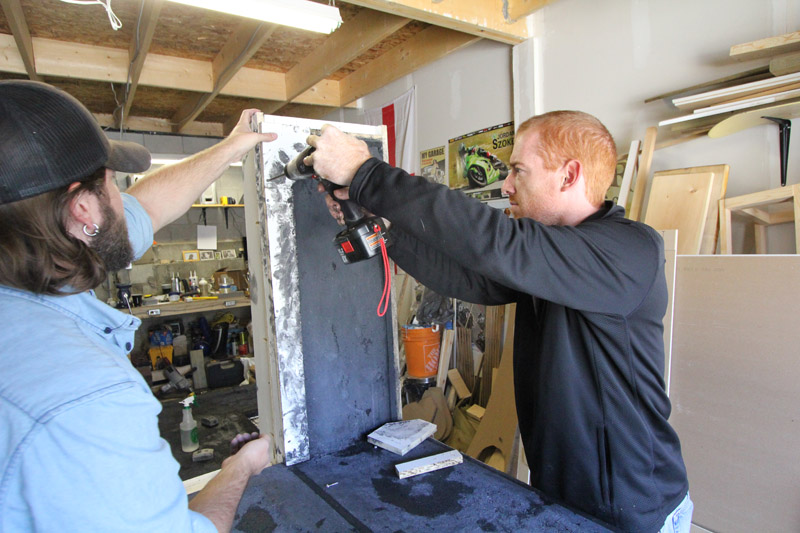
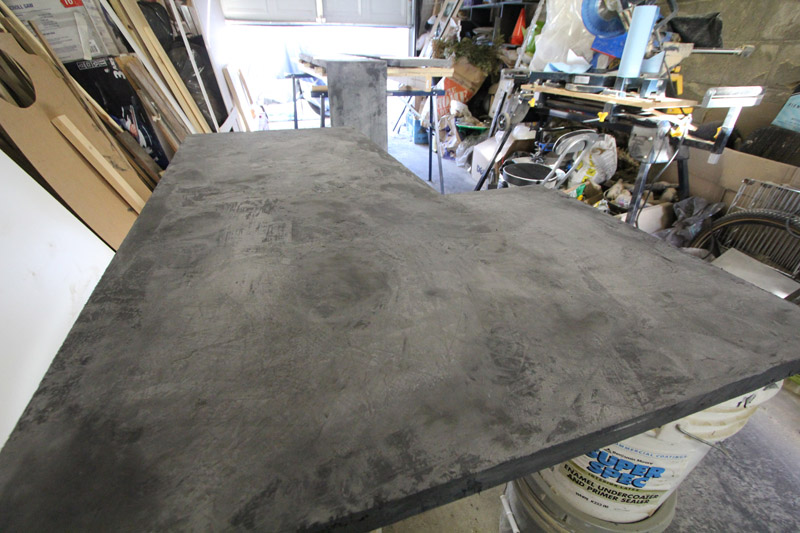
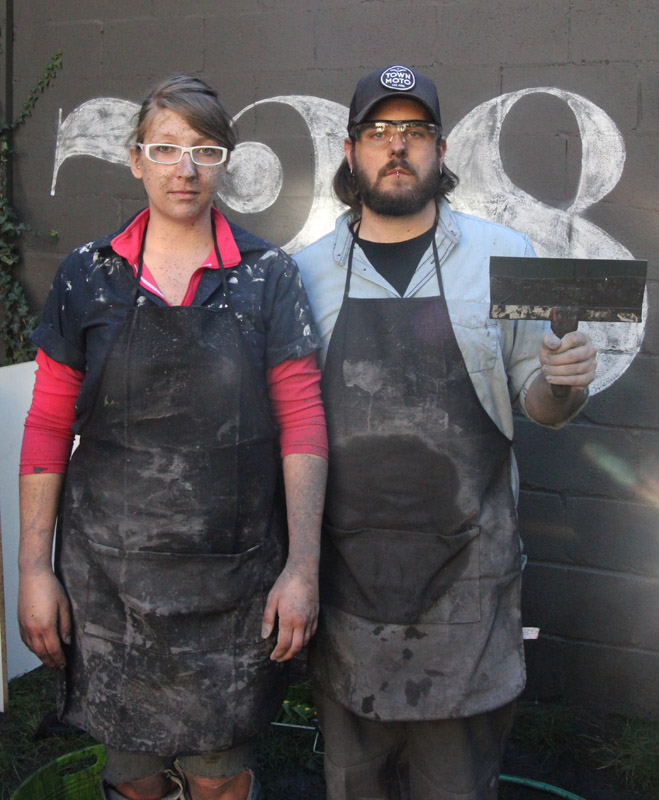
The next day we set to wet sanding everything. We covered the garage in plastic, donned aprons (and in Jeremy’s case, a drop cloth toga, cause we forgot to get him an apron, oops) and got to work. Ideally you would have a wet sander/polisher for this step, but we didn’t, so we used inexpensive orbital sanders and wet sanded away with the Buddy Rhodes diamond orbital sanding pads. We used the hand pads for the edges and areas that were hard to get to with the orbital.
It was a messy mess day, and we didn’t take many photos. However we did make a super awesome time lapse video for you of all our slurring & sanding fun. Here’s two days hard work in two minutes of video.
Next week check back for the reveal! SO EXCITED!
This project is part of Project Concrete Countertops. Make sure you check out the rest of the series starting with Concrete Countertops – The Mix, The Templates, The Forms, The Pour, Fill & Sand,The Reveal and Finishing Touches.
*We were gifted some (awesome) Buddy Rhodes Concrete Products, but all opinions are our own!
Can you make a slurry out of Sakrete fast setting repair mortar mix. It contains Portland cement and silica sand.
i have a 34 ft long kitchen and am on minimum wage so a really poor income please can you tell me if these are expensive to make, sorry i have a few questions, what is waterfall? is it the pattern or is it a kind of tap? how can a person make rough concrete into something smooth and shiney food safe and beautiful i am in awe of what you have achieved so pleased your hard work was rewarded.Lastly does this chip or crack or scratch easily i have 11 kids 2 dogs a cat and 7 grandchildren and ive wasted so much money and effort on unsuitable finishes that i sadly didnt think through well enough.many thanks warm regards felicity
Felicity: I too am working on a limited budget and am currently doing a “concrete” countertop. I am using a product called ARDEX, which is cement based, and spreading it over MDF (Medium Density Fiberboard), but I understand you can even put this over existing Formica or tile too. I am spreading the ARDEX on the wood, will sand next to get it smooth, then use an epoxy to cover the top. The ARDEX should not crack since it is rather thin, and the Epoxy will make counters heat resistant to about 200 degrees, and scratch & mold resistant. The ARDEX is about $18 to cover approx 200 sq ft., and the Epoxy is about $40. I am thinking of using an acid stain prior to the Epoxy to give it a color other than gray, which will cost about $30. Hope this helps. Just search the web for ardex countertops and you may find some good ideas. –Best of Luck!
it looks like a very big job but the counters are looking beautiful…you should be so proud.
Love the video and the result, can’t wait to see the whole project finished. You guys make this look like a super easy undertaking:) Just kidding!