I really want to build concrete countertops for my kitchen. My laminate counters suck, and the coffee bar is curremtly covered in a $20 wood shelf from Home Depot.
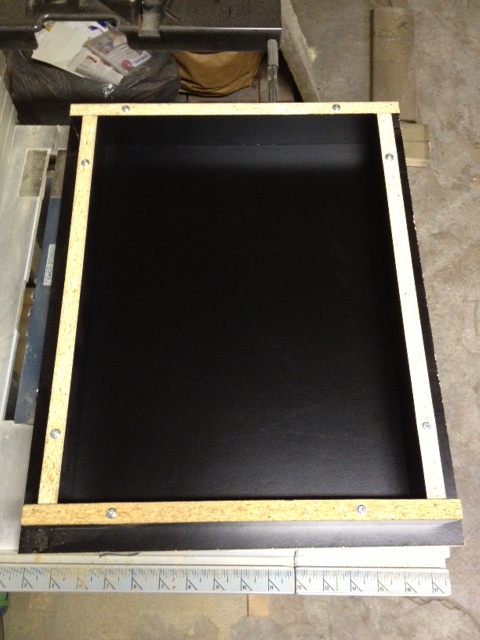
I had a bag of concrete hanging around the garage (don’t you?!) and decided it was high time to put all my researching to the test and pour some concrete. I decided to make a “cutting board” as my test run, and grabbed some spare melamine (I’m not a hoarder, I just have stuff in the garage…collecting dust…that might some day get used.) SO the melamine… I had El Granto rip down a few pieces into 2″ strips and then built a little form with some spare screws.

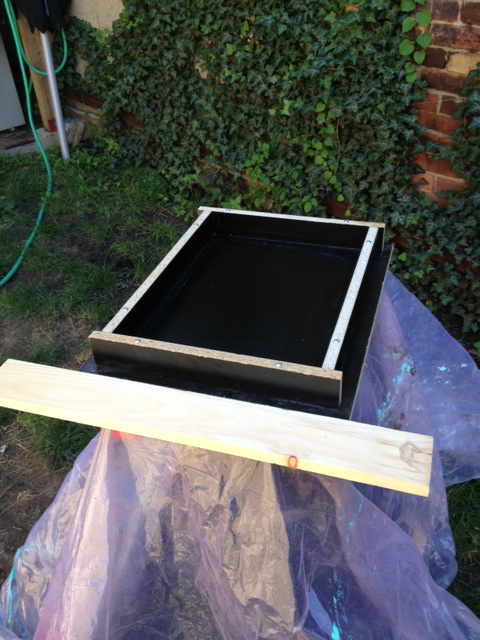
Next up, sealing the cracks in the form with silicone caulking. I conveniently had a new tube of silicone caulking. I inconveniently could not find my caulk gun. Cause it’s an easy thing to lose. You know, giant red tube thingy that looks like a weapon. Yep, missing. Hardware store? Closed. Dollar store? I may be able to find paint brushes, and tie downs, but a caulk gun was not to be had at Dollarama. My neighbours had been outside working on project as well, and we had passed an air compressor over the fence earlier in the day (true story) so I figured I’d ask if maybe they had one. BINGO! Caulk gun. Except theirs was contractor grade and made for big tubes of caulking, and my wee bitty tube of silicone was too small. So now what? I shoved a piece of wood into the bottom of the caulking tube and hoped for the best.
I started caulking, and I got silicone EVERYWHERE. All over me and the mold.
DIY TIP. Tape your mold or you’ll get silicone everywhere. After about 10 minutes I was covered and sticky and I had done the WORST job of caulking anything in my life. I threw in the towel (this was a test after all!) and left it to dry.

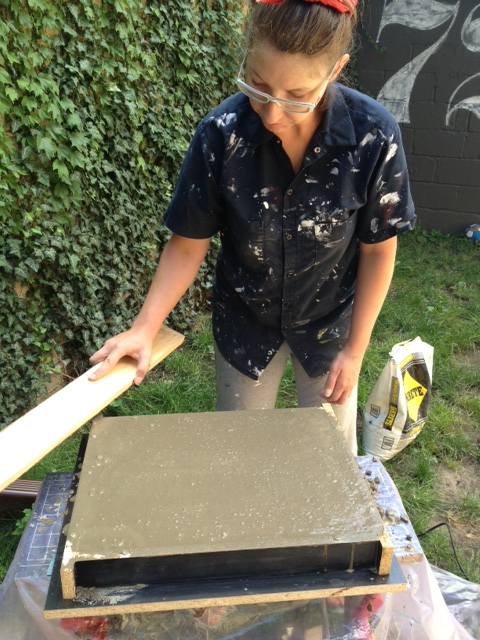
Next day we moved the mold outside on worktable covered in a plastic drop cloth, and I (with my girly muscles, a shovel and a piece of wood) mixed up a half bag of concrete. In hindsight, it could have used a bit more water, and I could have used a trowel (rather than a piece of wood) to get it well into the mold.


I then (smartly) took the sandpaper off my palm sander, and covered it in a bag, and vibrated the crap out of the mold.


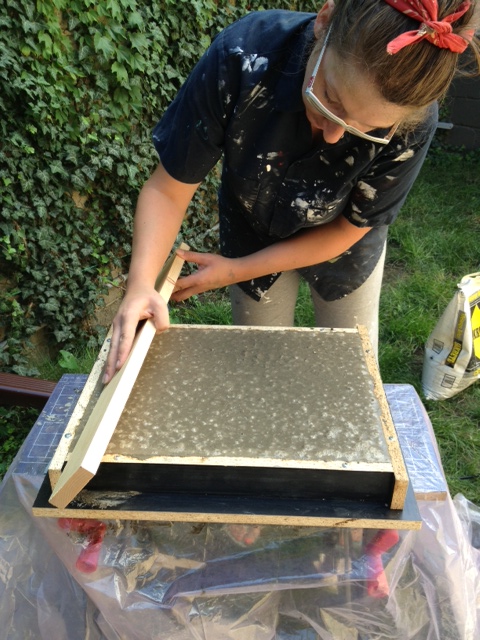
Then we screeded the top (which also didn’t go so well, as it started pulling gravel out of the mold, but again I think my mix was too thick.)

Then I let it dry, covered with plastic for a day. I didn’t put a wire mesh in it, cause A.) it was a test and B.) I didn’t have any in my garage…
I un-molded, and voila.


Things I learned:
- Concrete is heavy.
- 2″ is too thick for our countertop. It just looked too big (that’s what she said). In all seriousness, 1 1/2″ is a much more reasonable size, 2″ was just overkill. Like a Hummer H2.
- My mix needed a bit more water.
- Counter sink the screws! Or else you can screed it very well.
- I will not mix up all the countertops in a bucket. Concrete mixer rental is imperative.
- I needed a better concrete mix than the $4 bag of all purpose. It was too rocky and rough. The top of my cutting board was great, but the sides showed too much aggregate.
Next up, I will be filling the holes, adding some feet to my “cutting board” test driving some concrete sealers and waxes, and then putting it to the test in my kitchen. Wish me luck!
Have you ever played with concrete? Any tips to pass on?