You know how in a project there’s always the one task that you placed in the easy column, that turned out to be a royal pain in the arse?
For the Concrete Countertop project, this task happened to be the removal of the old backsplash.
We had to remove the backsplash for several reasons:
A.) It was ugly
B.) It impeded the installation of the new farmhouse sink, and therefore the new counters
C.) It wasn’t installed very well.

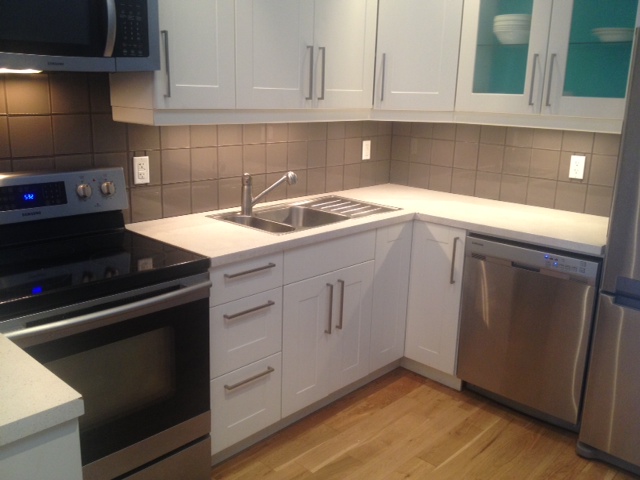
The tiles were not installed with even grout lines. Some tiles stuck out more than others. They didn’t tile all the way up to the cabinets, and where the tile ended at the wall it just stopped. No bullnose or tile edging. It was just left looking unfinished with grout sticking out unevenly and not even some caulking to make things look kinda finished.
The fact that we had to remove some of the tiles to install the new sink meant that we had the opportunity to rid ourselves of this tile once and for all.
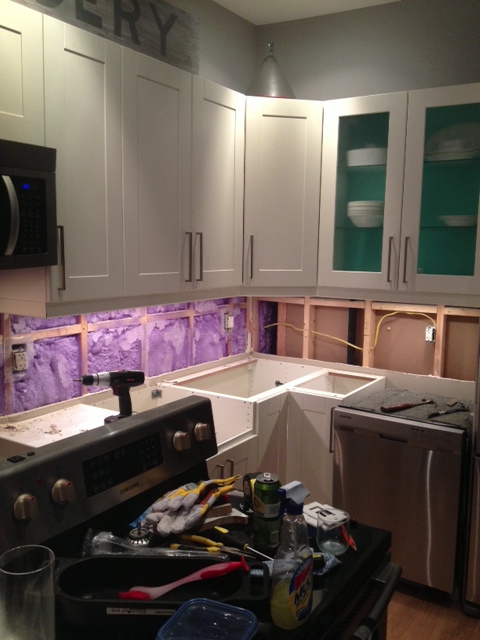
So we brought out a mini crow bar, a hammer, a tile chisel, and started to try to free the tiles from the wall. We figured a few hits and we would be able to pop the tiles right off. We might have to patch a few places where the drywall came off a bit, but it should be an evening project. Right?
WRONG. About 30 seconds in, we realized this was not going to go at all as planned. The first tile wouldn’t budge. And when I say wouldn’t budge, I mean using all means of gentle force were not cutting it. El Granto finally gave it a few large whacks with the hammer & chisel and…wait for it….almost all of the drywall came off with the tile. Oopsie daisy. What kind of thinset had they used to attach the tile? Super glue?!
Then we tried (gently) smashing the glass tile to see if it would come off that way. It did, but it ruined the structural integrity of the drywall and turned it to mush. Here is an Instagram & my caption of where we left the project for the night.

After a nights rest and time to think over a new game plan, we came at it the next day planning to cut off the drywall tiles and all, and remove it that way. Then re-drywall it in time to make the templates for the countertops.
How do homeowners without a car get 4×8 sheets of drywall home? They call on their friend Matt with a Honda Element and roof rack. We had to get 4×8 sheets of melamine for our Concrete Countertop Project as well so El Granto & Matt headed to Home Depot to get both the melamine and the drywall.
After feeding Matt thai food as a thank you for his help, he decided to stay and help us remove the backsplash. I never say no to free labor, so we broke out the drywall saw and got to work.
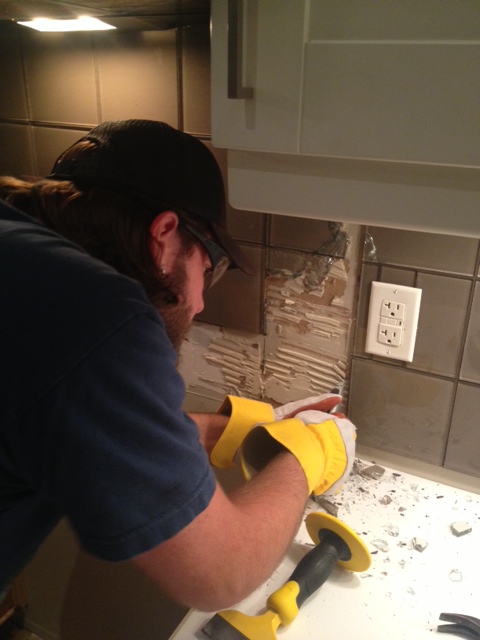
We decided to cut around the tile, and pull it off in large chunks. The sawing under the cabinets sucked, but after a good amount of armpower and a few strong pulls of the drywall we got it all off in less than an hour.
You can see the exterior wall on the left where we have spray foam insulation, and the interior wall straight ahead which backs onto our main floor powder room.
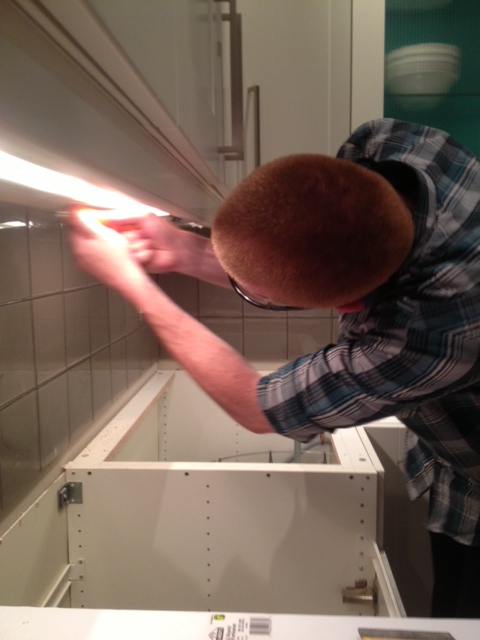
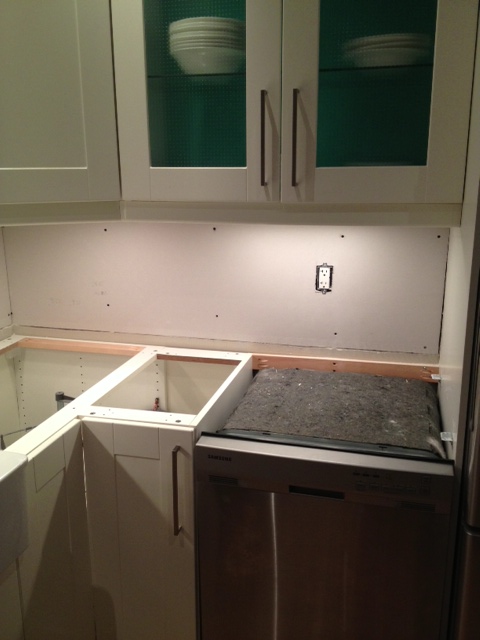
With the drywall removed, we could clean up our cuts, and add some bracing for new drywall.
The next day El Granto & his dad did all the bracing for the drywall, as well as adding some new supports behind the dishwasher and corner cabinet for the new countertops. Then they drywalled it all in a few hours. (Sorry no progress pics on this, I was out with El Granto’s Mum getting concrete supplies at the time.)
For a task that we thought we could get done in an evening, we ended up racing to get it done before starting on the concrete countertops. Our lesson learned was definitely not to underestimate any seemingly small task. The good news is though, that we were now ready to make our countertop templates, which is the first step in making our new countertops!
Thanks for the article. I’m faced with a similar situation with a 1/2 bath vanity back splash that I originally secured with liquid nails. Friend recommended just cutting out the drywall as well.