Kitchen Cabinet Cover Panels

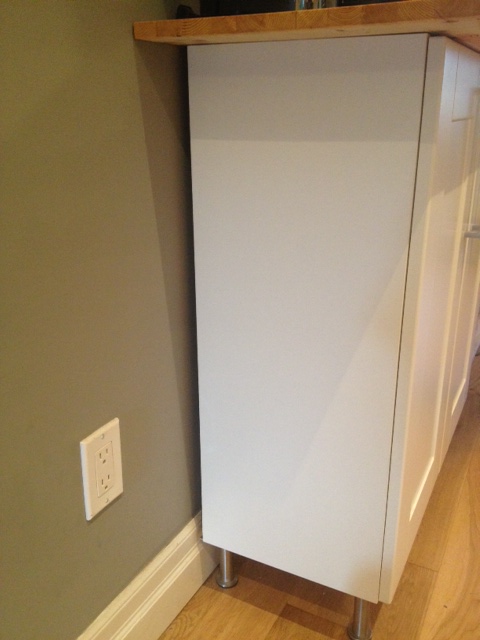
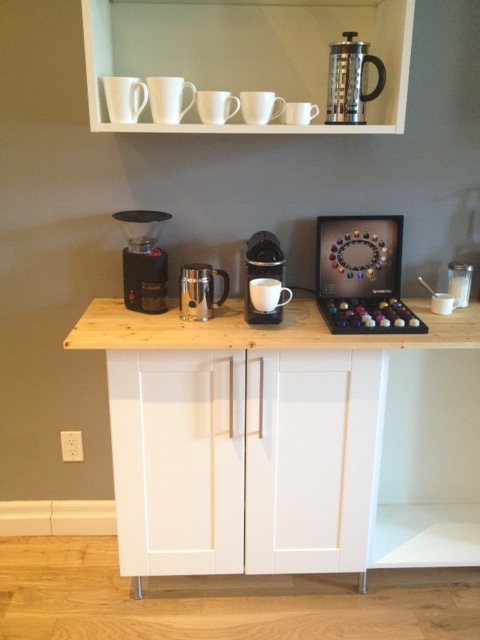
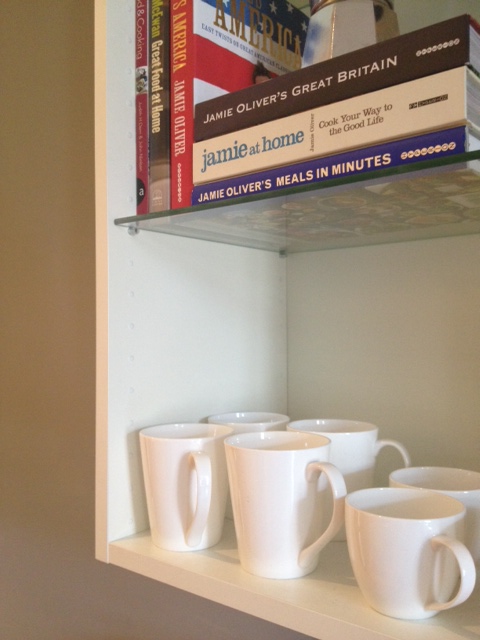
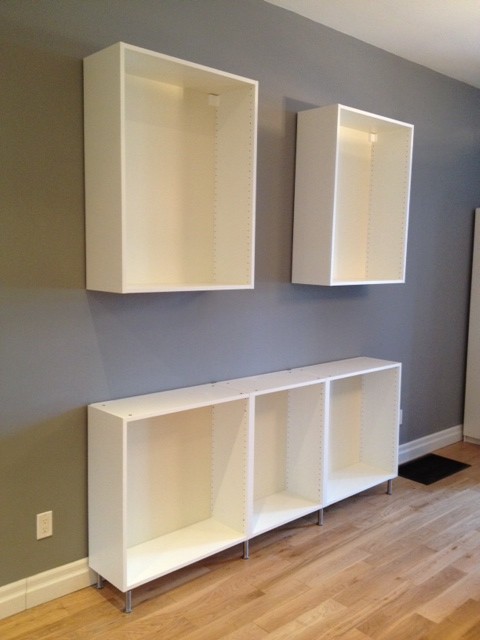
You may remember we started the kitchen coffee bar project waaaay back at Christmas time. We knew that the project would be done in stages.  Simply because it would cost too darn much to do it all at once! However, we have been a bit lazy on the coffee bar front, and last we left it, this is how it looked.

coffee bar progress
Coffee Bar

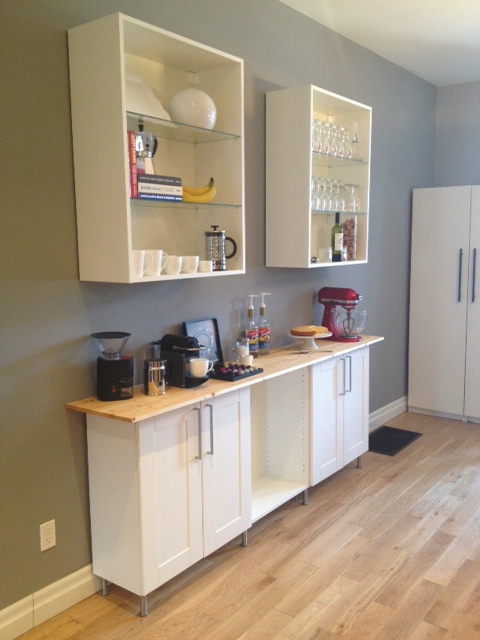
The base & upper cabinets were installed, there were doors on the bottom cabinets, and a temporary countertop.

Still nagging on the to do list:

  • Make & install cover panels
  • Make floating shelves for between the upper cabinets
  • Buy & install glass doors for the upper cabinets
  • Buy & install drawer unit for middle lower cabinet
  • Run electrical outlets for counter top appliances
  • Install backsplash
  • DIY concrete countertop

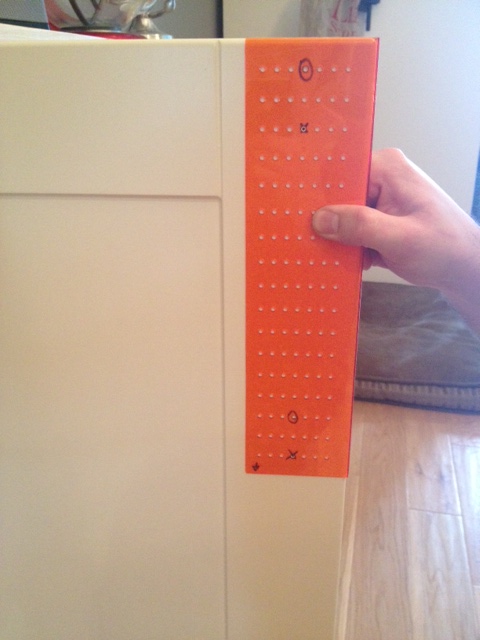
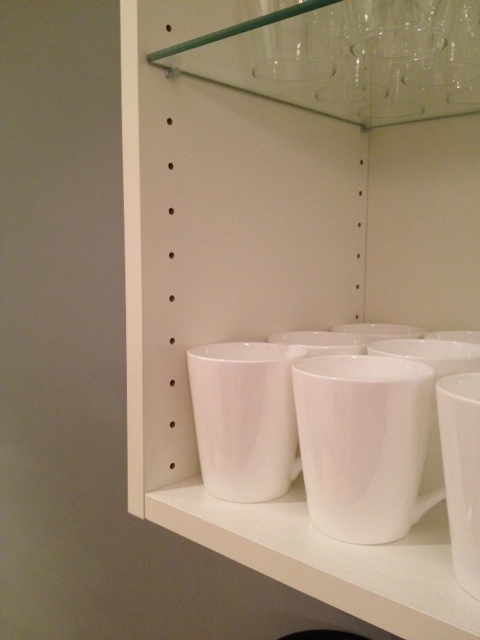
Time to get off my butt and knock a few things off the list. The one nagging thing were the cover panels. You see Ikea cabinets are meant to have cover panels on the sides of your cabinets that match your doors.  They also cover up the gap between the cabinet and your wall. Ikea’s installation system involves a metal rail that is attached to the wall, and the cabinets themselves hang off the rail. Because of this, the cabinets actually stick out from the wall about 3/8″. Ikea sells pre-cut cover panels to neatly cover everything up, and make your cabinets look pro.

Look at that GAP!
Look at that GAP!

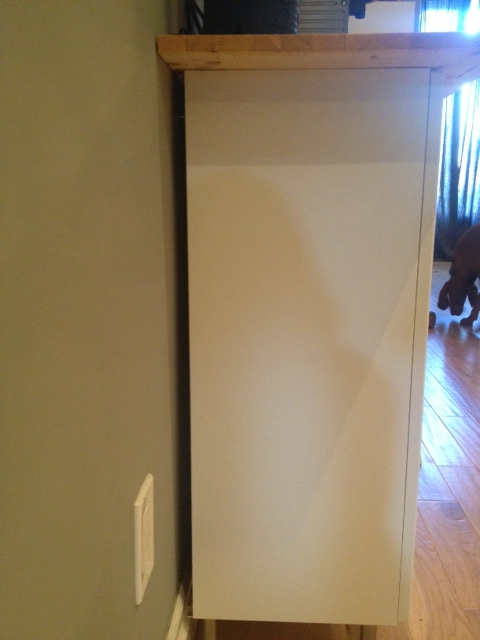
Problem is, our old house has very crooked walls & floors, and due to that + our baseboards, the base cabinets of the coffee bar stuck out farther from the wall than they normally would. This meant that the pre-cut Ikea cover panels were too small. Sad face.

We had two options:

  • Option One: Buy larger Ikea cover panels, and cut them down to size. This would be a bit of a pain, and expensive. Cost $250
  • Option Two: Make our own. Aubrey & Lindsay’s Little House Blog conveniently has the same kitchen cabinets as us,  and Lindsay mentioned in a post that she found the perfect shade of paint to match the cabinets. We could fabricate our own cover panels & paint them to match the cabinets.  Cost: $60

Which option do you think we went for? You guessed it; the cheaper one. We headed to Home Depot, got 1/2″ mdf cut to the rough size we needed, and stopped at Benjamin Moore retailer West Toronto Paint & Wallpaper, and got a quart of Benjamin Moore Regal Select paint mixed in Paper Mache (pearl finish).

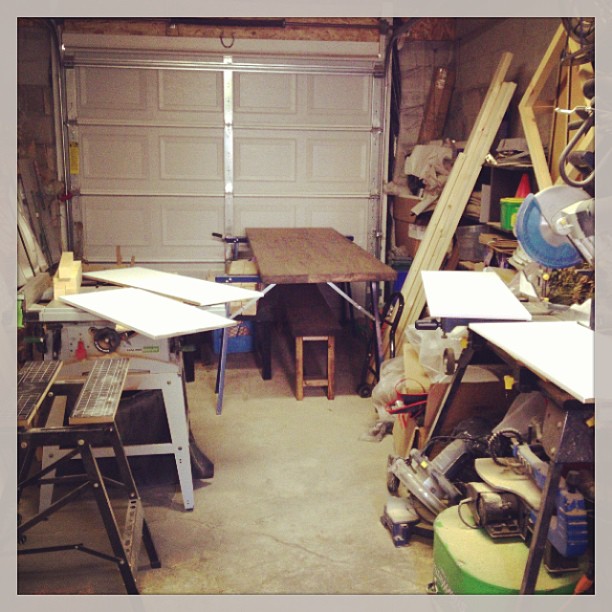
At home, we scribed the panels to fit the crooked walls & baseboards, and cut with a combination of the table saw, circular saw and jig saw to get the correct sizes we needed.

Next up, I applied a thin coat of spackle to the mdf edges (mdf edges are rough, and I find spackle is the best way to get a super smooth finish. Apply a thin coat, let try, and sand smooth.) After the spackle was sanded, a coat of primer was applied.

Priming cabinet covers
Instagram garage
We had 6 cover panels total. Here’s our garage mid painting panels & finishing an 8′ table & benches.

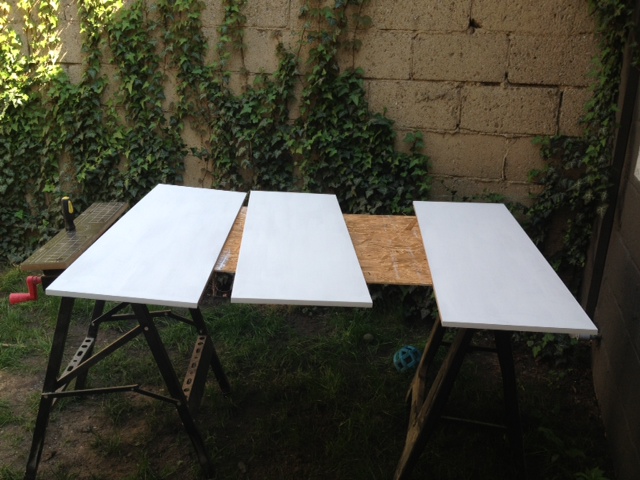
When dry, a light sand removed any roughness. Next up, four coats of paint, and we were ready to install.

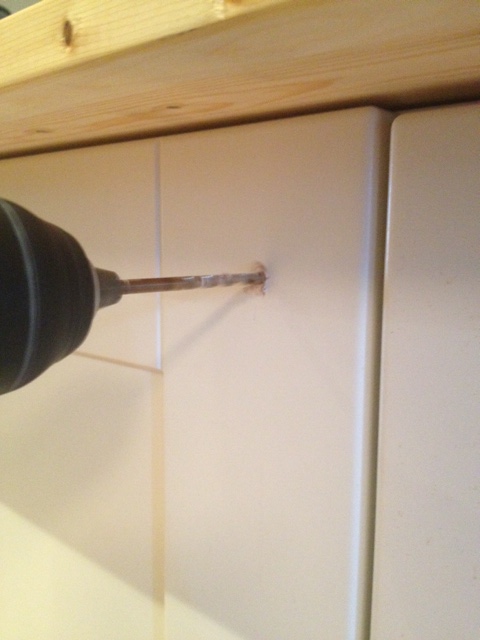
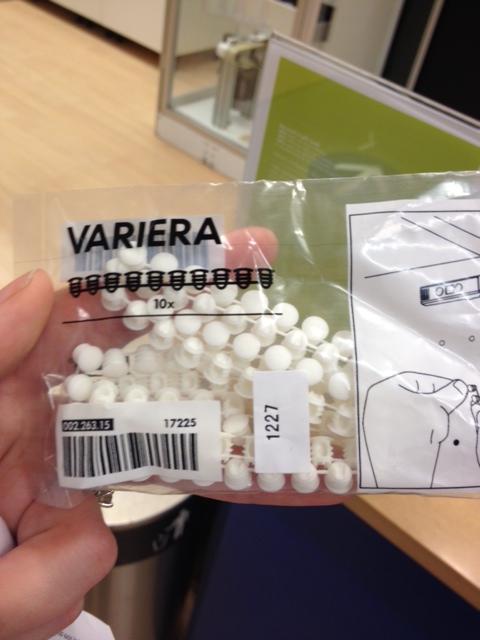
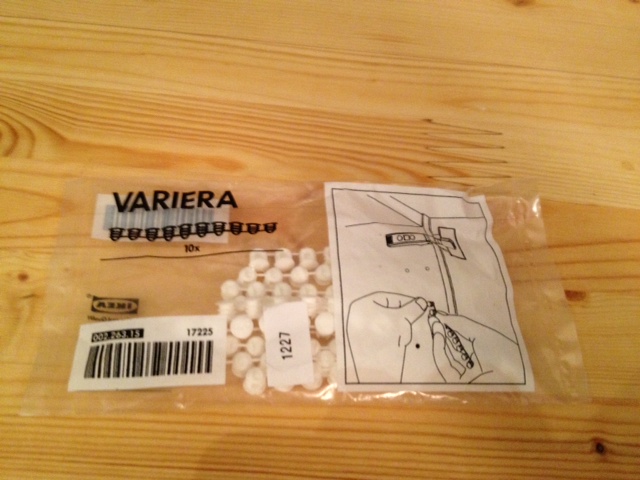
We used 1″ screws through the cabinet shelf holes, and in a few minutes all the panels were up.

Here’s some before and afters:

Bottom Cabinet Before
Bottom Cabinet After
Bottom Cabinet After (still needs a smidge of caulk at the baseboard)
Upper Cabinet Before
Upper Cabinet After
Upper Cabinet After
Another Upper After
Here’s the other upper cabinet with the cover panel

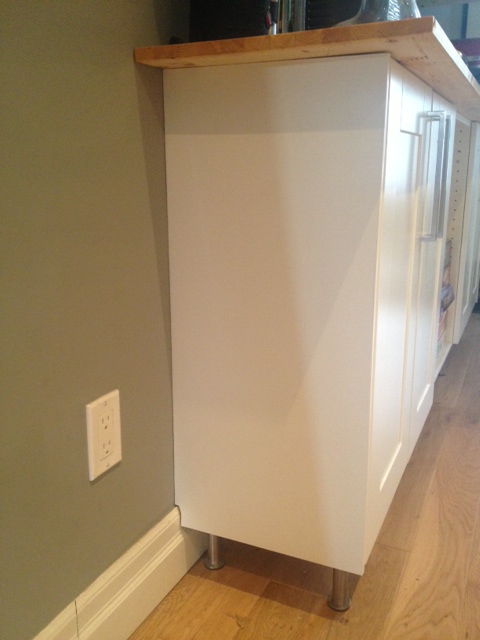
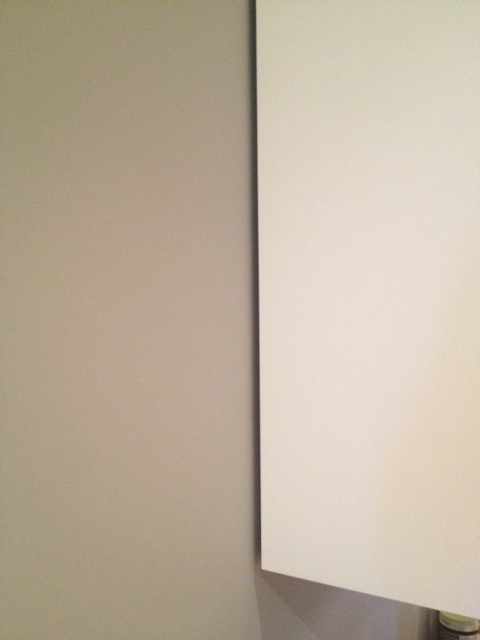
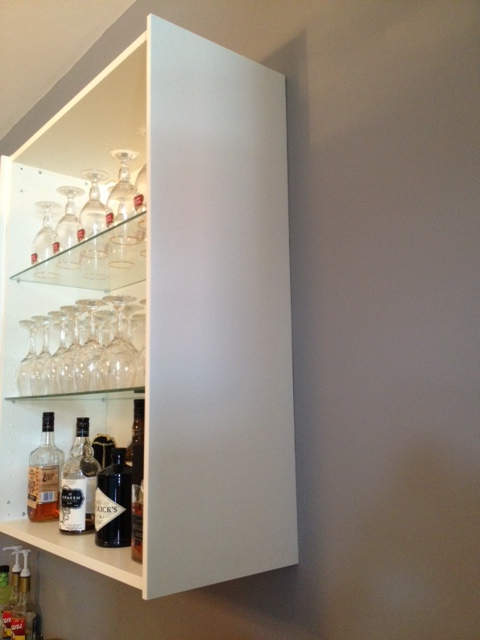
The upper cabinets look a bit silly right now, as the panels stick out 5/8″ farther than the cabinets. That’s because when the doors are installed the panels will come out right to the edge of the door, making for a perfect fit.

A lot of the time the finishing touches on a job get put to the back burner, they are usually a lot of work, with little reward, but it is worth it to go the extra mile, and get it done! Now…for the rest of the items on that list!

Coffee Bar
Coffee Bar

SOURCE LIST:

Materials:

2 – 4×4 1/2″ MDF Handy Panels – Home Depot
Benjamin Moore Regal Select paint mixed in Paper Mache (Pearl) – West Toronto Paint & Paper

Tools Used:

Table Saw
Circular Saw
Jig Saw
Painting Supplies (brush, roller, tray etc.)

Difficulty Level (on a scale of 1-5):

two out of five

Total Cost: $60

Installing Ikea Kitchen Hardware

We needed to add hardware to the coffee bar that matches the rest of the kitchen. We found the hardware easily enough. The previous owners bought everything for the kitchen at Ikea, so its been super easy to add new cabinets etc. When we picked up the new hardware, we also purchased the Ikea Fixa Drill template. The template is supposed to make the placement and hole drilling of your cabinet hardware super simple. (I am all for making tasks simpler!) For the $3 price tag, we decided to give it a try.

Fixa Drill Template
Fixa Drill Template

We brought it home and checked the template against the current hardware in our kitchen to find that the old owners used the same template. Score! We marked on the template where the current hardware is hung, then transferred the template over to our new cabinets.

Template on Cabinet Door

Using a small sharpie, El Granto marked the holes.

Holes marked with a Sharpie

Then drilled them with a bit just slightly larger than the screws.

Drilling Holes
Drilling Holes

After El Granto drilled all the holes, he attached the handles in record time. For $3 Fixa Drill Template was well worth it, and we will definitely be using it next time we need to install hardware!

Yay. Handles!
Yay! Handles!

For more Ikea Kitchen tips, check out our posts on filling shelf holes, and how we installed our upper cabinets.


DIY Tips – Fill Them Holes

***UPDATE! THESE DO NOT WORK WITH BILLY BOOKCASES***

So you know how Ikea (or any prefab) cabinets & bookcases have all those shelf holes for allowing you to move your shelves around willy nilly? They’re super useful, but they leave unsightly dark holes that clearly give your shelving unit away as not being custom built. I happen to hate these holes. So much so, that I painstakingly filled them all with paintable caulking in my Custom Ikea Billy Built-In Bookcase project. This took me 6 hours to do, but well worth it. At the time I thought there could be no easier way…

This past weekend, the clouds opened, angels sang, and I found the answer to all your shelf hole problems.

While waiting in the Ikea Kitchen infodesk line last Saturday night, I spied a basket full of strange little objects. I picked one package up and regarded it curiously, then a light bulb went off in my head!

Do you know what these are?

Yes, brilliant brillant Ikea has made SHELF HOLE FILLERS! They’re little plastic pieces that you pop into your unused shelf holes. AWESOMESAUCE! These little guys come in packages of 100 for a whopping $1, and in either black or white.

I swiftly grabbed 4 packages, and then insisted on telling the helpfull (but probably slightly scared) Ikea sales rep about how amazing this invention was.

As soon as I got home I set to filling all the holes in my upper cabinets in the coffee bar & the rest of the glass door fronted cabinets in my kitchen.

Shelf Holes Before
Shelf Holes Before
Shelf Holes After
Shelf Holes After

YOUR MIND IS BLOWN, RIGHT?! (or am I the only person in the world who gets this excited about filled shelf holes…)

Total Cost: $3 ($1 per cabinet) my fingers did get a bit sore after pushing in 300 of these puppies, but a small price to pay for sexy looking cabinets.

Go pick some of these up at your local Ikea, then send me tearful letters about how  they changed your life.

best.invention.ever
best.invention.ever

*UPDATE!* Variera Cover Cap’s are now available online at Ikea.ca

Coffee Bar – Stage 1

On our list of 2013 DIY Goals we noted one big project being the coffee bar. The coffee bar will be placed in our open concept kitchen/dining room. It will be on the opposite wall from our U shaped kitchen, and will be placed half way between the kitchen and dining room.

Before

We decided to build a coffee bar there for several reasons. A.) We wanted more counterspace to house our prolific array of coffee paraphania. B.) We needed more storage for kitchen dishes and barware, and C.) we wanted more space to lay dishes during parties. We decided instead of getting a freestanding buffet, we would build in the coffee bar using cabinets that match our kitchen. I set to planning the coffee bar about a year ago, but it hasn’t been on the top of our DIY priority list, and to be honest its also a bit of a big ticket item. We decided to do it in stages to alleviate the financial burden. Thanks to some Ikea gift cards for my last birthday and Christmas, we were able to use our time off between Christmas and New Years to get started!

The first stage was buying and installing the cabinet bases, then making a temporary countertop. Stage two will be wiring in new electrical outlets, pouring a DIY concrete countertop, adding some reclaimed wood open shelving and getting a few doors for the bottom cabinets. The last stage will be adding glass doors to the uppers, and a three drawer unit to the middle base cabinet.

So here’s part 1 (aka the manual labour):

We headed to Ikea with plans in hand and had the friendly kitchen department write us up a purchase order for the cabinet bases. We went with two 12″ deep, 30″ wide lower cabinets as as well as a 12″ deep 24″ wide lower (which will have a drawer unit in it). For the uppers we went with two extra tall 12″ deep 30″ wide cabinets which will eventually have glass doors. We also purchased some feet and the hanging rail for the upper cabinets. What we forgot to purchase were any shelves for said cabinets. Oops, looks like another trip to Ikea is in our future! After our purchase order was made up, we headed down to the checkout to pay and then off to full serve pickup to get our order. It was fast and easy and we were outta there in no time.

Ikea Full Serve Pick-Up

We got home and set to assembling and installing. We had previously assembled and hung an Ikea kitchen for a friends reno, and having assembled our fair share of Ikea we were fairly proficient in our assembly.

Cabinet Parts

We averaged about 12-15 minutes per cabinet, and with the help of a brad nailer to nail on the back panels, we were ready to install!

Brad nailer = best friend

We started with the lower cabinets which we attached together by clamping them, drilling out the hole and attaching with the accompanying screws.

Drilling out hole to attach cabinets together (protect your cabinets from the clamps!)

We then attached the stainless steel feet we had purchased. We decided to go with the feet so that it looked more like a piece of furniture, rather than the rest of our kitchen which has a toe kick panel. It also made the unit look a little less domineering from the hallway.

Attaching the foot bases to the cabinets. When you’ve got two cabinets right beside eachother you dont want a foot on each cabinet (would look silly) so you place the foot right in the middle of both cabinets. It saves you buying more feet, and it looks better.

8 feet later and we had ourselves a fully assembled base unit.

All the feet attached, ready to be flipped and installed

We flipped it over, decided on the position on the wall, we leveled it using the level-able feet (thank you Ikea, you are awesome for owners of an old crooked house!).

El Granto looking super impressed while leveling the cabinets

Once everything was correctly positioned we attached it to the wall. Our biggest issue was that we were attaching to a firewall which has 1 1/2″ thick drywall and our stud finder was having a hell of a time finding anything! After a few curse words and a couple heavy duty EZ Ancors we were in business.

Lower cabinets installed

After the lowers were done, we set to hanging the uppers. They were to be placed one cabinet on either end with a stretch of  open wall 24″ wide in the middle. We want to put some reclaimed wood open shelving in there, so we left the space open for now.

Hanging the uppers was also super simple, as Ikea’s system is amazeballs. You hang a track on the wall all level and nice, screw it into the studs, then your uppers float on the track!

Ikea cabinet rail attached to the studs and showing the movable anchor where you attach the cabinet

It’s super simple for a long row of cabinets, and makes it so that you don’t have to worry about finding studs to attached each cabinet to. We only needed to hang two smaller individual cabinets. So we cut the rail into two pieces slightly smaller than the cabinets, and following Ikea’s instructions installed them in short order. All in all it took the two of us one evening and one morning to have everything hung.

Upper cabinets half hung, art project sneak peek on the ground and general mayhem and mess
Cabinets Installed
Cabinets Installed


The next steps  to stage 1 will be getting the shelves we forgot at Ikea, adding a temporary countertop and some filler panels. This should all be complete by the end of January 2013.

Stage 2 will involve a DIY concrete countertop, some electrical outlets, open shelving between the two upper cabinets and hopefully a few doors and hardware. (ETA Summer 2013)

Stage 3 will complete the coffee bar with all the cabinet doors, drawers, and hardware. (ETA Fall/Winter 2013)