Handmade gifts are one of my most cherished things. When someone spends time creating me the perfect gift, it means more to me than if they were to have bought me the most expensive gift around (except maybe an Audi R8, I’d jump in front of a bus for one of those.) Creating the perfect gift is rewarding both for the giver and the givee. Nothing is more awesome than the look on someones face when you give them the most badass gift around. To give you a helping hand on your quest for the epic gift, today a group of Canadian bloggers are showing you their best handmade holiday gifts for under $25. Check out #CDNHandmadeHoliday on social media to find some great gift ideas. Want to see what we made?
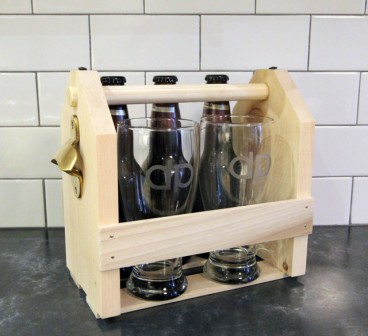
Custom Monogram Pint Glasses & Beer Carrier.
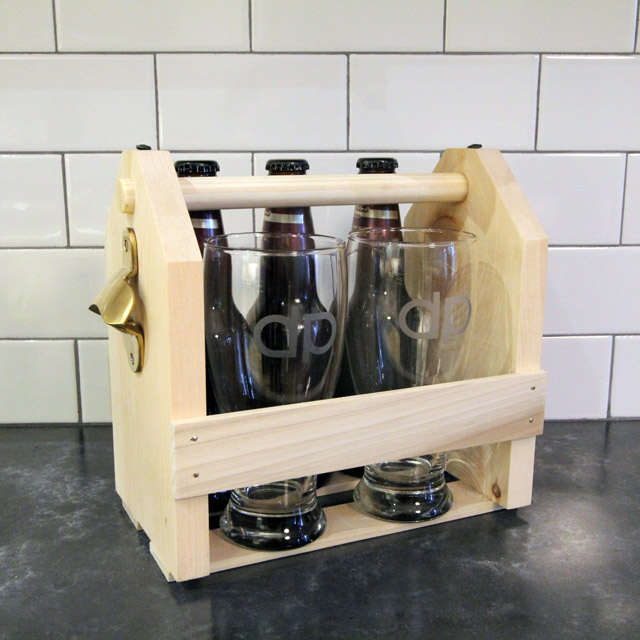
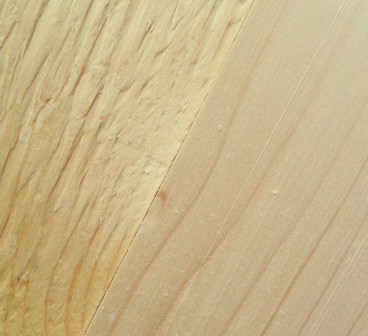
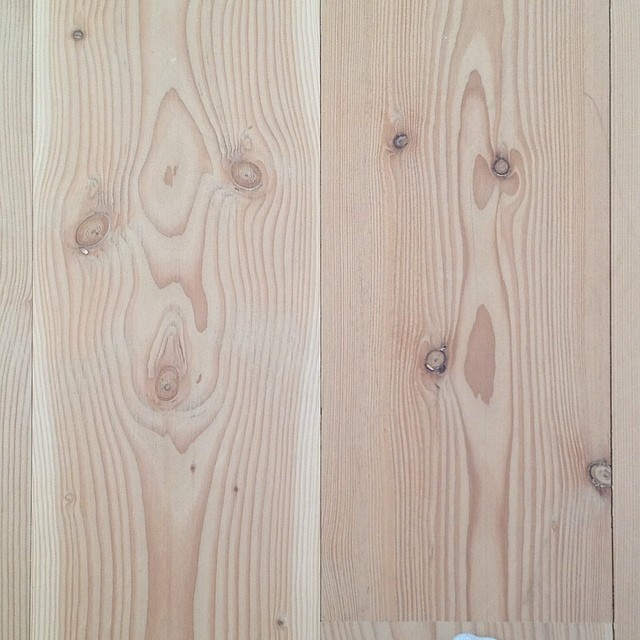
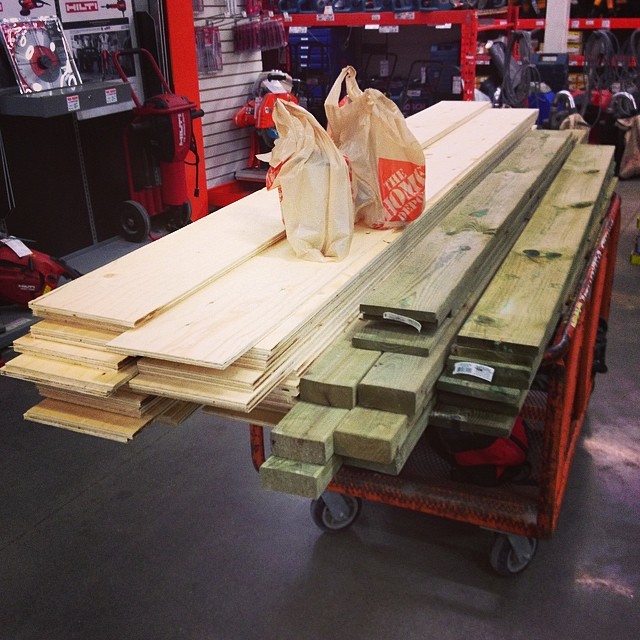
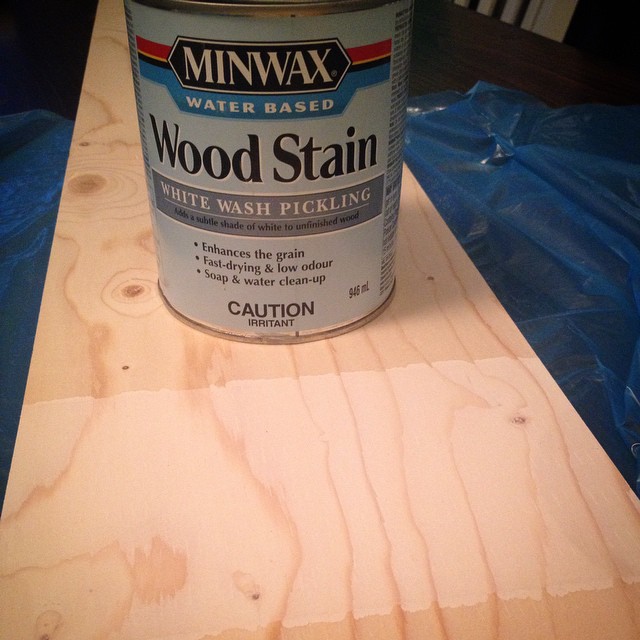
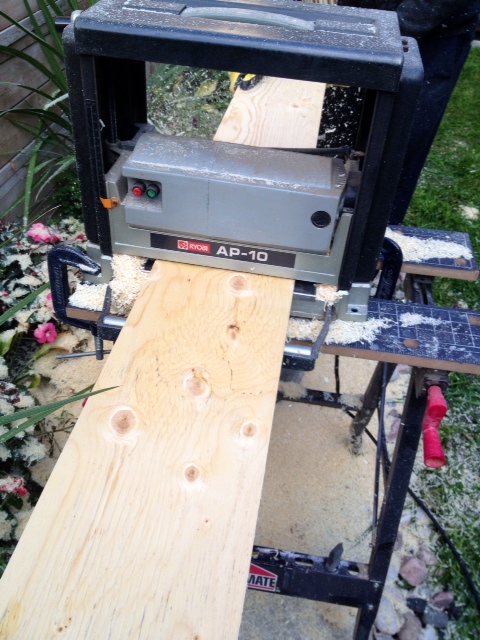
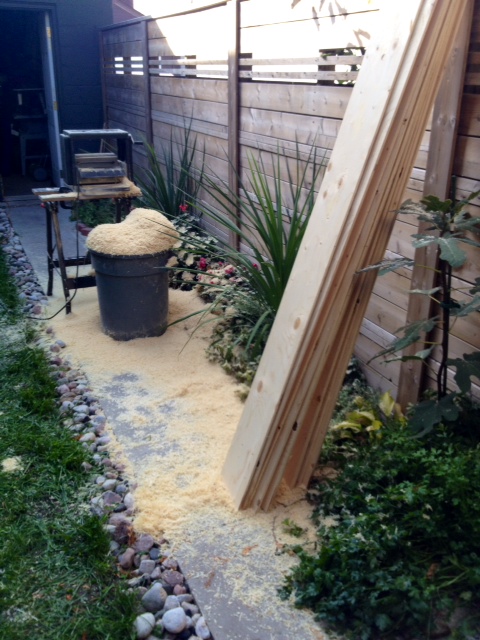
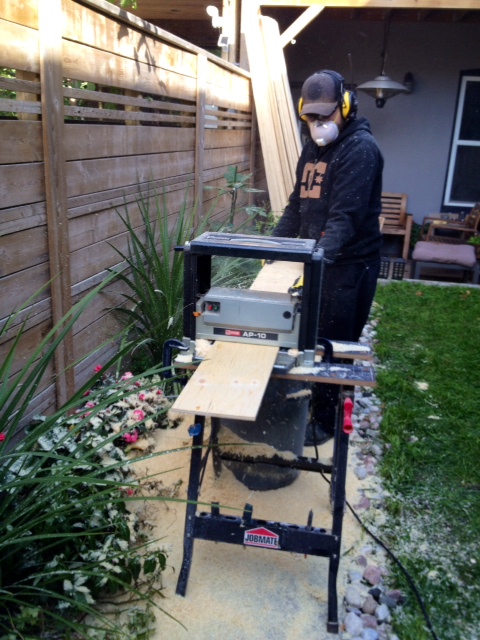
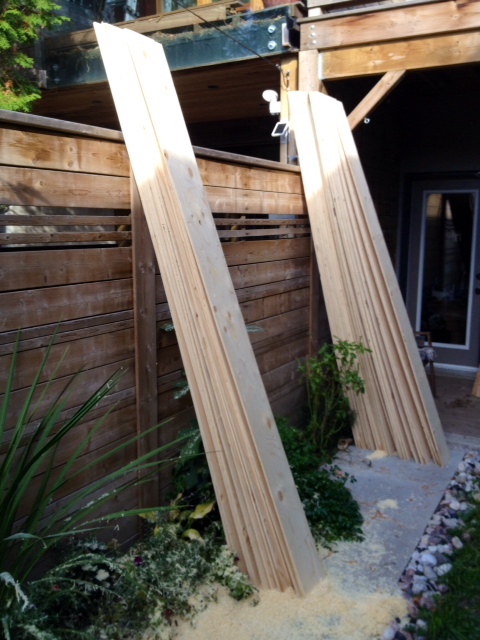
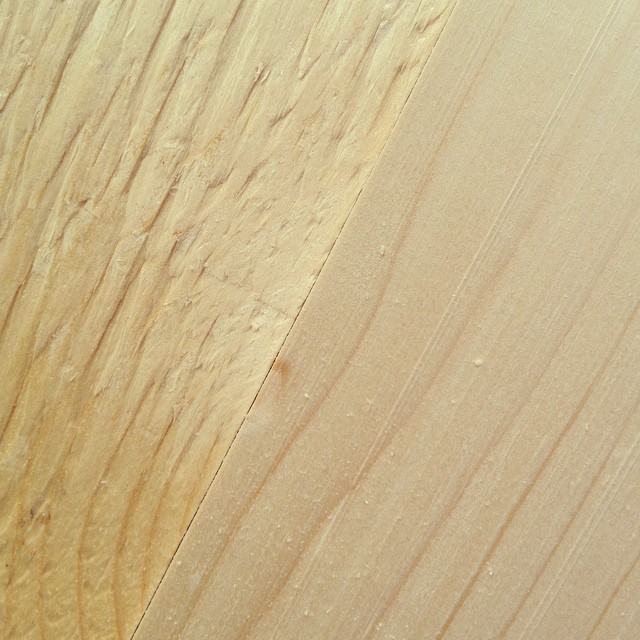
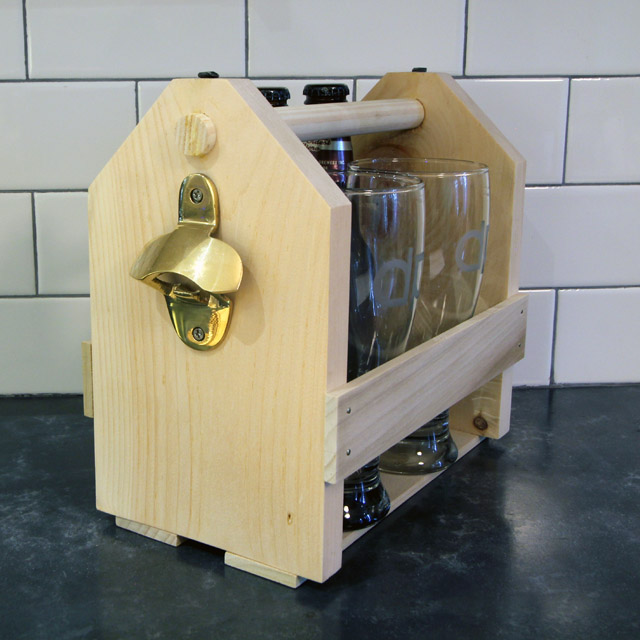
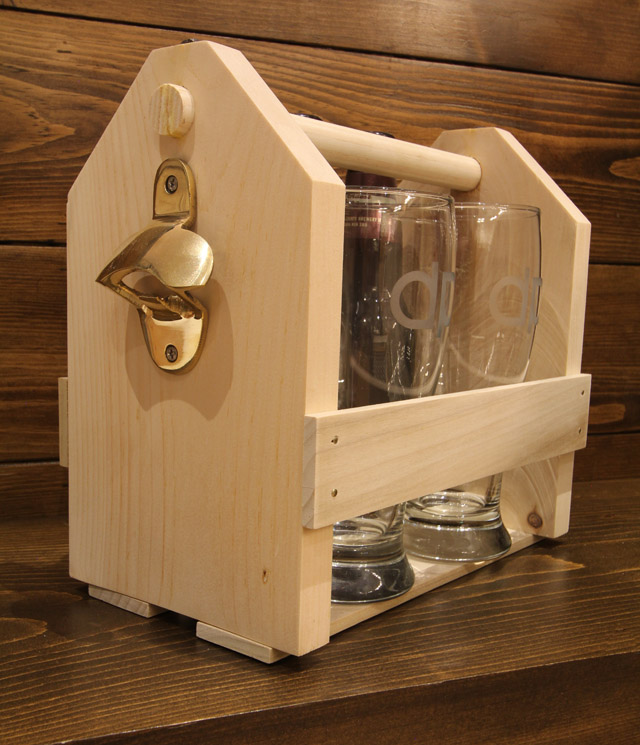
This gift is a remake of an old classic. Starting with our simple beer carrier plans, we made a pine carrier with brass nails, and added a brass bottle opener.

The holder will hold six short or tall cans, six bottles, or three bottles or cans and two pint glasses.
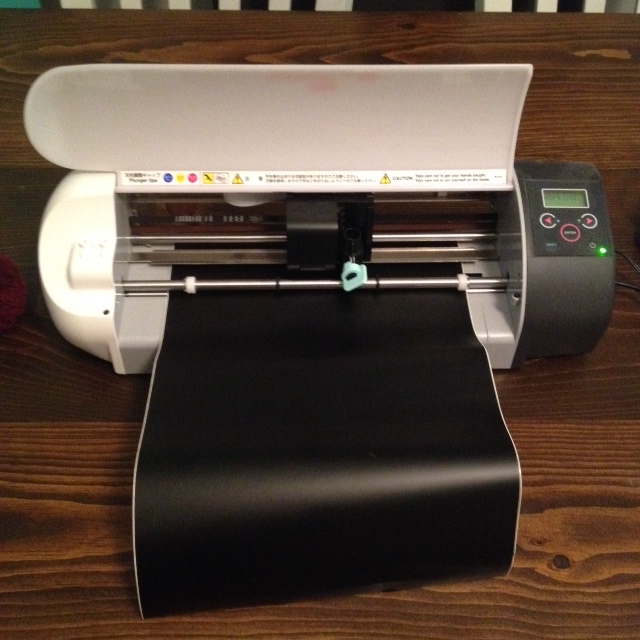
Next we created some custom monogrammed etched glasses. Using our Silhouette SD and a piece of adhesive vinyl, we cut out vinyl stencils.
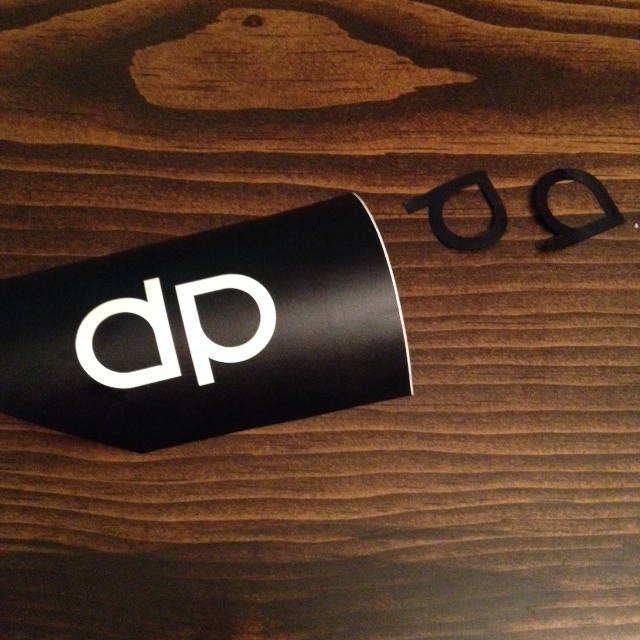
The stencils were applied to the pint glasses, and firmly burnished in place. Masking tape was applied around the stencil to make sure no errant etching cream got on the glass.
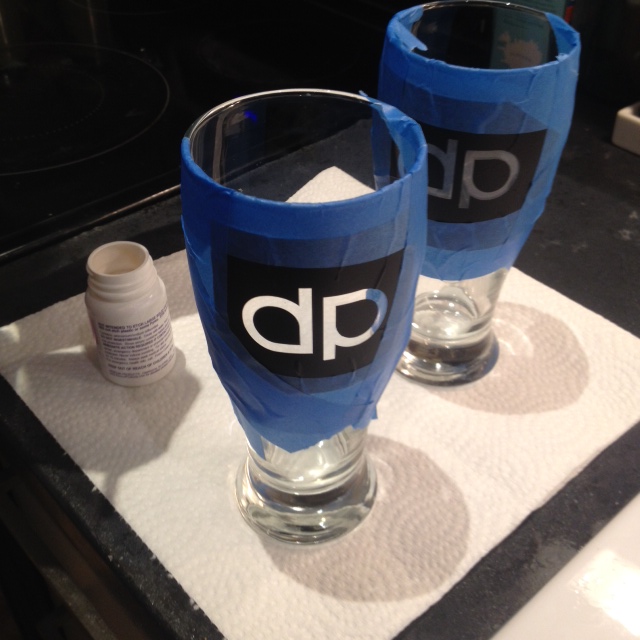
The etching cream was applied with a paint brush while wearing gloves, and left on for ten minutes.
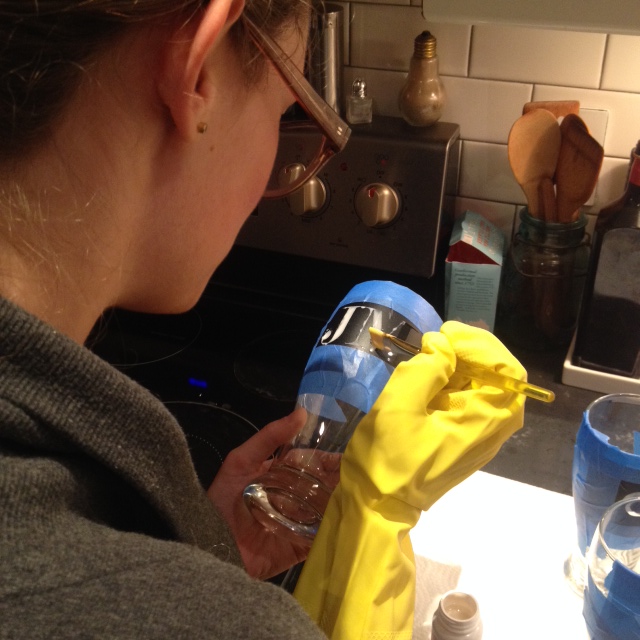
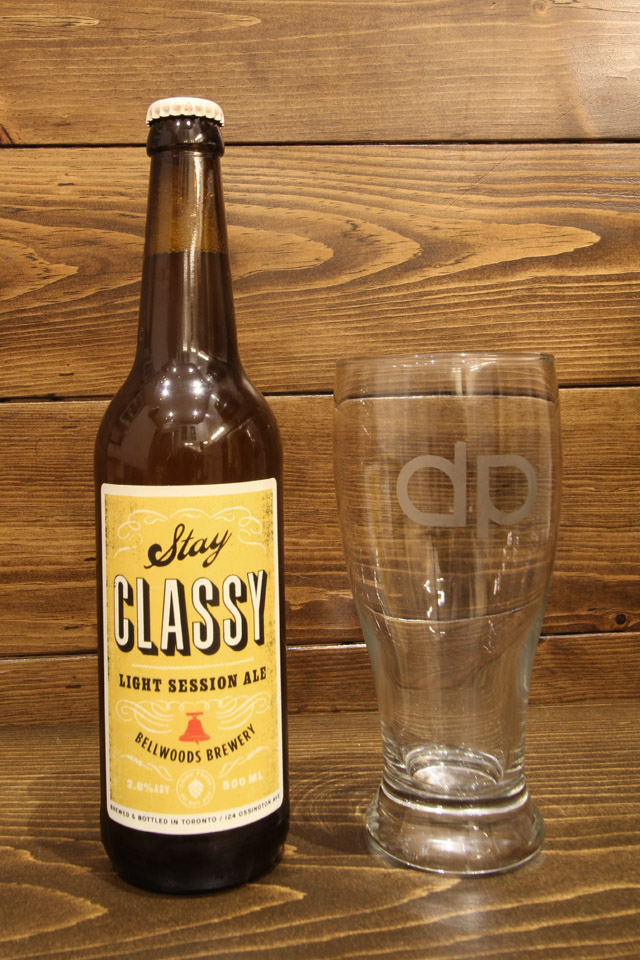
Then it was washed away and glasses dried. The simple yet classic monogram is the perfect addition to the classic pint glass.
The carrier & the glasses were all made for under $25! Just fill with your friends fave beer, and show up to your Holiday party like a boss.
SOURCE LIST:
Beer Carrier:
Materials:
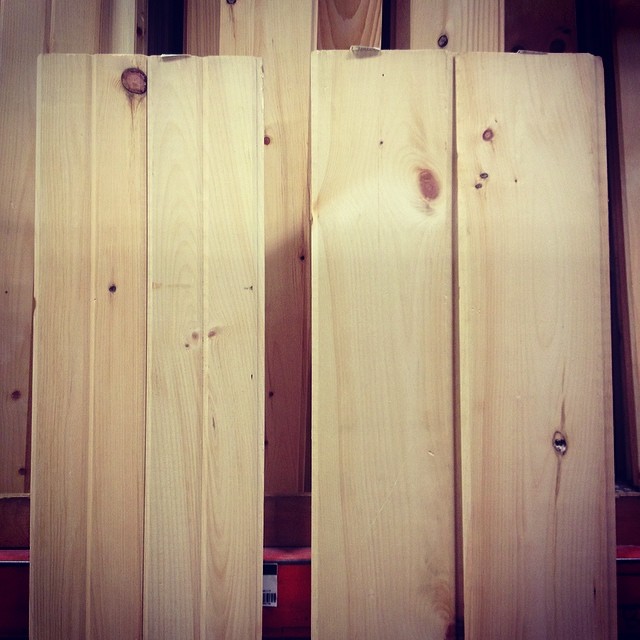
Pine (1×6 x 2′) $3
Poplar (1/4″) $2
Dowel (3/4″) $2
Brass Finishing Nails $1
Bottle Opener – Target $5
Cut List:
2 – 9″x5 3/4″ – 1″ thick Pine
2 – 2″x 9 1/2″ – 1/4″ thick poplar (sides)
2 – 2 5/8″ x 9 1/2″ – 1/4″ thick poplar (bottom)
1 – 9 1/2″ dowel (handle)
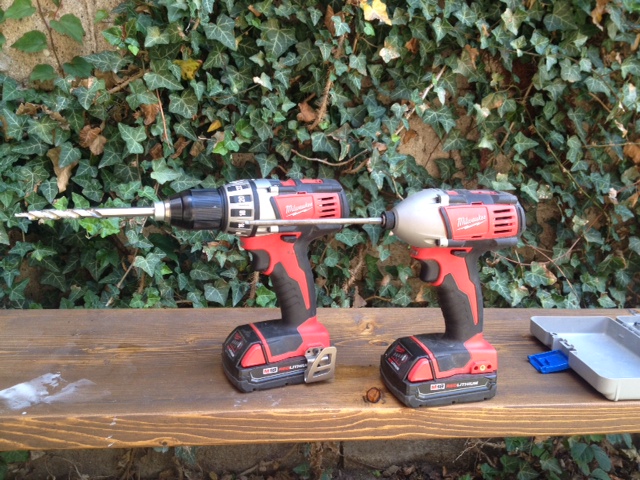
Tools Used:
Miter saw – Milwaukee 12″
Combination Square
Drill – Milwaukee M18
3/4″ Spade Drill Bit
Orbital sander – Milwaukee
Measuring Tape
Etched Custom Beer Glasses:
Materials:
2 – Pint Glasses – The Bay $4
Etching Cream – Lee Valley -3oz $8
Tools Used:
Vinyl stencil – Silhouette SD
Paint brush
Gloves
Difficulty Level (on a scale of 1-5):
Total Cost: $25
What do you think? Would you like to find this gift under your tree?
Check out the #CDNHandmadeHoliday projects from other awesome Canadian bloggers:
Mason Jar Leather Lantern – NorthStory
Fabric Handmade Gifts – Rambling Renovators
Needle Felted Wool Socks – Fynes Designs
DIY Winterberry Branches – Vin’yet Etc
Homemade Sweater Mittens – Life is a Party
Pottery Barn Inspired Advent Calendar – New House New Home
Mr. & Mrs. Rudolph Towels – SewCreative
Mini Yarn Wreath Christmas Tree Ornaments – A Pretty Life in the Suburbs
Santa’s Sleigh Gingerbread Cookie Garland – Kitchen Counter Chronicles
DIY Anchor Fridge Magnets – Swell Conditions
Cranberry Pear Relish – Time with Thea
Burlap Photo Frame Display – Joy in Our Home
DIY Felted Bowls – Bear & Lion
DIY Beaded Star Ornament – lifeovereasy