Renovation Stress

Generally our projects tend to go fairly smoothly. We plan and prep a ton, and usually stay on budget and don’t have many delays. However, it’s not always sunshine and roses. We too can be plagued with reno stress and generally a whole lot of crap that doesn’t go right.

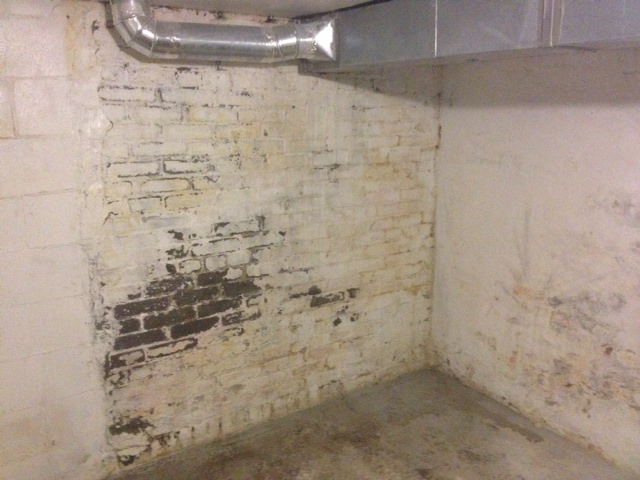
This weekend the basement project fell into the not going so well territory.

Saturday:

El Granto headed to the motorcycle show to see a man about a motorcycle (more on that later) . I saw the sunshine from my bedroom window and thought “oh what a nice day, I’ll go to Ikea”. What a mistake. It was sunny but frigidly cold and windy. I took the subway to Kipling, and waited 45 minutes in the middle of the parking lot for the Ikea shuttle. Bonus points for Ikea making their shuttle stop without any shelter, and not in viewing distance of the station. Good work Ikea. After arriving at Ikea I braved the Saturday crowd and the arguing couples and screaming parents to pick up a (very large) counter for the washer & dryer as well as a few other accessories. I also needed to make a stop at the lighting department, as I had purchased a purported “ceiling light” which was actually a plug in light. I hoped I purchased the wrong version, and that they magically had a hard wired option, but alas no. Nor does Ikea have conversion kits or any easy way to turn their plug in lights to hard wire.

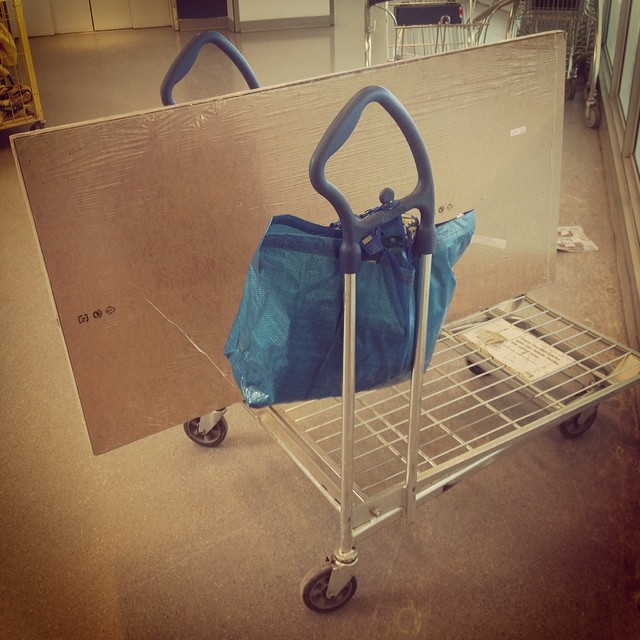
Discouraged I left Ikea with my purchases and carried a 20lbs 5×2.5′ countertop home on the shuttle and subway. By this point I was cursing myself for not renting a car, or at least going to Ikea with a pal to help carry.

How am I going to get this home?

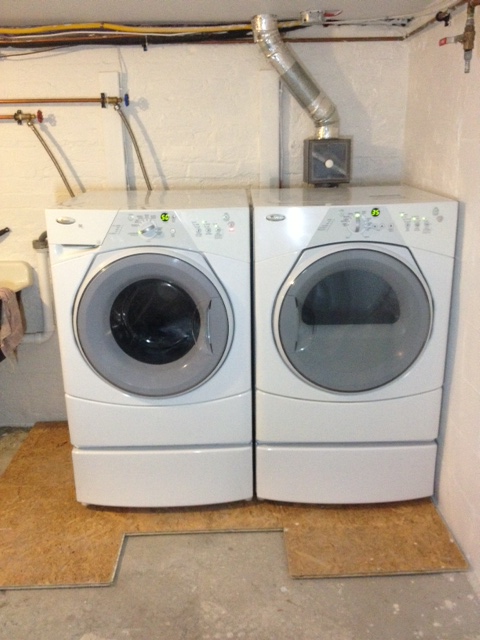
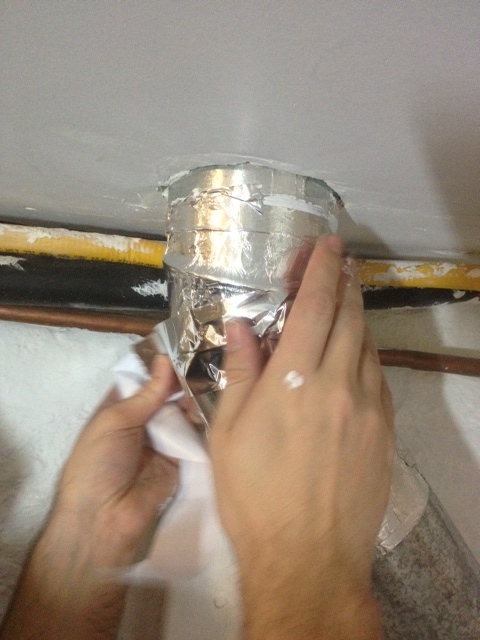
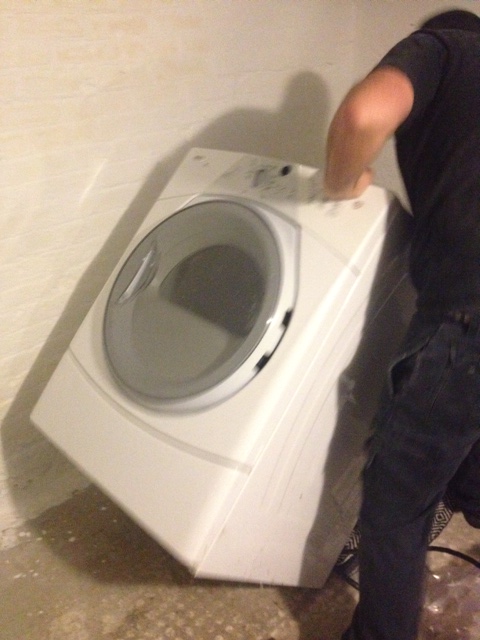
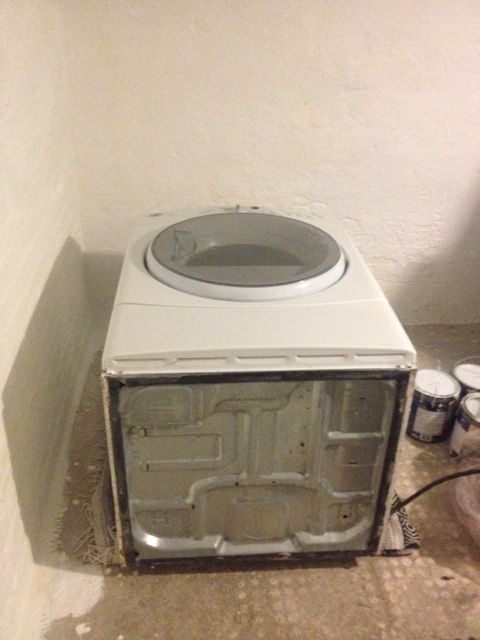
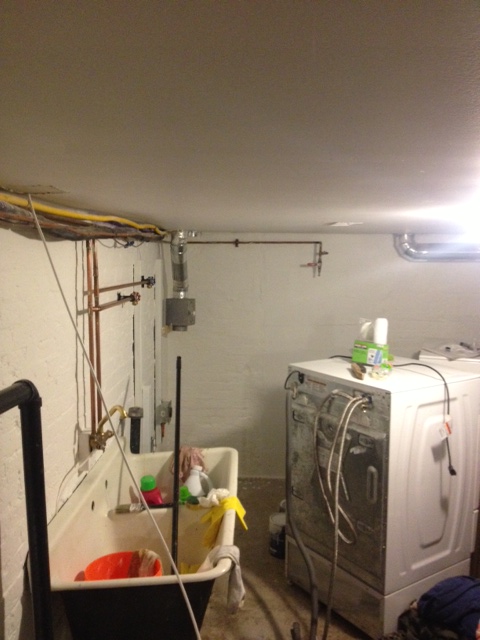
I finally got everything home and went to install the countertop and realized that my lint trap above the dryer was too low and the counter wouldn’t fit. Awesome. I left the counter and called it a day.

lint trap is line 1/2" too low.
Really? That darn lint trap is line 1/2″ too low.

Sunday:
We headed out early to catch brunch at one of our neighbourhood spots only to find that the drunken hipster hockey fans had been up since 6am and were looking for some breakfast to sop up the booze, and all our fave brunch spots has lines out the door. (*Note to all the non-Canadians, our bars don’t usually open at 6am, but because of the early morning gold metal Canada vs. Sweeden hockey match, the government changed the rules  for the day to allow bars to be open and serving for the big game. What can I say, Canadians love their hockey and beer.)

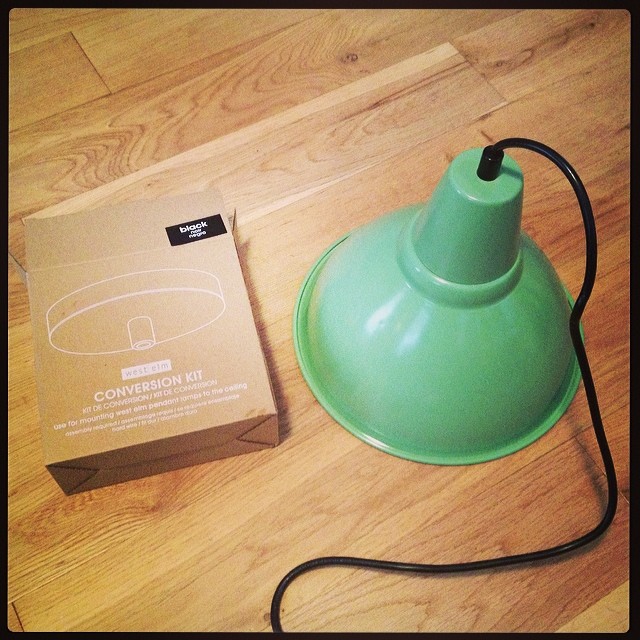
Sad and brunchless I gave up and headed out on some errands. I bused down to West Elm to pick up a light conversion kit. A $25 fix for my $15 Ikea lamp problem, but at least I knew it would work.

lights
The cute (but evil!) $15 Ikea light and the $25 West Elm Conversion kit to fix it

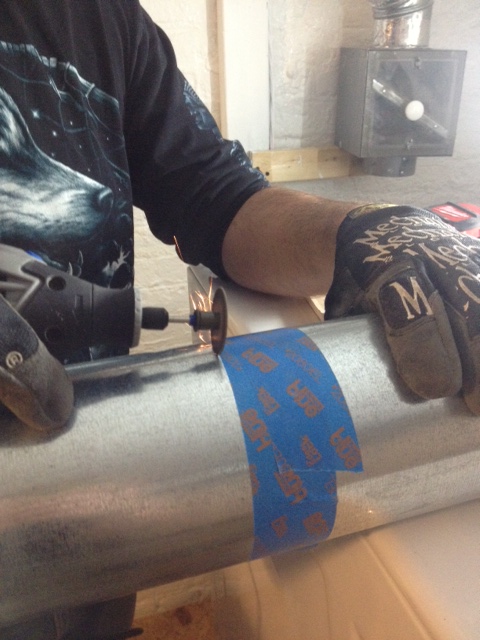
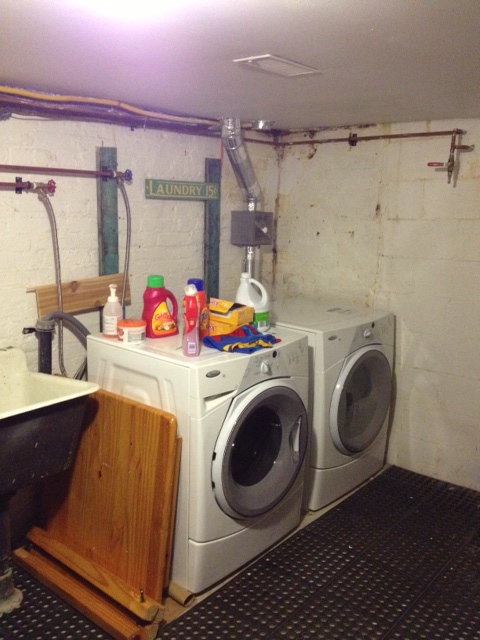
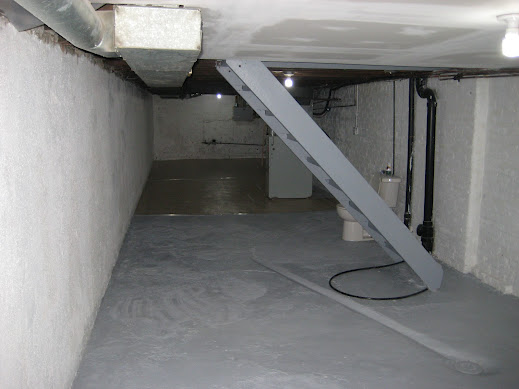
I headed home, dropped off my shopping then headed back out to Home Depot to pick  up the cladding for the basement staircase ceiling.

Ceiling cladding options: Beadboard or Barnboard

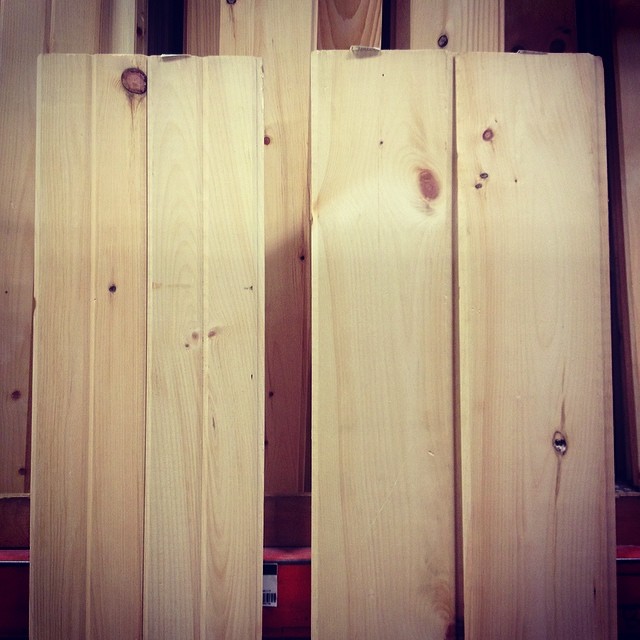
I decided on pine barnboard planking and proceeded to go through each and every board in stock to find only three acceptable boards. Well that’s not enough to plank a ceiling, so out went the barnboard and in came V groove tongue & groove. Another slog through the pile to find acceptable pieces and then a long hard trip home on public transit with the lumber and supplies.

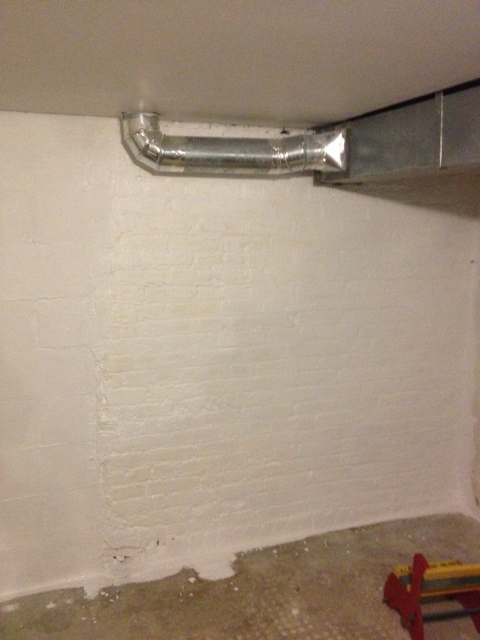
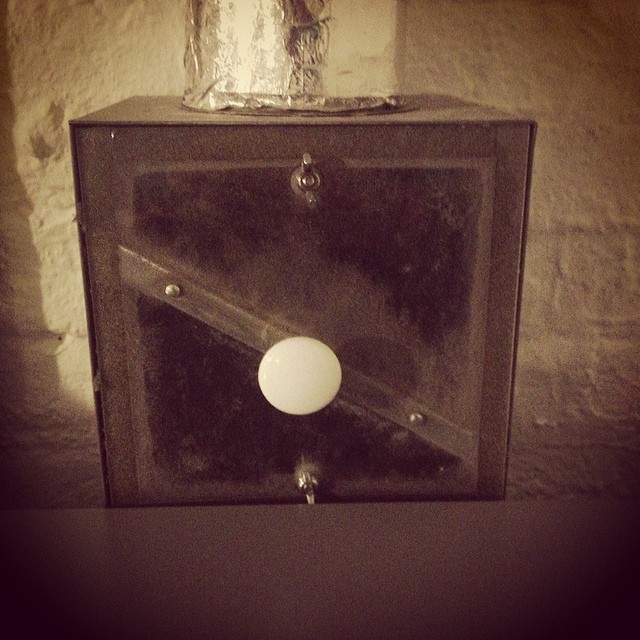
After arriving home I set out to priming my planks and finish wiring and installing my Ikea light in the basement staircase (there is no light there and it’s pretty dark/sad.)

Priming the Ceiling Planks

After struggling with the wire I’ve discovered that the light switch isn’t wired with two hot wires and meretted neutrals, but alas is wired hot in, neutral out. Uhhhh… how am I going to add a light to this circuit? I tried a few wiring options and wired up the light to test, only to drop the two tiny black screws that hold the light to the ceiling down the stairs bouncing around and getting lost forever. Much swearing, yelling and a slam of a door ensued.

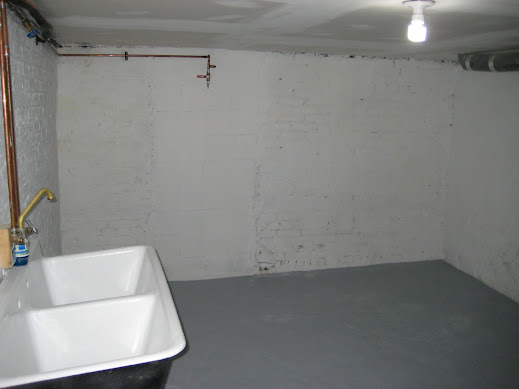
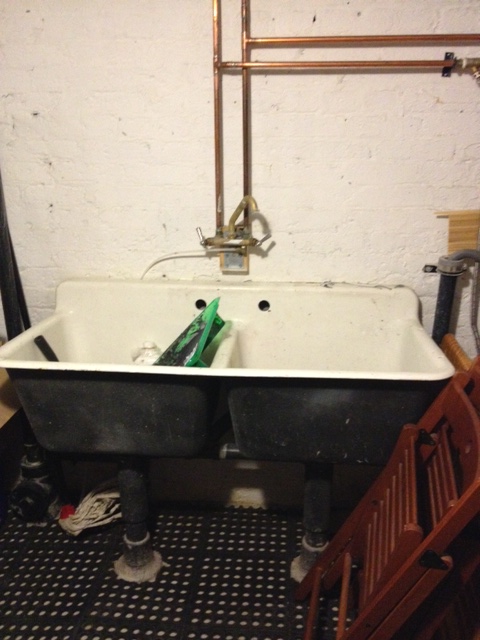
I unwired the light, reattached the existing wiring (so we would have some light in the basement) and left a ladder in the powder room, a compressor in the hall, beadboard covering every surface in the dining room, a nonworking light hanging from an unplanked ceiling and construction debris everywhere and went to bed.

Tonight I am going to try to muster up the courage to take another stab at it, or I may just sit on the sofa with a slice of pizza and hope that a DIY fairy comes to fix my problems.

Dirty Laundry

About a week and a half ago we unhooked our washer and dryer and moved them to the middle of the room so we could waterproof paint behind them. We also wanted to attach the laundry pedestals we have had in the boxes for (cough cough) two years.

We accomplished that last week, but we couldn’t put the laundry pair back until we installed the DRIcore subfloor below it. However, our DRIcore delivery isn’t scheduled until later this week. Aaaand the dirty laundry was starting to pile up.

With the subfloor project at least a week away we decided we needed to remedy the laundry situation. We picked up 6 DRIcore subfloor panels and some foil tape, and set to reinstalling the laundry.

We measured our room and planned our DRIcore subfloor layout (more on this in another post), and installed 6 pieces under the laundry pair.

Installing the first piece of Dricore Subfloor
Installing the first piece of DRIcore Subfloor

This isn’t ideal (we should really lay the whole floor at once) but this gal wanted some clean clothes to wear to the office that weren’t track paints and paint covered high school basketball T-shirts.

After the DRIcore was laid, we measured for our hard duct line for the dryer. As we had added laundry pedestals and the DRIcore subfloor,  the vent line needed to be over a foot shorter.  So out came the Dremel and a metal cutting wheel and El Granto cut down the dryer vent line.

El Granto cutting the dryer vent

We reinstalled and taped the seams with new foil tape. (or should I say I cut El Granto some pieces of tape, and he reinstalled).

Taping seams in the dryer duct-work with duct tape.
Taping seams in the dryer duct-work with foil tape.

Now we could level the dryer using the adjustable feet in the laundry pedestals. A few turns of the wrench and everything was nice and level. Next we replaced the washer, hooked it up and leveled it as well. We then matched the heights of the washer an dryer and placed them side by side.

Washer & Dryer re-installed

I am kicking myself for not installing the laundry pedestals sooner. It is so much nicer not to bend over to switch the laundry!

The room is also starting to come together. With the washer & dryer back in place, you can really start to see the contrast of what it used to look like.

Remember this?

Laundry room before
Laundry room before

I cant wait to get the rest of the DRIcore subfloor in and get started on the walls!

Mid Basement Project Progress

It’s about that time in the basement project where progress slows down, and it starts to lose its luster. This past weekend was a slog. It took all I had to muster up the courage for another two days worth of painting.

I adorned my battle gear (old boots, track pants and my work shirt) and grabbed my boom box & El Granto and headed into war.

The War against the spiders.

I’m a big, tough grown ass woman, but an eight legged arachnid will send me into a tizzy of screaming like a little girl and running away with my arms above my head.

The basement you see is home to an a colony of daddy long legs reminiscent of Aragog & his family from Harry Potter. They’re huge, mean and out to kill me. It’s true. They almost accomplished this feat by jumping out at me when I was painting the basement brick walls. They would crawl out from behind ductwork, or from behind the washer & dryer or (shudder) crawl out if the overflow drain on the sink. I even had one jump (I swear!) into my hair. Insert shrieking girl, hand waving freak out here.

All told I painted FOUR spiders into the wall, as my only weapon when they attacked me was my paintbrush. I stabbed countless others with the broom, a wire brush and a paint stirrer.

I love animals, but spiders you just don’t make the cut. They are horrible, horrible little creatures. They are almost as bad as those million legged house centipedes.

What else did we accomplish this weekend other than barely making a dent on the storefront spider population?

Painting. So much painting. When we left off last weekend we had painted the first coat of Behr Basement & Masonry Waterproofing paint on 3/4 of the laundry room brick walls. The reason only 3/4 of the walls got painted was the fact that we had to move the washer & dryer. We have a bunch of work to do with the washer & dryer, so once we removed them they would be gone for about a week. We left this until the last moment possible so that we could have clean underwear and socks. Those are vital luxuries I’m not willing to go without. So we washed every article of clothing and linens we owned, and removed the washer & dryer.

We have had two brand new Whirlpool laundry pedestals sitting in the boxes for (cough cough) two years. It was time to remedy that. So while I wire brushed and cleaned the walls, El Granto laid the washer & dryer on their backs and installed the pedestals.

El Granto tipping the dryer
The dryer laid on its back ready for its pedestal
Walls wire brushed to remove any loose paint (the grey marks are from my wire brush)

With the washer & dryer in the middle of the room, I set to painting behind them. Like the rest of the walls I painstakingly brushed the first coat of paint ensuring I covered all the nooks and crannies.

We left it to dry overnight and yesterday I came back and rolled on a second coat throughout the laundry room. I used a long nap roller loaded with lots of paint and gave it a heavy coat, back brushing to ensure the paint covered well.

5 gallons of paint and 15 hours of work later, the basement waterproofing paint is done.

Basment Walls Painted with Behr Basement & Masonry Waterproofing paint

While I would love to show you a fantastic finished product, sadly that is not the case. The washer & dryer are still in the middle of the room, there is still dirt everywhere, the sink is full of (crap) and the floor is littered with paint cans and displaced tools.

Basement Progress
Basement Progress

Being mid project is like being in the eye of the storm.

Next up we need to get our Dricore subfloor down & leveled, re-do the dryer ducting & hook back up the washer & dryer. Install drywall (on some) of the walls, and then flooring, lighting, more paint, hiding the wires & plumbing, storage, curtains, pretty things and so much more.

Excuse me while I go wash the spider guts out of my hair.

Basement Step 1

We finally got started on our laundry room project, but before a paintbrush was lifted, we did a lot of research and prep. Basements are notorious for having problems with water (especially ones that are over 100 years-old). As the ad for Dricore told me at Home Depot, 98% of homes have basement water issues.

Basement before shot. Notice the evidence of the water that once entered the basement (from a blocked drain.)
Basement before shot. Notice the evidence of the water that once entered the basement (from a blocked drain.) and the dirt that came in with it.

Whether it’s a bit of condensation, dampness, or a basement floor that weeps when it rains, you probably have some sort of water hanging out in your basement. Before we could do anything with the basement we needed to get our water under control. We knew the water issue that occurred previously was from a blocked drain in the backyard. That has since been fixed, and the only water we’ve had in the basement since was a little puddle from the giant downpour we had this summer (remember the one with the flooded GO train and the abandoned Ferrari?) Even then the water puddled right beside the drain, and if our floor was sloped properly, it would have made it to the drain on it’s own. (We will be fixing the  floor slope as well.)

So our brick foundation is without active leaks, cracks and is generally in good repair. We have a working outdoor drain and two basement floor drains. We have a back flow valve that was installed in the basement floor, and all our broken clay pipes were replaced with PVC.

How else could water possibly get in? Dampness can come up through our cement floor, or in through our unsealed painted bricks.

So we needed to tackle both of these items. After much deliberation we opted to do a waterproofing paint on the walls and a Dricore subfloor on the floor.

Why did we opt to just waterproof paint the walls? Several reasons: we didn’t have active water, and the bricks had been painted in the past. To do an interior waterproofing system we would need to strip all the bricks (possibly causing damage) and then add an interior waterproofing membrane and French drain. Lots lots lots of work, and $.

So option B, waterproofing paint. There are several of these on the market, but only one that I could find which you could paint over existing (in good condition) paint; Behr Basement & Masonry Waterproofer. We are big fans of Behr paint (we’ve painted most of the house in it). So we feel confident in using the Behr product. While our work wouldn’t be warrantied (Behr only warranties it on unpainted brick). We felt confident that if we did proper prep and application we would be good to go!

Now it was time to prep. A paint job (especially of the waterproofing variety) is only as good as your prep work. So we moved everything away from the walls and got to work. We wire brushed the walls from top to bottom, removing any loose paint, and checking the mortar and brick for any problem areas.

Basement prep tools.

We were happy with the state of our foundation (no cracks, or problem areas! YAY!) So we moved on to cleaning the bricks. We mixed up a solution of TSP and scrubbed the walls with TSP and a scrub brush, then washed off with clean water, and left everything to dry overnight.

Basement walls wire brushed, and washed with TSP
Wall after wire brushing
Look how impressed (and sexy!) I look after wire brushing the basement.

The next day we came back and started applying our Behr Basement & Masonry Waterproofer in un-tinted white . We opted to use a long bristle brush to apply. This would end up being tedious, but ensured that we got the paint into every nook and cranny. We went over all the brick, one brick at a time ensuring we got good coverage with our waterproofing paint.

Painting the brick
Painting the brick
One coat of Behr Basement & Masonry Waterproofer painted
One coat of Behr Basement & Masonry Waterproofer applied

6 hours later and we completed one coat on about 3/4 of the walls in the laundry room. A lot of work, but the results are looking great so far!

I can’t wait to get back down there and finish painting. We have to move the washer & dryer to get to the rest of the basement. Hopefully we’ll have more progress to show you next week.

Toronto West End Real Estate

January is usually a slow time in the real estate market. People are burrowed in their homes keeping warm, not wanting to traipse through feet of snow to visit open houses. The market sees a few homes up for sale, but not the number that usually grace the MLS in spring, summer and fall. Still there’s usually a good little inventory that keep the market going, and offer a decent selection to would be home owners.

This winter in Toronto, there is a lack of inventory on the market, and it’s starting to make people do crazy things. It’s reminiscent of Black Friday at Walmart and people willing to fist fight for a half price flat screen tv. Now don’t get me wrong, the Toronto real estate market is always hot. Back when we were looking we saw over 100  homes and witnessed bidding wars up the prices well over our budget. The worst we experienced was a Victorian on Euclid where we had to wait in line for our scheduled showing and it went over for 100k over asking.

That my friends is nothing compared to what’s been going on in the West end of Toronto in the last few weeks.

A dilapidated fixer in Roncesvalles with soot covered walls, no heat, missing windows, knob and tube wiring and a gaping hole in the roof had over 300 viewers to it’s weekend open house.

Roncesvalles "fixer"
Roncesvalles “fixer”

The listing alone advised viewers to leave their kids at home. This was not a move in ready home. I’m surprised it wasn’t condemned, and to even have electrical and gas service hooked up extensive rehab was needed. The agent estimated that it needed $400k to make it livable. In the end it sold for $803,649. $153,749 over asking. WOWZA. [See the Toronto Star article here.]

In comparison, two streets over from our house, a move in ready, renovated semi with a basement rental unit topped the scales with 500 open house viewers, 32 offers and a selling price of $848,625. A measly (cough cough) $208,725 over asking.

West Toronto semi that sold for almost $210,000 over asking.

This is my neighborhood. The same one where I regularly find beer bottles in my planter boxes, have seen drug deals happen on the corner, and the dog caught a hooker & a john in the back alleyway during the summer. (He barked, and scared them away. )

Our neighborhood is gentrifying, and really it had nowhere to go but up. It was a working class neighborhood with tons of industry which kept it from soaring in the earlier housing booms. Now is it’s time for change, as the industry slowly moves out the condos have started to go up bringing with them new infrastructure as well (a new Metro & Shoppers Drug Mart going in at Dupont & Lansdowne). The proximity to the subway and the vast array of restaurants & bars makes it a hipsters paradise, and the real estate market has followed the brunch crowd. However, $850k for a semi?! That’s  just ludicrous! [See The Globe and Mail article on the house here, Toronto Star here, and for a more candid article see the Mash here.]

Is this the way the Toronto West End market is headed? I doubt it. It most likely was a perfect storm with lots of desperate buyers and few houses on the market. Come spring when the mercury gets above sub arctic, and the sellers come out of hibernation, the market will (hopefully) spring back to its normal status quo. Until then, good luck intrepid home buyers, good luck!

Laundry Room Makeover?

Hey guys! We visited the Interior Design Show yesterday (which was awesome.) It really inspired us to get started on some new projects. I am still compiling all my pics and will have an inspiration post up for you in the next couple of days.

Speaking of new projects, on January 21st, 2013 I wrote this post (I have copied verbatim it below):

The entrance to the Storefront is level with the street. What that means for our basement is that it is completely underground and has no windows. At all. Most basements at least have some tiny windows.  Not our house. Our basement is dark, damp, and the ceilings are about 6 1/2 feet tall.

So…a dungeon.

Basement2
Basement before we moved in, before the reno, before the water damage, and when there was still a strange toilet hanging out in the middle of nowhere… Now this part of the basement is storage for a lot of misc.  stuff.
Basement
Basement before the laundry was moved downstairs. Now the washer & dryer live beside the sink
The "Laundry Room" as it is now. Kinda depressing right?
The “Laundry Room” as it is now. Note the water damage on the back wall
The laundry sink. It needs some TLC

Its kinda depressing, right?

Couldn’t we just dig out the basement and make it nicer/finished? We could, but that would be expensive and hard. We could never have any windows, and a room without windows is just a bit sad.  It would make a good dungeon, but a family room or guestroom? Not a chance.

So…what will become of our basement? Realistically, it can be some storage, a laundry room, a maybe a workshop. You wouldn’t want to spend HOURS working down there, but its warmer than the garage in the winter, and a good place to keep craft/DIY supplies. 1/3 of our basement is already drywalled on the ceiling in the laundryroom area. We’re thinking of adding the workshop to that room, and then using the rest of the basement as storage/utilities.

What do we need to do to get it in shape?

  • Eradicate the spider population (shudder)
  • Install a Dricore subfloor to allow any moisture that does get in, to get to the floor drain.
  • Some sort of (cheap & cheerful) flooring over the Dricore
  • Figure out what to do with the brick dust that the foundation bricks shed regularly and give the bricks some sort of finish (they have been previously painted but are flaking and yellowing from the water damage from a flood last year). I am thinking a breathable basement/masonry paint.
  • Install the awesome laundry bases we have had sitting in boxes for the last year.
  • Scrub our original cast iron utility sink, and refinish the outside of it. It’s beautiful, but has seen better days after the reno and copious amounts of paint brushes being washed in it weekly.
  • Figure out something to cover/disguise the plumbing/electrical/dryer venting on the laundry wall. Thinking building a floating wall out of wooden slats
  • Curtain or wall of some sort separating the laundry & workshop from the rest of the basement
  • Adding some lighting to our dark staircase
  • Prettying up the staircase ceiling (Paint or more wooden slats?)
  • Adding a storage rail & hooks to the staircase wall to act as a mini utility closet
  • Moving the rubber flooring that is currently in the laundry room to the storage area of the basement
  • Fill some areas of the floor that are crumbling
  • Organizing/purging the misc crap that has been growing in the basement
  • Buying A full size ironing board (we only have a mini one, how do we survive?!)
  • Building a drying rack (preferably one that folds away)
  • Adding a counter of some sort to stop socks from plummeting to their death behind the dryer. Also a good spot to stack folded clothes etc.
  • Shelving or cabinets above the washer & dryer for storage of laundry detergent and cleaning supplies
  • Purchase a dehumidifier to try to control the moisture levels better (especially in the summer)

Here is some of my Basement Inspiration:

Laundry Room/ Workshop Pinterest Board

laundryPinterest

This isn’t a project that we’ll be focusing on, but we hope we can chip away at it and end up with a usable space (that’s a bit prettier and less scary.)

———————————————————————————————————————————————–


So that post was almost exactly a year ago, and guess what we’ve done to remedy the situation?

NOTHING.

Not. One. Thing.

Everything in that post holds  true. We have not improved the floor, the light, or the storage, and the spider population is increasing exponentially.

Where does that leave us? Well its late January in a very cold Toronto. My garage is freezing, and I’m getting antsy to DIY.  I miss the smell of sawdust in my nose, or paint in my hair. I need to be wearing ripped paint stained jeans, a giant hoodie, and some earplugs.

So I decided it was time to take on the great big project of our basement laundry room/crafting workshop.

Am I crazy? Absolutely! Is it nice and toasty warm in the basement? YES! So its decided, I am turning the sad, sad space into a pretty, useful space that I wont dread using.

NOW. Where do I start? Anyone? Anyone… Bueller… Bueller?

Don’t Crank That

Sometimes in home ownership you make costly mistakes. Case in point: We close our skylight too tightly.

We have an opening skylight in our bathroom. It opens and closes with a big pole that you turn the handle and it cranks open.

When we had one of our cold snaps I walked into our bathroom to find out skylight had shattered. Don’t worry, it was just the inside piece of plastic (they’re double layered with air in the middle for insulation.) The skylight has a screen, which luckily caught all the jagged pieces of broken plastic.

It still caught me completely off guard. Who knew skylights could just shatter? Why did it happen?

3c1d4e8c558211e3ab71120275a1e6b3_8

We called our roofers and they assured us that it wouldn’t leak or anything, and it was marked as a low priority. Flash forward to the bitter cold snap we’ve been suffering from (grrr polar vortex grrr). Because it is just sooo darn cold out, and nice and toasty warm inside, we were getting a whole lot of condensation on our now uninsulated skylight. The condensation was dripping down onto our floor and making puddles. We called the roofers back, they upped the importance and scheduled a site visit on one of the coldest days of the year. Upon inspection they discovered that we appear to have tightened the skylight too tightly, and when it expanded with the cold it broke.

A new skylight was ordered, and it was safely installed yesterday taking all the broken pieces of plastic and condensation with it.

Our pocket is lighter, or egos a little bruised, but at least we have a drip free skylight back in our bathroom.

While talking with the roofing company we learned the following:

Only JUST close crank windows & skylights. Over tightening can warp the frame and put pressure on the glass/plastic risking breakage.

DON’T CRANK THAT SOULJA BOY!

On the positive side, dude I’m the freakin HULK. I am so strong my muscles break skylights!!!!