Let’s Do Spring

A few weeks ago the nice folks at Home Depot invited me to their Spring Preview. I love these types of events, as they give me a ton of inspiration for the next season. This preview was especially welcome as it got me out of  the frigid Canadian winter and into a spring oasis filled with bbq’s, patio furniture and flowers.

I have been dreaming of planting my garden, building on a new patio and hosting many a fun summer bbq. I thought I’d share some of my inspiration so you can daydream about what you’re going to do with your outdoor space this year.

For the backyard:

Brown Jordan Highland Set

This year Home Depot has brought in some amazing pieces from Brown Jordan. You may be familiar with the high end luxury outdoor furniture brand, but not at these prices. Home Depot has made some awesome quality furniture available at an affordable price.  They even have a swivel glider that I absolutely fell in love with. It was like sitting in your Dad’s old recliner, but outside and way more fashionable.

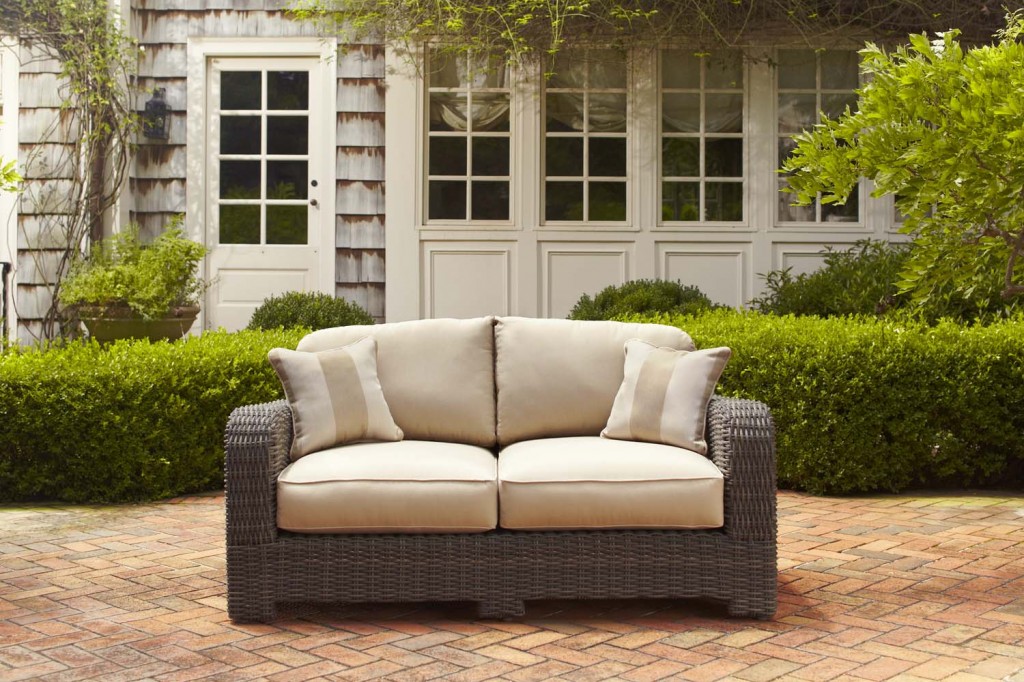
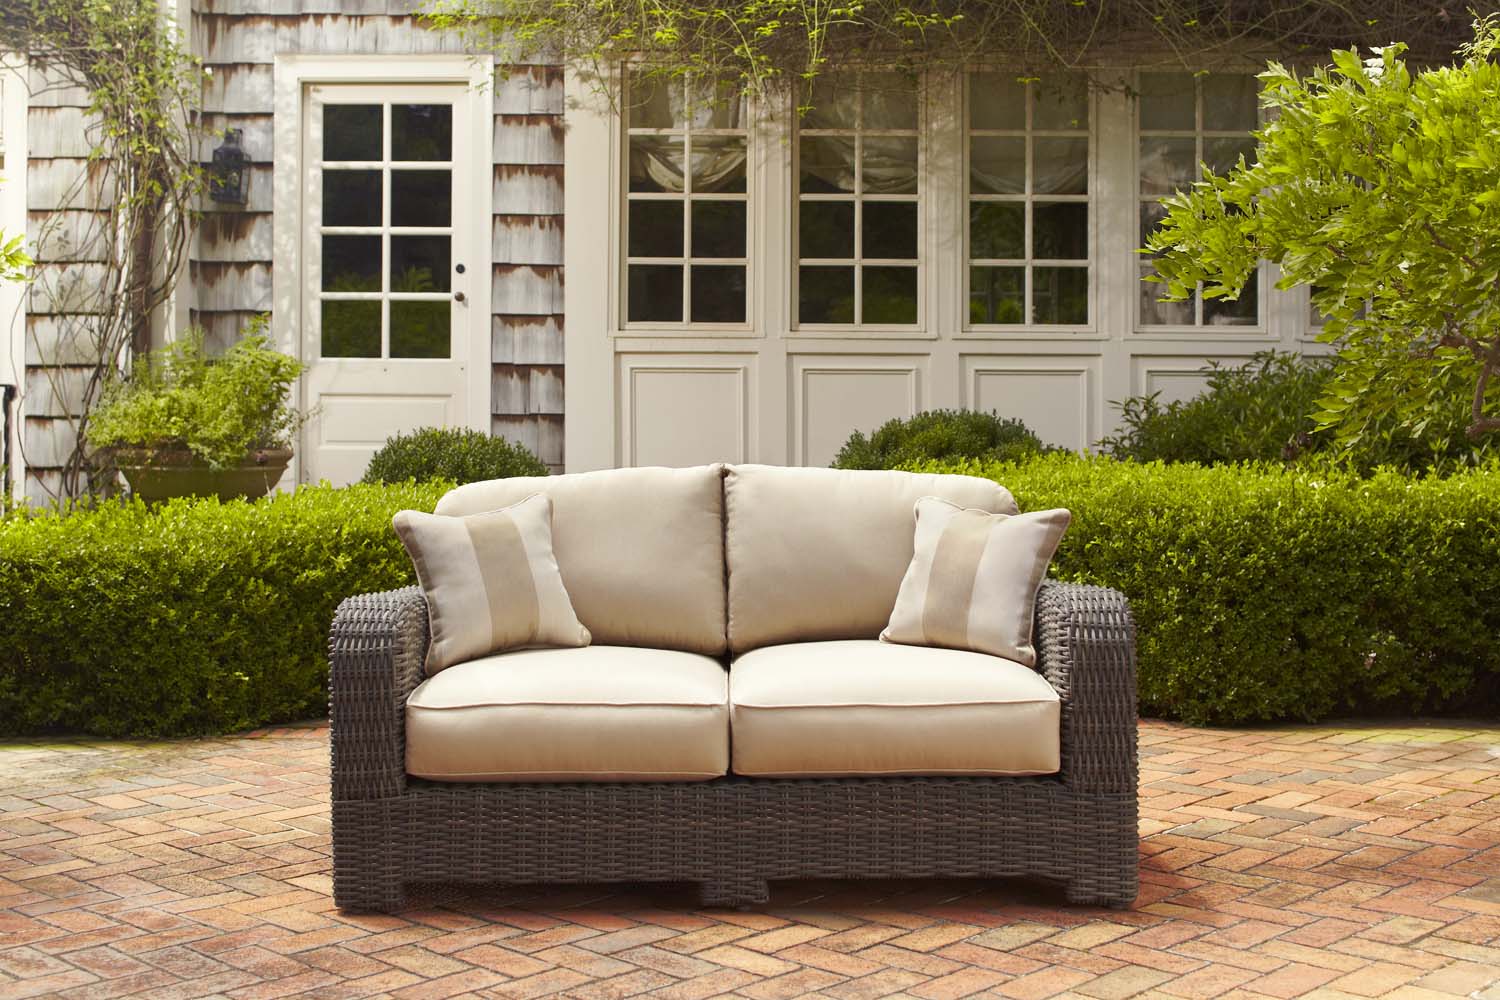
They also have a more contemporary set called Northshore that would be perfect on an urban patio or roof deck.

Brown Jordan Northshore

I love the clean lines of this set, and it would be perfect in our backyard. I have a total crush on it. They even use Sunbrella fabrics, which are the creme de la creme of outdoor fabrics with UV protection.

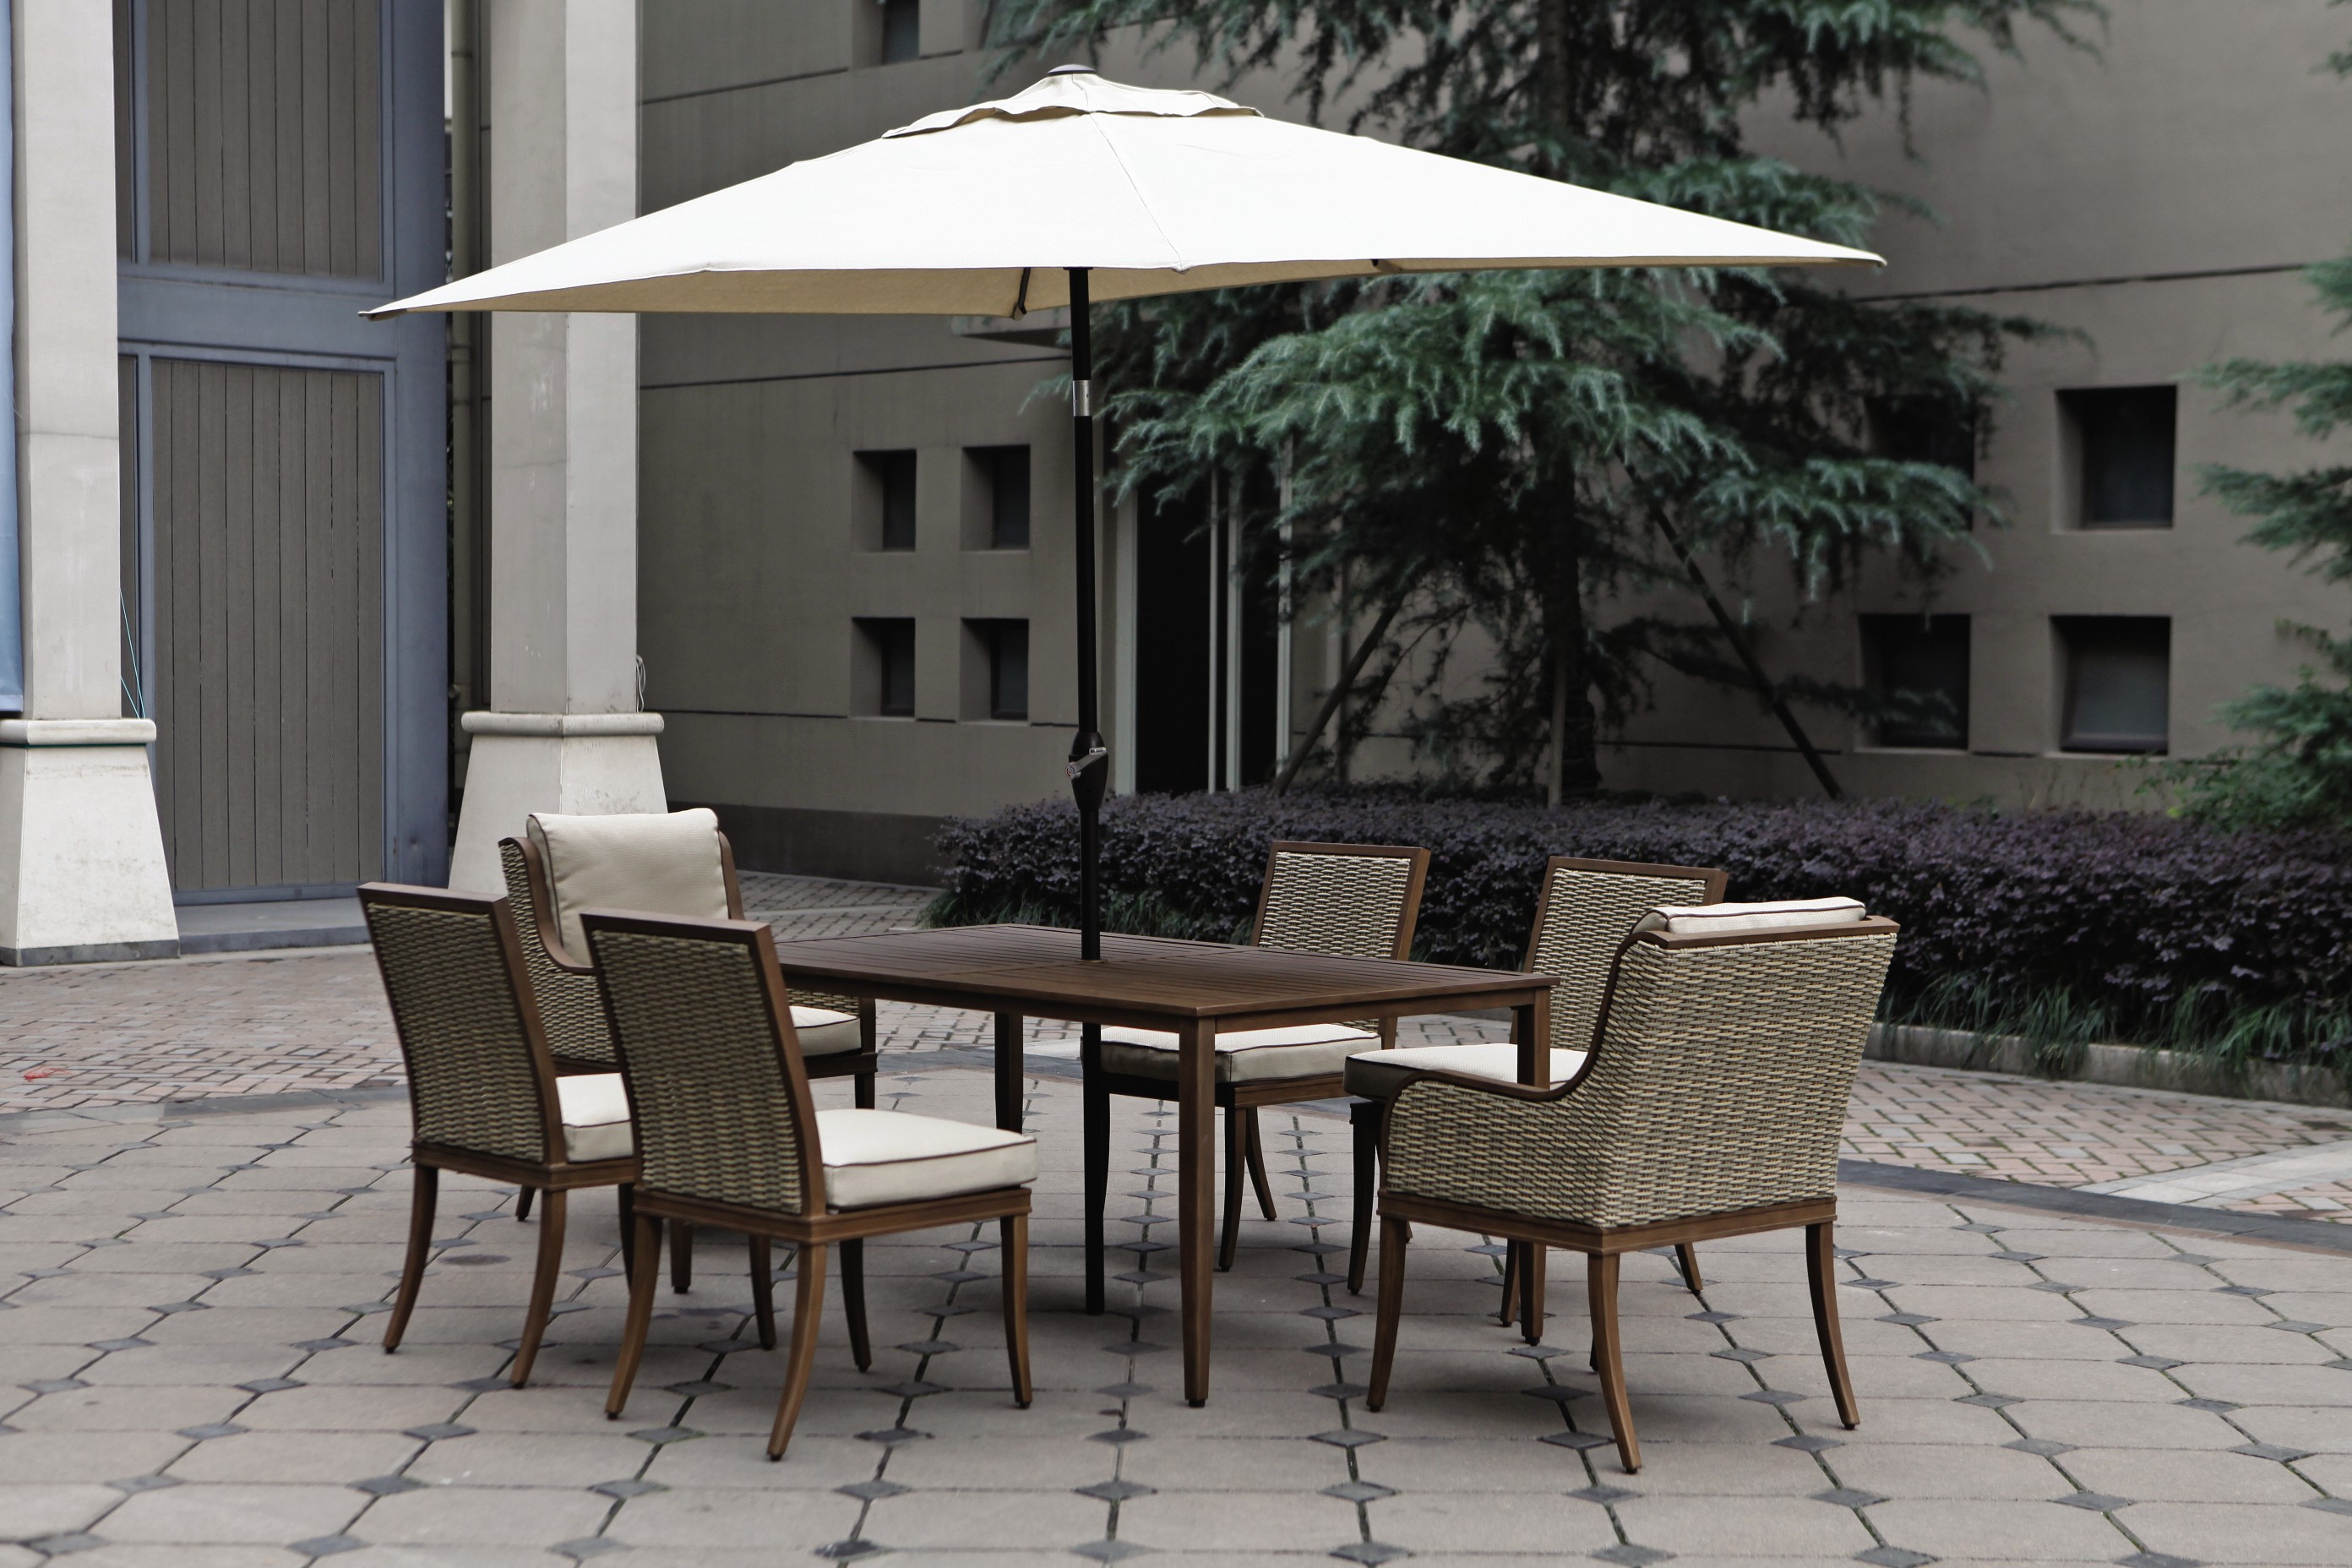
Although we do not have room for a dining set in our backyard, I still lusted after the contemporary dining sets. This one was my fave; the Larmont.

Larmont
Larmont

It actually looks like indoor furniture! The captain chairs add a lot of class. Patio tables & chairs can sometimes feel flimsy and cheap, but this one feels super durable.

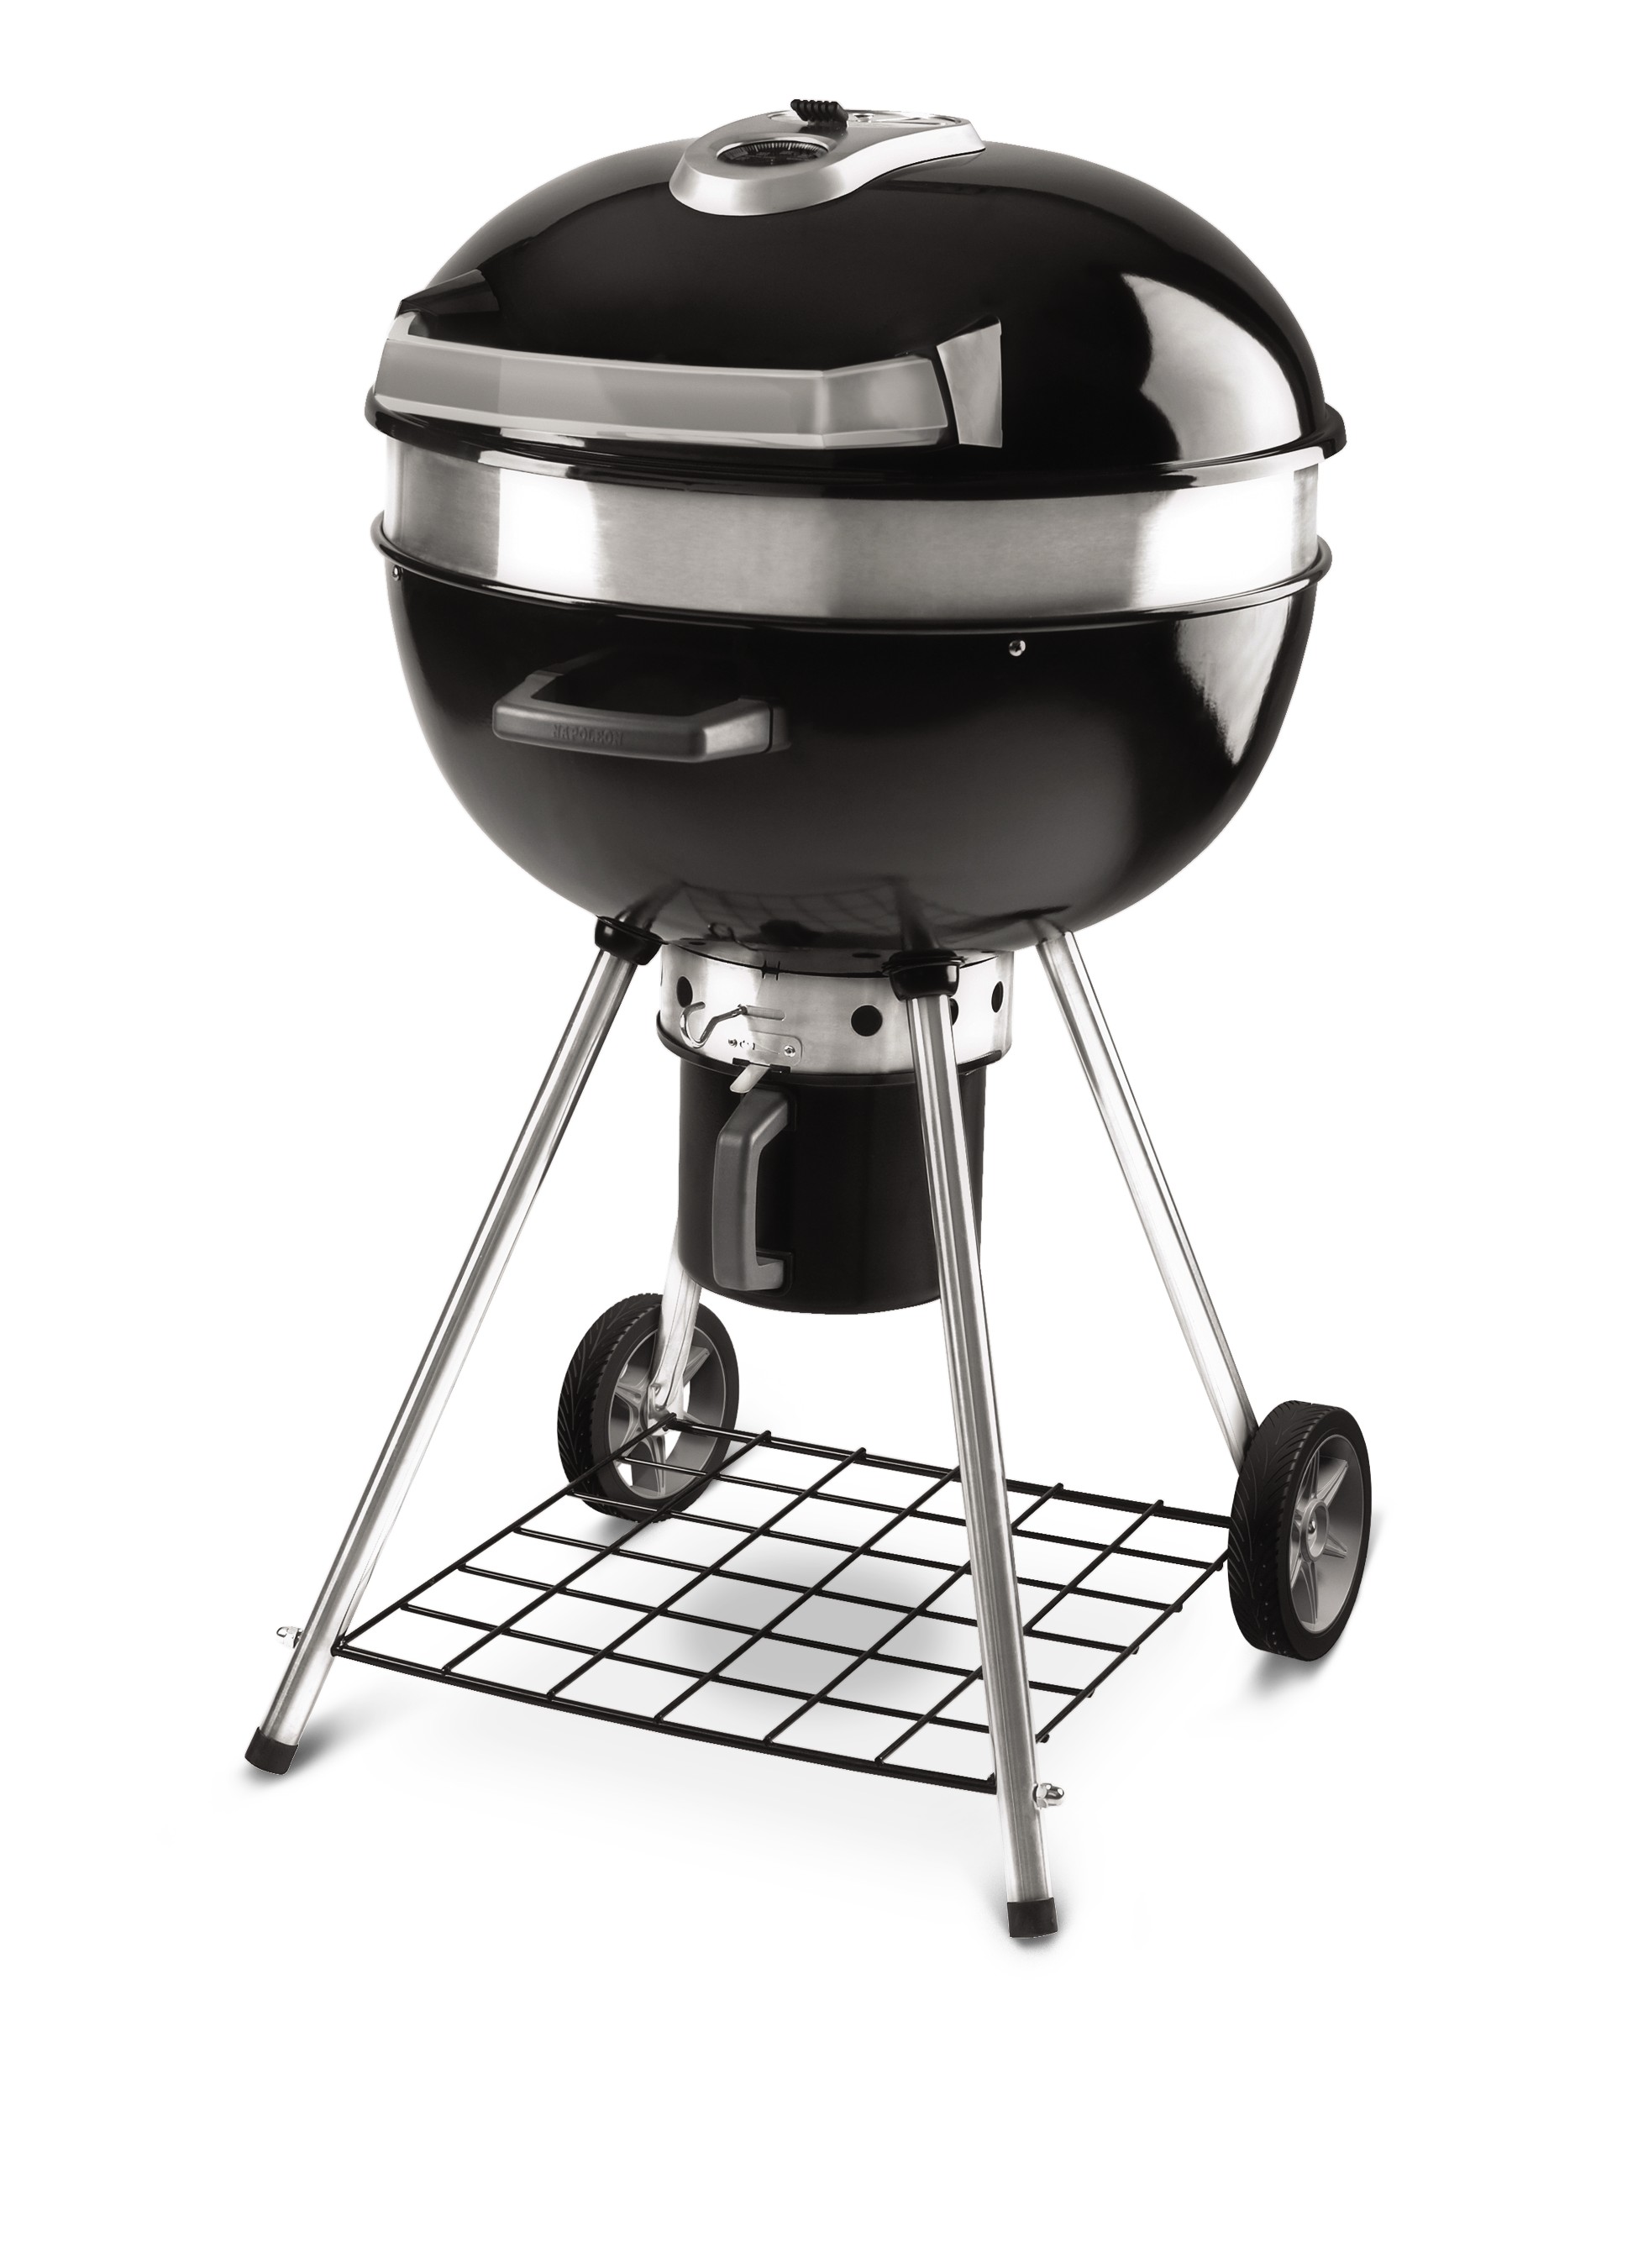
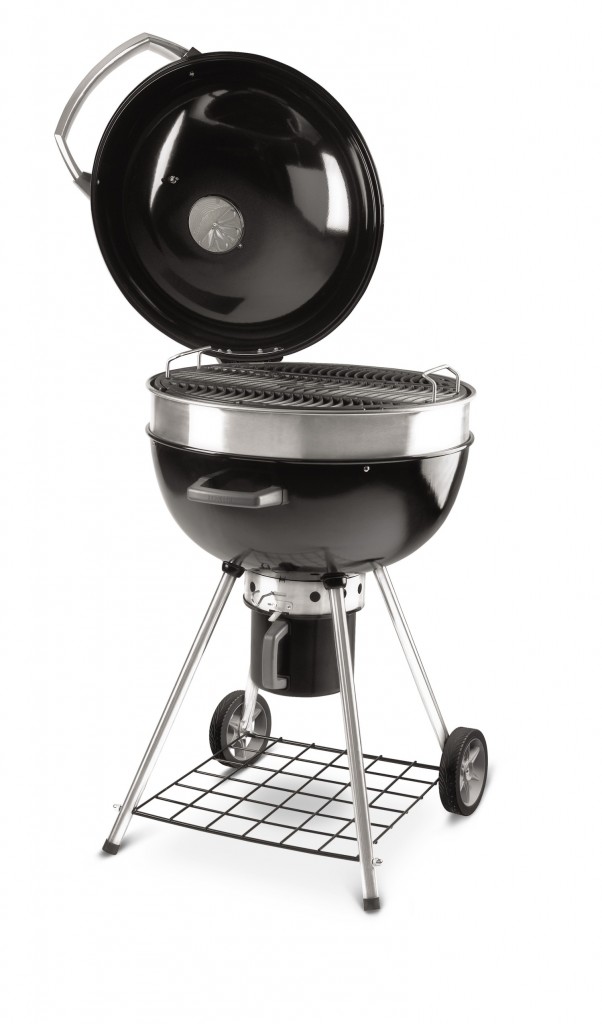
There were also a ton of great BBQ’s and you know El Granto & I are huge bbq fans. I fell in love with this Napoleon Charcoal Kettle grill. We have a natural gas bqq, but miss the flavour of charcoal.

Napoleon Kettle Grill

They did a really ingenious thing with this new model. The top opens to the side like a book, so that you don’t burn your hands trying to open the lid.

722384_A

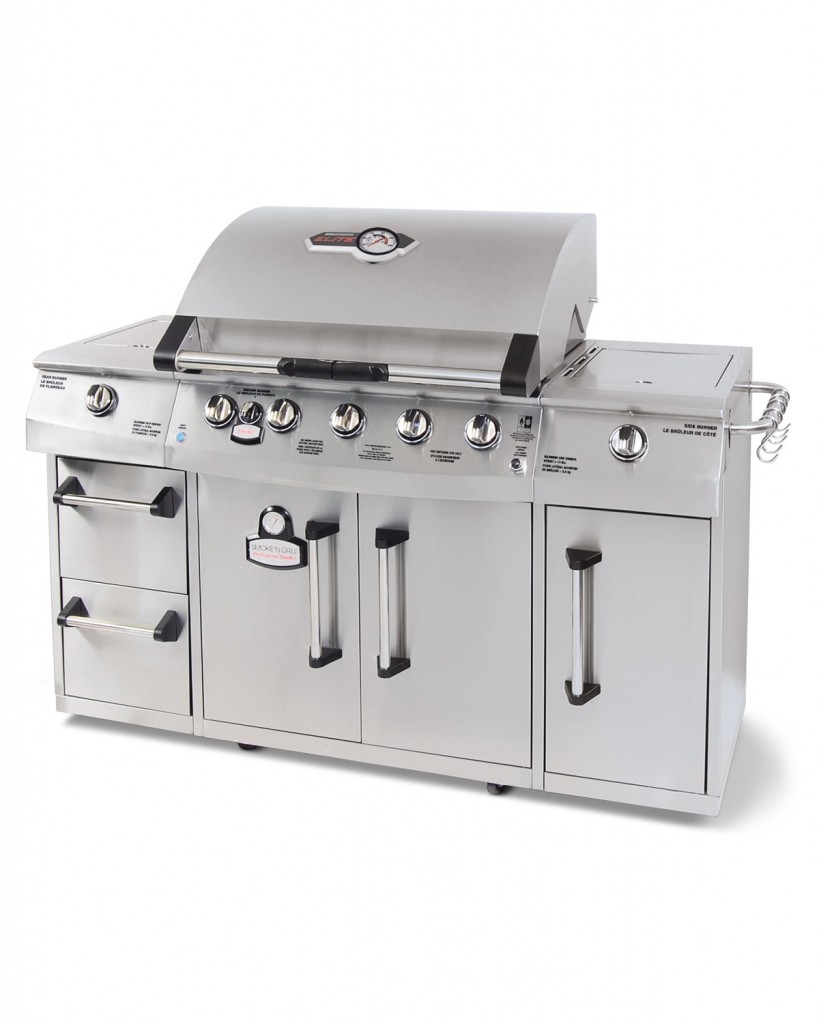
If we didn’t already have a bbq, this one would be on my wish list. It is a propane (or natural gas) bbq with a smoker box. Om nom nom.

Brinkmann 5 Burner Gas Grill with Smoker and Sear Burner

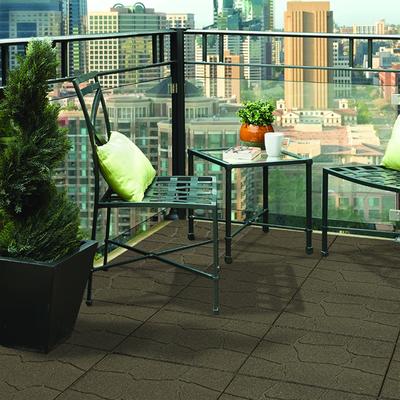
For my fellow Urbanites. The Home Depot also showed some great small space items perfect for a balcony or rooftop deck. I thought these flooring tiles were great. They lock together to make a brand new floor surface over ugly old concrete or decking.

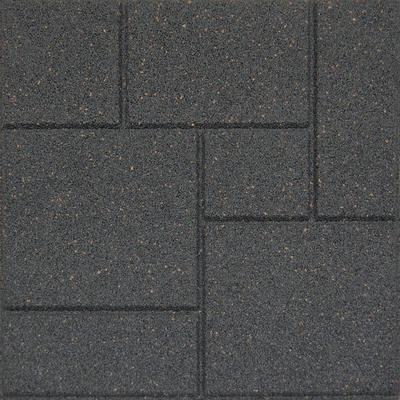
Multy Home Enviro Tiles
Multy Home Enviro Tiles in Flagstone Earth
Multy Home Enviro Tiles in Grey

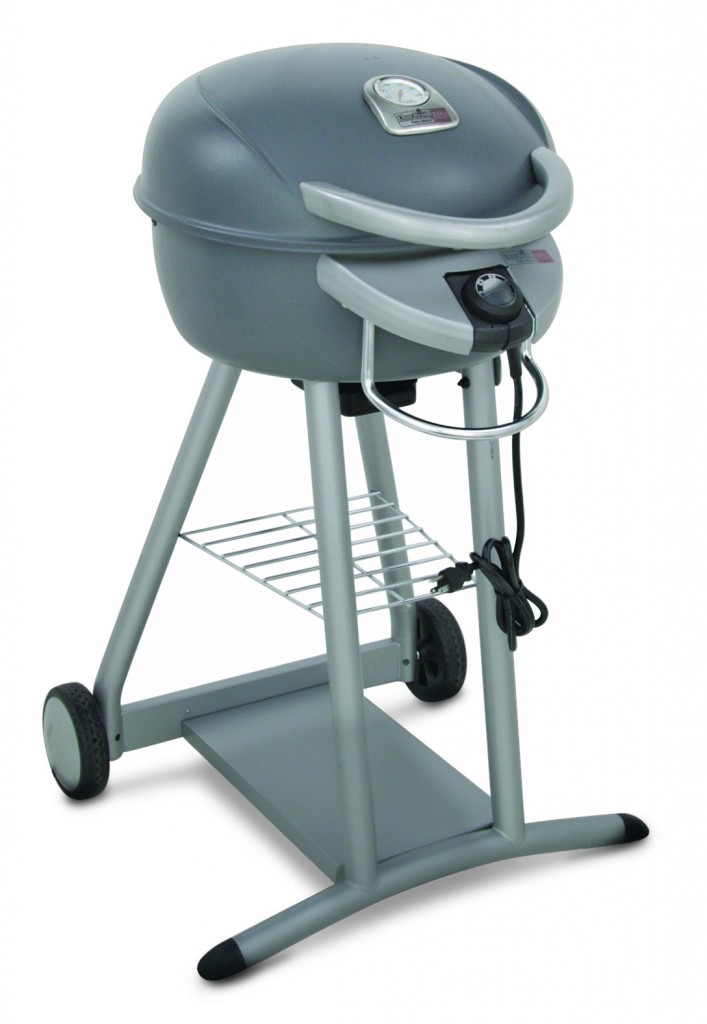
They also have a great electric bbq if your condo board doesn’t allow gas.

CHAR BROIL Patio Bistro 240 Small Space Electric Barbecue

To put the icing on the cake backyard, they had some really great outdoor rugs, throw pillows and flowers.

Hampton Bay Decorative outdoor pillows
742283_GrandePW3
Proven Winners Flowers

Excuse me while I go wish for the snow to melt.

P.S. Home Depot invites me to these previews, and I sit on their comfy chairs and eat their  hors d’oeuvres but I am in no way compensated, or get anything from writing about it. I just like to share my inspiration with you guys.

Quick & Dirty Outdoor Table

We got home from a week vacation in Vegas to find that our house hadn’t floated away in the Toronto Floods, and that our garden had doubled in size because of said rain. Win win. We also came home to a heat wave. You’d think I would be prepared for the heat after staying a week in the desert. No siree. Vegas heat = dry and wonderful, Toronto heat = humid and sweaty. Needless to say on our first day back we didn’t do much. We played and cuddled with Odin (who we missed desperately) and had a few cocktails on the deck.

Our deck layout is small (big surprise), and features a bench and two chairs with a small folding table. This works well for the person sitting beside the table, but everyone else must hold on to their drinks, snacks, hats etc. Fed up with holding onto my wine glass, (yes yes I know, first world problems) I sprang into action and built a quick and dirty (literally) outdoor side table.

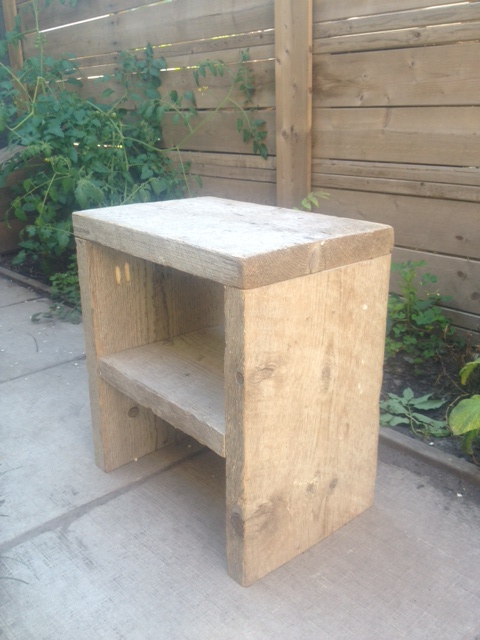
Last time I was up at the cottage, I stole borrowed an old battered 2×12 that was sitting under the bunkie. My Dad had used it for the concrete forms for the cottage foundation, and the old board was just hanging out under the bunkie left for a life of firewood/scrap. I saw the beauty in its weathered aged goodness and brought the board home with me. It has since sat littering the garage floor (much to El Granto’s chagrin) waiting for a project.

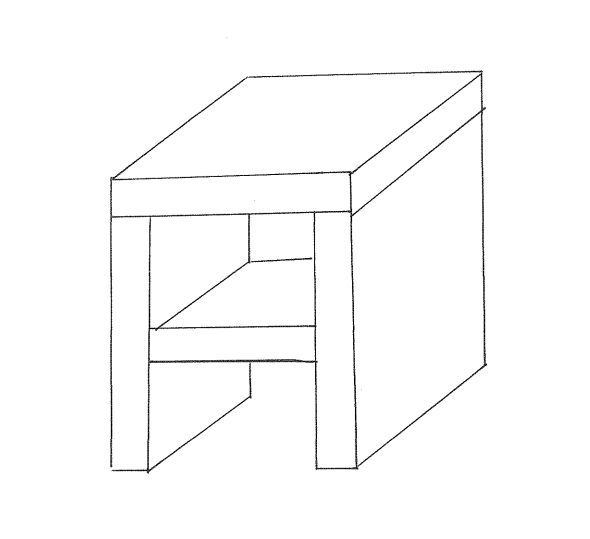
In my fit of DIY, I did up a quick drawing, decided on a design & size, and made a few cuts of the weathered wood (see cut list below.)

Outdoor Side Table

(19″ tall, 17″ wide and 11 5/8″ deep )
Note: My sketch is in no way to scale, or in correct proportions, or even straight. That’s just how awesome I am at drawing…

outdoortable

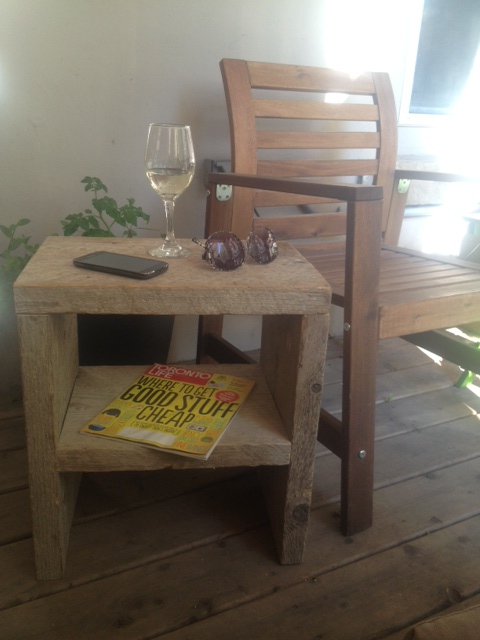
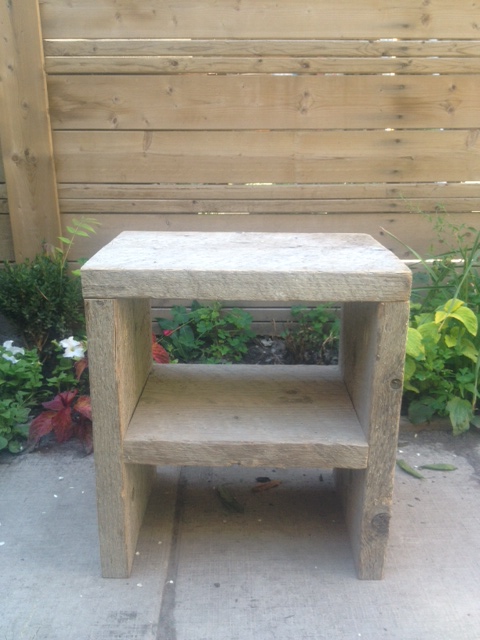
I drilled a few pocket holes (four in one end of each of the side boards, and two on each end of the shelf), and screwed in a few outdoor Kreg screws, and 15 minutes later we had a weathered side table. Perfect for holding a glass of wine, sunglasses & a magazine. I made the shelf big enough to hold our Bose sound dock. Cause no deck time is complete without some Robin Thicke.

DIY Outdoor side table
Side Table
No sanding, no staining, no finishing. Easy peasy lemon squeezy.
Side Table
Room to hold a few bevy’s, magazines and sunnies

SOURCE LIST:

Buy List:
1 – 2×12 @ 8′ (Under the Bunkie)
12 – 2 1/2″ outdoor pocket hole screws (Lee Valley)

Cut List:
1 – 2×12 @ 17″ (top)
1 – 2×12 @ 13 1/4″ (shelf)
2 – 2×12 @ 17 3/8″ (sides)

Tools Used:
Miter saw
Drill
Kreg Jig
Measuring Tape

Difficulty Level (on a scale of 1-5):

one out of five

Total Cost: $0 (booyakasha)

Outdoor Furniture Maintenance

**My heart is with those affected by the Boston Marathon tragedy. I cannot imagine the sorrow and terror for those involved. **

It’s (almost) spring in Toronto.  I hope.  My backyard still looks like a brown pile of old grass and sticks, but I do have a few budding spring bulbs in the front garden. So last weekend we hauled out the patio heater and the wooden patio furniture, and I declared it spring. I sat on my favorite chair with a cup of coffee and my ebook. I was still wearing winterboots and a vest, but hey I was outside. I was enjoying my coffee when I grazed my arm across the chair to find the wood scratchy and dry.  We have had this furniture for two years, and even though it sits under a covered deck, and gets put inside during the winter, its starting to show its age.

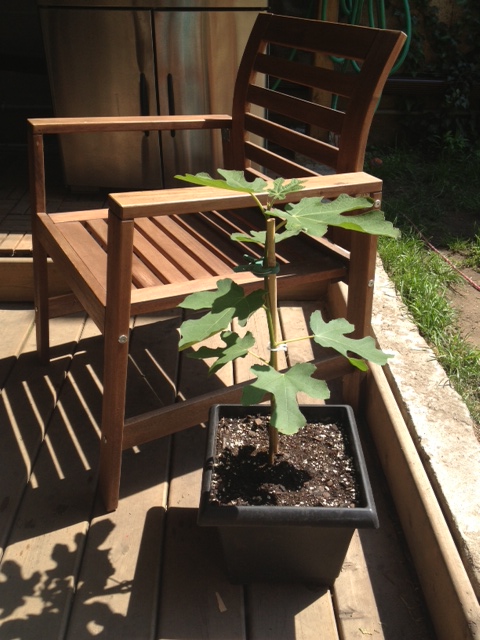
Our backyard furniture (photo from last summer)

Its our fault. We know that we should oil the furniture at least once a year, we just, well, haven’t done it. It’s okay thou, we haven’t destroyed the furniture yet, but its high time we did some maintenance on it. So I broke out the (unopened) container of furniture oil we purchased with the furniture. I placed one of the chairs on some newspaper (so that I didn’t get the tinted oil all over the deck, cause I am bound to spill some) and got to work.

The chair all ready for its oil treatment

I used a soft rag and applied a thin but even coat of oil. I could immediately see the difference as the thirsty wood soaked in that oil.

The slat on the top has been oiled,  whereas the slat at the bottom has not.
The slat on the top has been oiled, whereas the slat at the bottom has not.

Sorry for the terrible photo, it was one of those “grab a quick shot while not spilling oil all over the camera” situations.

Coffee in hand, I oiled away. About 20 minutes later, my coffee was empty (sad face) but one chair was done. It’s a bit of a PITA task (pain in the ass) but it makes such a difference. One chair down, a chair and a bench to go.

After the oil had dried, the chair arms were so smooth El Granto thought that I had sanded the chair.

Pretty freshly oiled chair arm

It’s now ready for a summer full of backyard parties. Now if only the rest of my yard wasn’t full of dead plants, a sunken path, and a patchy brown lawn…

If you’re curious we have the Ikea Applaro armchairs and bench, and we used the Ikea Varda wood treatment oil. We are very happy with our Applaro furniture. It is very solidly built with beautiful Acacia wood. We purchased the furniture at Ikea’s summer midnight madness sale, and scored it for 50% off.

Underestimating the Task

One of my faults is that I am a bit of a dreamer. El Granto is the realist, and I have my head perpetually stuck in the clouds. I think we can do anything we put our minds to (within reason). I will research the hell out of things, and have confidence I can do a task before setting out. I may not however estimate how hard (mentally or physically) the task may be. I have confidence in our abilities, and often tooo much confidence.

Here are some examples:

  • I thought I could totes carry home two 8 foot lengths of 10″ tall mdf crown moulding on my own, walking, the 4km home from the lumber yard.  Half way home I called El Granto begging him to come help me.
  • I bought a kiddie pool for the dog and then had to carry it home (on my head) through busy streets during a heat wave.
  • When I bought 2 4×8 sheets of mdf for the guest room board & batten, got the lumber yard to cut into into 2″ x 8′ strips, then tried to carry the 50 pieces of wood home on a borrowed moving dolly that had a mind of its own. It kept trying to weave into traffic, or jackknife and spilling the boards everywhere. El Granto had to steer it with a piece of wood like a gondola all the way home.

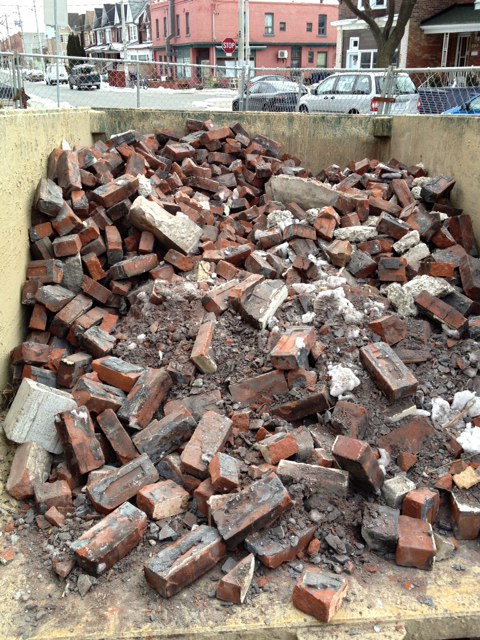
Last night was another example. A nearby house is doing a bunch of renos, and I noticed some bricks in the construction debris.  I really want to make a backyard patio area with red bricks, so I stopped by and talked to the contractor and asked what they were doing with the bricks. Yesterday he gave us the all clear to come take as many bricks as we wanted. Awesomesauce! Now we just needed to get them home. El Granto tried to book a Zipcar van or truck, but as its the beginning of the month (and people are moving) there were no large vehicles available for the next few days.

Unperturbed by this, I convinced El Granto that we should go to the building site armed with a dolly, a granny cart, some milk crates and a bucket. We could fill up the containers with bricks, pile them into our dolly and cart and that we could make a few trips bringing bricks home. We loaded up the first cart worth, realized bricks weigh about 5lbs a piece, struggled home with them and swore to never do that again.

Hopefully this weekend we can convince bribe a truck owning friend with beer to help us shuttle the bricks. After they get home, and dry out, they will need some cleaning up, removal of mortar, and then hopefully they can become an awesome patio in the backyard this spring.

One milk crate holds 12 bricks. Each brick weighs 5lbs. So this crate-o-bricks is weighing in at 60lbs.

Have you taken on a task that’s too big (or heavy) lately?

Is it Spring Yet?

Last week I had an especially bad week. I went in for my second round of iron infusions, and this session was not kind to me. I came home with a fever and my whole body felt like it had been run over by a truck. I took a few days off and got some rest, and finally this week things are starting to get better. Continue reading “Is it Spring Yet?”

Backyard Mural – How to Paint a “Faux” Ghost Sign

Sorry for the long post, I doubt many of you will ever want to paint a ghost sign of your own, but if I help one person, I will consider my life fulfilled.  Yeah sure…

There really is no info on how to do this on the web, and I did it all trial and error. So I am putting my wisdom blubbering nonsense into the world, and maybe somewhere I will inspire a DIY ghost sign.

Now lets get this party started. First up, I painted my cinderblock wall with a base color of dark grey exterior flat paint. Ideally I would have had a lovely brick wall, but instead I had an ugly beige cinder block wall, so I gotta deal with the hand I’ve been dealt. If you have a wonderful old brick wall, don’t paint a base color!

After my base had cured for a week(ish) I set out to project my design onto the wall. I used a digital projector and a design I laid out in Adobe Illustrator. I lucked out with this and was able to borrow a projector. However, if you are unable to. Check Craigslist for Artist Projectors. Like the Artograph Tracer Projector. Even new, it only retails for $100.

I projected the design onto the wall (at night), centered and leveled it, and got to tracing the outline with chalk. I used Crayola childrens sidewalk chalk in yellow, because that’s what the dollar store had. In hindsight, I would recommend regular white chalk, in the skinnier variety. My chalk came pre “sharpened” on one end, but quickly dulled and I was left with a large blunt blob of chalk to draw crisp lines with… so yeah, get the regular old chalk your school teacher used.

After you draw your outline, go to bed. It’s dark, and you cannot paint. No matter how excited you are to get started.

Then get yourself some Annie Sloan Chalk Paint. I got mine from Canadian distributer Diamonds & Toads in St. Thomas Ontario. If you’re doing a small mural like me, just get a sample pot. That stuff goes a loooooong way. I have a quart, and maybe used a 1/4″ worth of paint from the can. Seriously. Also get yourself an artist paint brush to do the outlining of your design, and a wider brush for filling in. Now, this is NOT chalkboard paint, it’s a variety of paint all it’s own. It’s great for furniture, adheres to most surfaces without any sanding or removing of old material, and is even durable outdoors with no extra finishing. (really). Now if you were putting it on furniture you would probably want to wax or seal it, however its important for outdoor uses NOT to wax. Wax will hold in moisture and wreck your shit. So paint it and leave it alone to age gracefully.

Once you’ve got your supplies, outline and fill in your design with one coat of chalk paint. It wont be even, it wont be perfect, but that doesn’t matter, you’re going to be removing most of the paint anyways. Now this stuff dries fast, so work quick. Try not to leave big ridges or globs of paint, but make a smooth even layer. Chalk paint is weird. It’s more like a really thick watercolour paint than a latex or acrylic. It blends and moves like an artist paint. You can also thin it down with water, or thicken it by leaving the lid open (really). You also don’t have to worry that much about screwing anything up, as its supposed to look old. As I said, it dries fast. So clean your brushes pronto after finishing.

After an hour you can start to distress the paint. It took me about an hour to do my one coat of paint, so as soon as I finished painting I went back to the areas I started first, and got to distressing. If you were painting on wood, you would probably want to try sanding for distressing. However, being on a cement wall, that’s not the best or easiest way to do it.  Instead, you can use another technique; a rag and warm water. But wait, I said that chalk paint was durable outdoors, but how can that be if it can be removed with water?! The thing is, when you wipe the dry paint with a wet cloth, the paint doesn’t wash off. However, when you SCRUB the paint with the wet cloth, the paint RUBS off. It doesn’t dilute and smear, it just comes off the areas you scrubbed. Leaving the base colour paint below intact, and not smearing paint into other areas of your mural. Say what?! Really, that’s how it works, I promise. I have no idea why, it just does. So needless to say, that’s perfect for an old looking weathered signs on walls.  So start scrubbing! I thought I’d try a cleaning sponge, but it was too. well. spongey. A white clean heavy duty rag worked best. Now the thing is, when you distress chalk paint with water, it’s kinda like working with grout. Huh?! You know how when you are washing away excess grout, your sponge is constantly covered in grout sludge, and you have to repeatedly wash it to get all the film off the tiles? Distressing chalk paint with water is the same way. Your rag will leave excess paint hanging about. So just make sure you have a different clean rag or sponge and are always cleaning up after yourself, or you will have a wishy washy paint sludge over everything.

Now distressing chalk paint with a wet rag isn’t easy per se. It requires massive amounts of scrubbing. And scrubbing and more scrubbing. BUT it rubs off beautifully. It sticks better to rough surfaces, and rubs off easier on smooth ones, making the distressing rather easy. It looks natural because its exactly how paint would naturally fade/age.

So grab an unsuspecting lacky and scrub scrub scrub. Now if you scrubbed off too much, don’t worry you can always layer more paint back on. I did notice that the areas where I had a nice even coat of paint were easier to distress then the more dry brushed thin areas. So I actually wished I had a more solid layer of paint to begin with.

And that’s it. After you finish distressing and cleaning up after yourself, it’s done. No sealer, no nothing. It will be fine out in all weather and will age nicely.