Sore Muscles & Dirt

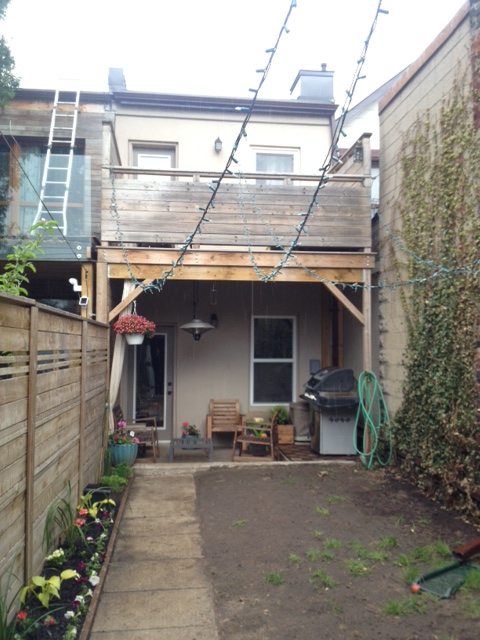
The pathway & lawn are done. I may have killed El Granto in the process, but they’re done.

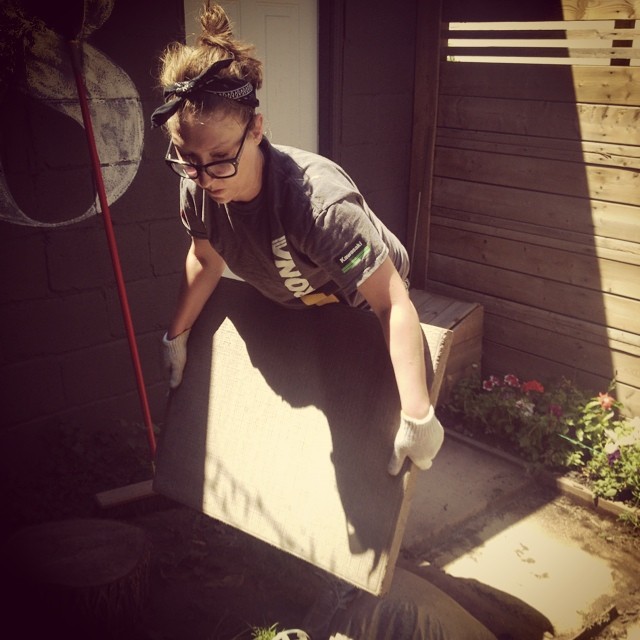
No really, El Granto is a wreck. I think the sheer amount of sunlight, heat & heavy lifting was too much for the poor Englishman. He’s got a bit of heat exhaustion, and is spending the day in the a/c topping up his fluids. I feel like a bit of a jerk, cause my girly muscles couldn’t really help him as much as I would have liked.

Here is what we accomplished, although it doesn’t look like much, it was an absolute ton of work.

Backyard Progress
Backyard Progress

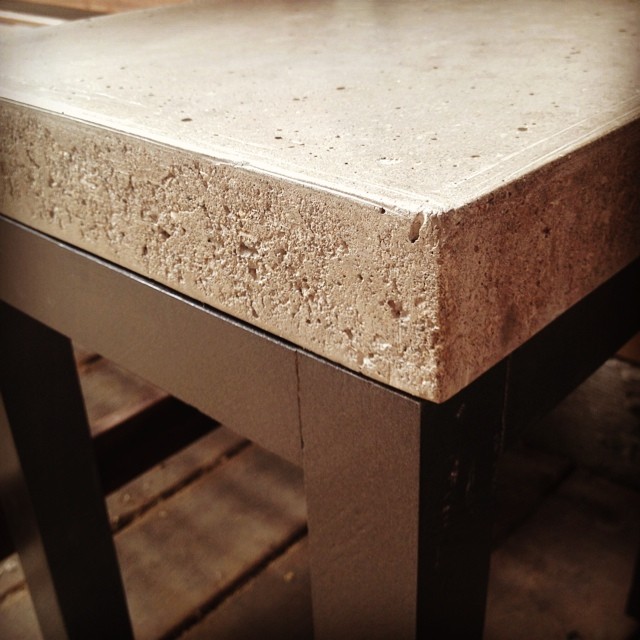
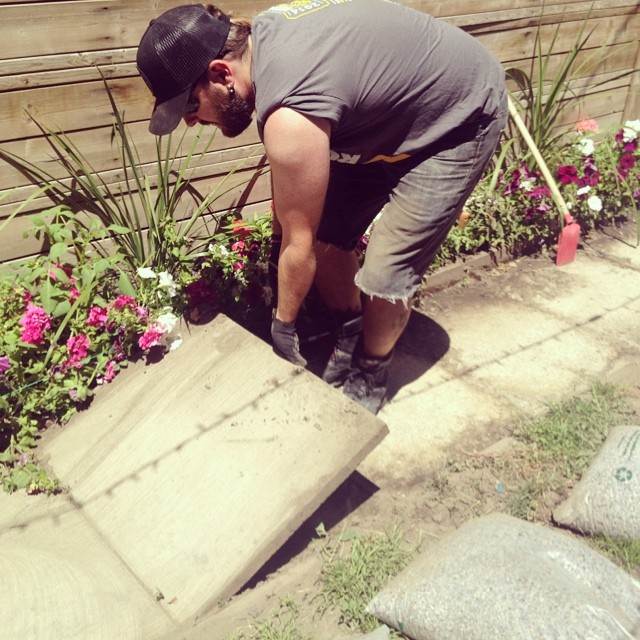
Recap from last weekends progress: We took up the path, laid down new rock bedding, and re-laid the pathway, this time with the concrete pavers upside down.

Now, here’s what we did this weekend:

We rented a rototiller, and tilled the whole lawn. Yep, the whole thing, even where we had bits of grass growing. We wanted a fresh clean start, and to get our really packed down lawn a loosening up, and re-grading.

El Granto rockin the rotatiller
El Granto rockin the rototiller

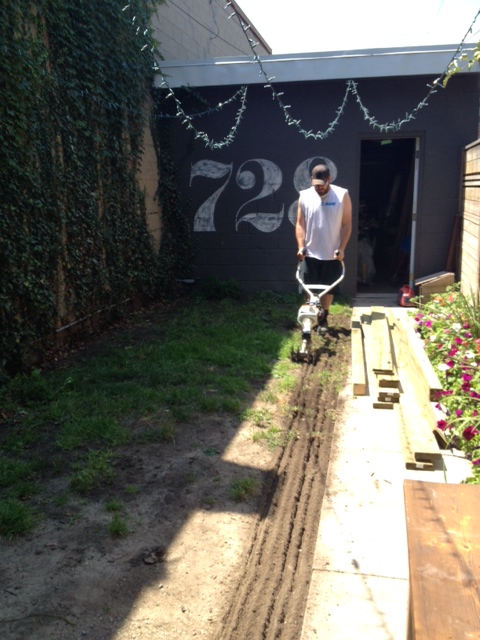
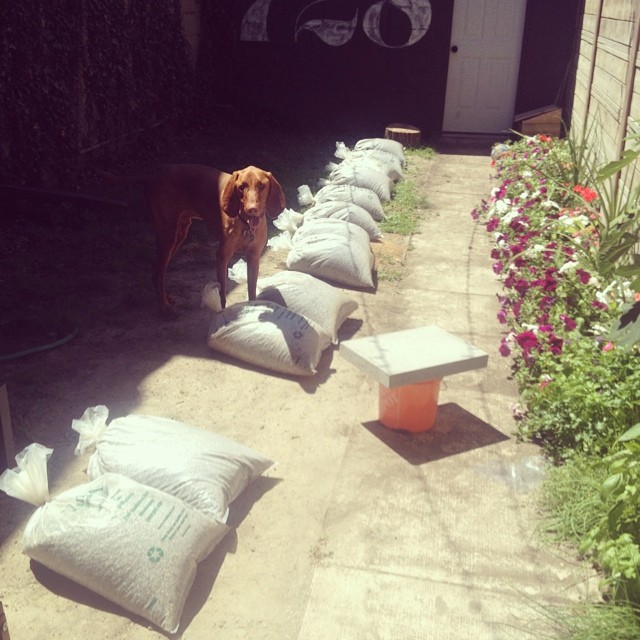
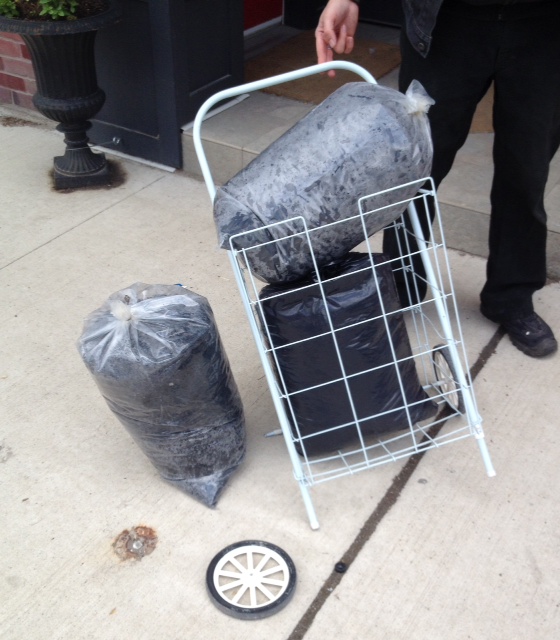
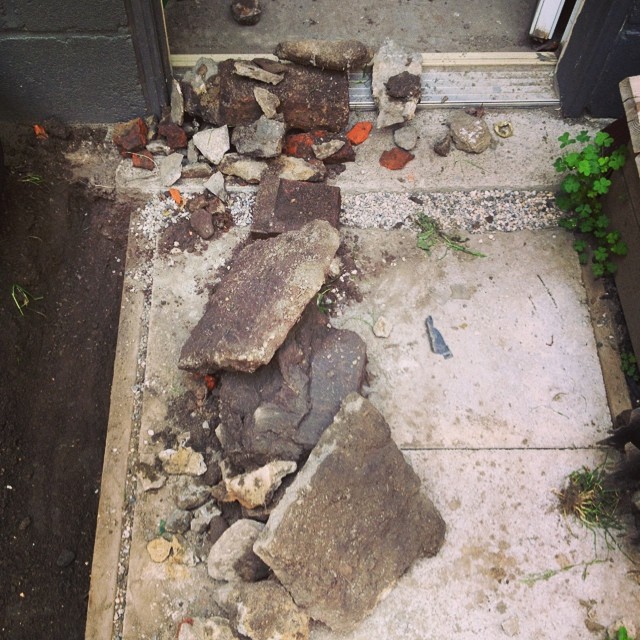
While we were tilling, we ran into a few bumps err rocks. As I started to dig further to get the rocks out, we realized the back half of the lawn was filled with rubble, and then topped with a tiny bit of topsoil. We’re not talking a few stones, we’re talking a bunch of whole bricks, chunks of concrete and other junk. We dug them all out, and bagged them up. They will go out with our trash in our Bagster in the next week or so.

Bricks, concrete, random rubble.

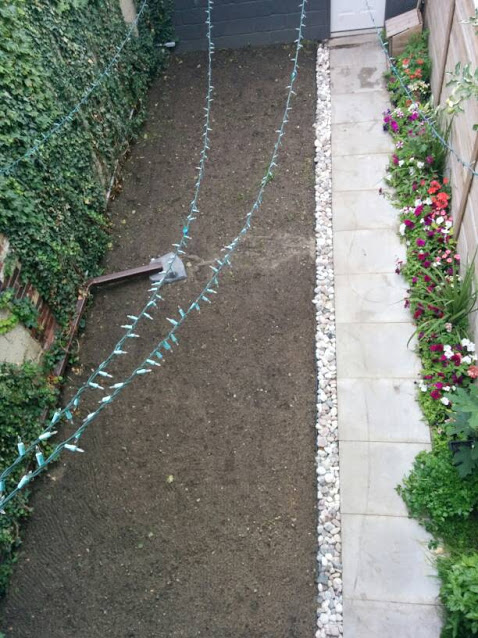
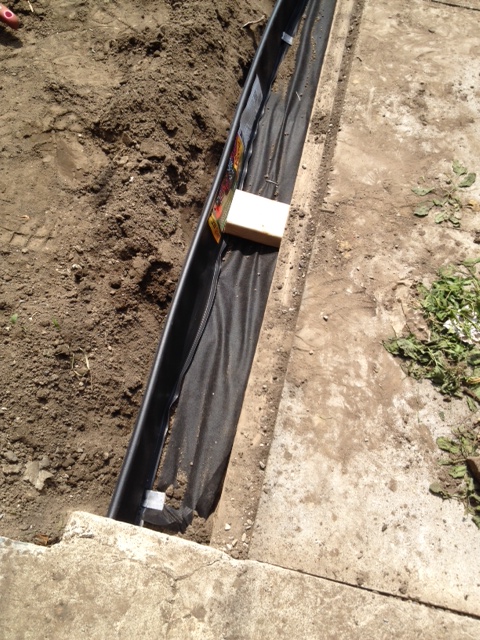
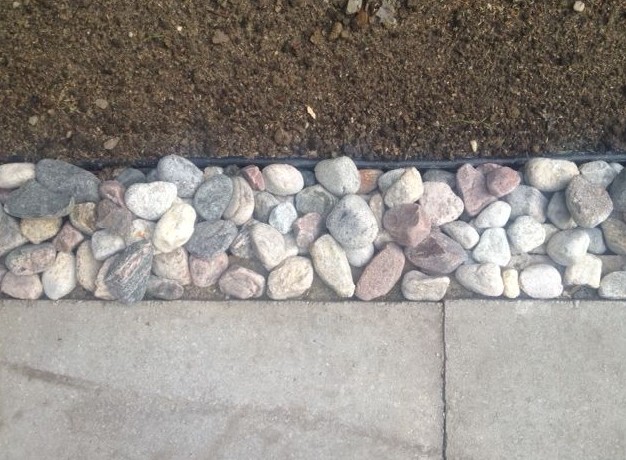
After we tilled and removed the junk, we dug out a trough beside the pathway.

Digging Trough
Digging Trough

We edged it with plastic edging, and lined it with landscaping fabric.

Trough & edging
We used 4 1/2″ wood blocks as spacers to try to get the edging laid evenly. That plastic edging however does not like to lay straight.

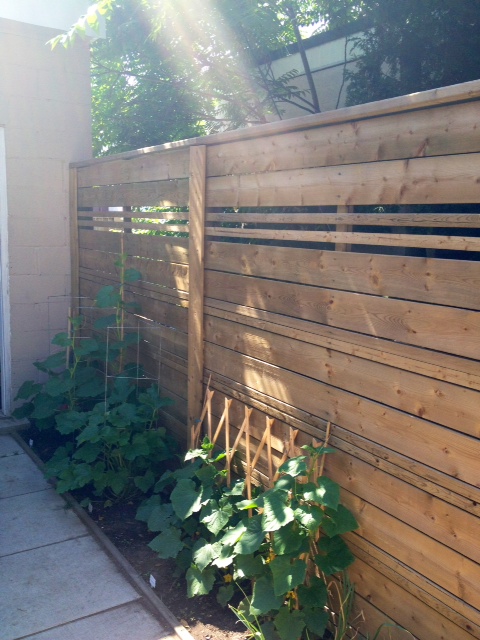
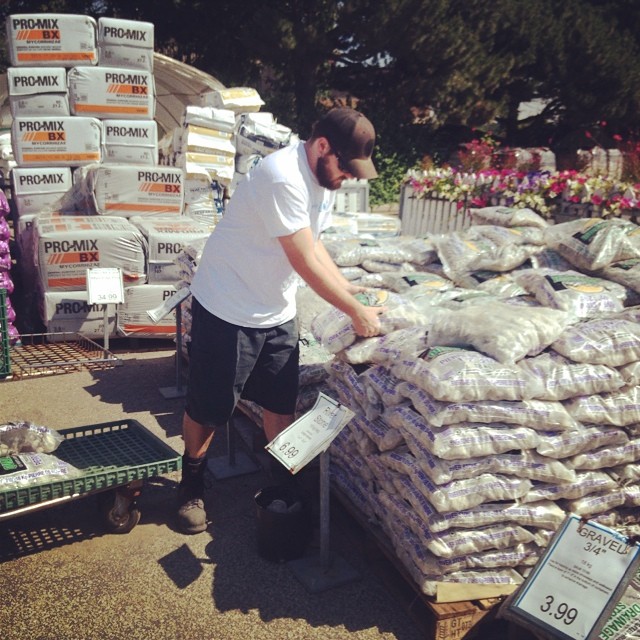
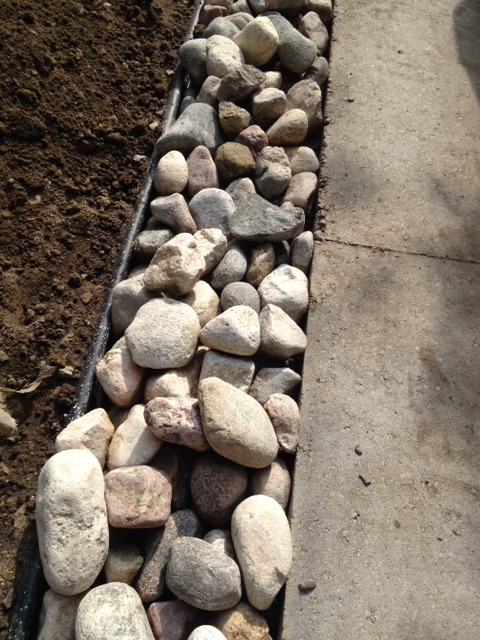
We then filled the trough with large river rock. This will not only be good for drainage, but it also gives a nice custom look to the otherwise cheapo concrete path. Like putting lipstick on a pig. You know its still a pig, but at least you’ve got something else to look at.

Trip to the garden center for 13 bags of large river rock. All told we have 25 bags of rock under and beside the path. Wowza.
Trough filled with large river rock

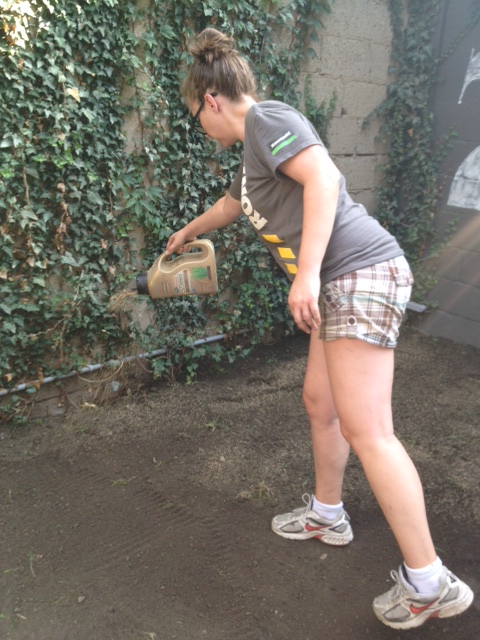
After the rocks were laid, we raked and re-graded the lawn, and seeded it. We used a combination of sun/shade grass seed and white clover, and used an old EZ seed container we had laying around to distribute the seed.

Seeding Lawn
Seeding the Lawn (and looking awkward.)

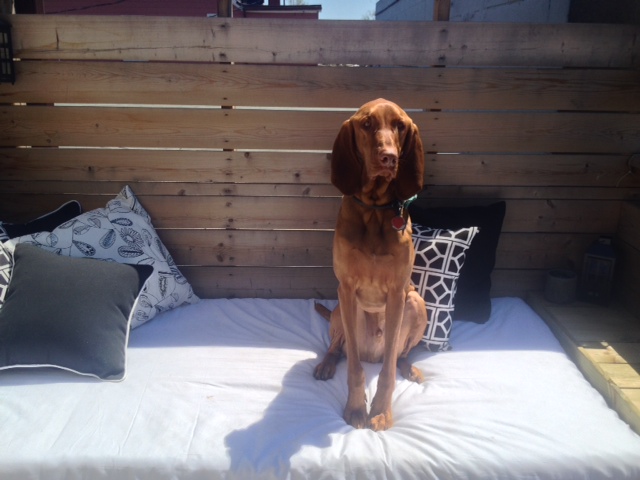
After we seeded, we raked over the lawn, and have been watering perpetually ever since. It isn’t ideal to seed in July, but we will try our hardest to make this grass & clover grow! For the next couple weeks, Odin is blocked from the yard, and we will have to do walks for all his dog needs. Hopefully this will actually give the lawn a shot to get going!

Path + Rock Edging + Seeded Lawn

A full reveal is a few weeks away. We’ve gotta turn this dirt patch into a lawn. You can follow along on grass watch 2014 on Instagram. Cause you know, watching grass grow is super interesting. We know how to party round here!

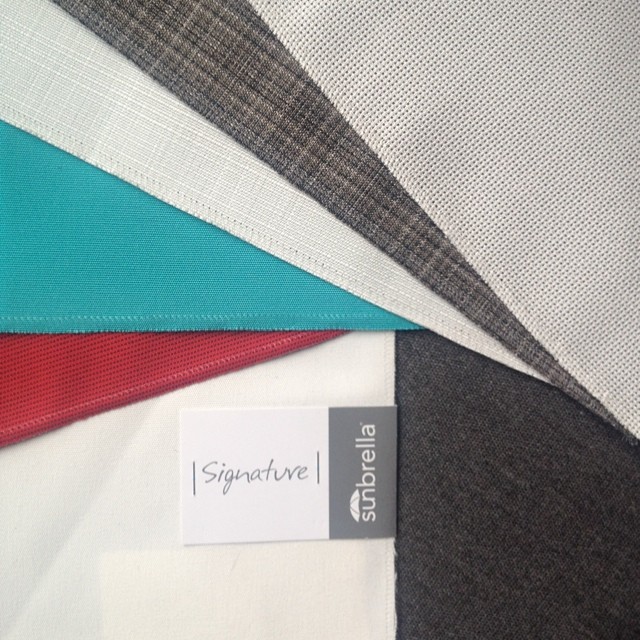
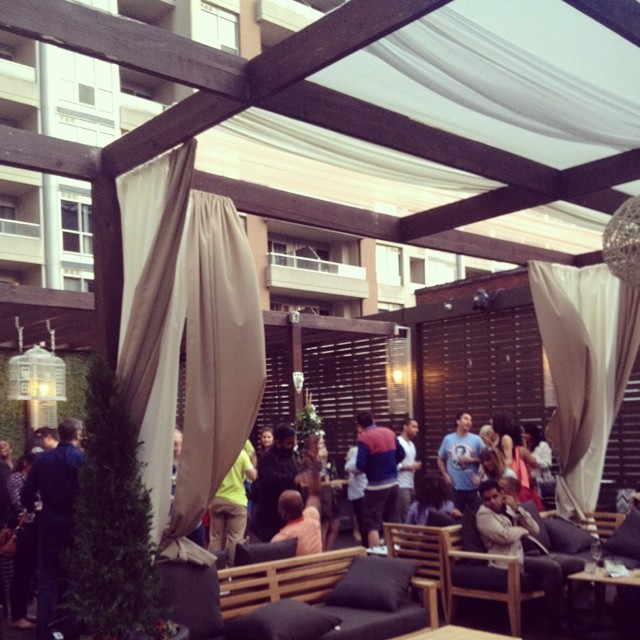
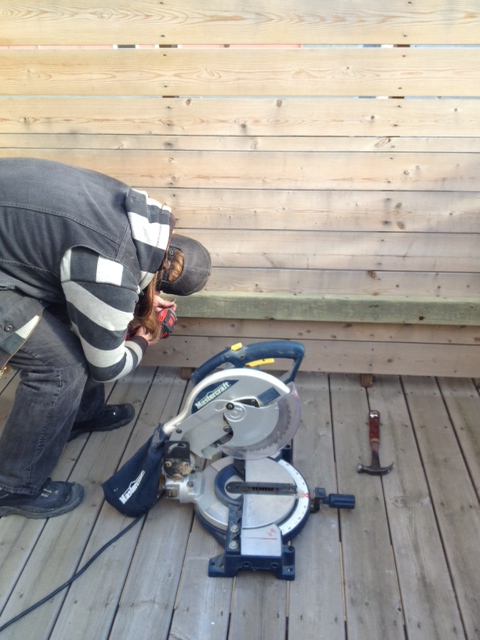
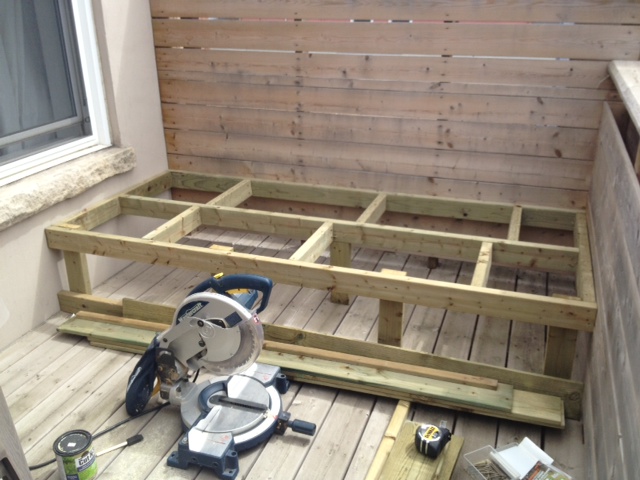
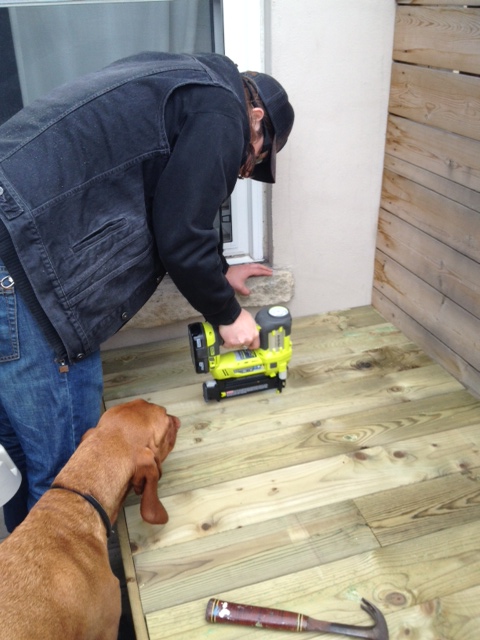
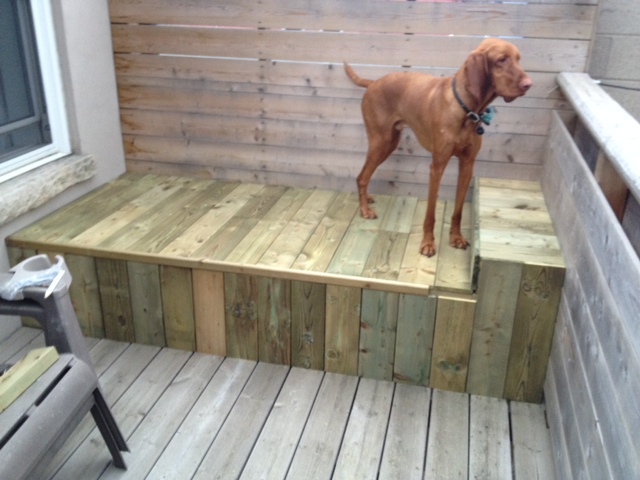
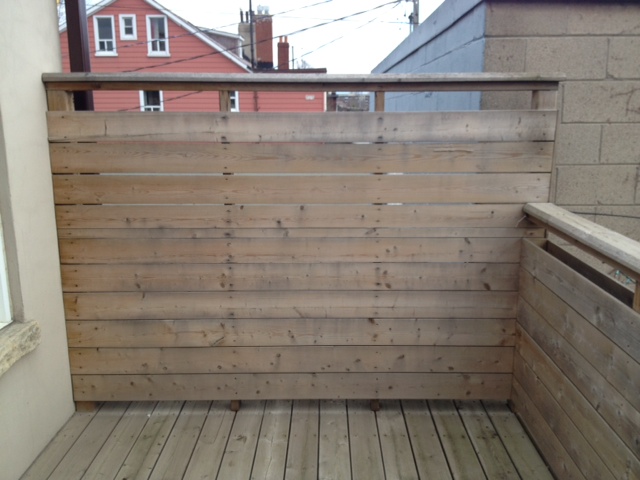
We also got started on our deck pergola. An update will come on that later this week!

Excuse me while I go mow down on copious amounts of ibuprofen.


Bring It, Weekend!

I am counting down the minutes to the weekend. This one is going to be EPIC.

We have El Granto’s Mum’s SUV and a very long to-do list. When I say very long, I really mean it. We’ve started tracking our home to-do list, broken down into tasks on a project manager website called Trello. Our Backyard & Balcony lists are almost off the page. It gives me anxiety just looking at them.

However, we are making some progress! (even above and beyond our progress here.) We made all our outdoor fabric choices, and I ordered all the Sunbrella fabric for the whole backyard.  We’re talking new curtains, a daybed cover etc. As soon as the fabric arrives, we can get started sewing. Little secret… sewing was the first DIY I ever learned, and I almost went to school in Halifax for textiles. However, since we moved to the Storefront, I haven’t gotten a sewing machine out ONCE. Literally, I have not sewn a single thing in over three years. I hope I’m not too rusty, and I still remember how to make cording, and how to sew a zipper panel.

Here is what our weekend plans are:

Till backyard, and plant grass & clover seed.

Finish pathway.

Dig garden beds, edge and plant.

Buy lumber for deck pergola.

Build pergola.

Buy & install new exterior lights.

Install new door hardware.

Paint Doors.

Wash deck.

Finish this little outdoor side table project I started this week.

Bonus Project: We got a Bagster! This means we also hope to clear out all the reno debris and junk in the garage. [yeah, we still have reno debris from our kitchen reno, yikes!] We cant wait to get rid of all that junk.

Once the debris is out of the garage, El Granto can get to building a new work bench, and we can get permanent homes for some new tools we acquired over the winter (and we even added a few more new ones this past week.)

What have you got planned for the weekend? Wanna come over and lend us some muscle?

Backyard Progress Report

While I don’t yet have a stunning after shot of the backyard, we are making some progress!

Here’s what we’ve been up to the last few weeks:

We painted the back of the Storefront. This was a bigger task than you’d think, after scraping, caulking, priming, and two coats of paint, only painting in mornings so there would be no direct sun on the paint, it took a whole long while! Glad to have this one done.

924396_249121575278215_232073280_n

We almost choose a door paint color, but then decided to get sample fabrics, and decide on all the colors at once. We will be making new outdoor drapes (this time out of real outdoor fabric instead of drop cloths.) We will also be making a nice permanent cover for our outdoor daybed, again using the super durable and water repellent fabrics from Sunbrella.

10518120_273098439543465_1313178033_n

We borrowed Grant’s Mum’s car, and loaded it up with HPB (High Performance Bedding), a cool rock product that is the perfect bedding for pavers, and requires no sand or compacting. We purchased 12 cubic foot bags of it from the super nice & helpful guys at Van Beek’s Garden Supplies and lugged it home and into the yard.

10533286_673279469415033_113134276_n

We then pulled up the old 30″ x 24″ pavers (man they we’re heavy!), laid down the rock, screeded, and laid the pavers back down. We really wish we had the budget for new pavers, but the most important part of this job was to fix the drainage problems.

10471914_335622436595149_424618781_n

10520373_649933348427572_2001296316_n

We did have one ace in our sleeve however. We flipped over the paving stones, so instead of having a fugly textured concrete pattern, they are now just plain concrete. A lot more industrial looking, and surprisingly a big transformation. I’m not going to spoil the after yet, so you will have to wait a bit longer to see what they look like. The most important thing however is we had a huge rain storm last night, and there was ZERO lake in the backyard! No dirt on the path, and no puddles! Big win for the Storefront.

As much progress as we’ve made, we still have a lot to do. Whats left on our list?

TO DO:

  • Till up the grass, create and edge garden bed by the ivy, top dress lawn, and seed with clover and grass.
  • Get & install new exterior lights. I have my eye on these.
  • Get fabric, and sew new outdoor drapes.
  • Sew cover for outdoor daybed.
  • Make 2 new outdoor side tables.
  • Paint doors.
  • Add some more flowers & landscaping.
  • Replace door knobs.

ANNNNNND we found another project to add to the list. A few weeks ago we were out at a rooftop patio downtown, and they had this draped pergola shade structure.

10401798_648873128528045_1001565501_n

How perfect would that be on our upstairs deck? Yep! Add another project to the list.

  • Build badass shade pergola.


So what did you get up to on the weekend? Any backyard projects?

Acacia Wood Furniture Maintenance

Remember how I talked about maintaining our acacia outdoor chairs last year? Well guess who forgot to bring them in the garage over winter (hint it was us) and they were looking pretty shabby.

This year we decided to try out a different type of wood oil, in hopes that it would bring back some luster.

photo 2(9)
Mixwax Teak Oil (or “Huile de teck” when you wanna be fancy and say it in French/forget to turn the bottle around when taking pictures for your blog)

We gave the chairs a wash, and placed them out in the yard to dry, and get oiled.

photo 4(8)
Prepping the chairs for oiling

We used applied the Minwax Teak Oil with a foam brush, and after a few minutes work, our chairs were looking so much better! We plan on potentially giving them a little sand and a few more coats of oil because they guzzled it down. Poor thirsty chairs.

They look so much better!

We’ve got a lot more to do in the backyard, but at least the chairs are looking a bit better!

What do you use for your wood furniture maintenance? Have you used Minwax Teak Oil before?

Backyard Shame – The Grassless, Peeling Paint Edition

This winter was harsh, not only was it hard on us humans, but it also took a pretty big toll on the Storefront. You saw a sneak peek of my dirty little secret yesterday, but today I have even more shame to share.

This is our backyard:

Continue reading “Backyard Shame – The Grassless, Peeling Paint Edition”

Dirt Under My Nails

Last week, the awesome folks at Ryobi invited us to check out their power tools, and to hear the awesome Frank Ferragine (aka Frankie Flowers) talk about his new book, and how to spice up our gardens.  Did you get it? My gardening pun? Yeah, I know, I’m hilarious.

Kristen & El Granto with Frankie Flowers

We got to try out some awesome tools (I’m in love with this 40v cordless mower, even though I currently have no [living] grass.) Frank also gave us some awesome tips on gardening.

BntqQJ0CQAA8UHl
Frank showing us his guns OR how light the mower is 😉

All of this was enough to inspire the heck out of me, and we spent the weekend trying to spruce up the backyard.

Here’s what we got accomplished:

The ivy got pruned by El Granto. Although I’m not sure I agree with his choice of tools, it is looking a heck of a lot better with all the dead branches trimmed.

I did not specify to El Granto what tools were appropriate for trimming ivy.
I did not specify to El Granto what tools were appropriate for trimming ivy…

The dead shrubs came out and a too big rose bush headed to Grants Mum’s garden.

Several trips were made to the garden centers as well as the adorable corner store in my neighborhood.

10261066_1419431994987145_271583326_n
Seriously, this is my corner store!
10358426_518857618218274_164696466_n
The corner store even boxes up your plants for you.

We also headed to the local garden center to pick up a bag of triple mix, and a couple bags of black mulch. We brought our old lady shopping card (cause dirt is heavy!) apparently it was too much even for our shopping cart, and one wheel gave out. OOPS!

photo 1(8)
Oops

With the mulch and dirt back at home, the planters got filled, baskets were hung, and the flower garden was tilled and planted.

photo 5(6)
El Granto picked the hanging planter this year.
photo 2(7)
I love how petunias add so much vibrant color.

We added a few perennial Hostas, some grasses, and annuals for color. The black mulch really makes the whole thing look more like a garden, and less like a dirt patch.

photo 4(7)
Everyone tells me I cant possibly kill a Hosta…we’ll see.

We added a small herb garden next to the deck. I love using fresh herbs in my cooking, and its lovely just to pop outside and cut some as needed.

This year we have rosemary, two types of basil, parsley, thyme, chives and green onions. I have about 2′ left of open garden to add other items as I see fit.

photo 3(6)
Green onions, basil, chives, parsley & rosemary (poor thyme didn’t even make it in the photo)

Our BBQ & surrounding area got a thorough cleaning, and new boxwoods were planted in the planter box beside the a/c unit. It’s been so cold this spring, that we haven’t even uncovered the air conditioner yet!

photo 5(4)
Boxwoods hiding the ugly A/C unit

While we worked our butts off, there is still so much to do in the backyard. I will be back later in the week with a Backyard to-do & project list, but I will leave you with a sneak peek of my dirty little secret.

AKA the grass-less backyard.

photo 5(7)
Embarrassed to even post this photo

HELP! The yard needs so much work, from a lawn, to a new path, and a whole lot of paint & TLC.

Outdoor Daybed

Most home projects are practical. Fixing something that is broken. Improving something that will make your daily life better. Increasing property value etc.

Then there are projects that are none of the above.

They are the impractical high heels of the home world. Did you need them? No. Are you going to wear them to walk the dog, or get the groceries? Not a chance. But are they absolutely gorgeous, sexy as hell, and so very impractical that they were bought solely out of love? Absolutely.

Our outdoor daybed project is the 6″ hot pink stilettos of home improvement.

…and I LOVE IT.

Before:photo 1 (2)

AFTER:

Outdoor Daybed


Here is how we did it:

The structure for the daybed was built using pressure treated 2×4’s. The back of the daybed was securely attached to the deck support posts, and the rest of the frame built as a box around it. (similar to how you would build a deck)

photo 4(2)

It was all assembled with deck screws. It was built to fit a twin size mattress, with a bit of room to spare at one end for a small built-in table.

photo 2 (2)

After the frame was built, it was clad with 1×6 fence board. We broke out our new Ryobi cordless brad nailer, and it made quick work of the job.

photo 4 (2)
Even Odin likes new tools

We trimmed the edge where the skirt met the seat of the daybed with a 1×2. This way you would not see any unfinished boards and the edge of the daybed would not be rough against your legs.  (Here you an see the trim  in progress & Odin helping of course.)

photo 5 (2)

I had lots of trouble finding an economical cushion. So in the end, I headed to Ikea and picked up a twin size 4″ thick foam mattress.

photo 3 (2)

I would love to have a custom cover made for it, but until then an inexpensive twin size fitted sheet works perfectly.

All the linens come in each night, and in the winter, the Ikea mattress can be rolled up for easy storage.

photo 5(1)

photo 3(1)


photo 4 (5)

photo 1(1)

photo 2(2)

photo 4

It is incredibly comfortable. Great for lounging or having a nap. It’s my new favorite spot for reading my book with a cold beverage in hand. We are going to get a lot of use out of the daybed this summer!

photo

Do you have an outdoor daybed? Would you try your hand at building one?


SOURCE LIST:

Materialst:
8 – 2×4 8′ pressure treated c/o Home Depot Canada
14 – 1×6 6′ pressure treated fence boards c/o Home Depot Canada
1 – 2×2 8′ pressure treated (cut in half to make a 1×2 as a trim piece) c/o Home Depot Canada
Deck screws
Galvanized brad nails (1 1/2″)Twin size foam mattress
Twin size fitted sheet
Decorative pillows

[Plant Pot – Home Depot, Candle holders – Dollarama, Concrete Candle – Loblaws, Mattress – Ikea, Sheet – HomeSense, Pillows – Ikea & HomeSense, Blanket – West Elm]

Tools Used:
Miter Saw
Drill
Ryobi Cordless Brad Nailer
Measuring Tape

Difficulty Level (on a scale of 1-5):

two out of five

Total Cost: $200

*Home Depot Canada provided a gift card to aid us in our project.


Project Outdoor Daybed

Two years ago today, I was relaxing in a cabana in Cuba at one of the most beautiful resorts I’ve ever seen. We were staying in the Royal Service Suites at the Paradisus Rio De Oro outside Holguin. It was a mini honeymoon for El Granto and I after we had to give up our European honeymoon to fix our house. It was a pretty amazing minimoon, in a beautiful exclusive resort. I could go on and on about the amazing service, poolside butler etc., but one of my favorite things were the Balinese cabana beds by the pool, and the outdoor daybed on our balcony.

CubaCabana

These beds put chaise loungers to shame. Huge beds with thick comfy mattresses covered with pillows.  Perfect for an afternoon siesta or lounging with a cocktail.

Two years later, and I’m still thinking about those beds.

A few weeks ago Home Depot unexpectedly sent us a gift card in the mail, with no expectations other than that we should give a little love to our home for spring. We could use the card for whatever we wanted. We could add a fresh coat of paint, plant some flowers etc.

So we thought, lets build something fun. Something that is not in the giant to-do list, and that’s nice and indulgent.

You guessed it. We’re building an outdoor daybed on our master deck. It’s not quite a Balinese bed, but it will be the size of a twin mattress, and also have a built in table (or arm rest) to hold a drink or two.

It will be nestled at the end of our deck taking up the full width, using the fence as the back of the daybed.

photo 2(11)

We will be making it blend into the deck with the same modern aesthetic as the deck and our fence.  While it won’t have a thatched roof like our cabana in Cuba, we are going to bring in lots of pillows and accessories to add luxury and break up the hard surfaces.

Here is some of our inspiration for the project:

Follow Kristen’s board Backyard Inspiration on Pinterest.


This past weekend we headed to Home Depot and picked up the lumber, as well as some wood for the basement. We rented a van to bring it all home (when you’re renting a van, buy all the big stuff you have planned, to save on van rentals).

d065813ccd7711e38f9f0002c954a80c_8

e37c8832cd8711e38ac20002c9dc6714_8
We got most of the frame assembled, then realized someone miscalculated the lumber list, and we were short a couple boards. Oops.

41ae0042cd9811e3b4dd0002c99b1a82_8
A walk back to get more lumber ensued the next day.

10311117_278876755606618_1856460704_n

I’d love to get more work done on it this week, but our forecast is leaning towards April showers. Progress may have to resume this weekend.

In the interim, I am on the hunt for a cushion the size of a twin mattress. Any ideas? It also needs to be budget friendly. The current forerunner is a foam kids mattress from a certain Swedish retailer, but I would love an actual box cushion with outdoor fabric.