What a difference a little bit of art can make. After lugging home the big frames last week, and flattening the stored-too-long-in-a-tube art prints, I finally got a print framed and up on the wall. Continue reading “Powder Room Art”
Basement Flooring
When we last left the basement, we had laid the DRIcore subfloor and installed the SMARTWALL wall finishing system. Then we ran into spring, and had to move our work outside. So what was left on our basement list? Get some paint on the walls, and some flooring on the floors. Then we could move to the pretty finishing touches!
So let’s talk basement flooring. I was inspired by white soaped floors while in Denmark. I even wrote a post on them.
So how do I plan on getting it?
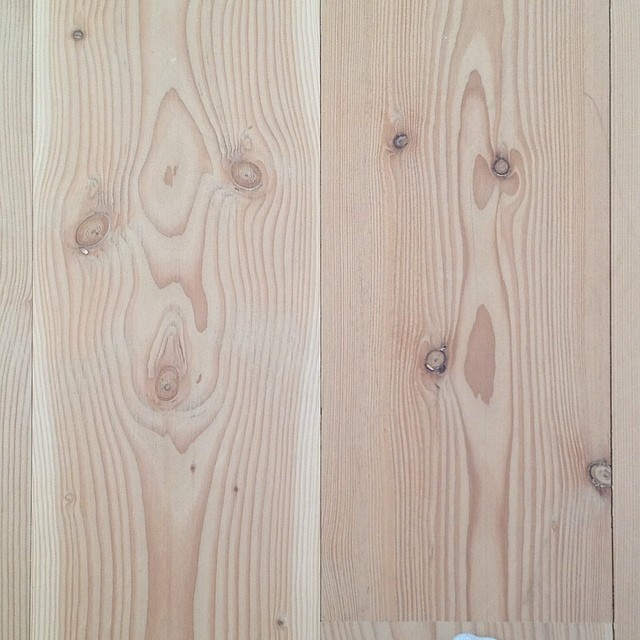
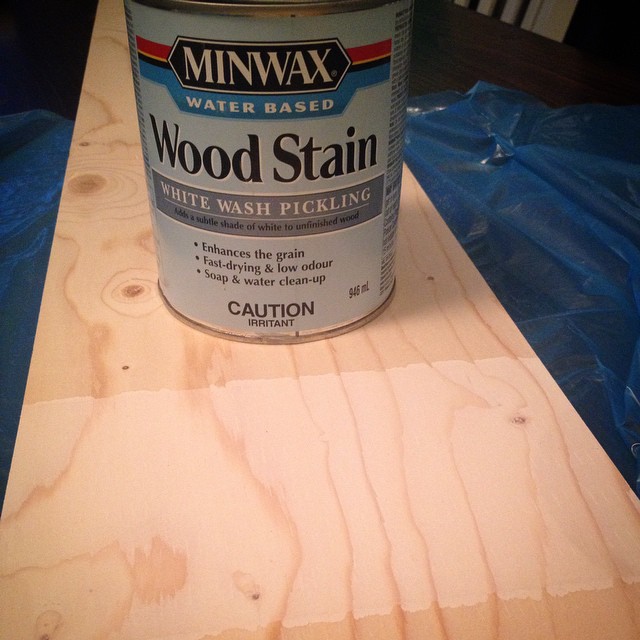
A few weeks ago I sanded and sanded and sanded a piece of the plywood, and applied some test stains. I tried Weathered Oak, Grey, and White Wash Pickling Stain. There was one clear winner. The Minwax White Wash Picking stain.
Now to deal with the sanding issue. We could lay the whole floor, then rent a floor sander and go at the whole thing. Problem is, we could easily sand through the first layer of plywood with the big sander thus ruining the floor. Next idea… use a belt sander and orbital to sand each board before laying. Okay idea, but still very very time consuming. Third idea: rent, beg, borrow or steal a planer and gently shave off a tiny bit of the boards.
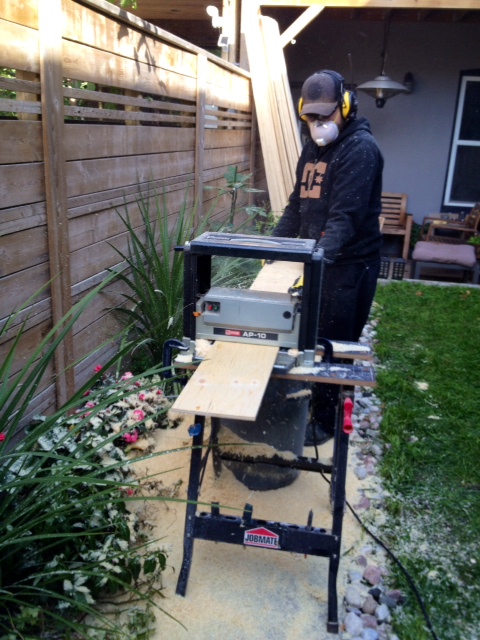
While a planer may be on my Christmas list (please Santa please!) Such an expensive tool could not be justified for this project. Enter the begging and borrowing. When we got our new Milwaukee sliding compound miter saw, we gave our old 10″ slider to my Dad. He was building a deck, and his saw wouldn’t handle 6″ wide boards. So I causally mentioned the gifted saw, smiled a sheepish good daughter smile, and asked to borrow his planer. He said yes! His beast of a planer (this thing is solid metal and must weigh 100lbs) came home with us at Thanksgiving. Thanks Dad!
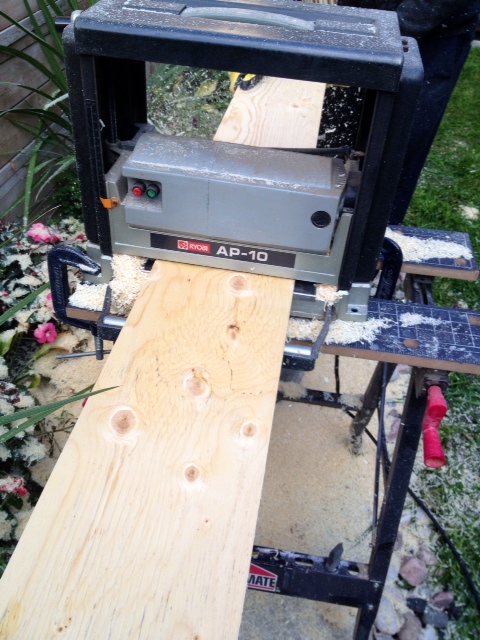
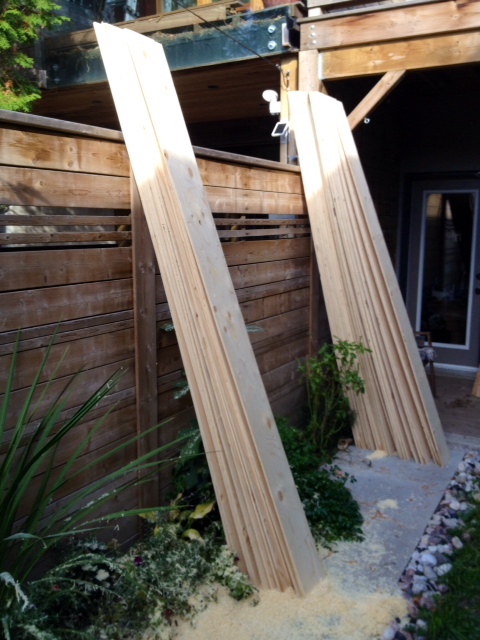
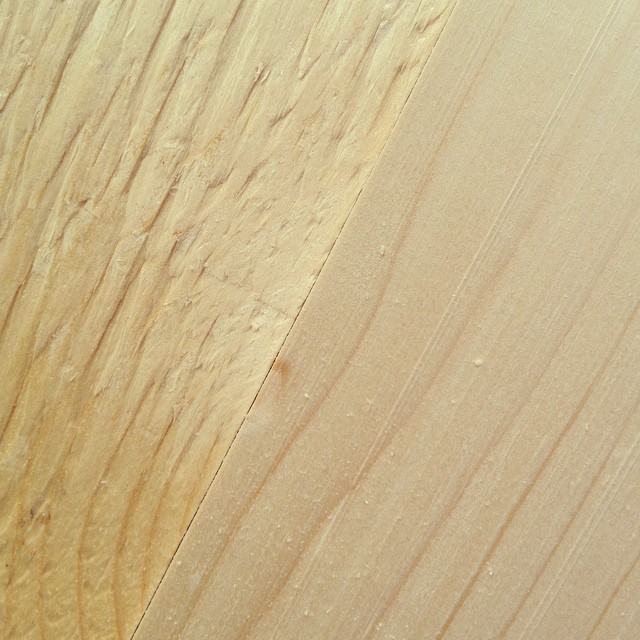
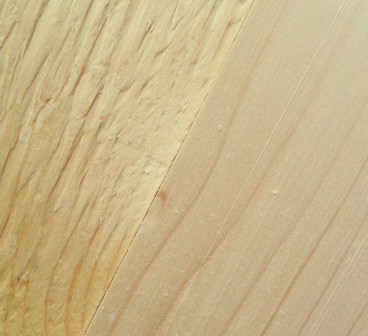
Right: after planing
We did run into a few issues with the knots tearing out in the planer. We will strategically cut out the bad parts when we lay the floor, and then wood fill and sand the others before staining.
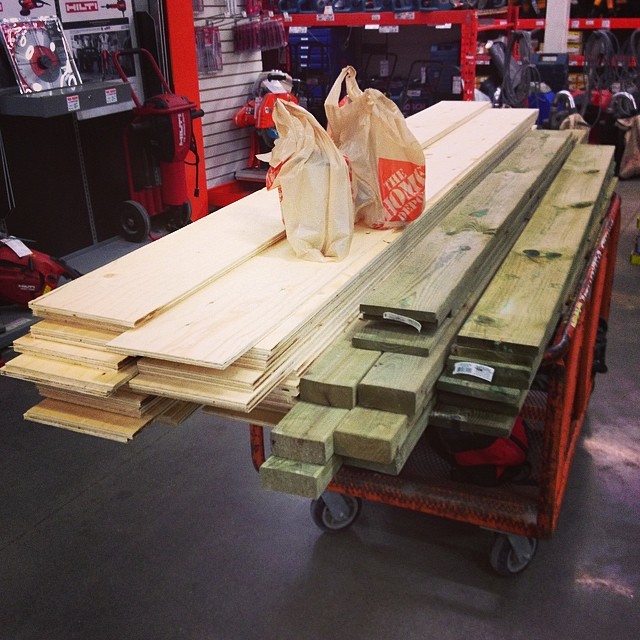
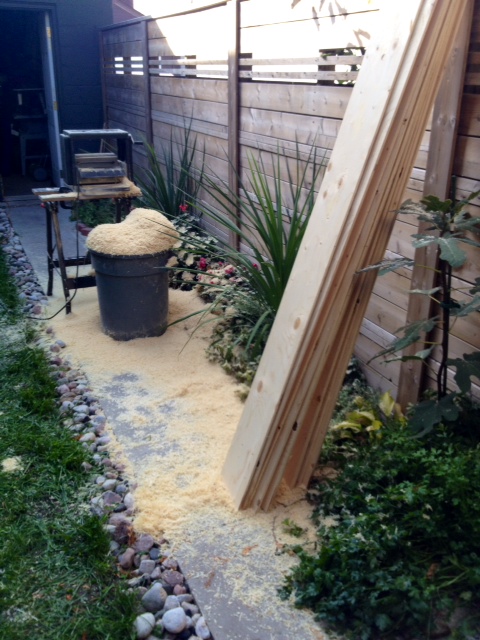
We got all the flooring planed, and it is stacked back in the basement ready to be laid. I would like to get the basement wall painted before laying the floor. Is it wishful thinking that I could paint it after work one day this week? Hahaha yeah.
Powder Room Progress
Work on the powder room mini makeover has begun, even with a 3 day trip to the cottage for Thanksgiving thrown in. Here’s a quick update on what I’ve been up to:
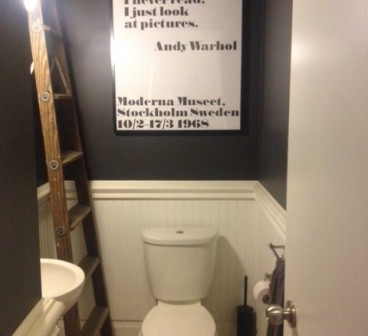
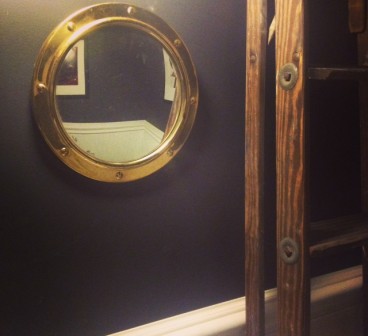
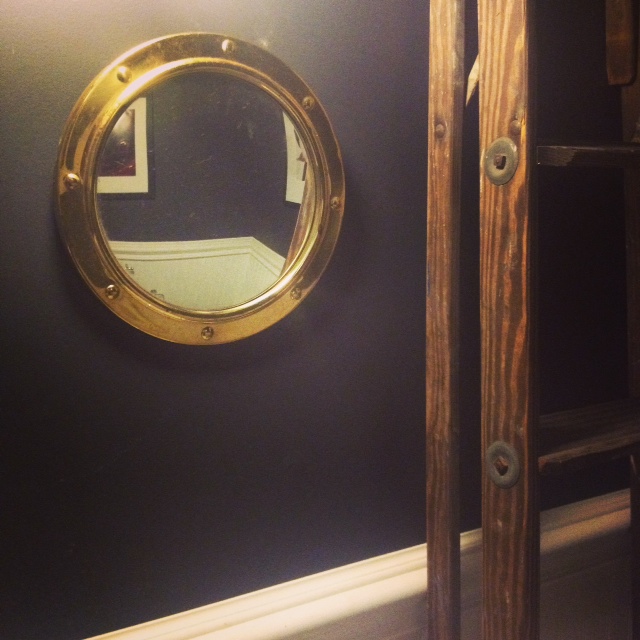
Removed the ornate mirror, and tried hanging the great portal mirror I grabbed at Value Village during the blogger thrift store tour. The mirror is AMAZING, and looks so good with the black wall color.
However… it is just too small for the space. Even with the convex shape of the mirror, it is just not big enough. Sad face.
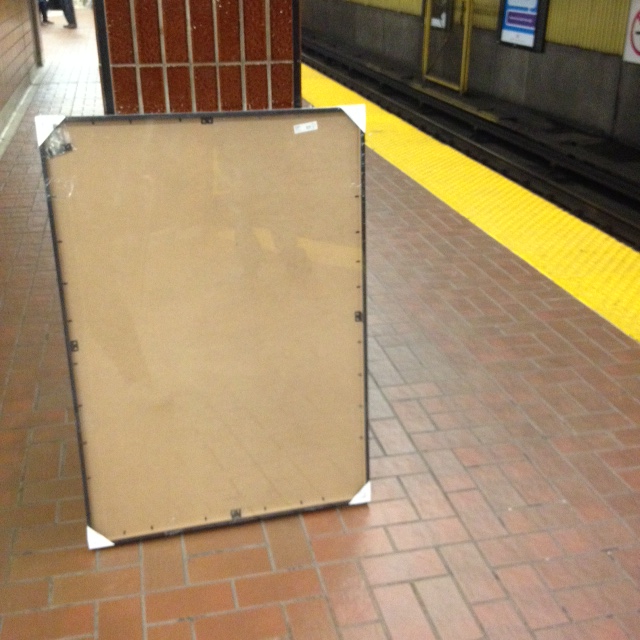
When I was in Denmark and Sweden this spring, I went on a bit of an art print binge, and during that time I picked up the full set of Warhol quote posters from Moderna Museet in Malmo, Sweden. They are nice big prints (70cm x 100cm or close to 27 1/2″ x 40″) and I thought one or two from the series would look great in the bathroom. We have 12′ ceilings in there, so they should be able to hold the big art prints without feeling claustrophobic. Now all I needed were frames. Of course, there is really only one place to get good quality frames that large (we’re talking three and a half feet tall!) for a good price. Like the prints themselves, my frame source was also Swedish. Can you guess where that is?
I hopped on the subway last night, and trekked out to Ikea Etobicoke, and picked up two large 70cmx100cm Ribba frames in black.
While at Ikea, I did a good amount of perusing. They have upped their game with their new store displays. It was looking good! There were also a few new great items in store, that are not listed online yet. I could do a whole post on it, but here is one of my instagrams from last night:
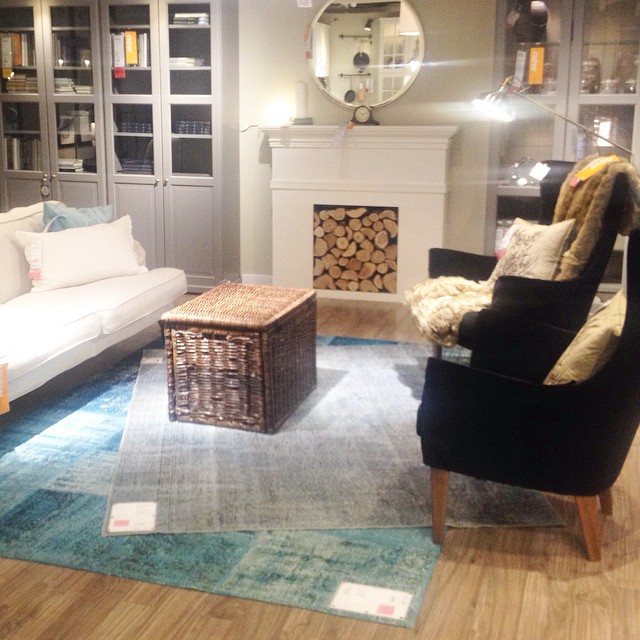
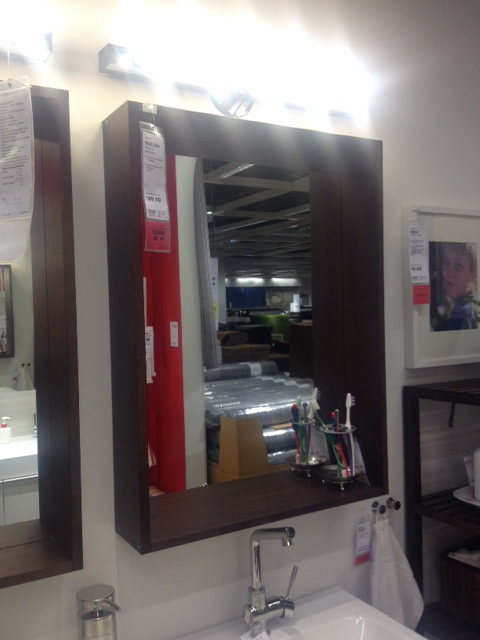
Alas I was not shopping for new armchairs or rugs (but hey, that faux fireplace would look great in my house!) I needed to source some bathroom items. I was hoping to pickup this Molger mirror (in birch):
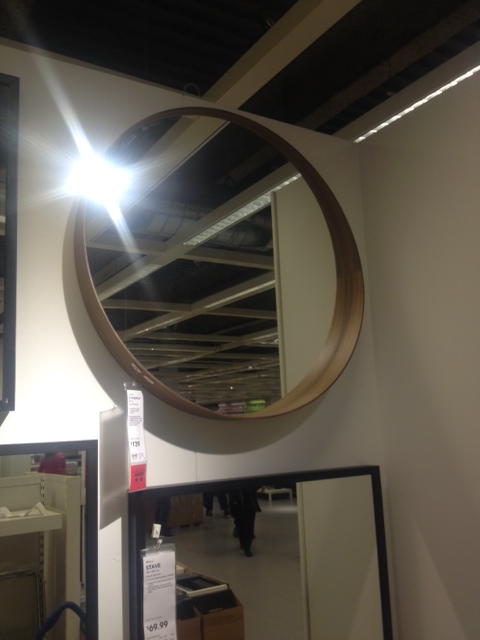
I saw this fab beauty, but it was like $120 (sorry no exact price as its not on Ikea’s site.) and thats more than I wanted to spend for the mirror for this project. Although I think two of them would be fab for my upstairs bathroom reno!
Then I went and carried everything home on the shuttle bus and the subway.
And no, that was not the most awkward nor heavy item I’ve carried home from Ikea on the Subway.
I can’t wait to get home from work tonight and start framing the posters. I want to see them on the wall!
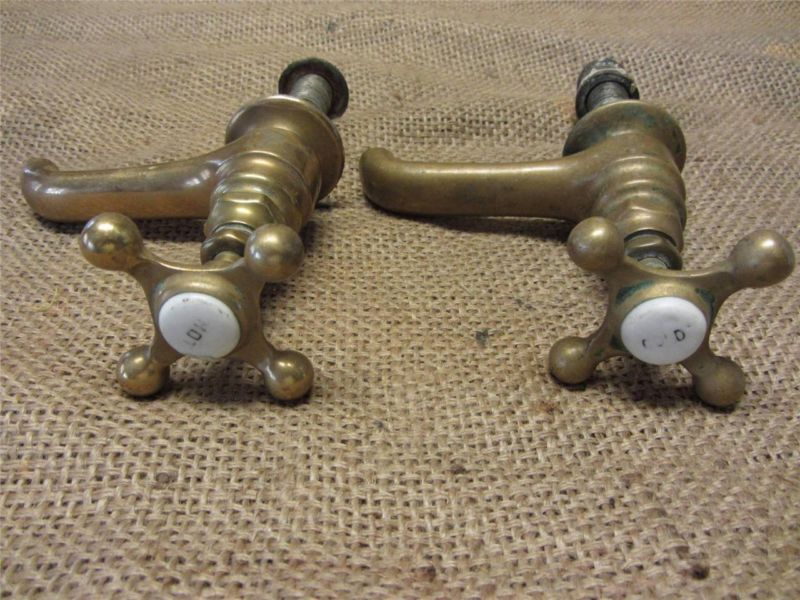
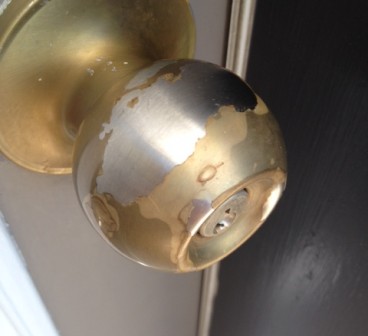
I am still however on the hunt for a light, a small shelf, towel & tp holders, trash can, and accessories. I also added to my wish list a set of antique taps, which I have my eye out for (aka stalking craigslist and eBay).
If you guys see any taps like these (for cheap) let me know!

Gluten Free Baking

Since being diagnosed with celiac disease I have pretty much stopped baking. There is a reason for this, Gluten free baked goods tend to be described with the following adjectives: bland, dense, hard, flavorless, cardboardesque, and a few four lettered words my Mother would be upset if I used.
The other thing about gluten free baked goods or breads is that they are so full of sugar, that my nutritionist told me I could either have a slice of gluten free bread or a chocolate bar. The sugar levels were pretty much the same. Gah!
If it comes to bread or chocolate, I am going to always pick chocolate over a piece of cardboard toast.
As such, I tend to avoid most gluten free substitutes, especially ones I bake at home. I would just rather spend my calories and sugar on more delicious things that happen to be gluten free, rather than trying to replace my beloved wheat based products from pre-diagnosis. (Face it, you just cannot replace a fresh baguette or a croissant. Heck, you cant even replace a Tim Hortons bagel with cream cheese.) So instead of trying to replace, my gluten free diet tends to be delicious things that happen to be gluten free. For instance, for dessert I will have cheese with fruit compotes, nuts and seeds and a glass of port. Not exactly cake, but it’s damn good.
However there are some holidays where nostalgia has me wishing for baked goods of my past. Like Thanksgiving, and my old friend pumpkin pie. Nothing replaces pumpkin pie.
This weekend was Thanksgiving here in Canada, and we spent it up at the cottage. My Mom was in charge of desserts, and she showed up with two products I haven’t tried before. Pillsbury gluten free pie dough, and gluten free chocolate chip cookie dough (also Pillsbury). Both were premade in a container (not frozen). Truthfully I was pretty suspect of the products. I’m not a fan of processed foods, and I don’t really want to consume a weeks worth of sugar in one cookie. However, it was Thanksgiving and that is a time for indulgence if I’ve ever seen one AND frankly this girl would kill for a pumpkin pie.
Mom got to making the pumpkin pie filling while I rolled out the pie dough. Instead of rolling it out on a surface with flour, the directions asked you to roll it between parchment paper. As we were at the cottage and without fancy baking accoutrements, we used cling film instead. It worked perfectly fine, and the dough rolled out beautifully. It did crack a bit when we tried to put it in the pie plate, but we were able to smooth it back together.

Once in the oven, even with the crust covered it did get a bit brown (all that sugar I’m thinking) but it came out looking quite normal! Not like the usual thick and dry GF pastry, but actual buttery flaky pastry. If I didn’t know it was gluten free, I might not believe it when looking at it.


As the oven was still warm from the pie, we opted to try the cookie dough next. It was a bit hard to get out of the container right out of the fridge, and fell apart and crumbled. I let it warm up a bit, and then spooned it onto the baking tray in quinelle shape using a tablespoon (it was easier than trying to make balls). The container made 13 medium sized cookies. I followed the baking instructions to a tee and took them out at the short end of the baking time (I like a soft cookie.)


I’m pretty impressed that a big company would go to this length to provide a good tasting gluten free baked good option for the masses. I cant imagine how hard it is for kids who have Celiac, and having products like this will make them feel like they are not missing out, and that they get to eat “normal” food. I also can’t imagine how hard it is for parents to deal with the plethora of allergies children have these days. Birthday parties and bake sales must be incredibly hard. Hopefully products like this make things a heck of a lot easier.
P.S. Pillsbury also makes a gluten free pizza dough, which I will be on the lookout for next.
Oh, and hey! By the way, no one paid me to write this! I just thought I’d share my experience. Cheers!
When Design Love Turns to Design Hate.

Meet our powder room. It was the first room we decorated when we moved in almost four years ago.
Wainscoting and a chunky chair rail went up, the walls went black, and in came a new light, a glam mirror and some art we had laying around the house. Continue reading “When Design Love Turns to Design Hate.”
Thrift Store Tour
There is one big consequence of blogging, that I never would in my wildest dreams have imagined. Something that caught me so off guard.
As a grown up, out of college/university, working a steady 9-5 in an office, meeting new people is hard. Really hard. If its hard to meet ANYONE its damn near impossible to meet people with common interests. As a grown woman, I don’t walk up to strangers and ask if they like decorating, thrifting, or woodworking. I certainly don’t ask them if they’d like to be my friend.
Then blogging happened, and I started to chat with readers, and other bloggers. People my age, who were into the same stuff as me. Discussing fabric, power tools and paint colors! Making connections with real people.
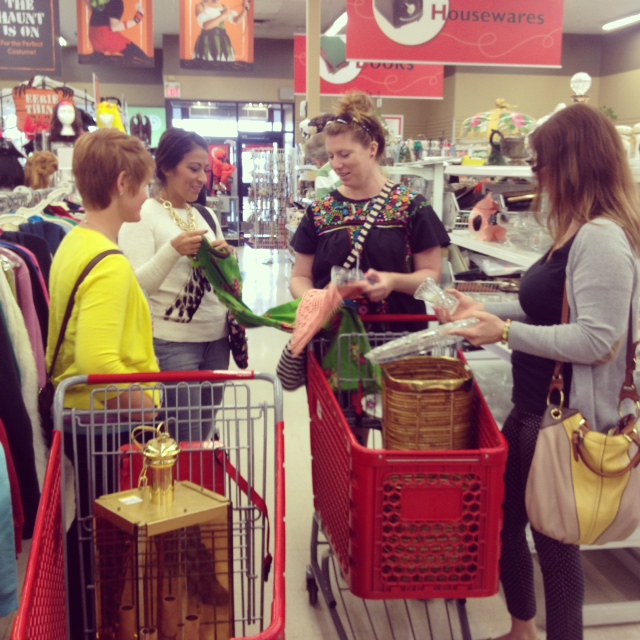
Then this happened:
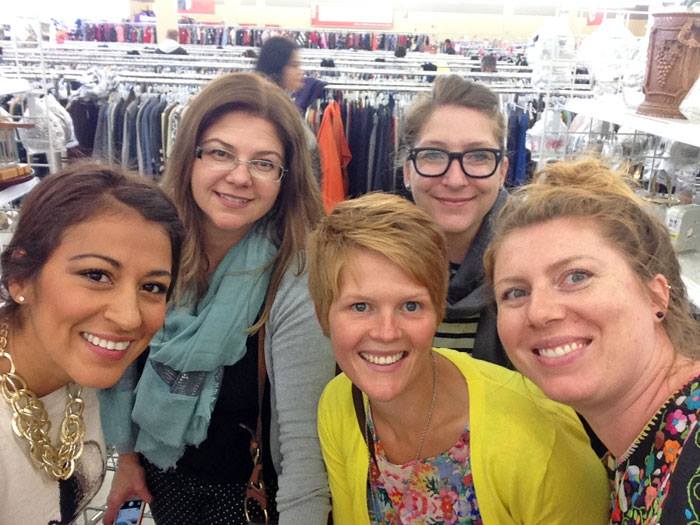
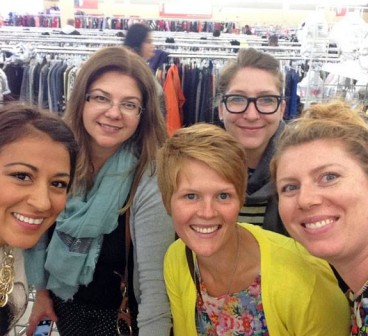
Photo Credit: Virginia @ Fynes Designs
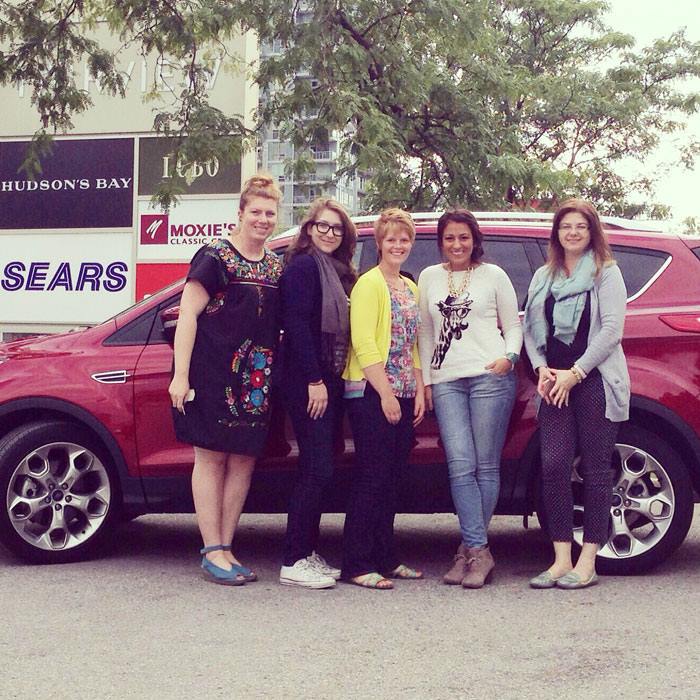
Myself and four other bloggers, traveling around Toronto in Ford Escapes on a whirlwind thrift store tour. We traveled throughout the city hunting for great home decor finds at Value Villages. Not just one store, we’re talking every single store in about a 30km radius.
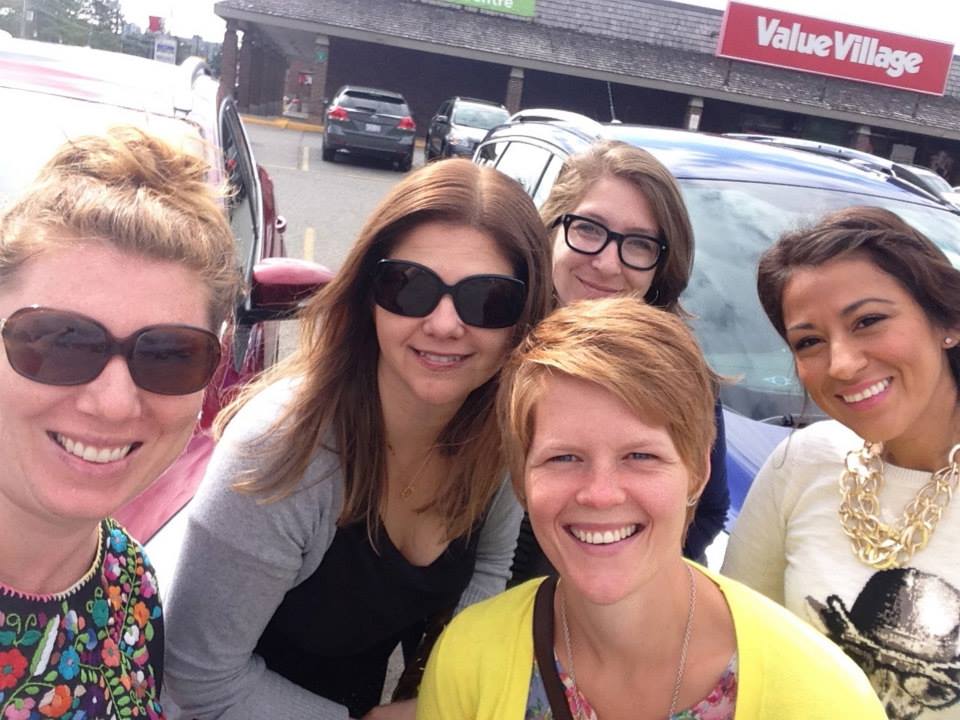
It was SO.MUCH.FUN. Virginia from Fynes Designs, Dani from Lifeovereasy, Lucy from Craftberry Bush and Melissa from The Sweet Escape were a blast. We all had completely unique styles and tastes, and wandered the stores grabbing finds for ourselves, and ones we knew the other gals would like.
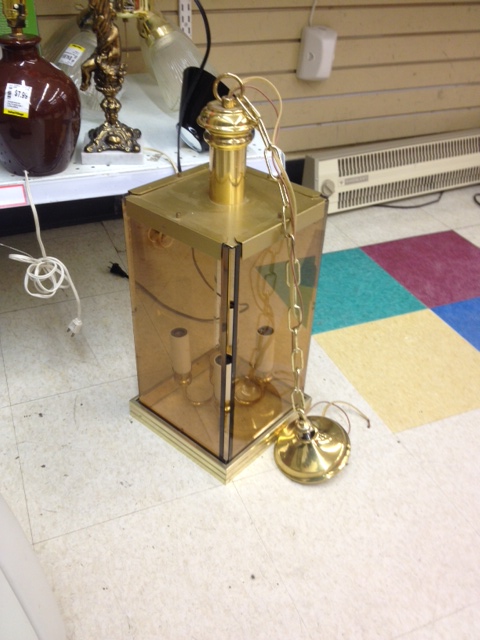
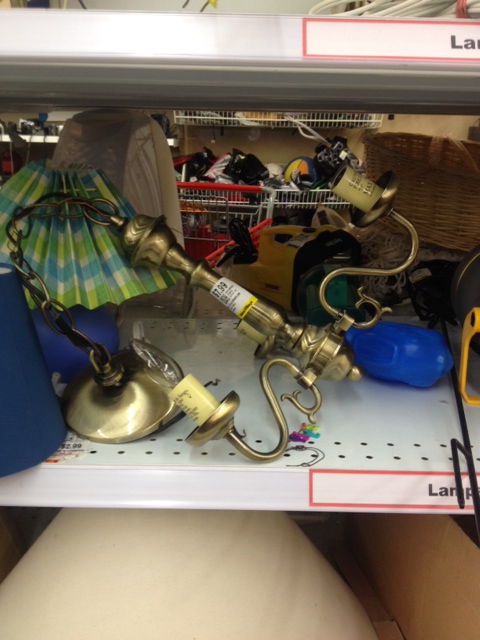
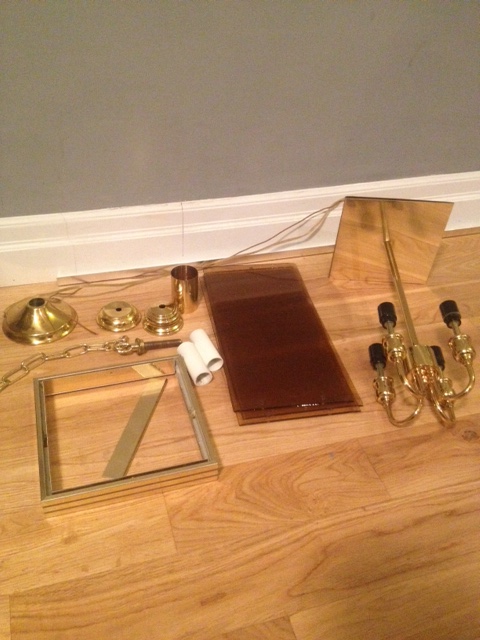
I feel bad for the other shoppers. We scoured those Value Villages high and low searching for the best scores in store. I got some amazing stuff. My (unintentional) theme was lighting. I found some fab items! My first nab was this brass lantern with smoked glass. I needed a new light for the guestroom, and knew this could be turned into something cool.
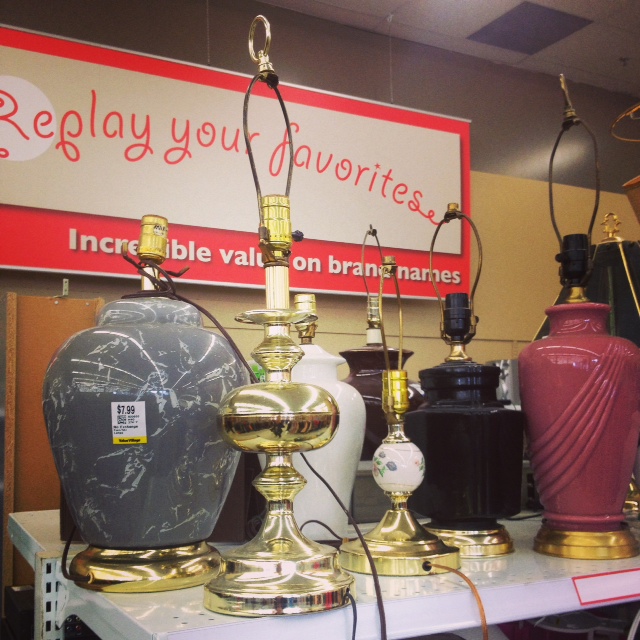
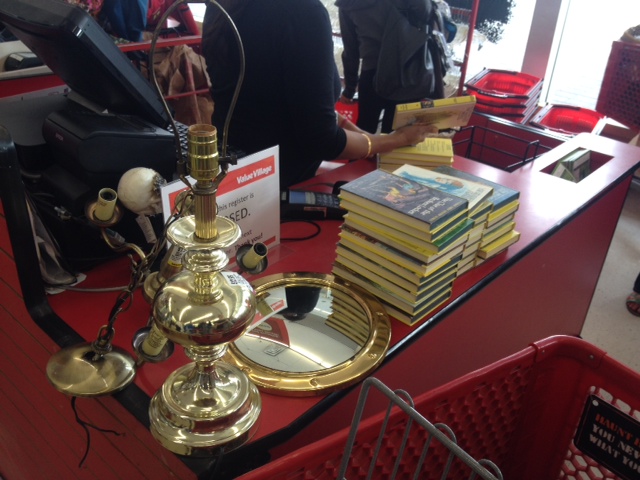
Next I spotted a couple of brass lamps. These were also picked for the guestroom. I have visions of wood and metal, with some badass shades.
Next I spotted a small chandelier. I have been on the hunt for some candle lighting for the back deck, and knew this would be perfect converted into a candelabra.
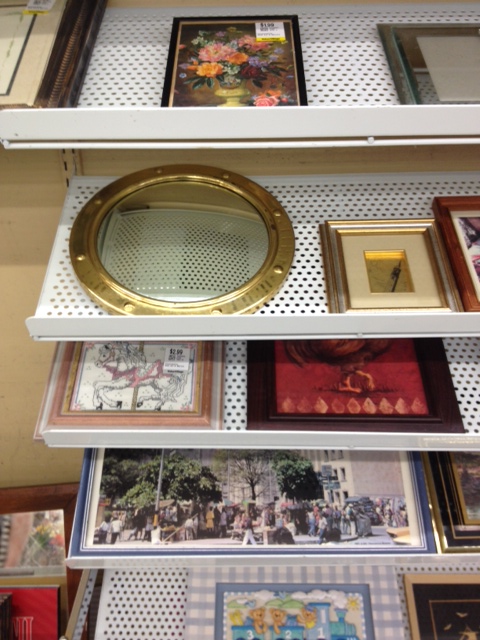
This mirror jumped out at me from the shelf screaming “take me home!” I loved its shape, only wished it was a bit bigger. Will still make a great accessory in our office or powder room.
Last but not least, I spied a whole collection of Nancy Drew books. I used to read my Mom’s collection when I was a kid and adored them. I nabbed every single book and can’t wait to pour over them.
The other bloggers got some amazing finds as well. It was really cool to see their process, and how they picked things. You would have thought we’d be fighting for the items, but we really went in different directions. I can happily say that there were no cat flights or any arm wrestling for items.
With bags and bags filled with finds, we piled into our Ford Escapes. I got to drive the red one the whole day.

I have to say, I went in with little expectations. The last Ford I was in was a “vintage” bare bones clunker. For small SUV’s I really enjoy driving my mother in laws Honda CRV, but I have to say the Escape impressed me. The model I was driving had a bunch of fancy pants features including a backup camera, this cool blind spot warning, and one heck of a nav/console touch screen. The only problem I had was trying to operate the rear door. I learned afterwards that it was one of those fancy hands-free foot operated ones, but I just kept trying to lift it manually and it was giving me attitude. Guess I should have read the manual eh?

With all my finds at home, I set to transforming one item from my haul. I will be working the rest of the items into upcoming projects I promise, but I have to start somewhere! I took my brass lantern apart, and set to giving it a refresh for our guest room.
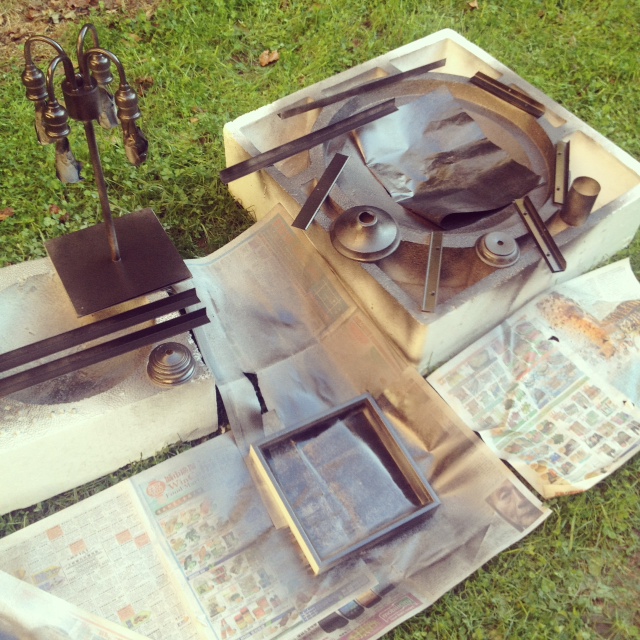
I picked up some angle iron and got El Granto to cut me a few pieces to make new sides for the lantern. The smokey glass needed to go (and good thing, as we broke a panel. oops!). El Granto and the dremel made quick work of the angle iron, and I got to priming all the pieces.


We have oil rubbed bronze accent pieces I the guest room, and thought that would be a nice bold color for the lantern. After the primer had dried I used Rustoleum Universal spray paint to give some nice even coverage to the pieces.
After everything was painted, I assembled it all together, and this is what I ended up with.
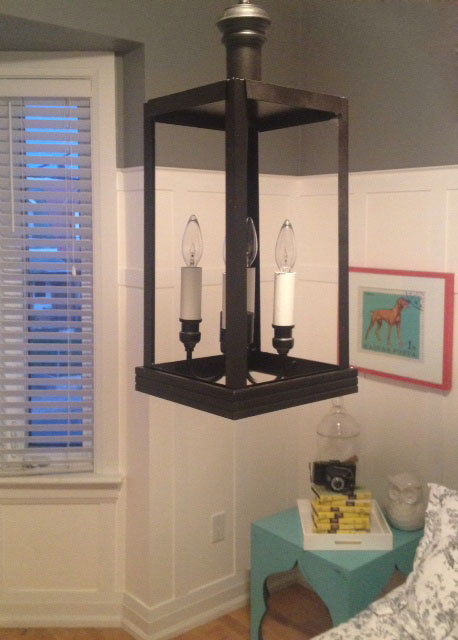
What do you think?
Can you also spy a few of my Nancy Drew books on the nightstand?
Make sure you check out all the other bloggers finds! Thank you so much Virginia for organizing this, and the event sponsors Value Village and Ford. It was amazing to spend a day doing what home bloggers do best, with some badass blogging ladies. Make sure you check out their posts:
Virginia @ Fynes Designs
Lucy @ Craftberry Bush
Melissa @ The Sweet Escape
Dani @ LifeOvereasy
3rd Wedding Anniversary
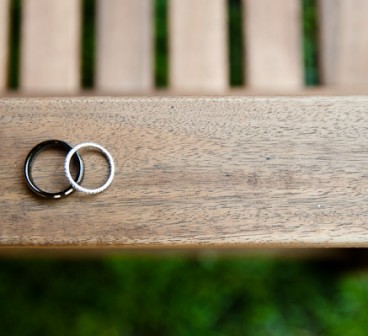
Today El Granto and I are celebrating our third wedding anniversary! I cant believe its been three years, it feels like it was just yesterday.
We have yet to make any books or in fact printed a single wedding photo (much to the chagrin of our family) but I thought I would recap things here for you guys. Check out all these wedding related posts and projects. Continue reading “3rd Wedding Anniversary”
Pumpkin Spice All The Things
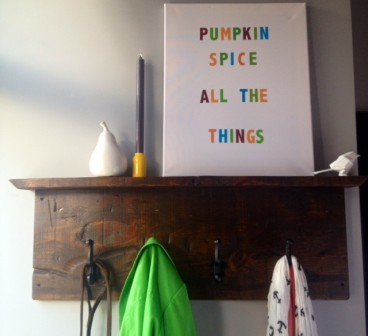
We at the Storefront are mantel-less home owners. As such, come fall or winter, we are the only blog on the entire internets to not have a decorated mantel. No really, find me another home/decor blog without a mantle post this week. Never to be left out, we tend to decorate the front porch (with heavy, and/or bolted down items of course.) One extension of our seasonal decorating, is the front entryway coat rack. With it’s small shelf, it is about the closest thing we have to a mantel.
We have a variety of canvases and prints that get trotted out seasonally to grace our front entryway. Feeling a little bored with our fall decor this year, I opted to add a new canvas to the repertoire. Enter my latest “masterpiece”.
Pumpkin spice all the things
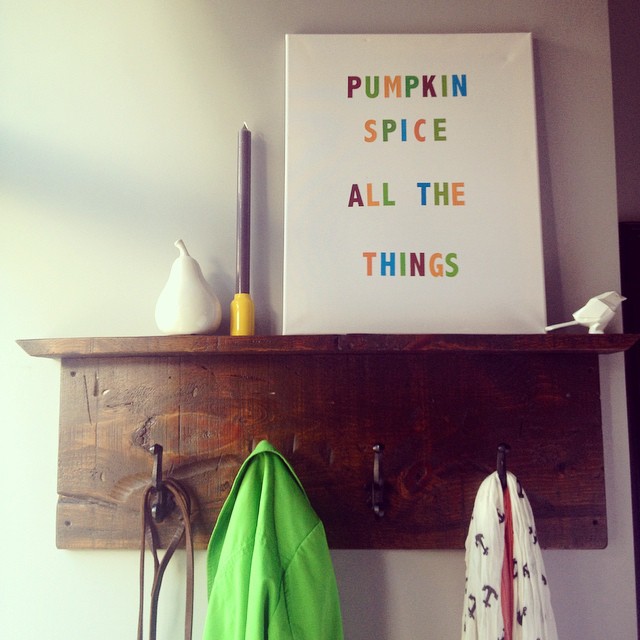
How to:
$3 Dollar Store Artist Canvas
+$2 Dollar Store Adhesive Letters
+2 parts cheeky 😉
Whats on your mantel this season?
Backyard Update
The backyard project is coming to a close, I promise! If I get some decent weather and daylight, I will take some pics of the daybed to share with you guys. As the big stuff is checked off the list, we are now working on all the little stuff. The last 10% that always seems to take up 80% of the project timeline. Here’s what we’ve been up to: Continue reading “Backyard Update”
That Time I Won a Dyson
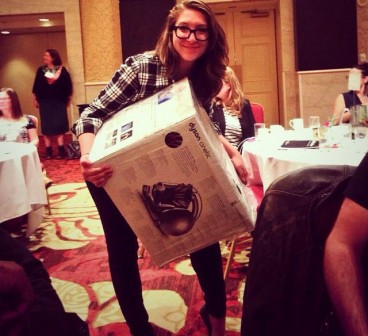
This past weekend was the Blog Podium blogging conference in Toronto. It was my first blogging conference, and to say it was a whirlwind is a grave understatement. I met so many awesome people, got to put real faces to twitter profile pics, and learn one hell of a lot about blogging.
The conference was a mix of keynote speakers, workshops, sessions and round tables. There were celebrity sightings (Bryan Baeumler at the DRIcore booth, and Scott McGillivray as a speaker). Copious amounts of coffee consumed, so much talking and learning, and then at the end of the event this happened: Continue reading “That Time I Won a Dyson”