In the Hood – Wallace Espresso

We love coffee. We love it so much we built a coffee bar in the kitchen to house all our coffee paraphernalia. As a coffee lover I am thoroughly enjoying the café explosion in the neighborhood. Cafés big and small are opening up at every direction. What does this mean for us? Winter dog walking has improved exponentially…

Wallace Espresso
Wallace Espresso

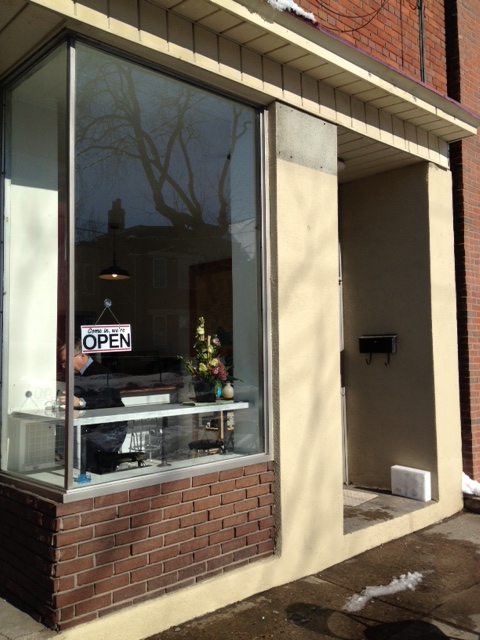
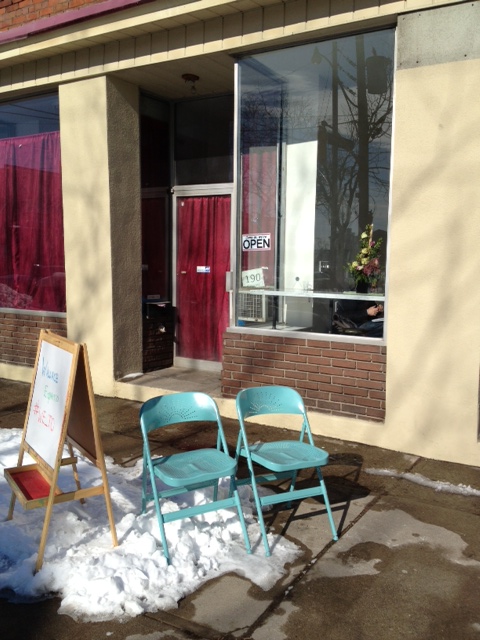
The newest addition to the neighborhood is Wallace Espresso. Aptly named it resides on the corner of Lansdowne and Wallace. WE opened quietly two weeks ago with a small sandwich board sign and a few turquoise chairs out front.

WE Exterior 2 (2)

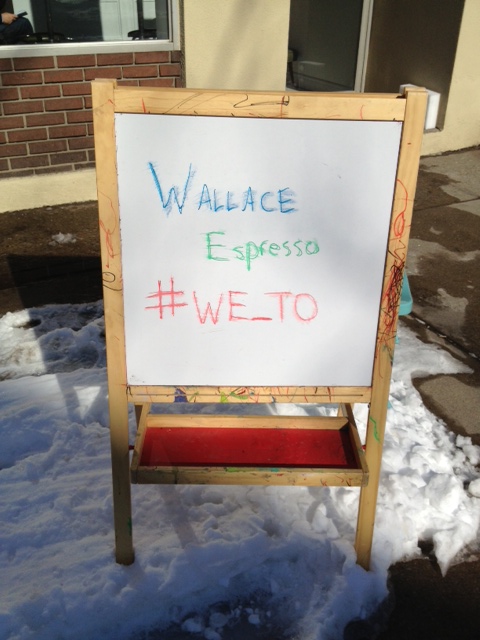
That’s all it needed to get word out. Heck I knew it existed via Twitter before I even got home from work the day it opened.

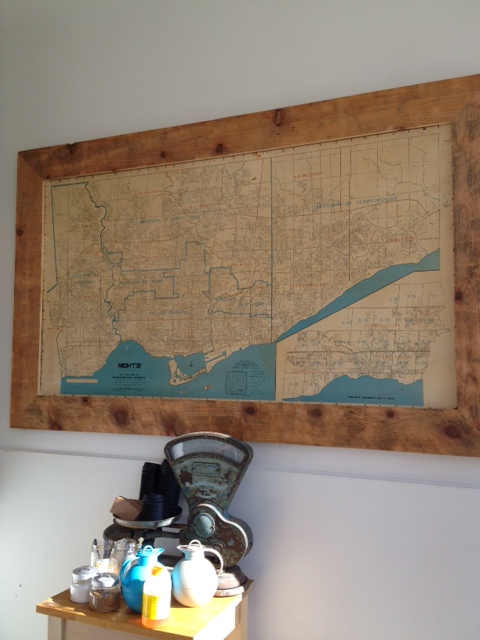
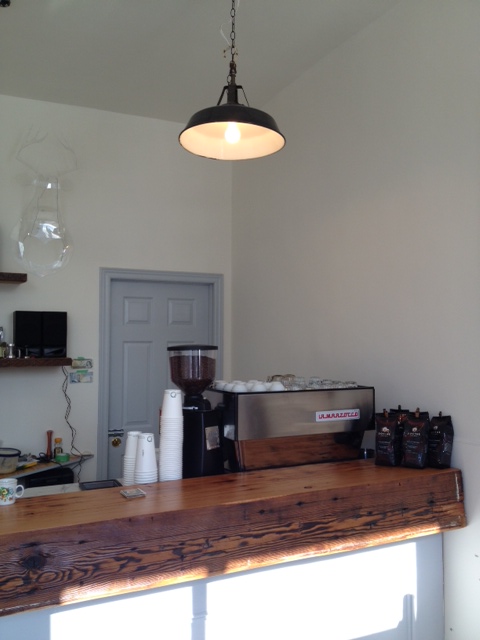
In a small but cozy storefront they are serving up some excellent espresso and pleasant conversation. The shoppe is bright and adorned with a few stools, reclaimed barn lights, a gorgeous wood bar and a vintage map of Toronto (with more art to come from a local artist). It’s got just enough cool without being over the top.

WE Map (2)

WE Map (1)

The big draw to the space however is the espresso. The menu is non existent (no really, there isn’t one).  I am sure however they would be happy to make you any espresso based beverage you’d like. (I didn’t spy any coffee syrups so flavored latte fans you may be out of luck.)

On our first visit to the space we ordered two double americanos and they were made quickly and precisely. The barista confirmed cup size with us and asked how much water we would like. Both things the sign of a barista who cares about his patrons preferences (I hate nothing more than an over-watered americano with no space left for my cream and sugar!)

WE Exterior 2 (1)

The espresso was light and nutty with a nice crema. In fact I liked it so much I had almost finished mine before we even got to the subway.

The biggest surprise from WE is the prices. $2 for a double americano. Yes that’s right, I said TWO DOLLARS! That my friends is only 20 cents more than a coffee from Tim Hortons. Why suffer through mediocre coffee when you can have fresh espresso goodness for almost the same price?!

We have yet to try their lattes or cappuccinos, but I am sure they are just as excellent as the americanos. They also have a small selection of fresh baked goods to fulfill your sweet tooth craving.

WE Interior

WE is an excellent addition to the neighborhood and a spot we have quickly found ourselves visiting on a daily basis. They make you feel so welcome I witnessed a gentleman almost leave without paying. (He wasn’t running out on the bill, he genuinely got swept up in the conversation that he just strolled out!)

Stop in, try some amazing espresso and make some new friends!

Tin Tile Inspiration

Three years ago, before we owned the house, heck before we were even really house hunting, we were at the Aberfoyle Antique Market with my parents when I spotted some antique tin ceiling tiles, and fell in LOVE. They were reclaimed from an old storefront in London Ontario. My parents bought me 20 of the 2×2′ tiles for Christmas that year, and I have been waiting to put them up somewhere in the Storefront since we moved in.

One of the Tin Tiles
The Tiles
The Tiles

The tiles have their original white paint still on them, and are in varying states of disrepair. Some are almost perfectly painted, while others are missing half their paint, or are rusted.

We could do all sorts of cool stuff with the tiles.  The ideas are so endless that I in fact could not decide on one… No really. Its been 2 years and these tiles are still sitting in my basement. Its not that I dont want to use them, I just cant make my mind up.

Do they get painted, stripped, left as is?

Do we put them on a ceiling, or use them as a wall covering, or as a backsplash in the kitchen?

Do I procure matching cove moldings and filler panels to do a ceiling the proper way?

See, its a bit overwhelming right? I don’t want to screw it up. So here is some of my inspiration.

Source: decorpad.com via Kristen on Pinterest

Source: mobfin.com via Kristen on Pinterest

Source: houzz.com via Kristen on Pinterest

Source: hgtv.ca via Kristen on Pinterest

Source: google.com via Kristen on Pinterest


What would you do with the tiles?!


Iron Infusions

For those of you new here, I was diagnosed with Celiac Disease a few months ago and have been forced into a gluten free diet for life. I say forced, cause no one on earth would choose this stupid limited diet. I apologize for the personal post, but as this is a big part of my life now I feel strange about not sharing it with you. If you’re looking for DIY, skip this and come back tomorrow! (*and a warning, there is a photo of the IV, if you’re squeemish you may want to bail out!)

This week I underwent the first of many iron infusions. An iron infusion is not a shot of iron, but instead a large dose of iron on a slow drip into your blood stream. The infusions use the same machinery as chemo treatment, and are infused the same way over a 3-4 hour time span.

I headed to the hospital bright and early excited and with trepidation for my treatment. I was excited, because I have been feeling so terrible for the last 6+ months that I am excited to start feeling better again. Essentially my iron (and other vitamin & nutrients) were so depleted that my body was unable to produce normal red blood cells (they were small and not round). Red blood cells are used, well, for a lot of things but mostly to carry oxygen around your body. So with a low count of crappy red blood cells, I was experiencing extreme exhaustion, fatigue, brain fog, and got winded just walking up the stairs.

The trepidation was that I had heard horror stories about iron infusions gone bad (WHY DO I GOOGLE THINGS?!). The most common side effect is severe joint pain, and allergic reactions. I am glad I knew this going in, but it didn’t scare me any less!

An iphone selfie right before the IV. Do I look scared?

The worst part is getting the IV in. It took three tries, and they ended up having to go in at the inside of my elbow, which is an awkward place!

The IV
The IV (that’s the iron in the hose)

Once the IV was in, everything else was easy as pie! Because of the likelihood of allergic reactions (anything from itching at the injection site to anaphylactic shock) they do a test run with a low dose to see how you react. I experienced no negative reaction. Because I did so well, they elected to not give me benedryl. Which is great! (the benedryl can kick you on to your butt making you tired and useless for the next two days.) After my test dose they set me for the rest of my infusion. The whole process took about 5 hours total (they monitor you for about 30 mins afterwards to make sure you don’t explode or die or anything.)

The Iron
The Iron (yep, its the color of rust!)

Here’s my advice if you’re heading in for iron infusions. Take the whole day off work. Dress comfortably and warmly such as lululemons & a vest (hoodies are useless as you have to take them off for the IV & the blood pressure cuff). Bring a drink & a snack (you’ll be there a while!), a book, iphone or tablet and some music is a must. Also bring some kleenex, you will probably be the only person in the ward not going through chemo, and your heart will break at the struggle your new friends are going through. Warn your employer that you may be off the next day as well. Depending which form of iron they give you, the side effects can increase dramatically.

The  next day I am tired and stiff, but I am excited to (hopefully) be feeling more energized soon! I feel like my trip to the hospital was like taking a car in for service and getting a new battery.


Reclaimed Chair

We’re not dumpster divers, we don’t go out LOOKING for garbage to bring home, it just so happens that we have come across some good finds on the side of the road. We dragged home the rocking chair for the office a few months ago, repaired and refinished it with a coat of glossy black spray paint.

Just before Christmas El Granto happened to come across this guy, a red bankers chair with some nicks and scratches and a large X slashed across the seat and back.

El Granto snapped this pic with his phone of the chair on the curb

El Granto immediately spied the chairs potential and rolled it home and tossed it in the garage. We knew that we would not be able to refinish it untill the weather was warm enough to spray paint in the unheated garage.

Chair Before
Chair Before

I flipped it over to discover it was a Pottery Barn Kids chair. In fact it’s this $250 chair, but in red (guessing red was a seasonal colour). Have I mentioned lately how much I love my husband and his ability to spot fine craftsmanship?

We got to sanding the nicks out and prepping the surface for primer, and man the paint finish on this chair was strong. It took both of us hand sanding the first layer of finish off with a rough grit sandpaper, then using a palm sander and a oscillating multi tool with a sanding attachment to finally get the paint sanded down.

Chair Seat Sanded
Chair Seat Sanded
Chair Base Sanded
Chair Base Sanded

The X slashed in the seat of the chair was super problematic. We sanded and sanded and just couldn’t get it to disappear completely. When we had enough of sanding, we gave up and prepped for paint. We cleaned the chair of all the sanding dust with a damp cloth then a tack cloth, and masked off all the metal parts such as the wheels and the seat adjustment.

We took the legs off so that we could paint them easier, and we stuck the top of the chair into a bucket and styrofoam so that it would stand up (kinda) straight. We gave it two coats of primer in our spray booth.

Chair Primed
Chair Primed

We let it dry, then painted two coats of RustOleum Watermelon spray paint. We usually use the RustOleum Universal paint, but their colour selection is limited, and we wanted a pinky-red-coral colour, so we went with the regular RustOleum primer + paint. I forgot how terrible regular spray can nozzles are. I got paint all over my hands, the nozzle dripped like crazy, and the round spray pattern doesn’t cover as effectively as the more linear spray of the Universal paint. So RustOleum, I beg of you, make more colours in your Universal line! xxo love Kristen

Chair Sprayed
Chair Sprayed

After I swore a bit, and gave the chair two coats of paint this is what we have.

Chair After
Chair After

She will live in the guest room, and enable guests a place to sit and read, get dressed, or stash all the stupid pretty throw pillows. Not bad for trash on the side of the road!

SOURCE LIST:

Materials:

Rustoleum Spray Paint in Watermelon – Rona
Rustoleum Spray Primer – Rona

Tools Used:

Palm Sander, Oscilating Multi Tool, tack cloth, rags, muscles, Dexter kill room paint booth

Difficulty Level (on a scale of 1-5):

three out of five

(the sanding sucked…)
Total Cost: $12