DIY Custom Door Mat

We needed a new door mat for the front door. We started hunting around for something useful but nice. What I found was a lot of ugly door mats, or ones that were hugely expensive. ARG. The problem is, when I get frustrated with not being able to find what I want for the price I want, I take matters into my own hands. So I refuse your overpriced or ugly door mats, and I will make my own thank you very much. So I stubbornly lugged my ass on the bus to Ikea and picked up some large coir rubber backed mats.
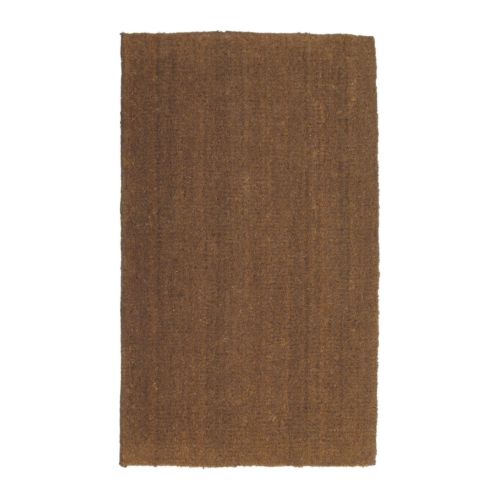
Ikea Trampa Door Mat

Coir is a natural coconut fiber and is very durable. If your mat gets dirty, shake it out, and you can even sweep it. Note to self, large coir mats are pretty heavy. After lugging them back on the bus I sure had sore arms the next day!

Okay, so now I had a plain mat. It would be fine as is, however I am never one to leave well enough alone. I decided to add some simple painted type or a design to the mat. I made a few layouts, but ended up loving a simple design of a small lowercase “hello” on the bottom right corner of the mat. I could have easily embellished the mat further with a border etc, but I liked the negative space the “hello” left on the mat. To save time, I broke out my Silhouette SD (yes I do use it for everything!) and cut out the hello from some cardstock. I popped out the letters, and used the cardstock as a stencil. I taped it onto my mat, and then used some sewing pins to get the paper to stay put.

Stencil taped & pinned to mat

The rough surface of the coir mat made it hard for spray adhesive or tape to adhere, so I found the pins the best course of action to get my stencil stay in place. I covered the other areas of the mat to make sure I didn’t get any overspray on the mat.

Close-Up Of Pins

Using a can of spray paint, I carefully painted my letters trying to spray completely parallel with the mat, to try to limit how much paint sneaks under the stencil. You will have some, but this careful paint technique should limit the paint’s sneaky sneak under the stencil. Give the stencil a few passes with the spray can, then let it dry for 5 minutes or so. When you go back you will notice that its lighted up quite a bit as the paint soaked in, so give it another couple passes with the spray paint, then let it dry. I got a bit impatient and removed the stencil about 10 minutes after I painted. Just make sure that you’re careful and don’t get paint on anything (including your hands, spray paint is hard to get off your cuticles!)
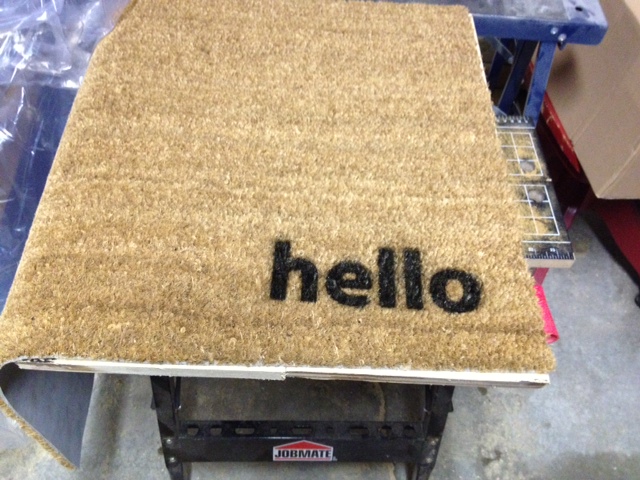
Detail shot of mat after spray painting

We let the paint dry for at a day or two, and the placed it at our front door.
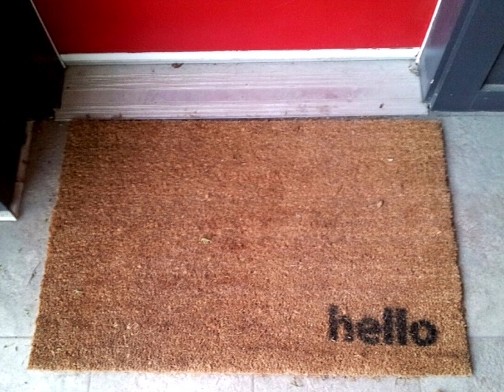
The Mat

What do you think?

SOURCE LIST:

Materials:

Ikea Trampa Door Mat – Ikea
Spray Paint – Left Over Rust-oleum Universal in Black

Tools Used:

Silhouette SD
Sewing Pins

Difficulty Level (on a scale of 1-5):

Two out of five

Total Cost: $16

Outdoor Planters

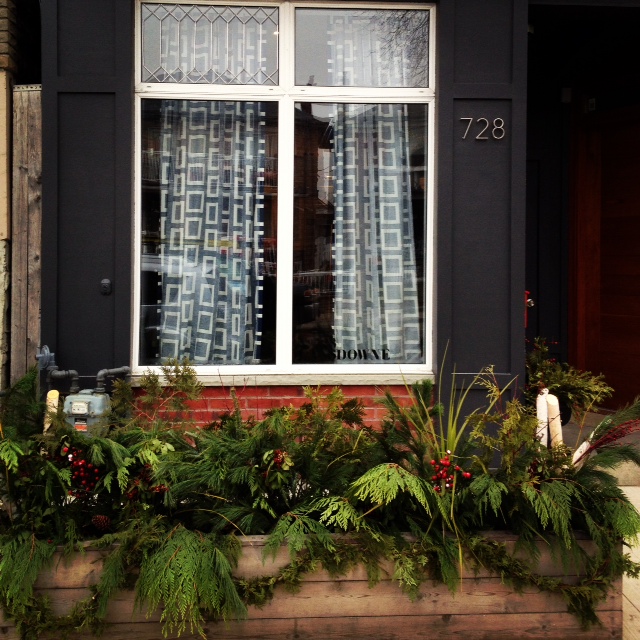
We made a large planter box for our cement front yard a few years ago. It served two purposes, it gave some greenery to an otherwise paved front yard and secondly it made people aware that it was our property not just a very large sidewalk, and thus in turn got them to stop walking right by my front window. It has worked quite well. We still get the odd person who will take the route up by our window, but generally it gives us much more privacy.

In the spring I have bulbs planted and get lovely spring flowers. In the summer I plant bright annuals which last mostly into the fall.

For the holidays (and the rest of the winter) I like to have some fresh greenery and a little bit of rustic winter charm. So this year I hit up a local grocer who sells Christmas trees and greenery. I purchased about 5 bunches of assorted greenery, and my Mom and I set to decorating the planter. We also had some left over garland from another project. We’re not florists, and our only mission was to give it a bit of height and fullness. I also purchased a package of pine cones at my local dollar store, hot glued them to coffee stir sticks, and tucked them in here and there.

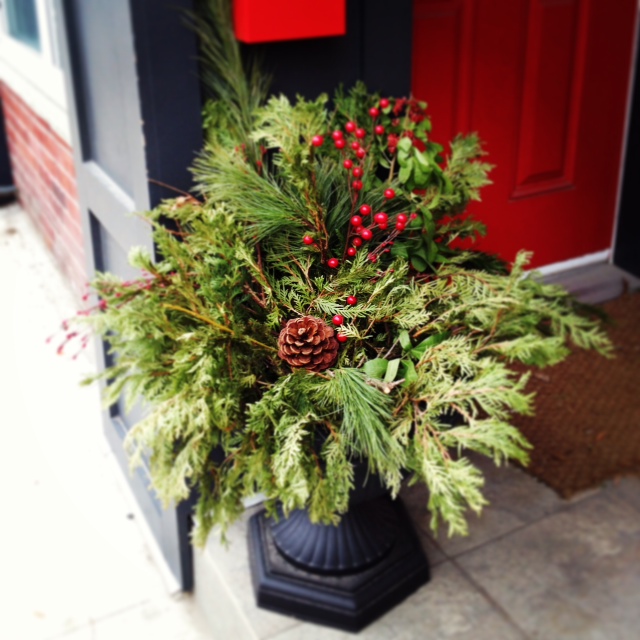
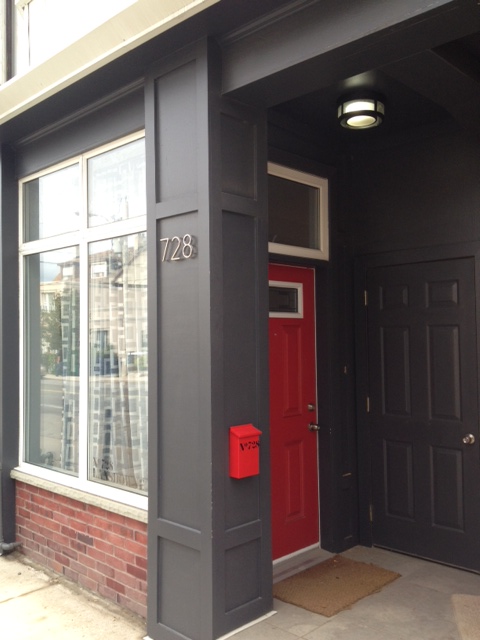
We also did a small urn under our mailbox by our front door.

So even though we don’t have Christmas lights up (we don’t have any outdoor electrical boxes!) it still looks festive. That combined with a wreath on the front door has our storefront in the holiday spirit.

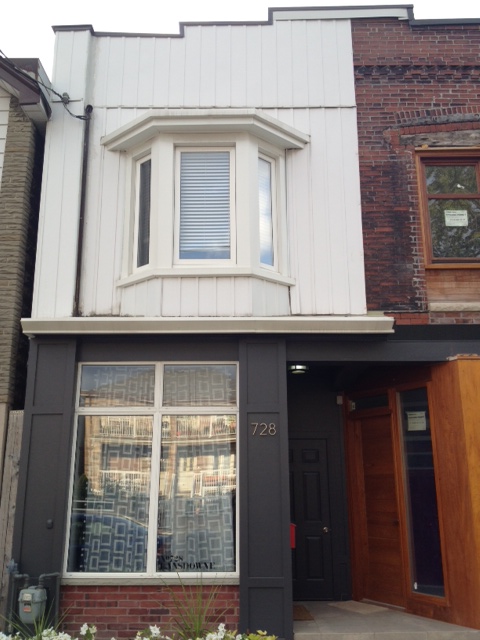
Exterior of the Storefront

You’ve seen pics of the first floor of the storefront’s exterior, but what you haven’t seen is what the second story of our house looks like. That’s for one very good reason; its pretty ugly. Nah, I’m being mean to my poor house, its not THAT bad, but its not how we’d like it to look.  Continue reading “Exterior of the Storefront”

DIY “Leaded” Glass

I love leaded glass, especially in exterior transom windows of old storefronts. The transom above our front door is a leaded glass window (albeit new) and I love it. I WISH our house had some original leaded glass, but alas all we have are energy efficient double pane windows. I know, I am the only person on earth who complains about how energy efficient her house is…

The Storefront Window

We looked into getting some real leaded glass for the storefront window transoms, but it was darn near impossible, and pretty much a huge waste of money as our current windows are perfectly fine. The problem is however, that once I get an idea into my head I am not easily dissuaded. So I started researching for a solution and came across this:

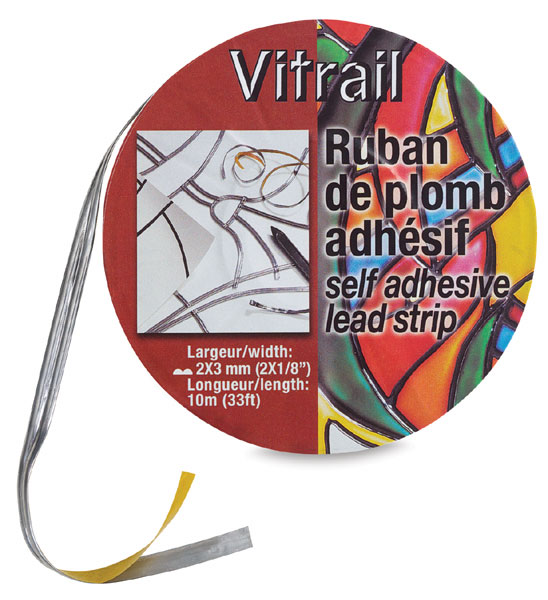
Pebeo Vitrail lead adhesive strips. It’s used for faking your own stained glass. They have a line of glass paints, and you literally make your design out of this tape, then fill it in with the glass paint.

I didn’t want the stained glass look, but the lead looked like a pretty cool idea. So I popped into every art store I came across, and on my third try I managed to find a package. It was $24 for 33 feet. I thought that would be plenty for my project and headed home.

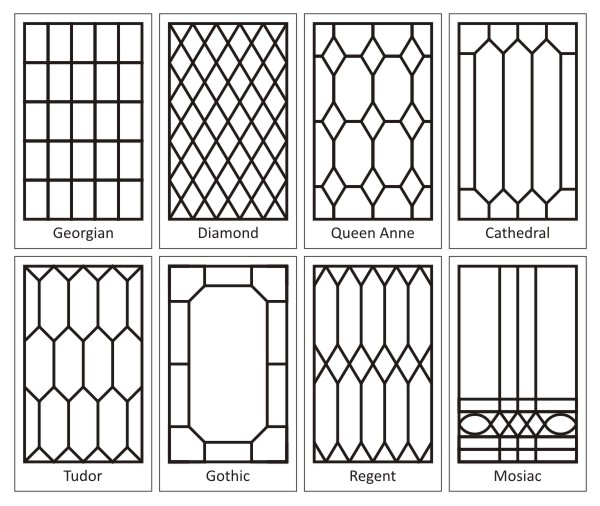
I then did some research for leaded glass patterns.

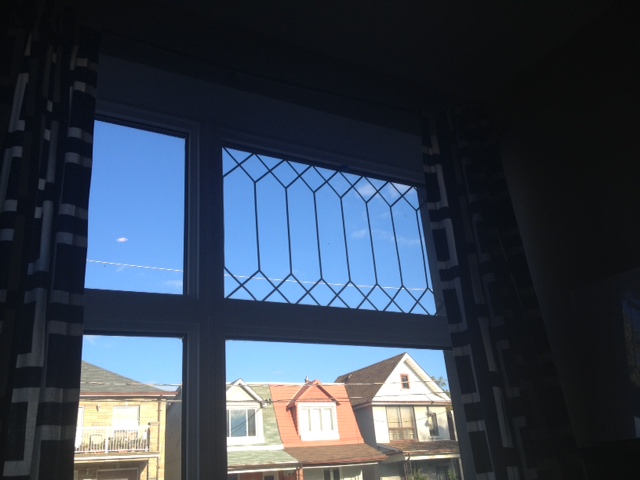
We narrowed it down to either a Diamond pattern, or  a Regent pattern. I drew both out to the size of our transom windows, and once drawn out, we liked the Regent the best.

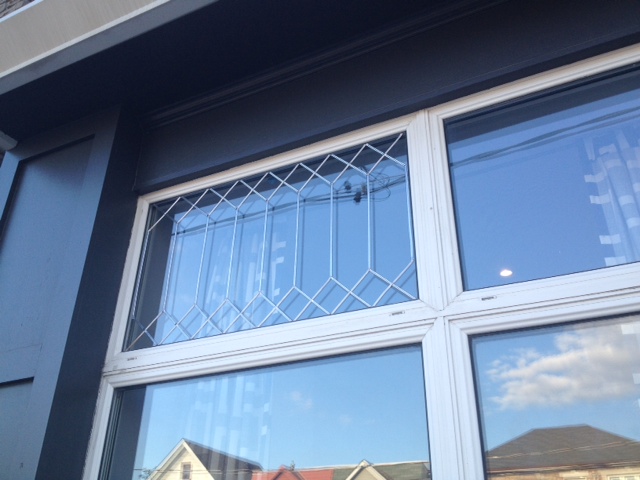
I headed outside and thoroughly cleaned the windows and then taped my drawn out pattern on the inside of the window. I then set to re-create the pattern on the outside of the window. It was a bit tricky due to the space between the front pane of glass and the back one where the pattern was. If I change the angle I was looking at the window it changed the pattern. I tried hard to keep it straight and true but alas its a bit crooked. Shh don’t tell.

The adhesive leaded glass was very easy to cut, but the backing wasn’t that sticky. You really need to burnish it in place with the provided application tool to make sure it stays where its supposed to. Once I got into the swing of things my lines became straighter and my cuts more precise. Just as I was fining the first of two windows I noticed that I was dangerously low on adhesive lead! Eeep. Apparently 33 feet doesn’t go that far when you have an intricate pattern. So I was unable to finish both windows, so for now I have one leaded glass transom window. What do you think?

“Leaded” Glass Window (view from outside)
“Leaded” Glass Window (view from inside)

DIY Custom Mailbox

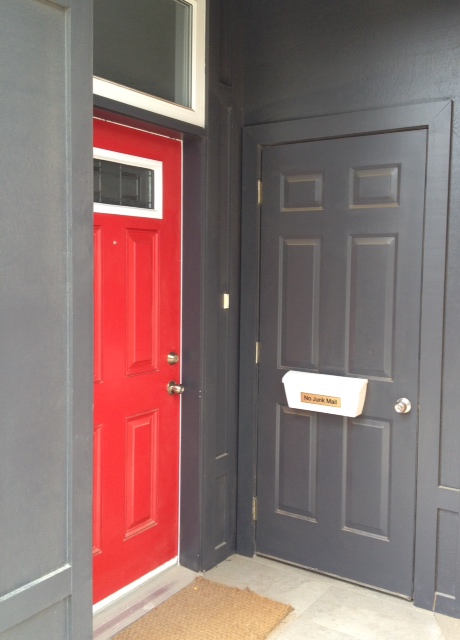
We currently have a white plastic mailbox. It came with the house, there’s no way we would have installed such a monstrosity. The only reason it’s lasted so long was that we were trying to find something great to replace it. Problem is, it’s been a year since we updated the exterior of the storefront and we haven’t found anything yet. We wanted a vertical mailbox, that would be tucked in nicely in our entryway nook. We have searched without avail, and decided to take matters in our own hands.

White plastic mailbox

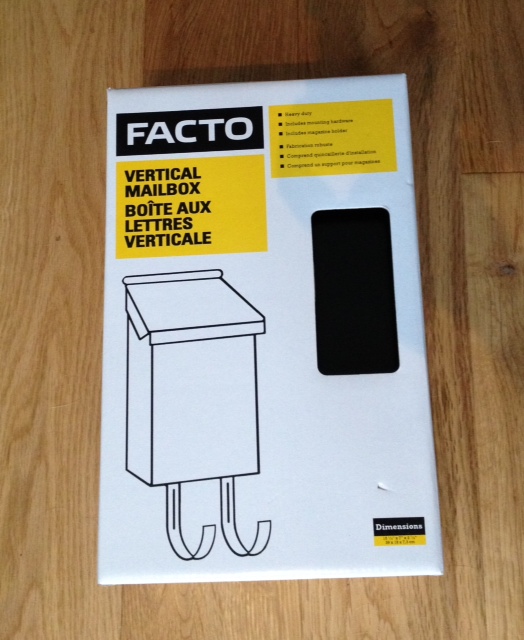
We purchased a basic black vertical mailbox from Rona for $14. We brought it home, and got to customizing it.

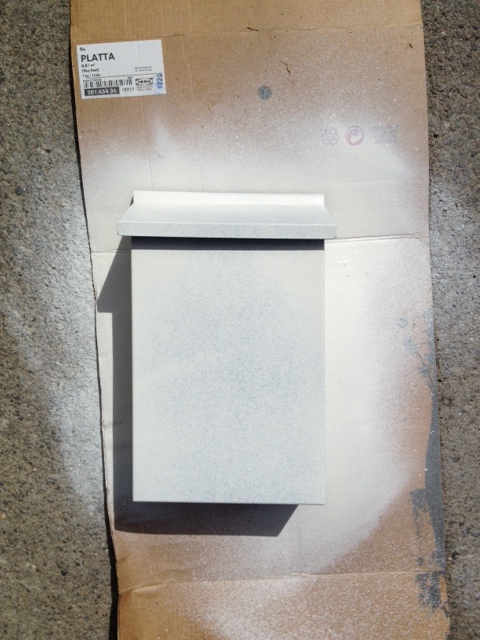
We took the mailbox out to the garage and gave it two coats of BIN primer (lightly sanding in between).

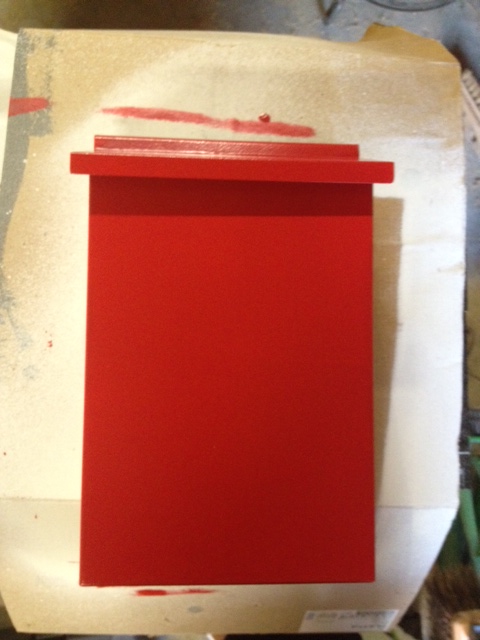
After the primer had dried overnight, we gave it two coats of the same paint as our front door.

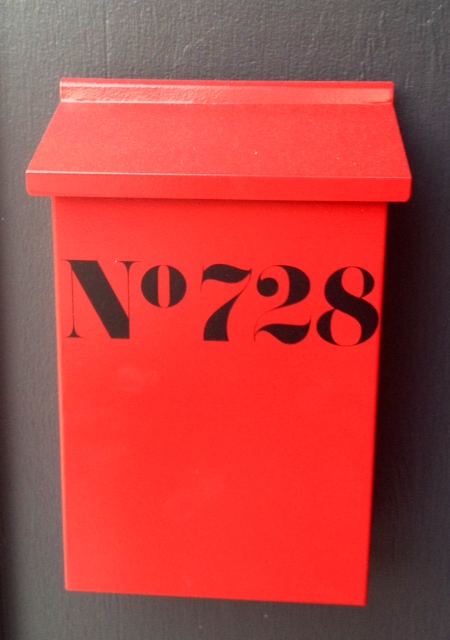
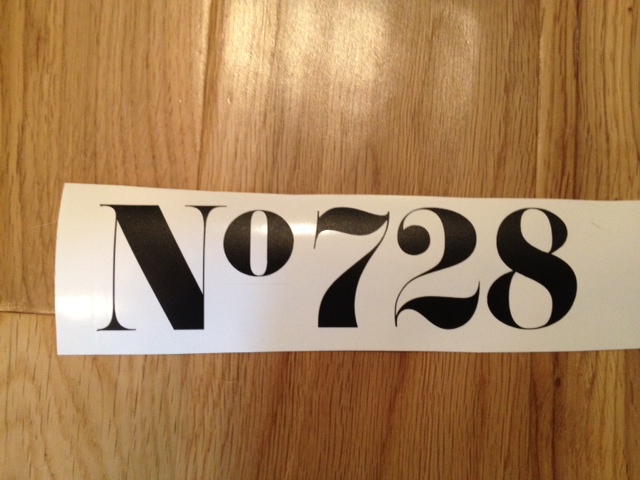
You remember the “728” from the mural in the backyard? Well that 728 has become a sort of logo for the storefront if you will. We also have a vinyl sticker on the front window with our complete address. We also decided to bring our “logo” to our mailbox. So I broke out my Silhouette SD, and cut out a smaller version of the 728 onto some scrap vinyl.

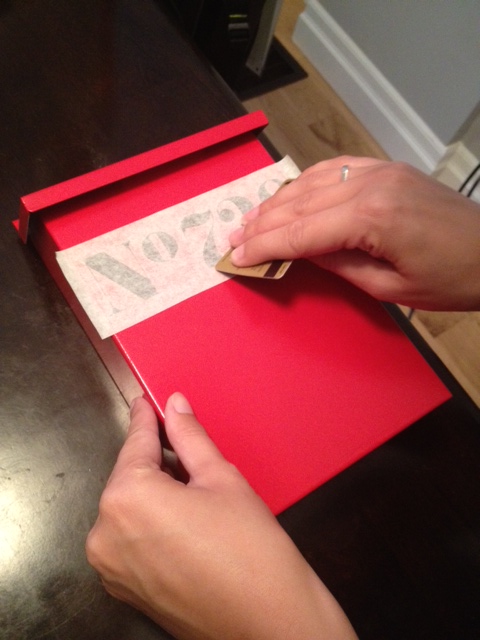
I pulled away the excess pieces (called weeding), used adhesive transfer paper to pull away the stickers from the backing(you can also use masking tape), and then using a steady hand stuck it onto the mailbox. I then used a creditcard to smooth out any bubbles.

Ta-Da! New custom mailbox!

SOURCE LIST:

Materials:
Pouch Mailbox: Rona
Zinnser BIN Primer (spray can): Canadian Tire
Behr Premium Plus Ultra, Semi-Gloss in Bijou Red: Home Depot
Adhesive Vynal & Transfer Paper: www.expressionsvinyl.com

Tools Used:
Silhouette SD, paint tray & small foam roller, xacto knife for working with the vinyl

Difficulty Level (on a scale of 1-5):

Two out of five

Total Cost: $15 (already owned the primer, paint & vinyl)

Painting the Storefront

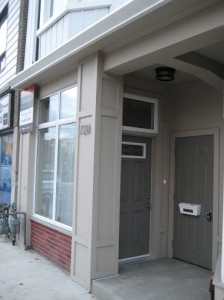
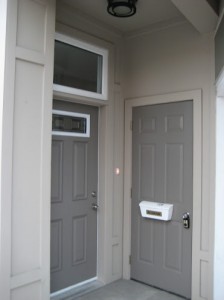
When we purchased the house it was beige. Beige exterior, beige on every single wall inside, and a beige garage. We knew right away that one of our first tasks would be to “un-beige” the house.

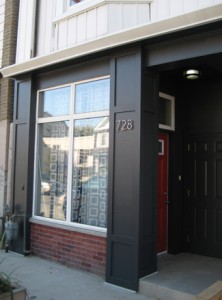
We decided to tackle the front of the house last fall. It was a simple project that had a lot of impact. We looked at lots of photos of historical storefronts, and decided to go with a simple dark grey colour. It would offset our storefront window, and look nice with the brick under it.

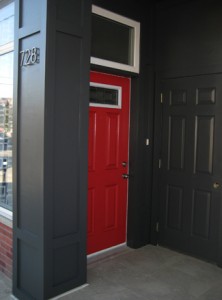
The project took two days, one day cleaning everything, the second taping and painting. We also have two doors at the front of our house which confuses delivery people to no end. Its actually a pretty smart design, as we are a row house of sorts, there is no place to store our garbage and recycling cans out of sight, other than having to keep them in the garage, and wheel them around the block on garbage day. So they built in a “utility room” into the front of our house. Its great, but confusing! So we wanted to make the door to it disappear, and make our front door stand out. We painted out the utility room door the same colour as the house, and our front door in a bright red.

We used Behr Premium Plus Ultra Paint + Primer and it painted beautifully! The door took three coats, but the house only took two.

Without further adieu, here are the before and afters!

Front of a house
Front of house before.
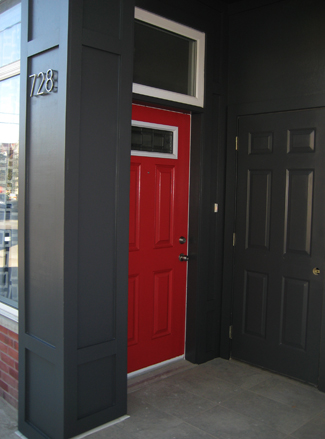
Front of house after painting
Front of house after.
Door before painting
Door before.
Door after
Door after


SOURCE LIST:

Materials:
Behr Premium Plus Ultra Exterior Satin in Cracked Pepper: Home Depot
Behr Premium Plus Ultra Exterior Semi Gloss in California Poppy: Home Depot
2″ Frog Tape: Home Depot

Tools Used:
Paint Brushes, Trays, Roller, Foam Roller, Tarps, Newspaper, Ladders, Cleaning Supplies

Difficulty Level (on a scale of 1-5):