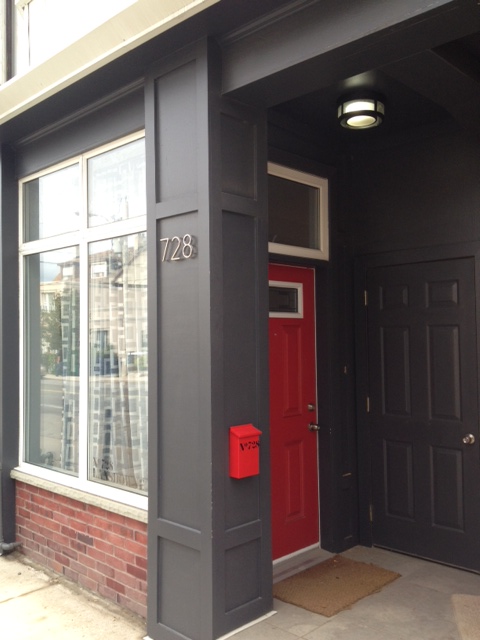
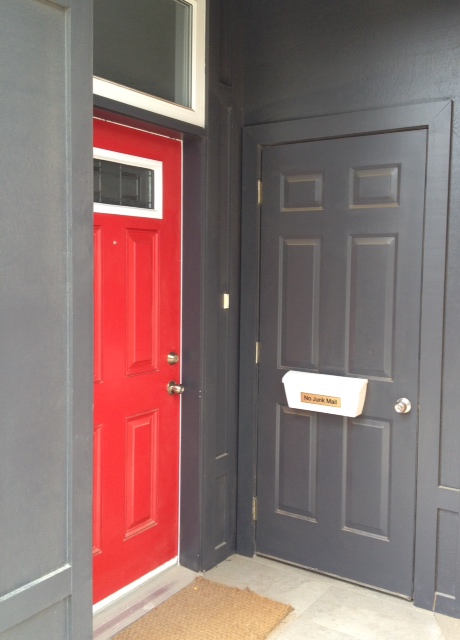
We currently have a white plastic mailbox. It came with the house, there’s no way we would have installed such a monstrosity. The only reason it’s lasted so long was that we were trying to find something great to replace it. Problem is, it’s been a year since we updated the exterior of the storefront and we haven’t found anything yet. We wanted a vertical mailbox, that would be tucked in nicely in our entryway nook. We have searched without avail, and decided to take matters in our own hands.
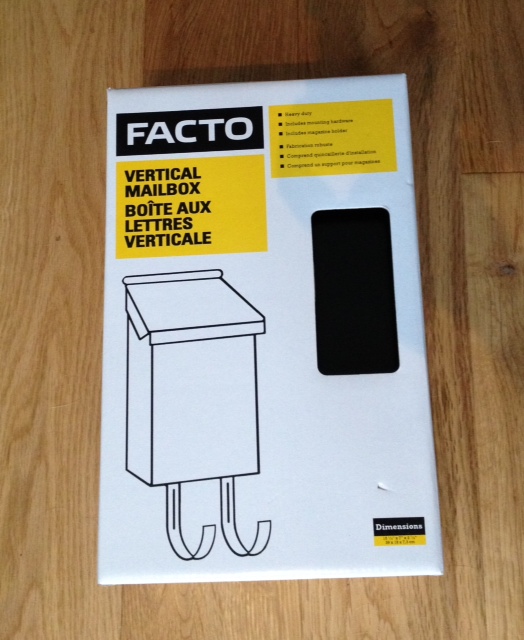
We purchased a basic black vertical mailbox from Rona for $14. We brought it home, and got to customizing it.
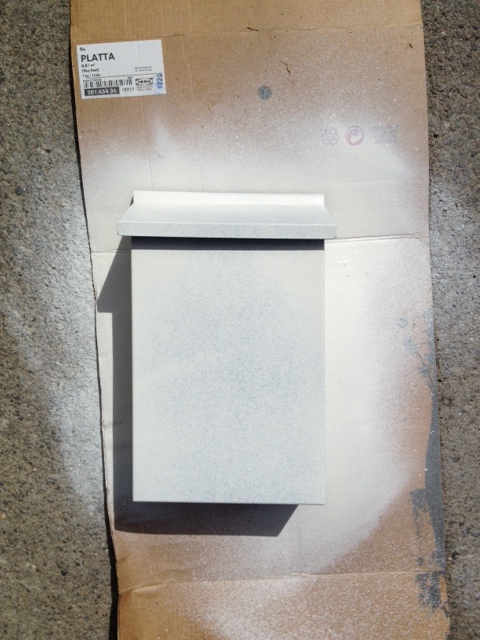
We took the mailbox out to the garage and gave it two coats of BIN primer (lightly sanding in between).
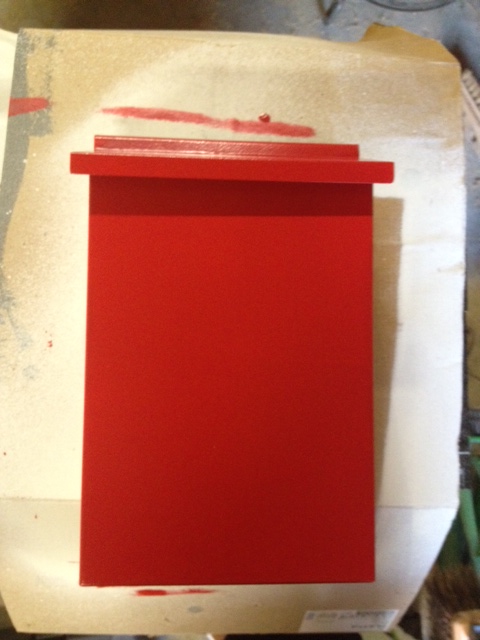
After the primer had dried overnight, we gave it two coats of the same paint as our front door.
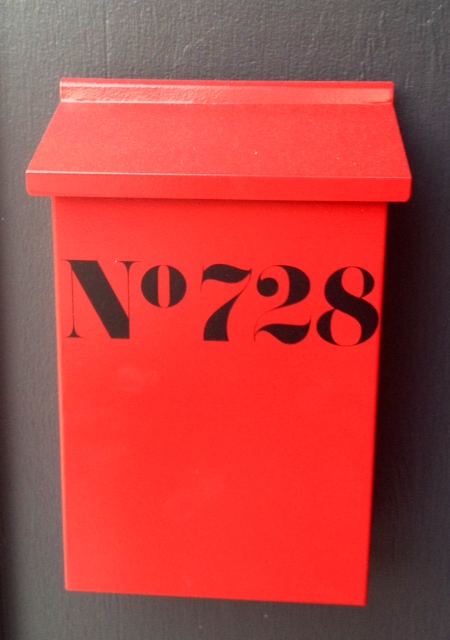
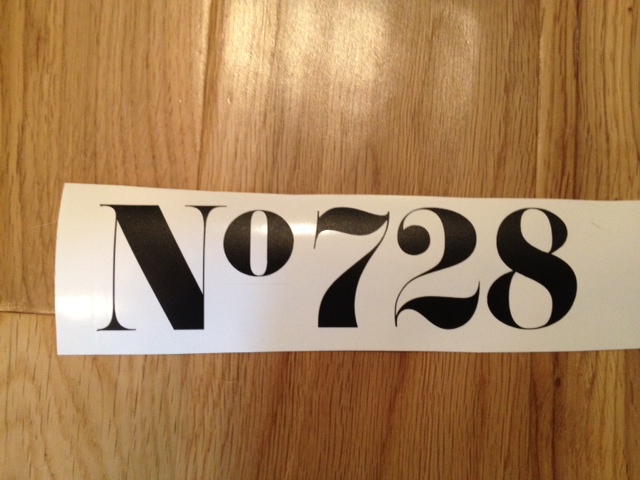
You remember the “728” from the mural in the backyard? Well that 728 has become a sort of logo for the storefront if you will. We also have a vinyl sticker on the front window with our complete address. We also decided to bring our “logo” to our mailbox. So I broke out my Silhouette SD, and cut out a smaller version of the 728 onto some scrap vinyl.
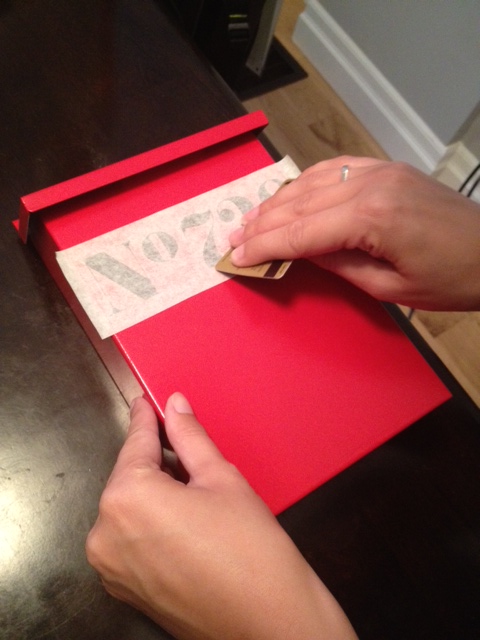
I pulled away the excess pieces (called weeding), used adhesive transfer paper to pull away the stickers from the backing(you can also use masking tape), and then using a steady hand stuck it onto the mailbox. I then used a creditcard to smooth out any bubbles.
Ta-Da! New custom mailbox!
SOURCE LIST:
Materials:
Pouch Mailbox: Rona
Zinnser BIN Primer (spray can): Canadian Tire
Behr Premium Plus Ultra, Semi-Gloss in Bijou Red: Home Depot
Adhesive Vynal & Transfer Paper: www.expressionsvinyl.com
Tools Used:
Silhouette SD, paint tray & small foam roller, xacto knife for working with the vinyl
Difficulty Level (on a scale of 1-5):
Total Cost: $15 (already owned the primer, paint & vinyl)
