Daniel & Adelle’s Farmhouse Table project is coming along. The tabletop is built, stained and ready for polyurethane. We still need to make the legs & aprons, but its getting there! We also managed to knock off some progress on the matching benches.
The benches are 77″ long, which means they will just fit underneath the table. The reason they went with this design was so that the benches could completely fit under the table when not in use. This will work well in Daniel & Adelle’s long but narrow dining space. Being able to get rid of the benches also means the dining room can quickly be turned into an impromptu dance floor when a dance party just happens to break out. What, you don’t have surprise dance parties in your dining room? Psssht, you’re not living until you dance like Elaine, or break out a Tom Cruise pantsless dance routine in your dining room. Impromptu dance sessions happen all the time with our friends.
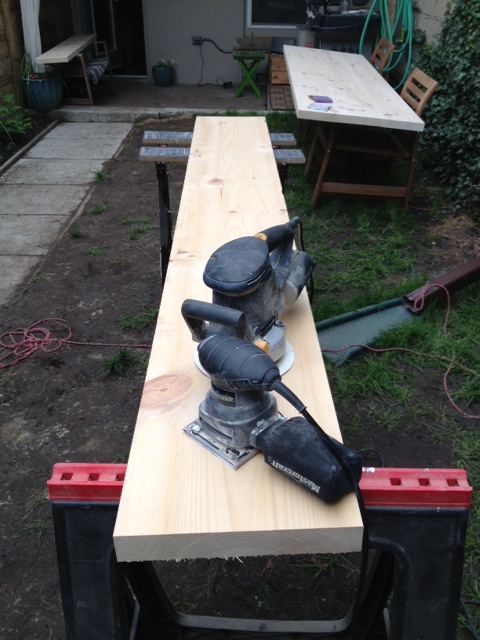
The benches are simple, but needed a bit of cutting, sanding and a load of pocket holes. We got started by sanding the bench top, and cutting the legs, aprons, stretcher and stretcher support.
All the support pieces are made from spruce and the bench top is from 2×12 pine. For the aprons, straight up 2×4’s would have been a bit bulky and heavy, so we ripped down 2×4’s to 1 1/2″ x 2″ on the table saw for the side & end aprons.
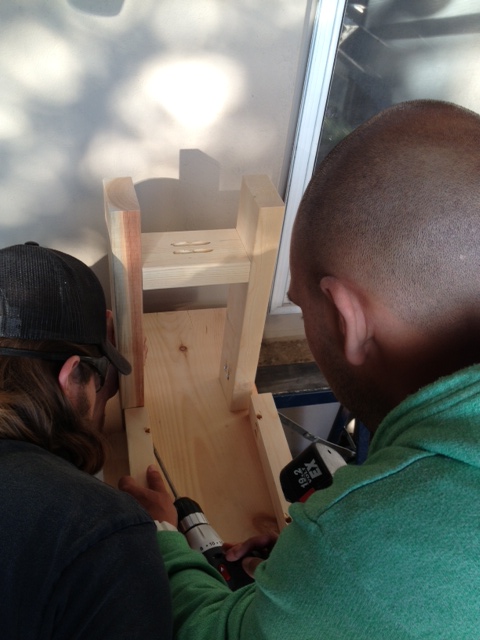
The assembly of the bench was a bit tricky due to the limited space for the pocket holes. The pocket holes for the apron supports actually intersected each other. Good thing all of this will be hidden! We also broke out the corner clamps again (they are getting a lot of use!)
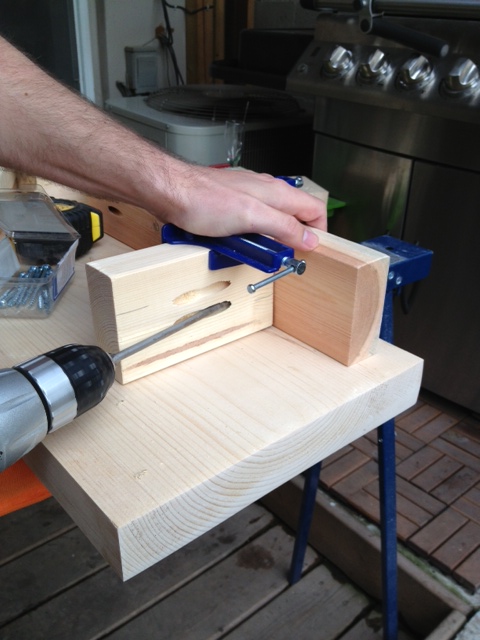
We used a ratchet and driver bit to manually drive all the screws for the bench legs. At this point in time I believe I felt it necessary to check on the dog, or tie a shoe, or any task that got me out of screwing in all those difficult screws.
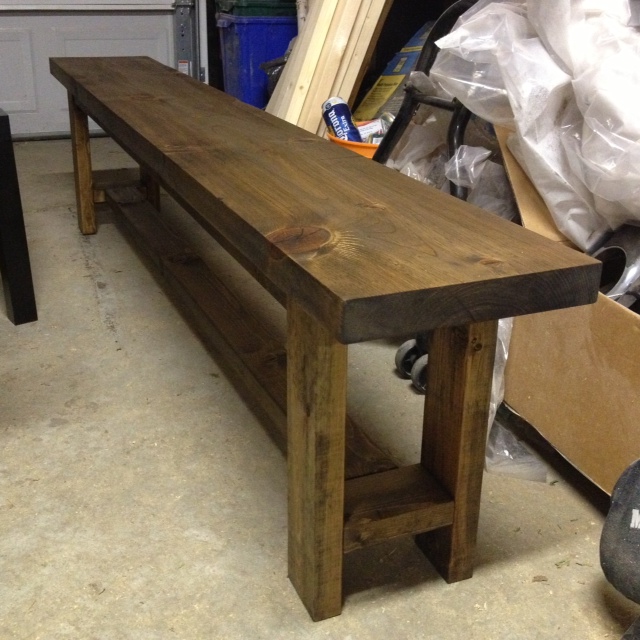
Once the legs were assembled we attached the aprons (insetting them by 1/8″ for a little flair) and the bench was made.

Awesome, complete, woot!
Wait…why does the bench top look so long??? Oh CRAP! I got so carried away at the start, I forgot we needed to cut the bench tops down to size! Woopsies! This bench was 7 feet long, when it was only supposed to be 77″. Now what? We do disassemble the whole thing and cut down the top?(Remembering all those screws put in by hand….) That doesn’t sound like fun…
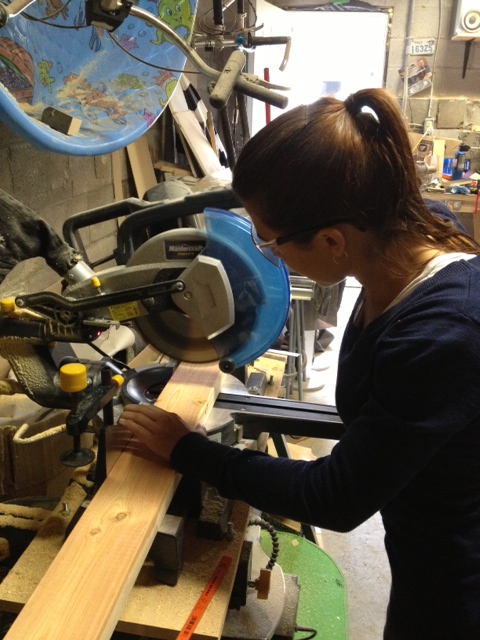
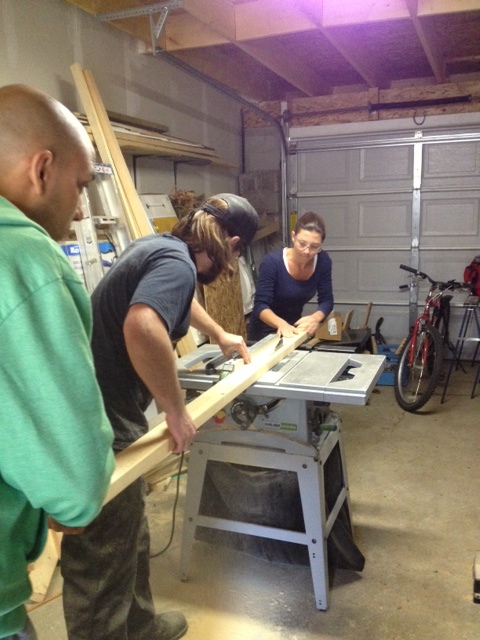
OR we could lift the whole bench upside down and cut the top on the miter saw. Seriously?!
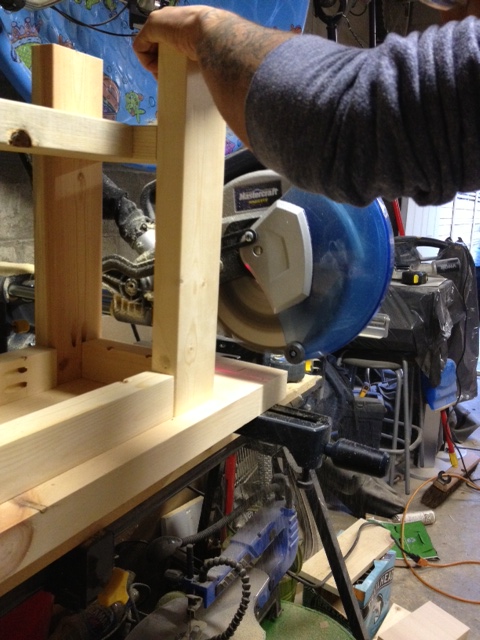
YEP. It happened. The miter saw table rollers & two people held up the bench, while Daniel cut the bench top down to size. Phew, crisis averted. At least I didn’t screw up the whole project. With a few minutes work, we were back on track. I am very thankful I realized before staining!
Speaking of staining, after all that sanding was done we applied wood conditioner and then stained away. Talk about a staining party. The four of us were staining away in our tiny garage on a Tuesday night. (Even El Granto picked up a brush and he doesn’t do that often!)
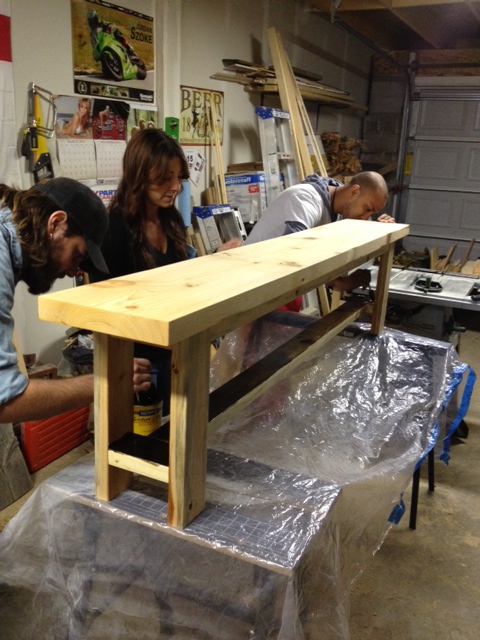
One bench built & stained, one more bench to go!