We made some headway with Daniel & Adelle’s Farmhouse Table in the last week. We put in one solid days work on the weekend, as well as one weekday evening.
Our work was a bit all over the map, as there was four of us we decided it was best to go our separate directions and knock off different tasks. I will try to focus my posts on each specific topic, and today we’ll get down with how we made the table top.
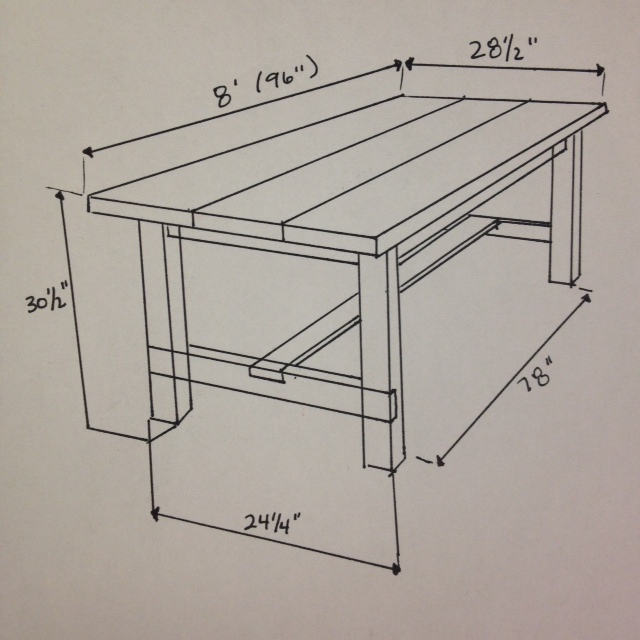
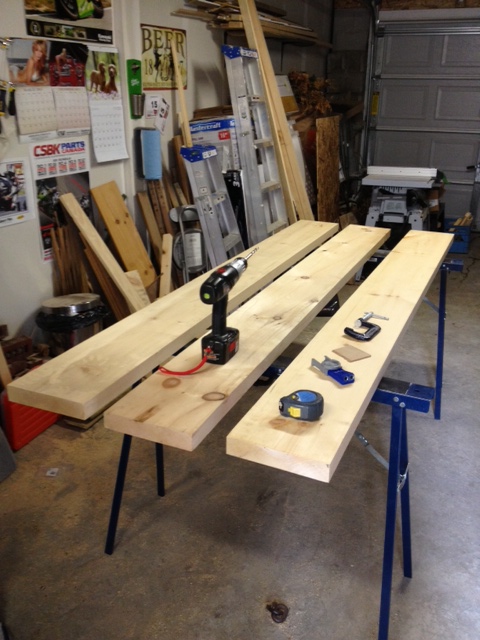
Bright and early we headed to the lumber yard, bought all the lumber & supplies, and rented a Zipcar van to get them all to the garage. We are using spruce for the legs & supports and gorgeous 2″ thick pine for the table and bench tops.

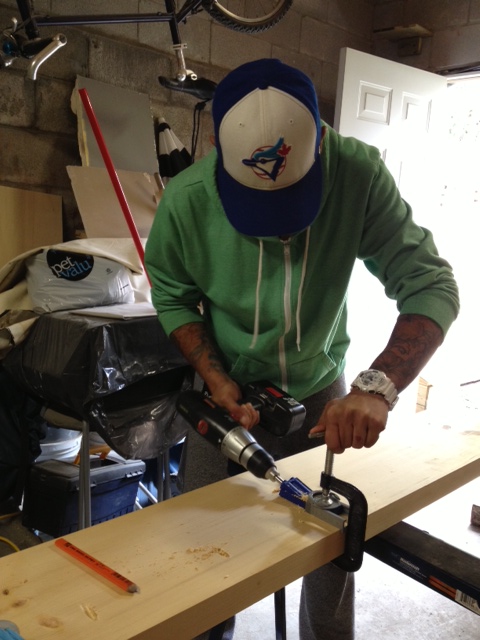
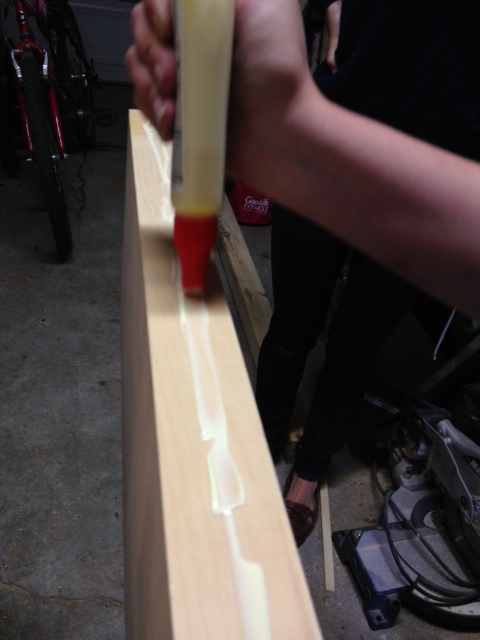
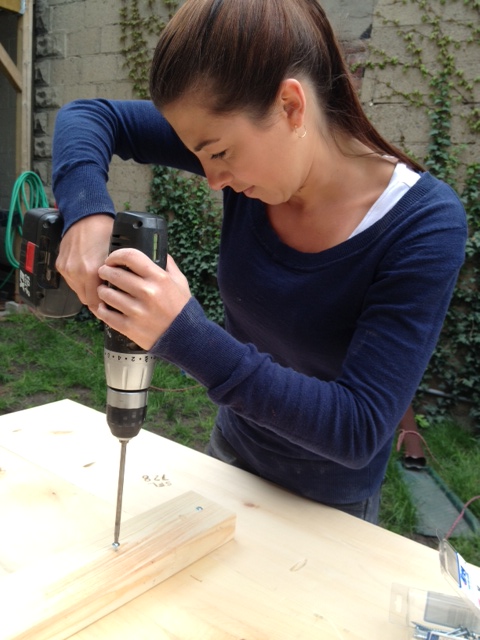
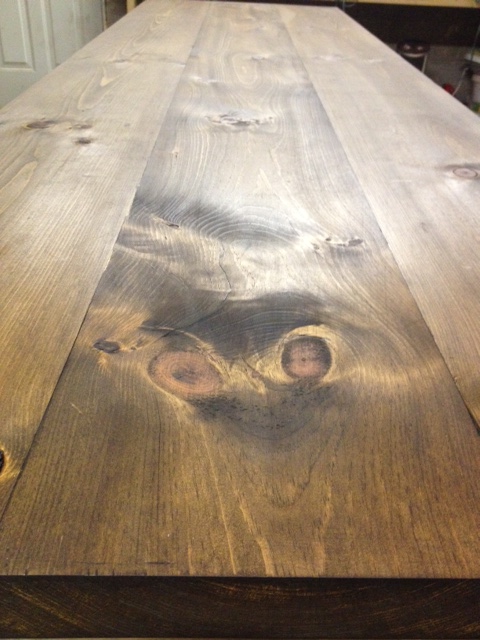
We inspected the tabletop boards, and decided on layout. We attached the tabletop boards together using the Kreg Pocket Hole system, 2 1/2″ screws and glue.

We added support pieces to the underside of the table to try to curb any warping the table may want to do (we are not using breadboard pieces on the table, so we wanted some extra assurance that things would stay put.)
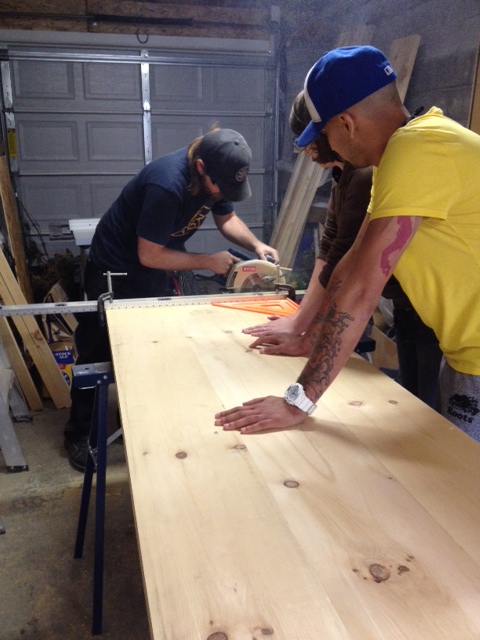
After that, we clamped on a guide (we used a level) and cut the ends flush on the tabletop with a circular saw. The poor saw had a bit of a tough time with the thick wood
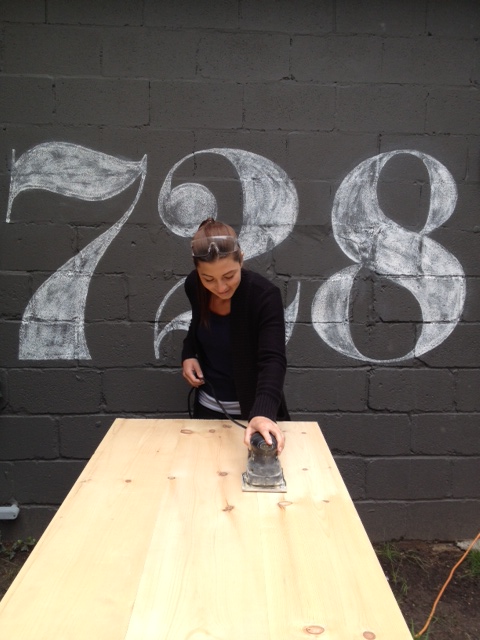
Sanded, sanded and sanded some more. While two people were power sanding, the other two were alternately cutting the rest of the lumber we needed, and hand sanding.
After we could just sand no more, we decided to give the table top a coat of wood conditioner, then a coat of stain.
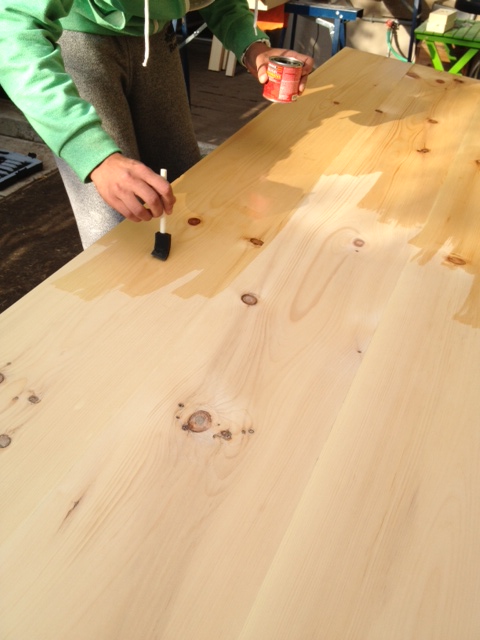
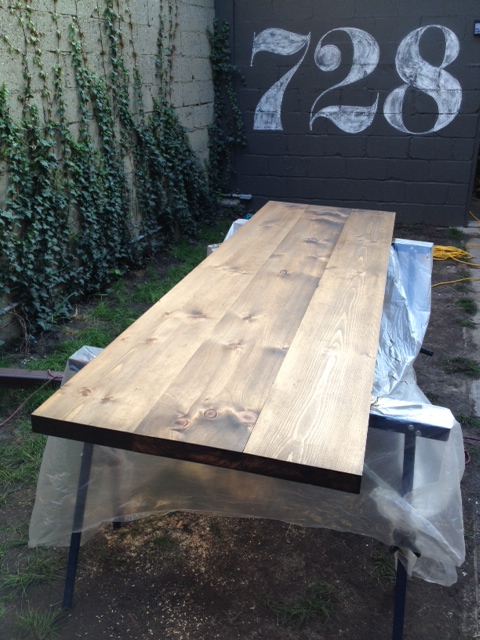
We let the stain dry, and applied a second coat a few days later.
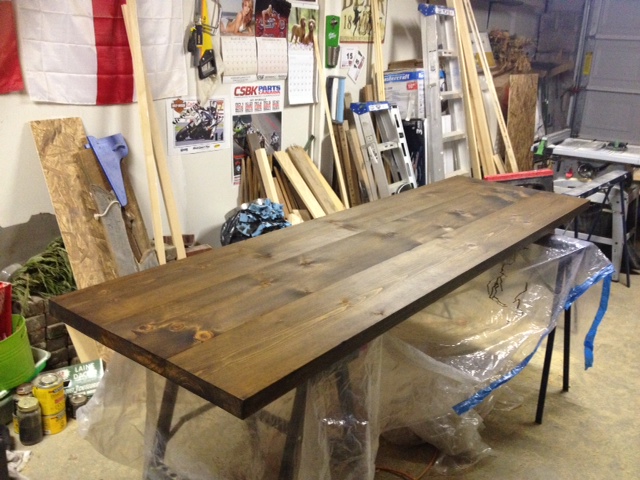
The table top is now ready for poly, and we can move on to making its legs.
We are not going to assemble everything until we’ve moved it to Daniel & Adelle’s new place, as this huge table would never fit through doors assembled!
This weekend is a holiday weekend in Canada. I think we will be turning our attention to gardening, bbq’s and drinks on the deck. I fear we will not be very productive this weekend!
Any big plans for the weekend? BBQ’s, cottages, fireworks?